
July In The Garden - 2026
Hello friends,
July is the depth of winter here in Otago, New Zealand. Frosty mornings are a familiar sight, the garden has settled into its winter rhythm, and much of this month's work has been focused on preparing for spring. Although everything feels a little slower at this time of year, there are still plenty of signs that a new growing season is on its way.
Here's what July has looked like in my garden...
What's Flowering:
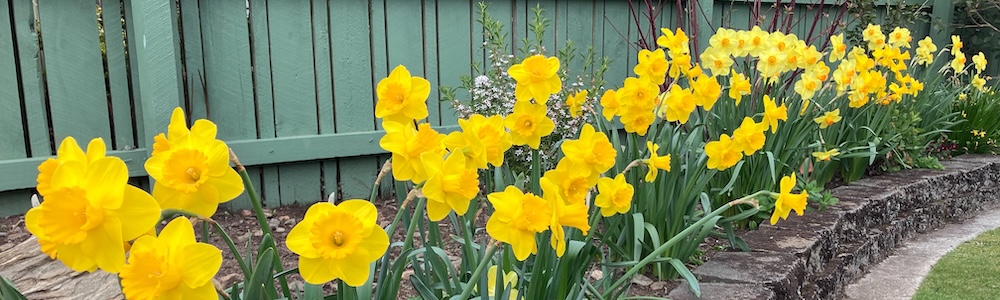
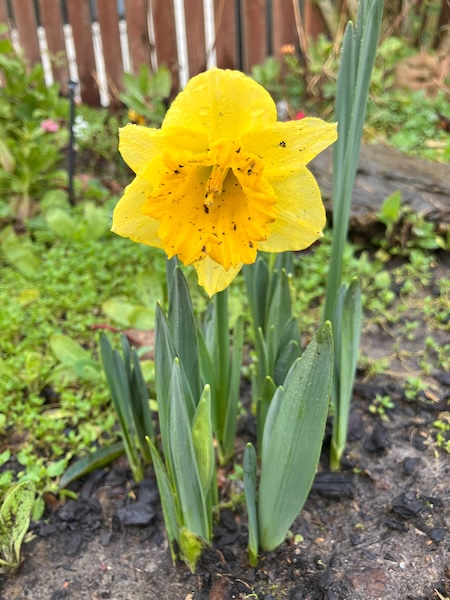
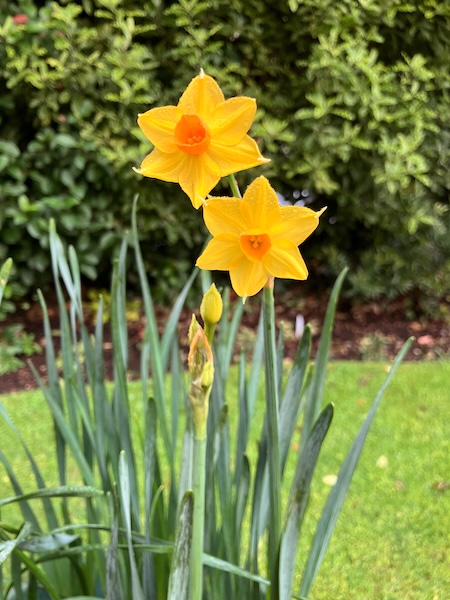
Surprisingly, the first yellow daffodils are already flowering in my backyard. Their foliage began emerging in early June, with the first blooms opening in early July. For now it's only a handful of flowers, but the main display will begin in August and continue right through until October.
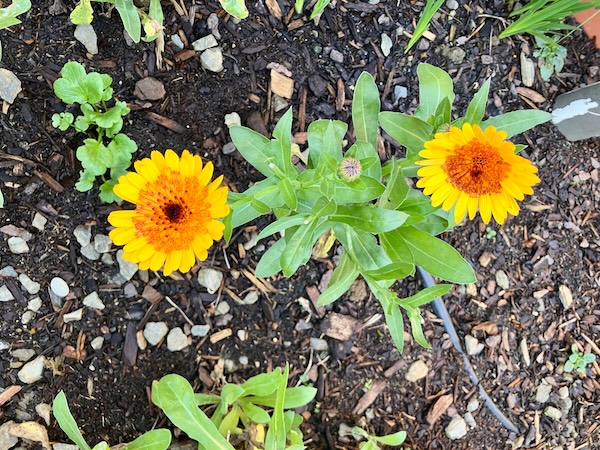
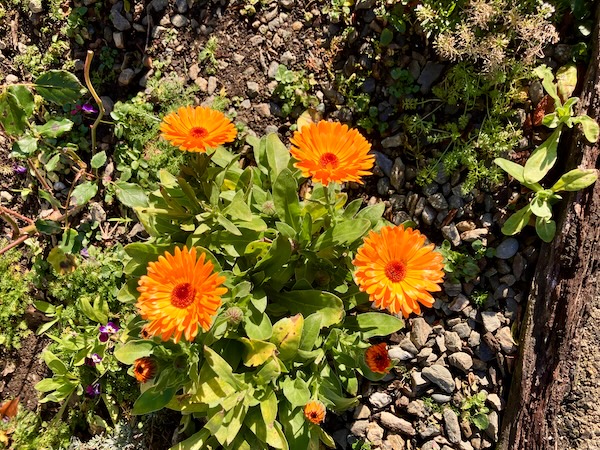
There are still a few calendula flowering in the garden. Over the years I've found they provide flowers for almost the entire year, and their cheerful blooms always brighten the cold, dreary days of winter.
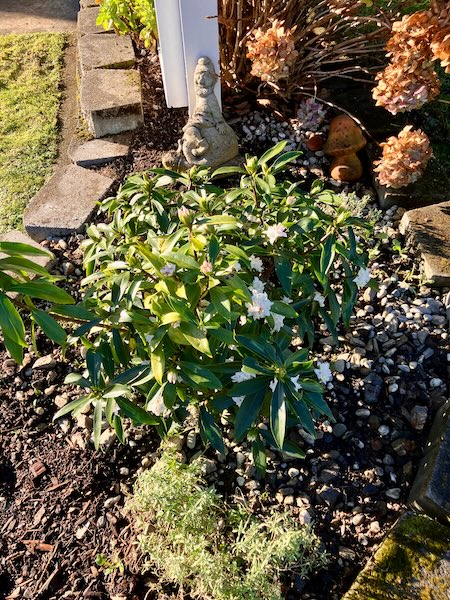
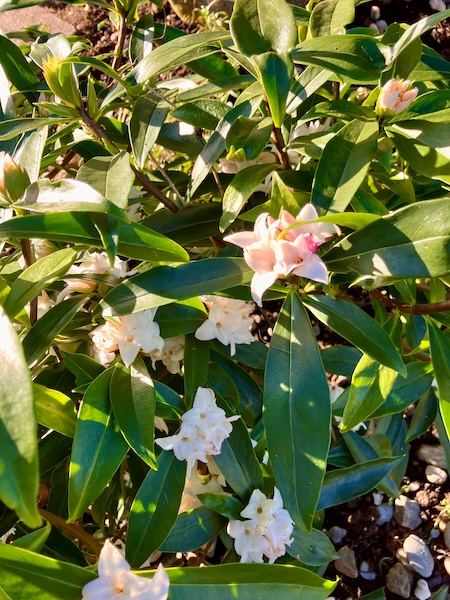
And finally, my young 'Perfume Princess' daphne has been flowering over the past couple of weeks, and its fragrance is intoxicating, filling the entire backyard on sunny still days.
What's Growing:
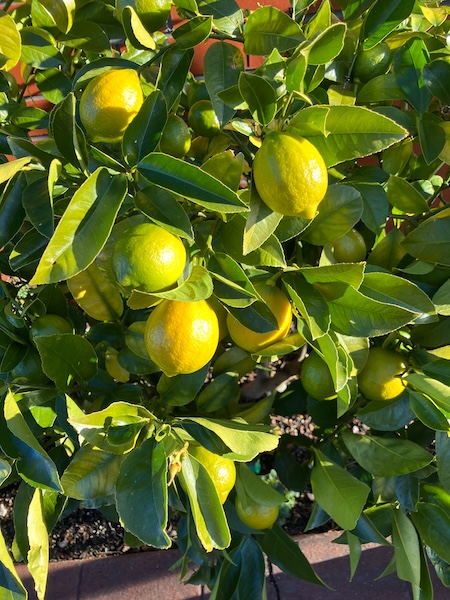
The lemons on my 'Meyer' lemon tree are beginning to ripen, and I'm looking forward to harvesting them over the coming weeks and putting them to good use in the kitchen.
I'm overwintering some sugar beet plants for seed saving, and they've taken all our winter frosts in their stride. They've remained completely hardy and continue to grow without any problems. It is still another 9 months until I can save seed from these plants, and no doubt I'll have to corral them to stop the seed heads from falling over in summer and autumn.
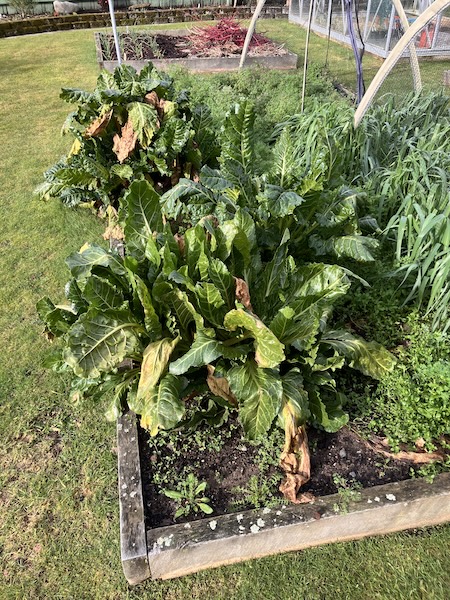
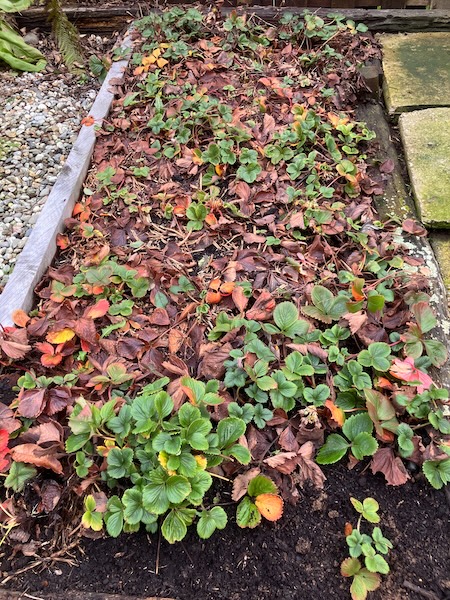
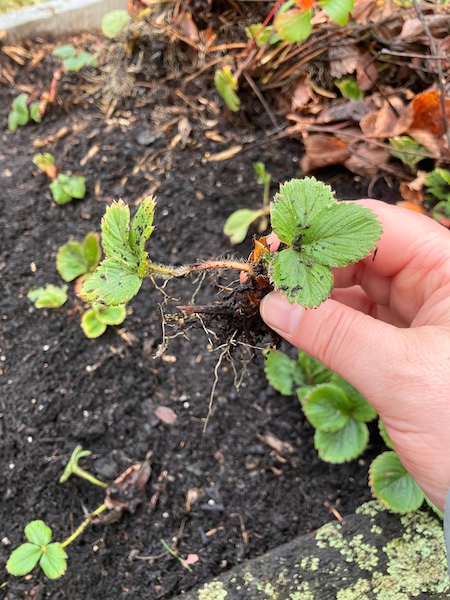
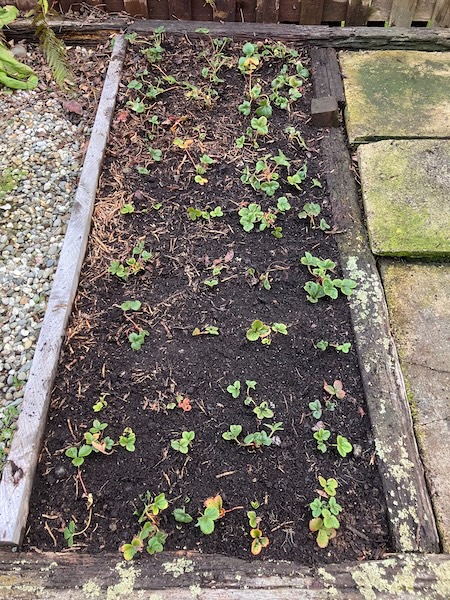
And finally, I gave my strawberry bed a tidy-up by weeding, removing
the older plants, and replanting it with fresh runners. In the process, I
increased the number of plants from 24 to 40, which should mean a much
bigger strawberry harvest this summer.
Nature Notes
Bird life is abundant at this time of year, with many birds searching for food throughout the garden. As always, the blackbirds have been busy digging up the lawn, vegetable garden, and flower beds in search of worms. Tauhou (also known as silvereyes or waxeyes) have been flitting between the few plants still in flower, searching for nectar, while a pair of pīwakawaka have made themselves at home, darting about in search of insects.
I even managed to photograph one of the pīwakawaka as it followed me around the backyard one sunny afternoon—a lovely reminder that even in the middle of winter, the garden is full of life.
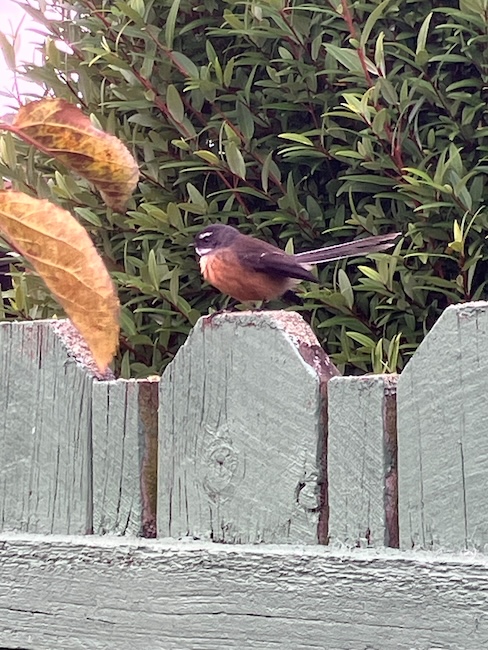
I usually put bird feeders out in the front garden over winter, but with the recent arrival of bird flu in New Zealand, I decided to follow the advice of our local ecosanctuary, Orokonui, and take them down. Hopefully it won't be too long before it's safe to welcome the birds back to the feeders.
July has been surprisingly mild. We've had a total of 19 frosts, with temperatures ranging from –0.1°C down to –2.6°C. For the coldest month of the year, that's quite unusual. In a typical July we would normally expect at least a few frosts of around –6°C, along with plenty of mornings below –4°C.
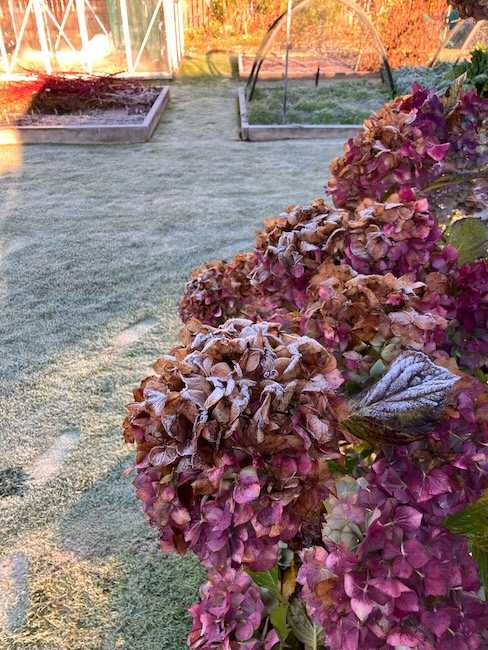
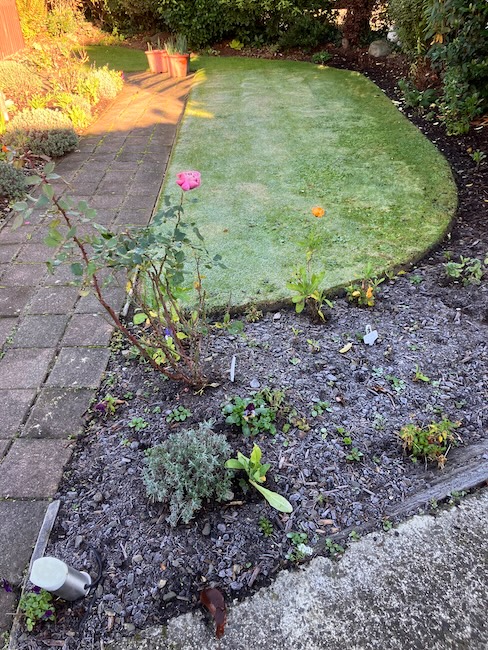
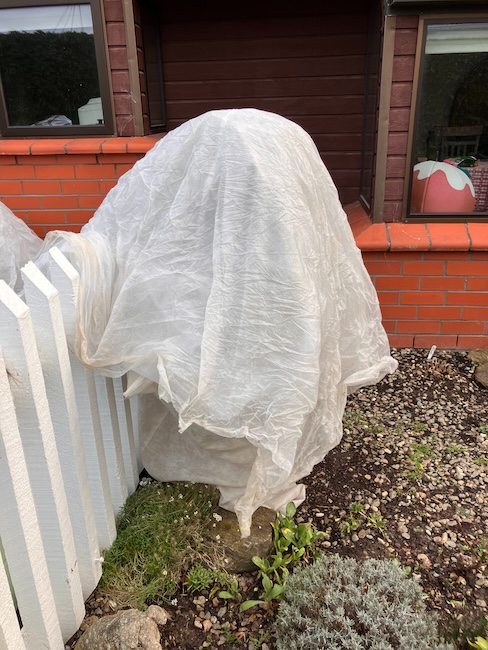
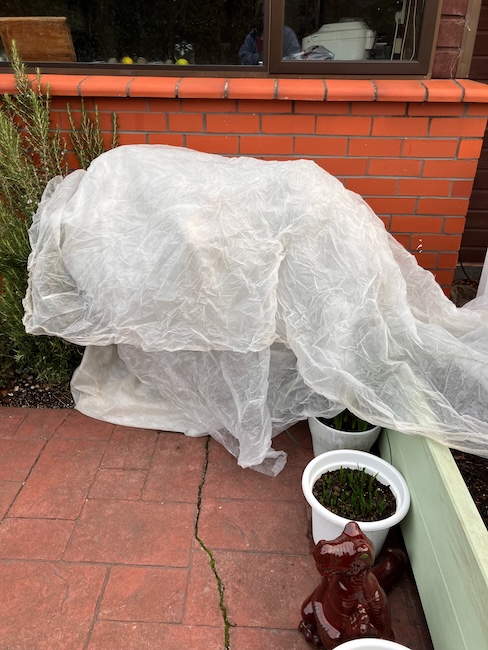
Every day it seems I'm outside in the early evening throwing frost cloth over my citrus plants, wasabi plant, and seedings growing in my glasshouse. My citrus plants look like ghosts in the garden the next morning...
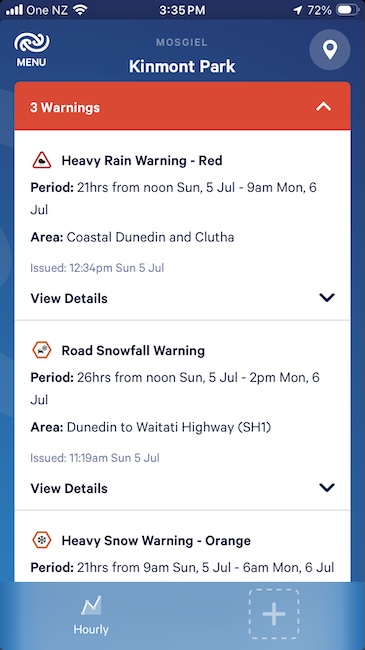
Our biggest weather event this month occurred on 5–6th of July, when a severe winter storm swept across the South Island. Many areas were blanketed in snow, but unfortunately the air wasn't quite cold enough here. Instead, we received torrential rain from the east, prompting MetService to issue a Red Heavy Rain Warning for Dunedin.
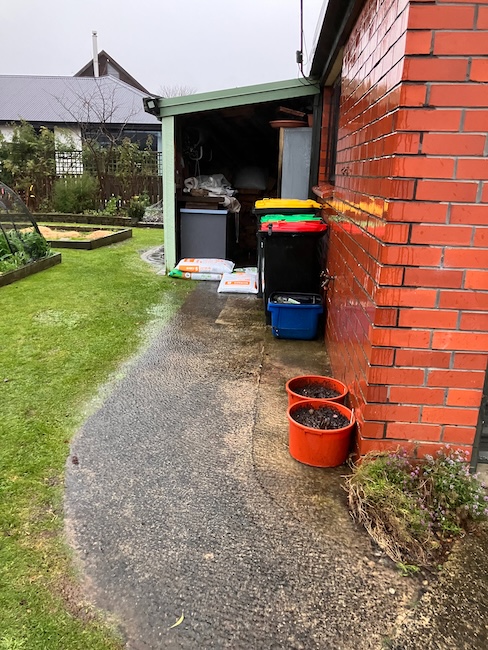
Whenever we get this type of weather pattern, it almost always leads to flooding in our backyard, as well as more widespread flooding across Dunedin. On the 5th of July we recorded 113 mm of rain in just 24 hours, followed by another 80.3 mm on the 6th of July.
As usual, the path leading to our woodshed flooded, so we built a temporary flood barrier using bags of potting mix to keep the water at bay. We keep meaning to fix the problem properly, but this particular weather pattern only comes along every few years, so it never quite makes it to the top of the to-do list.
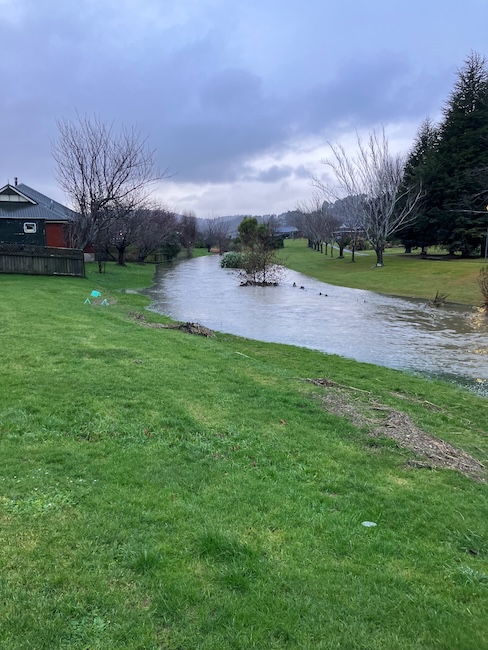
I took a trip out in the pouring rain to check out our local stream. Luckily it stayed within its banks, even though the water was so swift that even the local ducks didn't want to go anywhere near it.
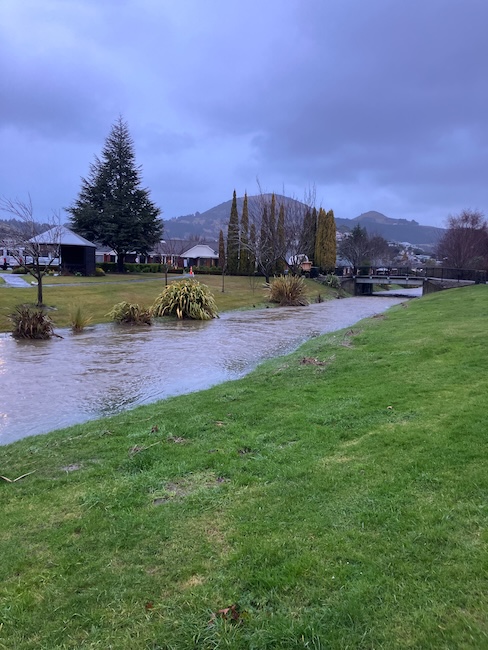
Luckily, the torrential rain eventually came to an end and the garden began to dry out. We've since enjoyed a run of crisp, sunny winter days, making it much easier to catch up on jobs around the garden.
As July draws to a close, the garden is slowly beginning to wake from its winter rest. My seed orders are on their way, and I can't wait to start filling the glasshouse with trays of seedlings. It won't be long before another growing season is underway.
Have a wonderful day
Julie-Ann
If you'd like to continue the conversation, you can find me on Instagram, Mastodon, Bluesky, and Facebook.
White Daffodil Project : Planting My Collection
Hello friends,
I've become completely obsessed with white daffodils, also known as white narcissus, and it all began with a single observation.
While taking the Floret Flower Farm Workshop last summer, I came across a comment from Erin Benzakein during the daffodil section of the course. She explained that at her flower farm, traditional yellow daffodils didn't sell nearly as well as the white varieties. She suggested that white daffodils have an elegance that appeals to many people. They are also so much harder to find than the traditional yellow varieties, making them feel a little more unusual and distinctive.

The more I thought about her observations, the more I realised I agreed with her. I already had a few white daffodil varieties growing in my garden, but I'd never really paid much attention to them. Once I started researching the different varieties available in New Zealand, I discovered an incredible diversity of flower forms, colours, and fragrances. Before long, I wanted to see whether my own experience with white daffodils would support Erin's observations, and that curiosity soon grew into a project of its own.

I've included some photos of white daffodils already growing in my garden. I no longer remember the names of these varieties, but they've given me a starting point for what I hope will become a much larger collection over the coming years.

When spring bulb pre-orders opened on the NZ Bulbs and Bulbs Direct websites this past summer, I bought the following white narcissus varieties for my garden:
- Annalise
- Bridal Crown
- Cheerfulness
- Earlicheer
- Ice Follies
- Mint Julep
- Pure White
- Thalia
- Watch Up
Together they represent a mix of single and double flowers, pure white and cream-toned varieties, a range of sizes, and varying flowering forms. I'm looking forward to watching them grow over the coming months, observing their characteristics, and discovering which ones become my favourites.
With the daffodils chosen and delivered to my doorstep, it was finally time to plant them. Wanting to compare the different varieties side by side as they emerged and flowered, I planted them together in one of the empty dahlia seedling beds in early winter (yes, I was a little late!).


I planted the bulbs according to their mature height, with the tallest varieties at the back of the bed and the shortest at the front. My trusty bulb planter made quick work of digging the planting holes before each bulb was safely tucked into place.


It's now been about a month since I planted the daffodil bulbs, and some of the varieties have already begun emerging through the soil. It's always exciting to see those first green shoots appear, knowing the flowers won't be too far behind.

I'm looking forward to discovering the unique character of each white daffodil variety, seeing how they perform in my garden, and finding out whether my own experience supports Erin's observations as my white daffodil project unfolds over this gardening season.
Have a wonderful day
Julie-Ann
If you'd like to continue the conversation, you can find me on Instagram, Mastodon, Bluesky, and Facebook.
I'd love to hear if you grow white daffodils, or if you have a favourite variety that I should add to my collection in the future.
The Sweet Pea Project: Sowing the Seeds for a New Gardening Year
Hello friends,
Although the garden may seem quiet in the middle of winter, now is the time when preparation for the next growing season begins. For me, July is peak sweet pea sowing season, and I always save this job for cold, rainy days when it's too wet to work outside. Sweet peas prefer germinating in cooler temperatures, so sowing them in winter gives them the best chance of producing armfuls of fragrant blooms in late spring and early summer.
Sweet peas have always been a favourite of mine ever since childhood, when my grandfather used to grow them in his back garden. Their fragrance would drift through the backyard during the warmer months, and ever since then I've dreamed of having a dedicated sweet pea patch of my very own.
Until recently though, I simply didn't have the space in my garden to do this. That changed last summer when our old lilac tree finally succumbed to the damage it suffered during last year's big spring storm. Once the tree had been removed, a section of the backyard fence opened up to full sun from early morning until late afternoon, creating the perfect place for a sweet pea patch. With the space finally available, it seems like now is the perfect time to turn a long-held dream into a reality. So let's begin, and I'll show you the little patch of garden where this year's sweet pea project will take shape.
My sweet pea patch will run along the western side of our backyard, beside the boundary fence that used to sit in permanent shade beneath the old lilac tree. This section of fence line is approximately four metres long, providing plenty of room for this new project. My plan is to install metal mesh along the fence, and let the sweet peas scramble their way upward, hopefully filling the space with flowers and fragrance throughout spring and summer.
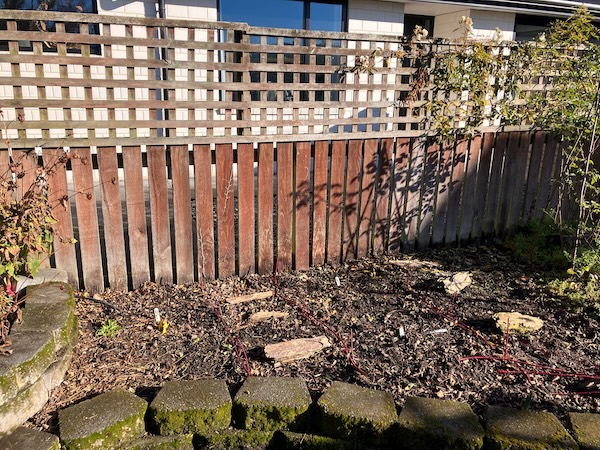
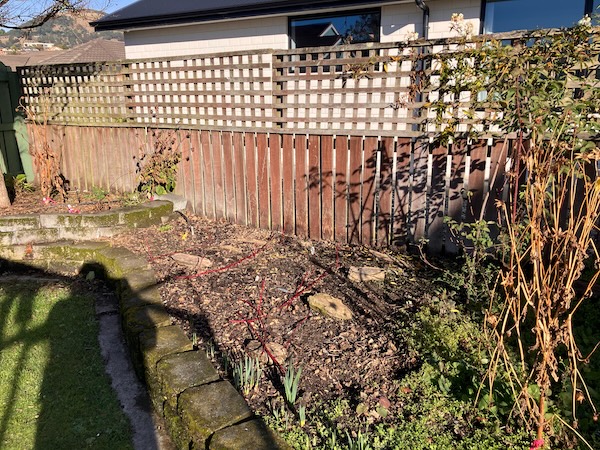
With the growing area planned, it was finally time to pull out my sweet pea seed collection, and decide which varieties to grow. Over the years I've accumulated a large collection of sweet pea seed, so narrowing down the choices was no easy task. In the end, I settled on a collection of mostly Keith Hammett varieties, along with a few other favourites, and some homegrown seed collected from my own garden, all selected for their beautiful colours and sweet fragrance.
The varieties I chose and sowed were:
- 23 × Hammett Blue Butterflies
- 15 × Hammett Blue Shift
- 10 × Hammett Blue Reflections
- 15 × Hammett Brilliant Fragrance
- 10 × Hammett Burlesque
- 15 × Hammett's Surprise
- 2 × Hammett Licorice
- 6 × Hammett NZ Gardener
- 10 × Hammett Somewhere
- 15 × Hammett Sapphire
- 9 × Hammett Triple G
- 10 × Hammett Turquoise Lagoon
- 25 × Homegrown seeds from my garden
- 10 × Nimbus
- 10 × Swan Lake
- 10 × Sweet Pea Original
In total, I sowed 195 sweet pea seeds, which should provide a beautiful mixture of blues, purples, smoky pinks, bi-colours, and wonderfully fragrant blooms over the coming spring and summer.
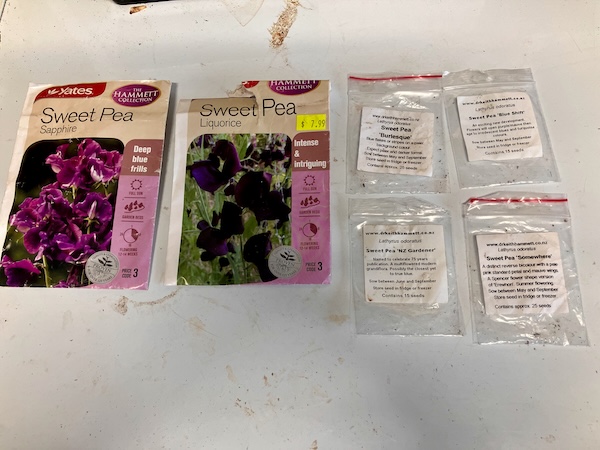
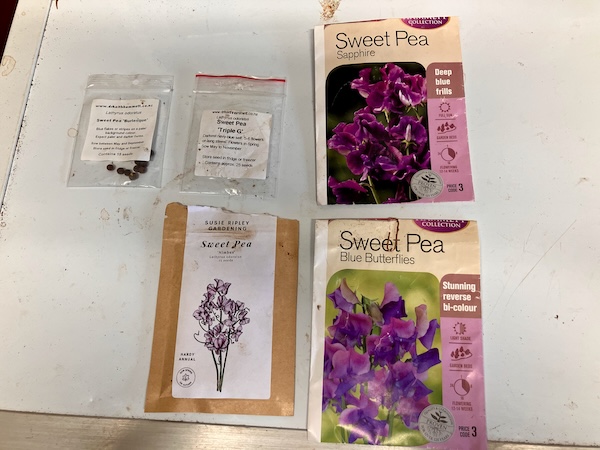
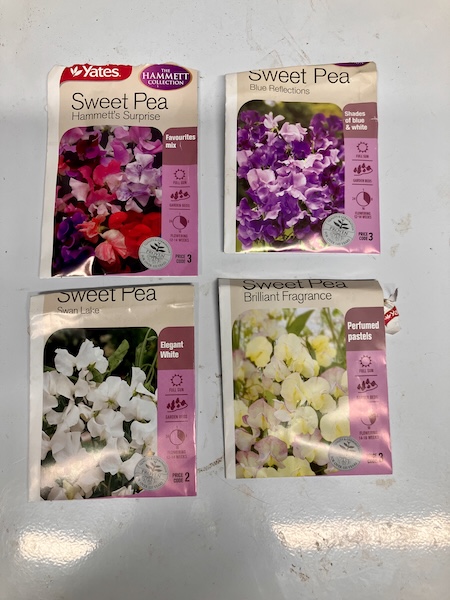
Although 195 sweet pea seeds may seem like a lot, some of the seed packets were older, and experience has taught me that not every seed will germinate. The seeds were sown into seed-raising mix that had been sieved to remove large stones and wood chips, before being placed into four 50-cell seed trays.
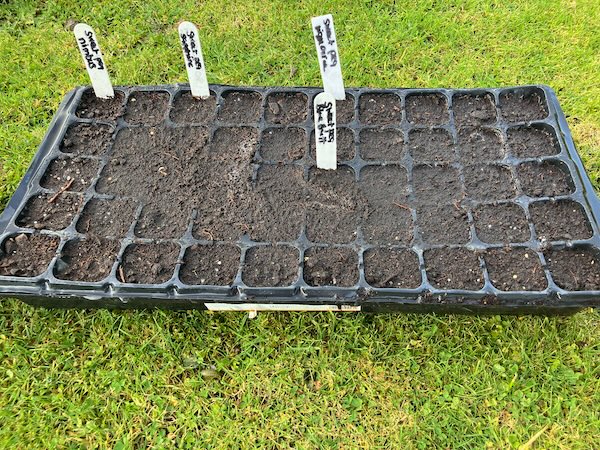
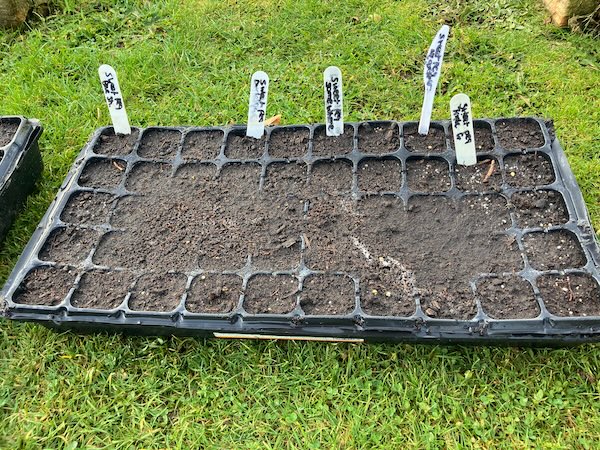
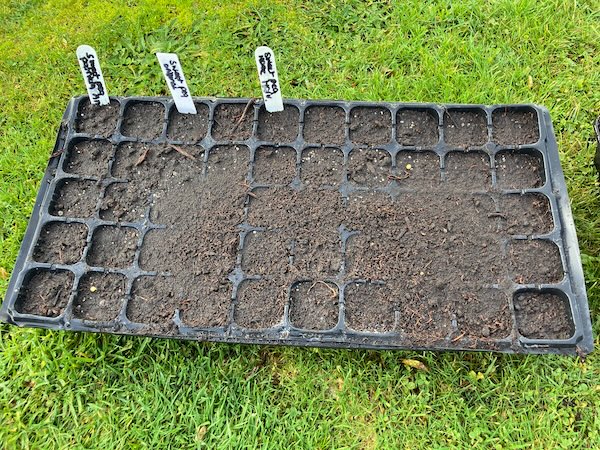
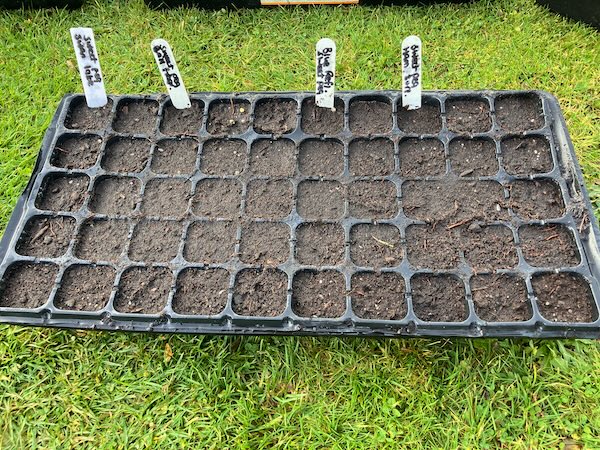
After sowing, the seed trays were watered well, and placed onto shelving in my glasshouse. The shelving is covered with some shade cloth, which helps protect the emerging seedlings from strong sunlight, and it also prevents them from drying out too quickly.
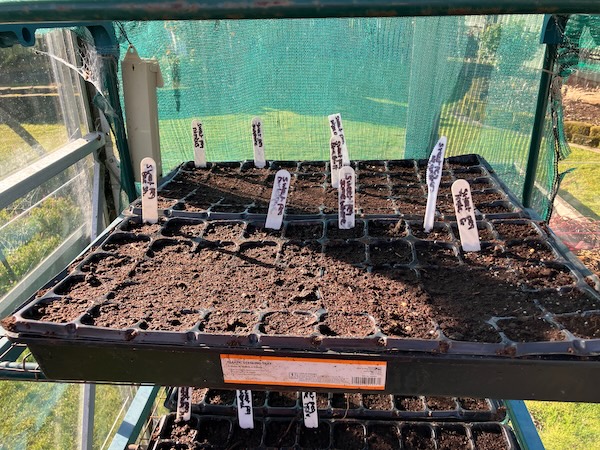
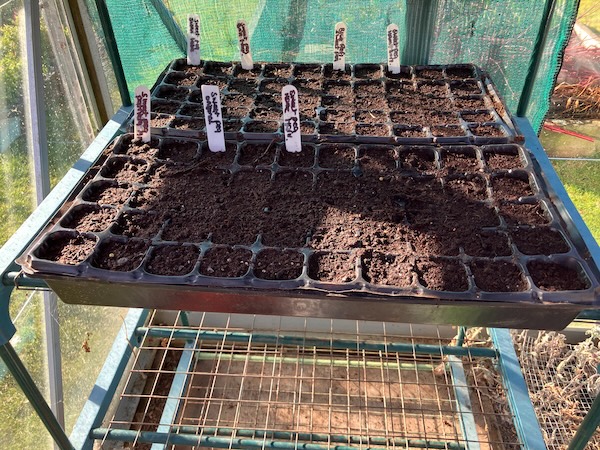
There is always something so hopeful about seed sowing. In the depths of winter, seeds are a reminder that spring is never too far away, and that every gardening year begins with the promise of new life.
For now, the sweet peas are sown, and the waiting begins...
Have a wonderful day
Julie-Ann
If you'd like to continue the conversation, you can find me on Instagram, Mastodon, Bluesky, and Facebook.
I'd love to hear what you're growing, making, or enjoying in your own garden.
Saving Dahlia and Zinnia Seeds for Next Season
Hello friends,
Over late summer and early autumn, I spent many happy hours collecting seeds from the dahlias in my garden, and from the Floret zinnia varieties growing in my zinnia patch.
This year, my focus was on saving seeds from as many collarette and anemone dahlias as possible, along with seeds from some of my favourite seedling dahlias from this season. There's always something hopeful about saving dahlia seeds. Unlike tubers, the seedlings won't grow true to their parents, and that's part of the magic. Every seed has the potential to produce something completely new, making each growing season full of anticipation and surprises.
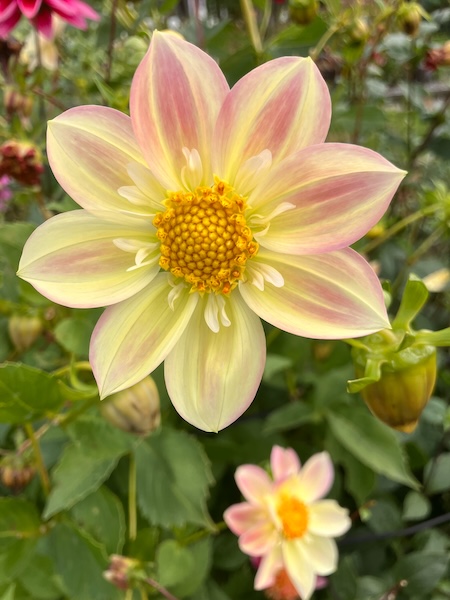
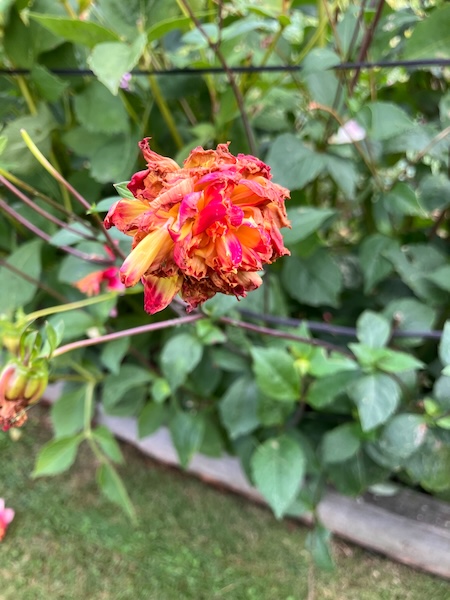
The process of saving dahlia seeds takes a little time and patience. Once a flower has finished and the petals have fallen, the waiting begins. Not every flower produces a good seed head, so I watch carefully for those that develop into plump, full seed heads.
Once I find one, I mark it with a piece of flagging tape and leave it on the plant to mature. Depending on the weather, this can take anywhere from a couple of weeks to a month. As the seed head ripens, it gradually turns a mid to dark brown colour, becomes dry and crunchy to the touch, and the outer sepals begin to pull back, revealing the inner parts of the seed head.
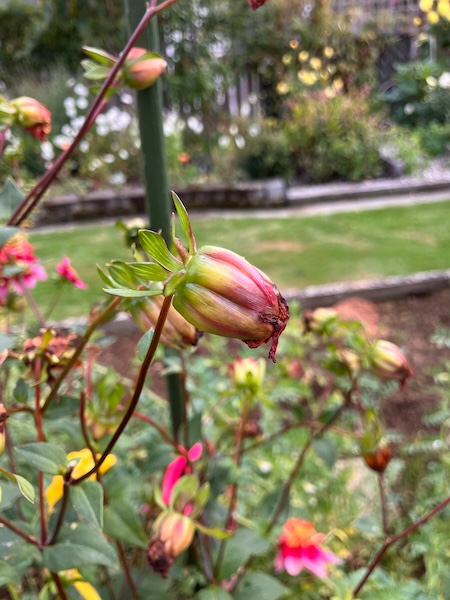
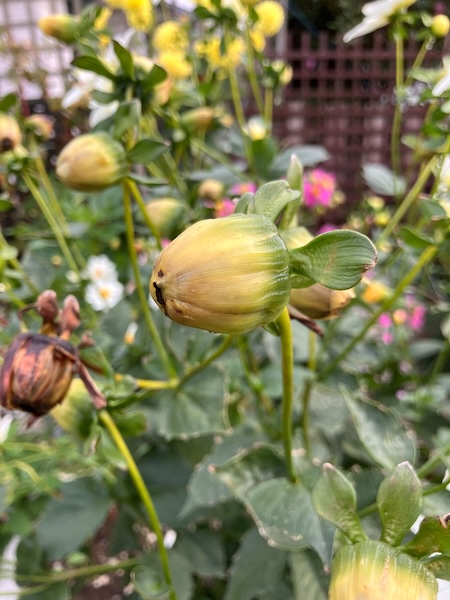
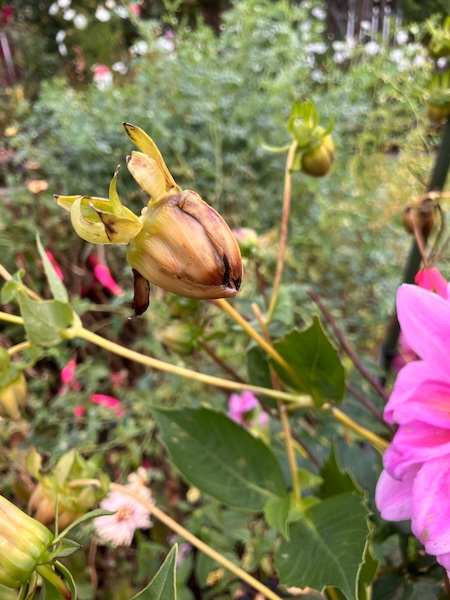
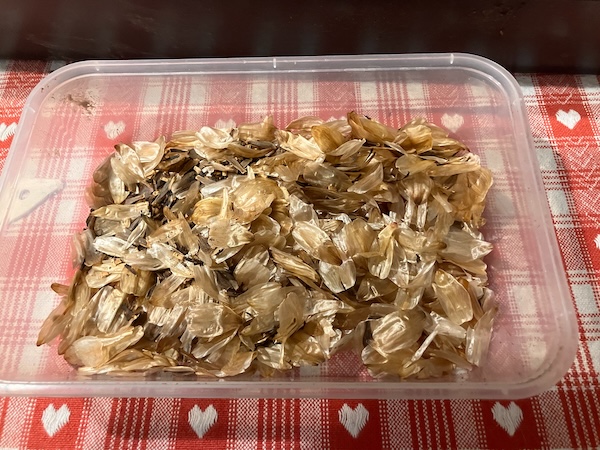
At this stage, I remove the seed heads from the dahlia plant and place them in an open container labelled with the variety name. I then gently break up the seed heads by hand to increase the airflow around the seeds. As the seed head falls apart, the dahlia seeds begin to separate from the chaff, and I leave everything together in the container to dry for a couple of weeks.
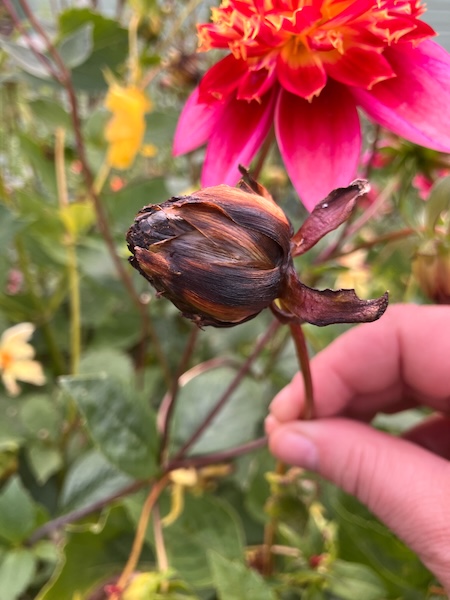
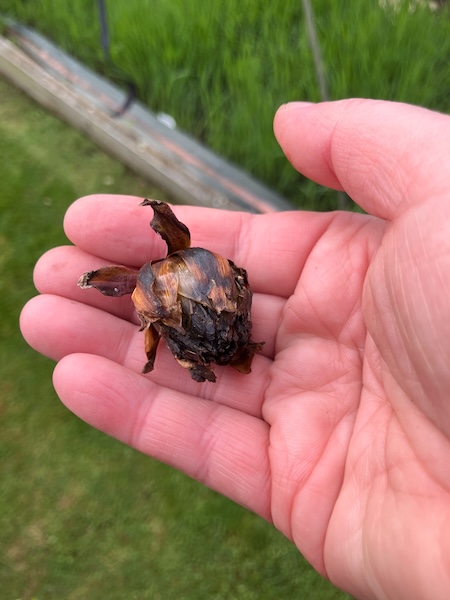
Once the seed heads are completely dry, it's time to separate the dahlia seeds from the chaff. Fortunately, the chaff is both larger and lighter than the seeds, which makes the job a little easier.
There are a number of ways to do this. One method is simply to shake the container, allowing the heavier seeds to settle to the bottom while the chaff sits on top. Another option is to winnow the crushed seed heads on a windy day, or in front of a fan. The heavier seeds drop into a waiting container, while the lighter chaff blows away. A third method is to use a soil sieve, which screens out the larger pieces of chaff while allowing the seeds to fall through.
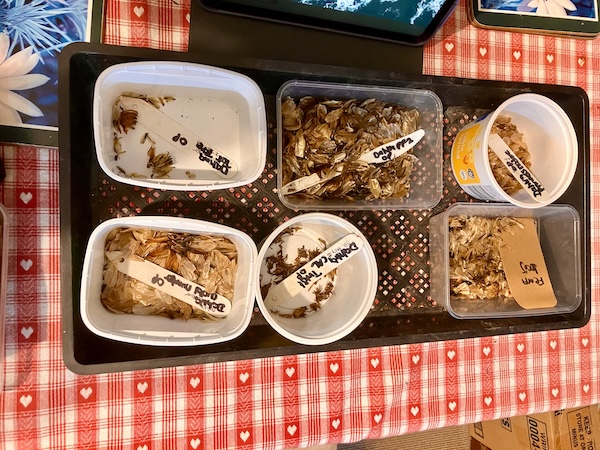
Most of the time I use the first method, as I've found that viable dahlia seeds can sometimes remain attached to the chaff. If I wasn't paying attention, it would be all too easy to throw away perfectly good seeds.
Before I begin, I make sure the seed heads are crushed up as much as possible. I then gently shake the container from side to side, allowing the heavier seeds to settle to the bottom while the chaff rises to the top. As I remove the chaff, I quickly check it for any viable seeds that are still attached and carefully pry them off by hand.
It takes a little extra time, but I'd rather spend a few extra minutes cleaning the seeds than accidentally lose some future potential favourite dahlia varieties.
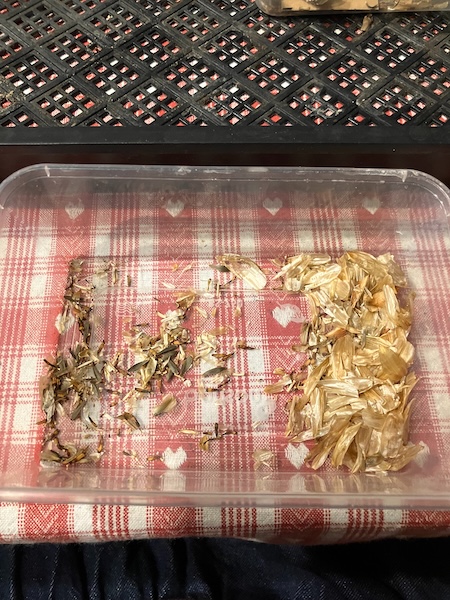
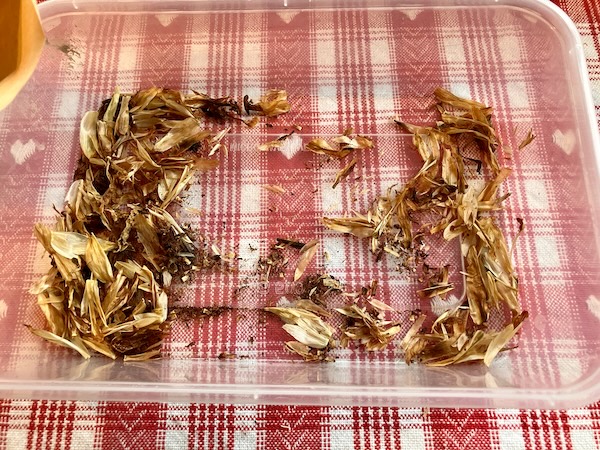
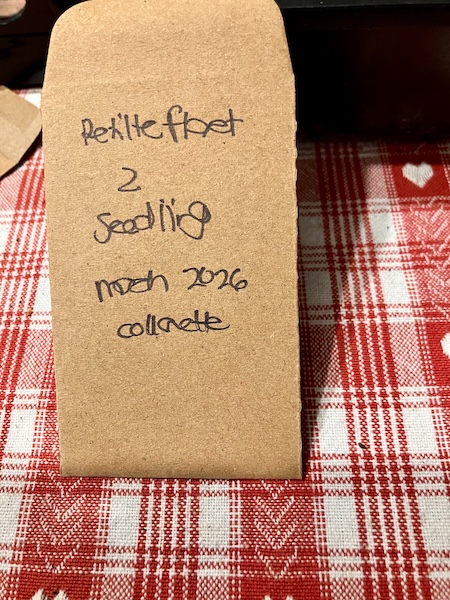
Once all of this is done, I pop the dahlia seeds into labelled paper seed envelopes. I like to include the dahlia variety, the flower type, whether the seed was open or closed pollinated, the pollen parent (if I know it), and the date the seed was collected.
With everything labelled and safely stored away, the seeds are tucked away until spring, when the whole process begins again. One of the things I love most about growing dahlias from seed is that each seed holds the possibility of something completely new, and I can't help but wonder what surprises next season will bring.
My approach with the Floret zinnias in my zinnia patch (Precious Metals, Unicorn and Blush) was a little different. Rather than selecting individual plants, my aim was simply to collect as many viable seeds as possible from across the patch.
Because Floret zinnia seeds were only available in New Zealand for one season in 2024, I have no way of purchasing more seed. If I want these beautiful varieties to remain part of my summer garden, seed saving is really my only option.
Thankfully, zinnias are generous plants, and with a little effort I hope to carry these favourites forward for many summers to come.
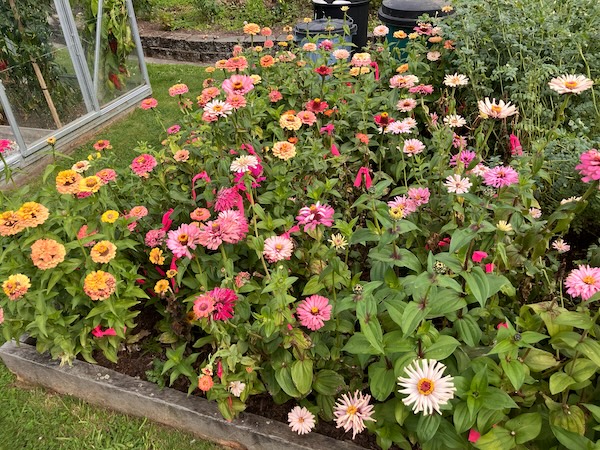
Last spring, I sowed all of the remaining Floret zinnia seeds I had in storage and grew them on through the season. By late January the first flowers were appearing, and I began saving seed in February.
Fortunately, many of the plants set seed well, and before long I had collected trays of mature brown seed heads. Then, in April, just before our first decent frost, I harvested as many flower heads that had begun setting seed as possible, hoping that some of them would continue to mature and provide a few extra seeds as well.
With Floret zinnias no longer available, I was keen to make the most of every opportunity to save seed and carry these beautiful varieties forward into future summers.
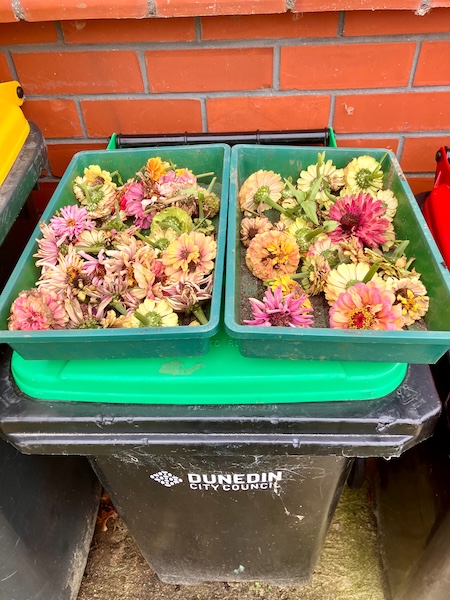
The process for collecting zinnia seeds is pretty much the same as with the dahlia seeds. I allow the seed heads to dry out completely before gently crushing them by hand. The seeds naturally fall to the bottom, and I use the same shaking method to separate them from the chaff.
One of the interesting things about zinnias is that they produce two different types of seeds. Seeds from the ray flowers are larger and rounder in shape, while the seeds from the disk flowers are much smaller and narrower. Some growers believe that the larger ray flower seeds are self-pollinated, while the smaller disk flower seeds are more open-pollinated, producing different flowers in the next generation. I haven't found any definitive evidence for this, though.
As I've collected both seed types, it would be easy enough to grow them separately and see what happens. Perhaps that's a future Crafty Gardener project waiting to happen...but that's a story for another growing season.
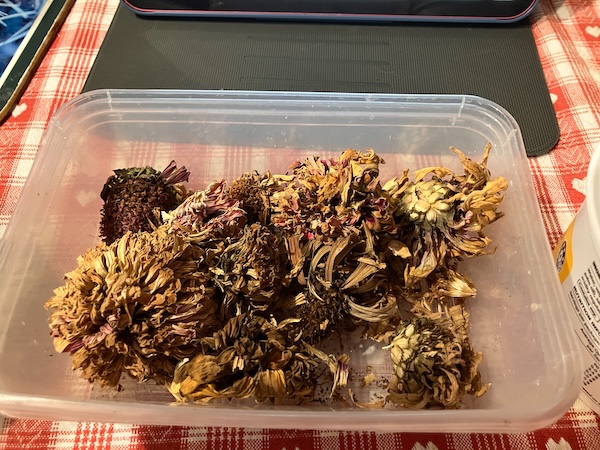
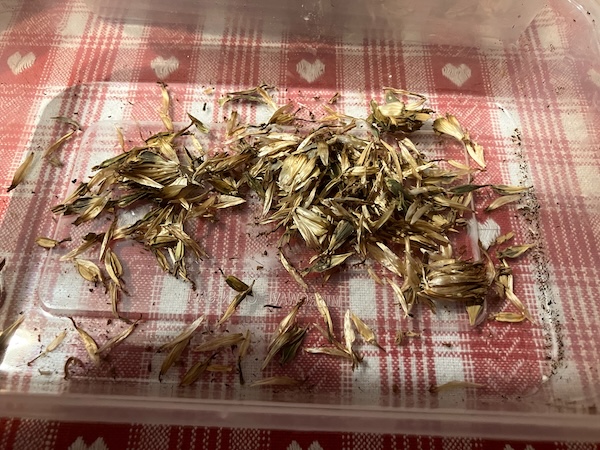
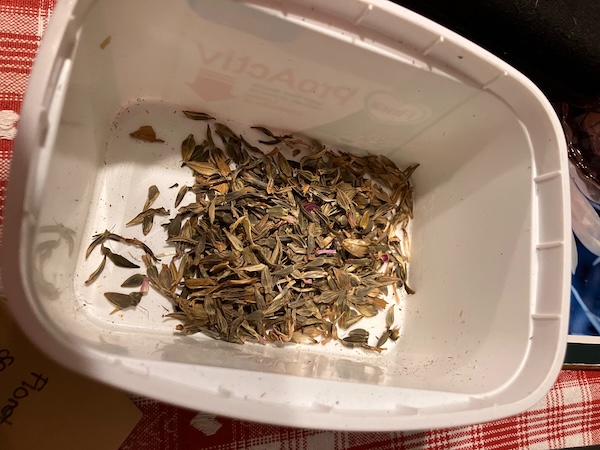
Overall, I managed to harvest over half a margarine container full of Floret zinnia seeds. They are now safely stored away, waiting patiently for spring and another season in the garden.
Both dahlia and zinnia seed saving have taken up a lot of my time throughout autumn and now into early winter, but I have many seed packets safely stored away ready for sowing in spring.
Winter has arrived, and although it is often thought of as a quieter time in the garden, I know there is still much to do. There is tidying and weeding to tackle, dahlia tubers to dig up, and a new back garden project waiting in the wings.
This will be my last blog post for the next fortnight. My husband and I have a medieval-themed wedding to attend (which means we finally get to wear our new cloaks!), and afterwards we're taking a short holiday to relax after a busy growing season.
So, until then, I'll wish you all a happy winter solstice. I'll see you again in July, at the beginning of a new gardening year, and the start of another season of stories.
Have a wonderful day
Julie-Ann
Want to discuss my post? Feel free to chat with me on Instagram or Mastodon or Bluesky, and now also Facebook.
Social Media



Archives