

Autumn Harvests
Hello friends,
Autumn is well and truly upon us, and the harvests are coming in thick and fast.
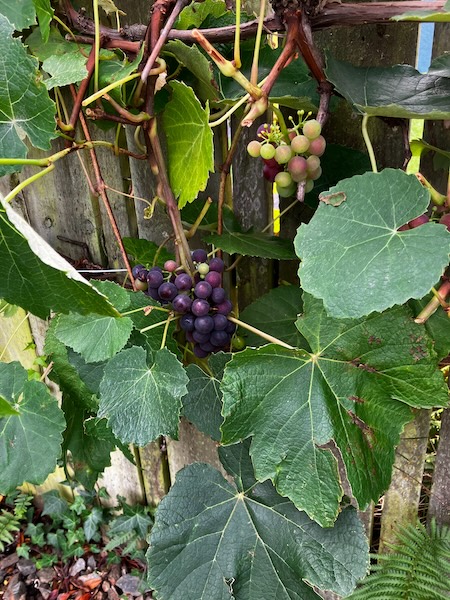
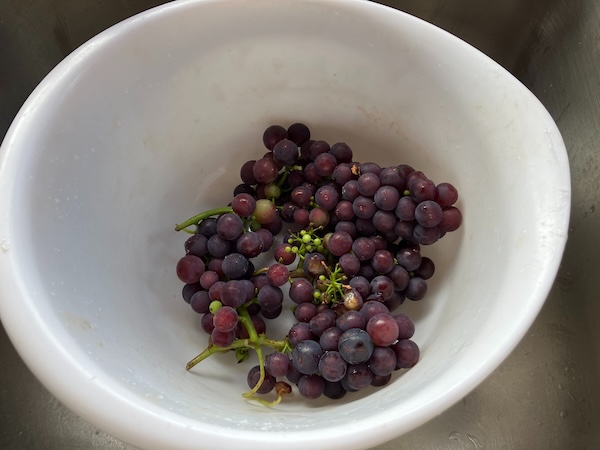
My grapes have already been harvested.
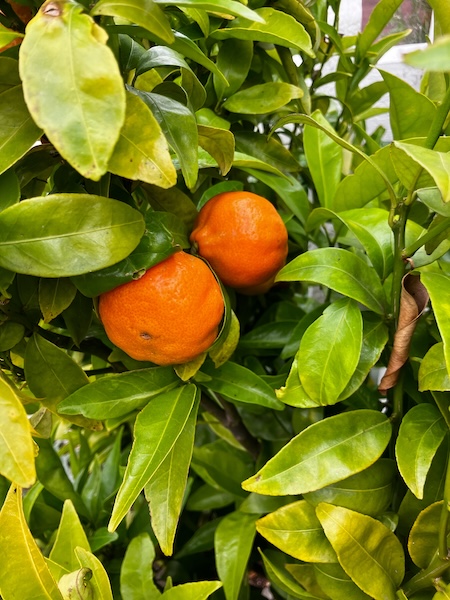
And my mandarins are now being harvested too.

I also managed to harvest my pumpkins before our first frost on the 24th of April.

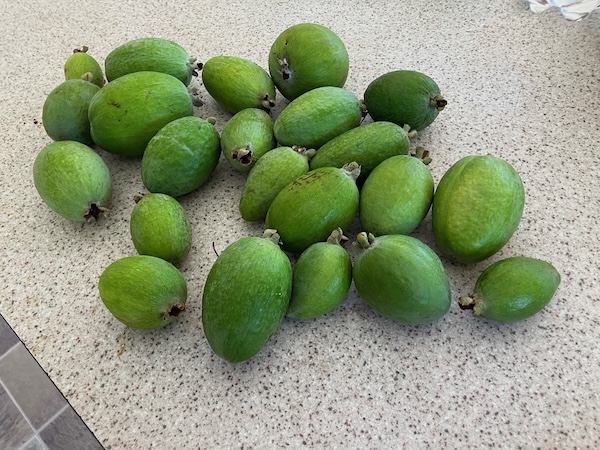
And it's now peak feijoa season, which means picking up feijoas off the ground before the birds get to them, and them giving them away to anyone who wants them because there's a glut.
I love the bounty of fruit and vegetables this time of the year, the challenge is to process them as they come in so that the food doesn't gooff while sitting in our fridge.
Have a wonderful day
Julie-Ann
Want to discuss my post? Feel free to chat with me on Instagram or Mastodon or Bluesky.
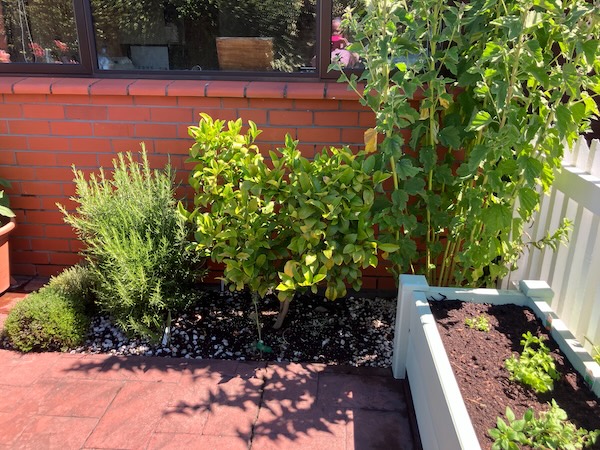
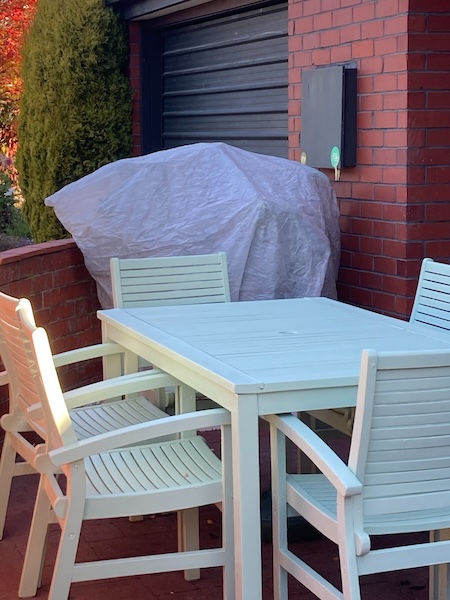
Herb Garden and Patio Tidy Up
Hello friends,
Our herb garden and patio were looking a little weary over the summer, and the plants in the herb garden bed had well and truly bolted and gone to seed, so it was time to give the herb garden and patio a tidy up.
After pulling out all the weary looking plants from the herb garden bed, it was time to head off to the local garden centre. I bought a couple of replacement bags of potting mix, and a range of herb plants that we regularly use.
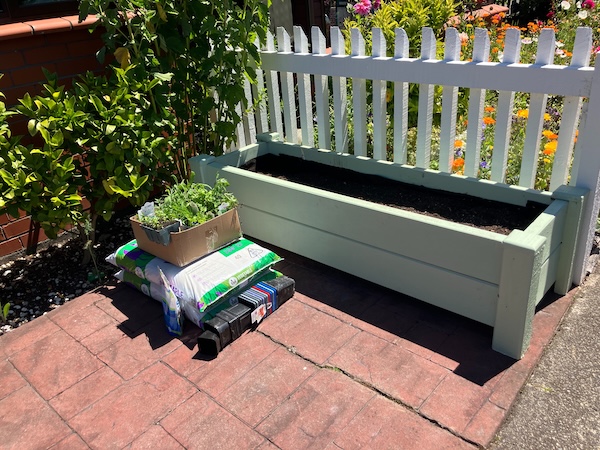
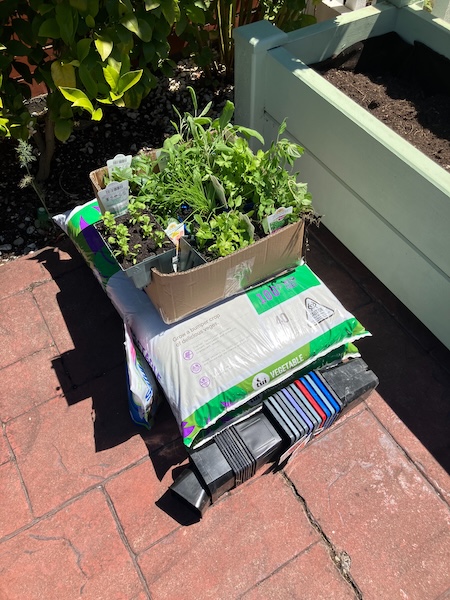
After topping up the potting mix, and watering it in, it was time to place out all the new herb plants.
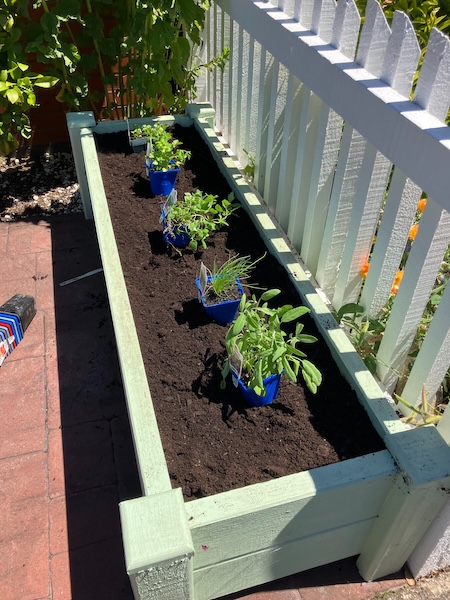
I bought coriander, chives, oregano, sage and a parcel plant. I thought the parcel plant was Italian parsley when I bought it, but when I got home I realised I'd bought a new to me herb plant. According to research I had to do "Parcel tastes like a combination of parsley and celery. It is sometimes known as Chinese celery, wild celery or leaf celery. It is often used in salads but can be used in just about any dish."
Luckily the parcel plant will work with our cooking style, so it's a welcome addition to our herb garden.
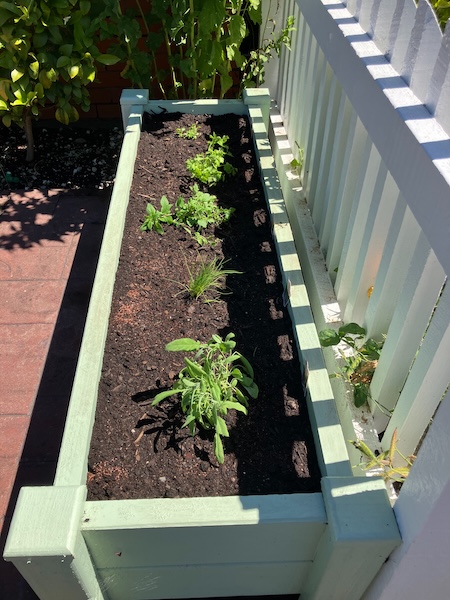
I then weeded the rest of the patio as well. While I was tidying things up in the herb and patio area, I also fertilised our citrus bushes.
Once all that was done, I gave the patio and herb garden a decent watering after the hot and sunny weather we've been having recently.
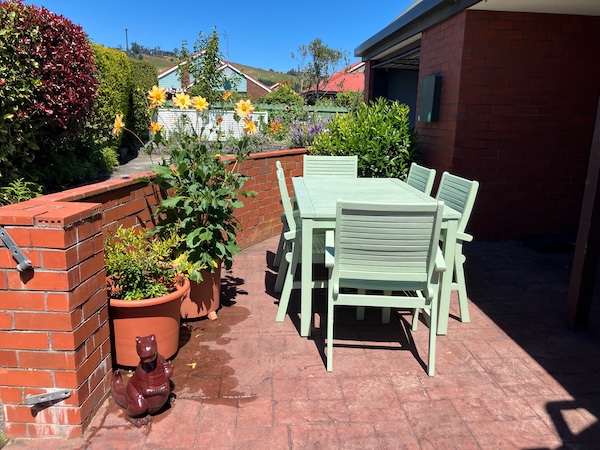
It was really good to tidy up that area of the garden, and it'll be fine now until late autumn. It's now a great place to sit in the sun and enjoy on hot sunny summer days.
Have a wonderful day
Julie-Ann
Want to discuss my post? Feel free to chat with me on Instagram or Mastodon or Bluesky.
Making Lime Syrup With A Glut of Limes
Hello friends,
As it's now winter, it's peak citrus fruit season for our lemon and lime bushes. The lime fruit ripened on the bush first, so we've been using them in various baking and cooking recipes for the last couple of months (wherever citrus is needed), and I've even been giving away limes to anyone who comes to visit us...
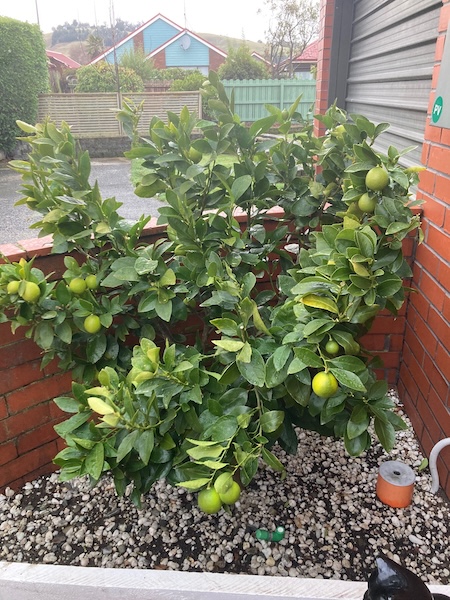
But even after doing all that, we still have too many limes sitting on our kitchen window sill and also on the bush, so I searched the internet for ideas for what to do with all the limes.
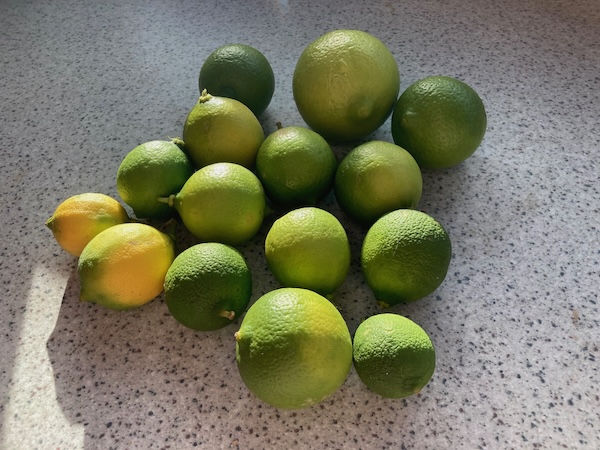
After searching for a while, I settled on making some simple lime syrup. It uses up a lot of limes, and it means I have homegrown syrup for hot and cold drinks, and also for using in baking recipes.
Simple Lime Syrup
Ingredients
1/2 Cup of Fresh Lime Juice
Zest of Those Limes
1 + 1/2 Cups of Water
1 Cup of Sugar
1/2 Teaspoon of Citric Acid (citric acid makes the lime syrup flavor more intense)
Recipe
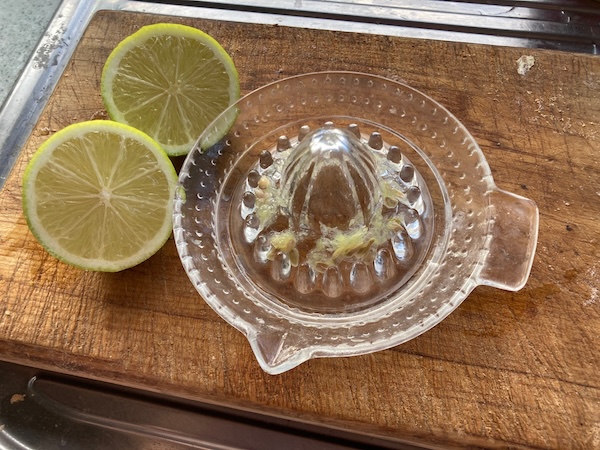
(1) Zest limes one by one before you juice them, aiming to have 1/2 a cup of lime juice, plus the zest from them at the end. This step is not exact, depending on how much juice is in the limes. As I had a lot of limes, I just kept juicing them until I had enough juice and zest. It's always easiest to zest the limes first before cutting them in half and zesting them.
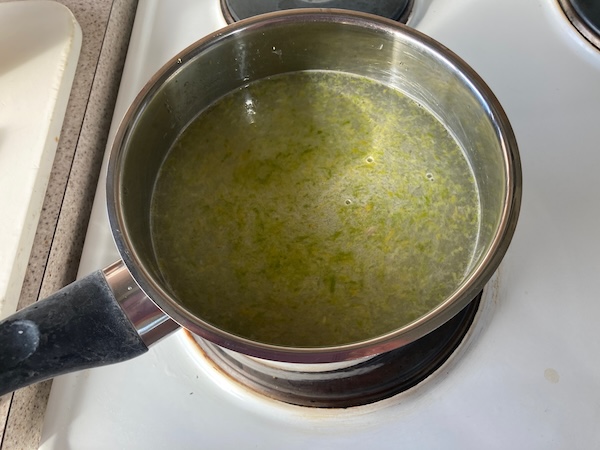
(2) To a pot, add 1 + 1/2 cups of water and heat to a simmer, add the sugar and citric acid, and mix until the sugar is completely dissolved. Add in the lime zest and juice, and cover the pot, and simmer for 15 minutes.
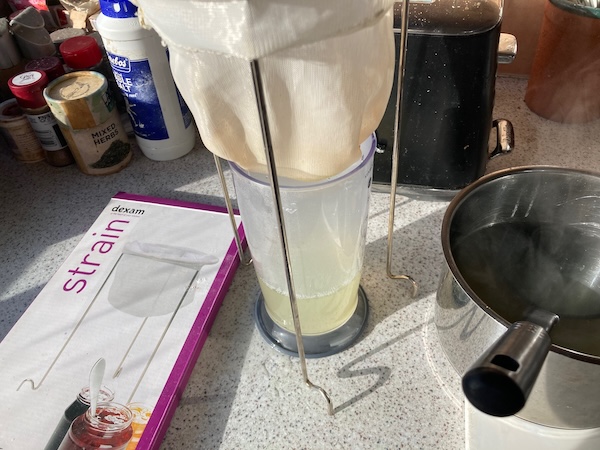
(3) Remove the syrup from the heat and allow it cool. When the syrup is cool enough to handle safely, strain the lime syrup to remove the zest and any stray lime pieces. I used a dexam strainer that I got from Moore Wilsons when we lived in Wellington. (The dexam strainer is very useful for many cooking, bottling, juicing, and jam making projects, as the strainer is super fine.)
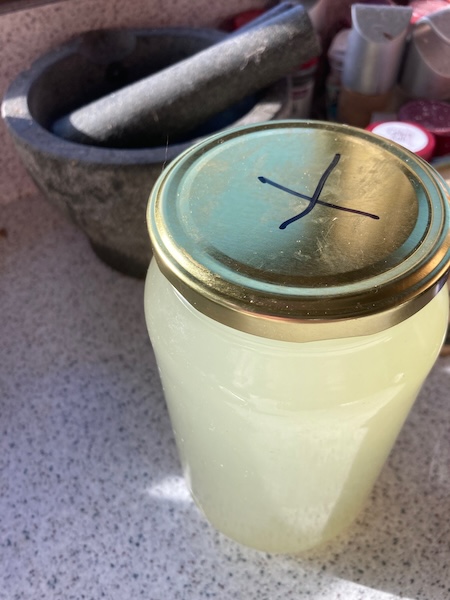
(4) Collect the lime syrup in a container, and store it in the fridge, where it will last for up to a month.
You can also use this recipe to make a simple syrup with other citrus fruit like lemons and mandarins and oranges. I've found that the lime syrup is great for making a hot citrus drink, similar to making a hot lemon, and you can add honey to it as well. It's quite refreshing and warm on a cold frosty day.
Have a wonderful day
Julie-Ann
Want to discuss my post? Feel free to chat with me on Instagram or Mastodon or Bluesky.
Making Citrus Frost Cloth Covers
Hello friends,
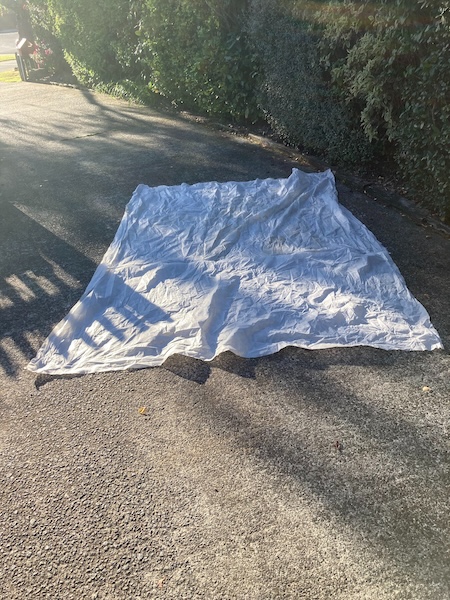
After buying a frost cloth cover from one of our local garden centres back in May, I wanted to make bigger versions for my three citrus plants before winter arrived.

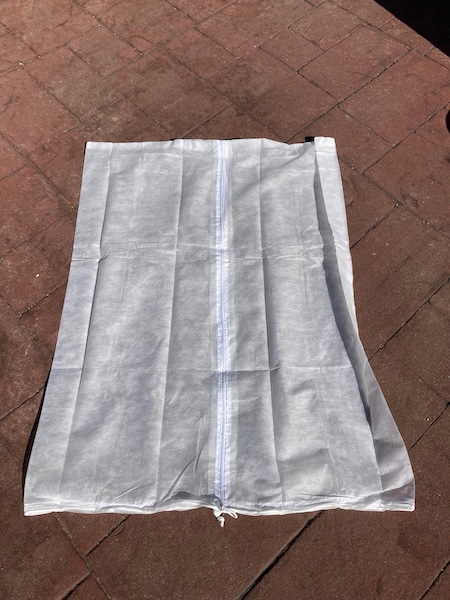
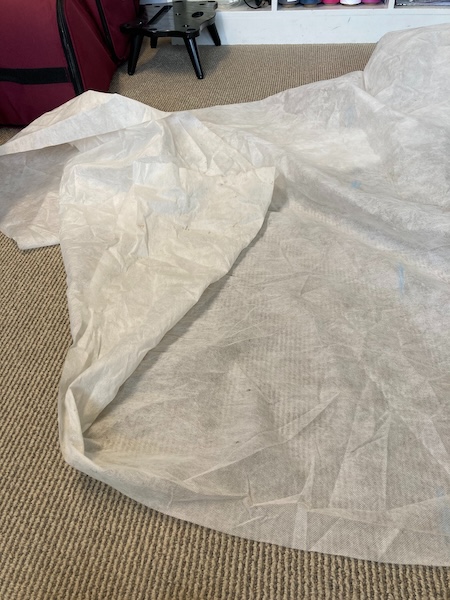
Luckily I had some very thick frost cloth in storage from last year, so I tracked it down and then got to work. The frost cloth was 2 metres wide and many metres long, so I used the width of the frost cloth as the height for each frost cover. I wrapped the frost cloth length around each citrus plant, added extra space for wiggle room to fit it over the citrus plants, and then marked it out on the frost cloth. I decided that adding a zip was just extra work, and more expensive, so I didn't bother with it.
Once I had measured each plant, I went up to my craft room and cut off a length of frost cloth for each frost cloth cover. I then folded each section of frost cloth width wise, so that the width of the frost cloth formed the sides of the frost cover. The length of frost cloth that was folded in half then formed the top and bottom of the frost cover. With this done, I sowed along the top and the side of the frost cover. The bottom of the frost cover was left open for making the casing for the pull string, and to pull over the citrus plants when the frost cover was finished. I used a normal straight stitch on the sewing machine, and made sure the ends were well tacked down.

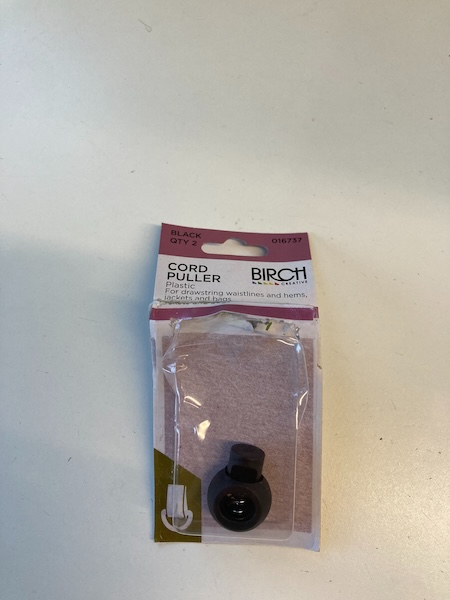
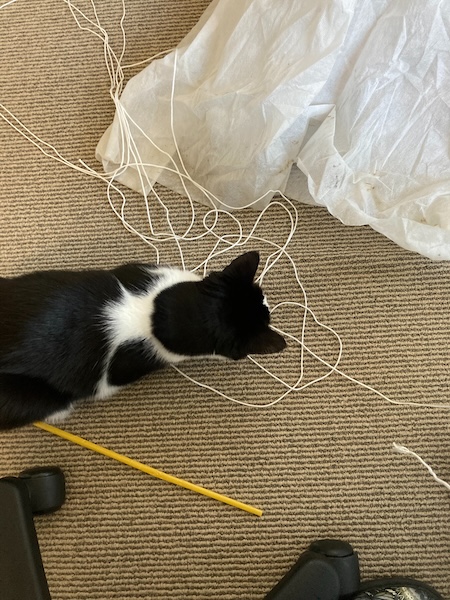
The next step was to sew a casing in the bottom of the frost cover, leaving a small opening so I could insert some nylon rope in a circle around the bottom. I purchased some general purpose nylon rope from Mitre 10, and some cord pullers from Spotlight.
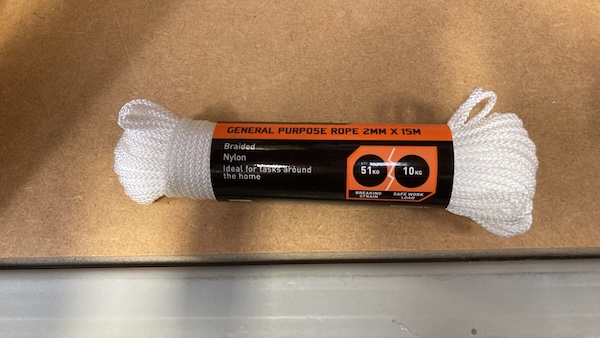
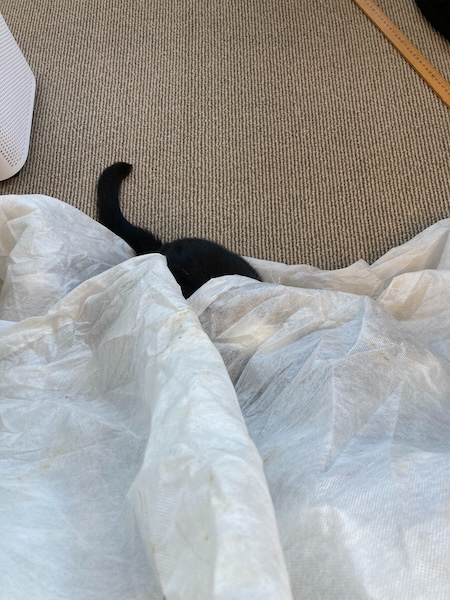
After sewing the casing, it was time to unwind the general purpose rope, and insert it into the casing. This was when Rosie cat came to assist me, and she helped me add the rope and the cord pullers to all three citrus frost covers.
After making sure the cord pullers all worked, and tying the ends of the rope tight together, the frost covers were ready. After trying on each frost cover to the corresponding citrus plant, I labelled each one with a permanent marker.
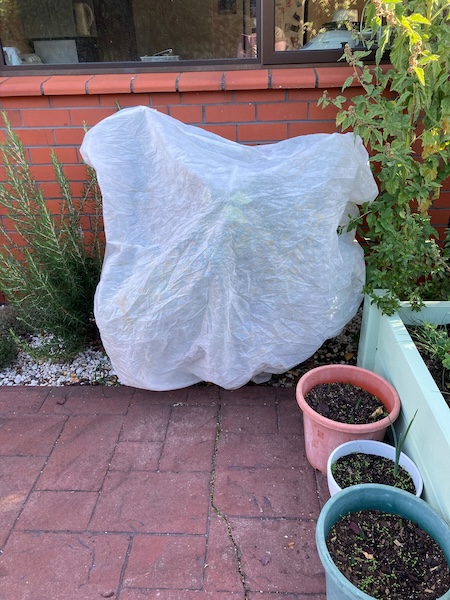
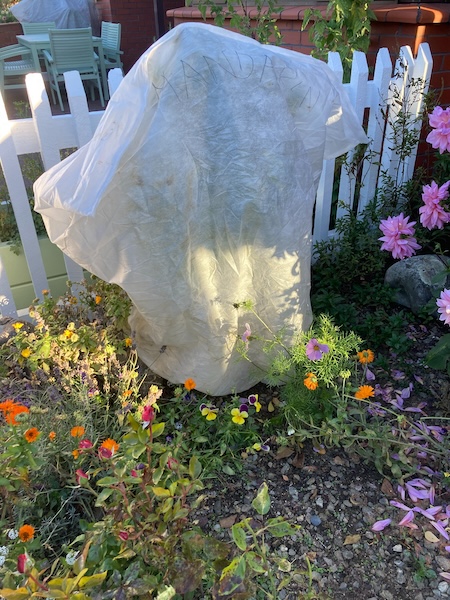
It's now winter, and we've had multiple frosts now. The frost covers have been such an asset to have, as they are so easy to pull on and off. It's really been so much easier to protect my precious citrus plants from frost and snow. And to make the frost covers myself, it was just a crafty bonus.
Have a wonderful day
Julie-Ann
Want to discuss my post? Feel free to chat with me on Instagram or Mastodon or Bluesky.
Social Media


Archives