

Planting Garlic and Shallots
Hello friends,
A couple of weeks ago I was finally able to get all my garlic and shallot bulbs into the ground. I've been meaning to for a while, but first I had to weed, and then dig over the vege garden bed they were to go into.
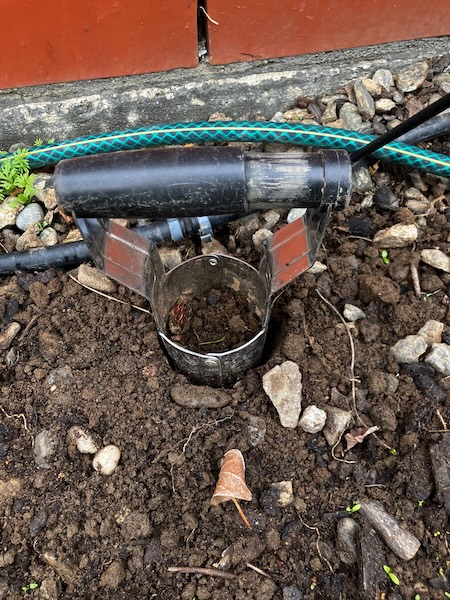
Once hubby and I did the hard work of weeding and digging the vege garden bed one Saturday afternoon, I pulled out my trusty bulb planter, and got to work first planting out six shallot bulbs that I had picked up from our local garden centre. I haven't planted shallots before, so this is a small experiment to see if they were worth doing so in the coming years.


Once they were in the ground, I planted out a couple of bulbs of Printanor garlic I also purchased from our local garden center. I've grown these for years, but I've had some problems with garlic rust with this variety each December.

Next up were the garlic varieties I bought from Bulbs Direct. I've wanted to try new varieties to see if they were more resistant to garlic rust, and I was also interested in how they tasted. I planted a bulb of Creole garlic, which is supposed to taste very intense and much more firey than other garlic varieties. Creole garlic has beautiful red/burgundy cloves when the bulb is broken up for planting.


And the last garlic variety to plant was Fire which was also from Bulbs Direct. Fire garlic is supposed to form large bulbs and have a fierce spicy taste.


And now with all that planting done, my garlic and shallot bulbs are in the ground for the next 6 - 7 months. I hope come the end of December, there is a large harvest for me to dig up.
Have a wonderful day
Julie-Ann
Want to discuss my post? Feel free to chat with me on Instagram or Mastodon or Bluesky.
The Artsy Housewife's Abalonia's Apple Tree Cross Stitch Finish
Hello friends,
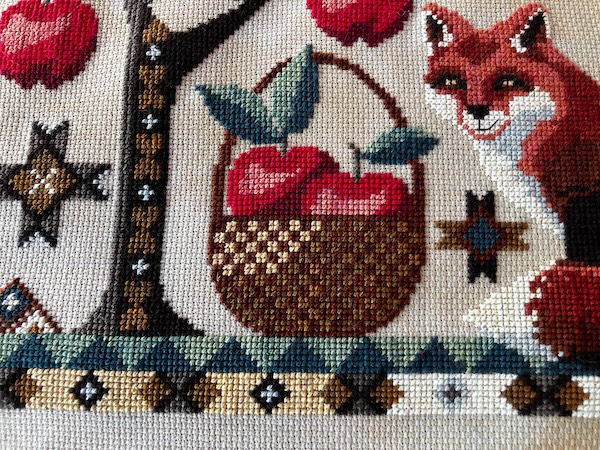
I have a new cross stitch project finish to show you today, with The Artsy Housewife's Abalonia's Apple Tree cross stitch project being completed in early this May.
It was only a little while ago that I posted this in a blog as a new project I was working on over the autumn. In the next few weeks after that, I monogamously worked on this cross stitch project until it was finished. I am currently having eye sight problems (which will soon be fixed with cataract surgeries in the next few months), and the Aida in this project was the only one of my current WIPs big enough for me to see easily while cross stitching.
And now that Abalonia's Apple Tree is now finished, I am so very pleased with the results. This cross stitch project finish shows off everything good about the autumn season with shades of red, orange, green, and yellow, and I just love the big and small details of the pattern.
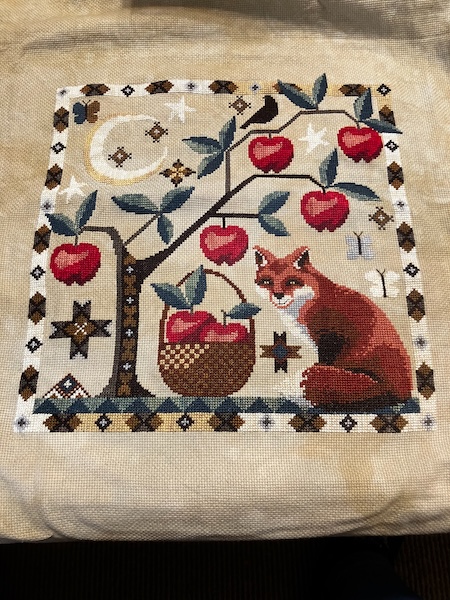
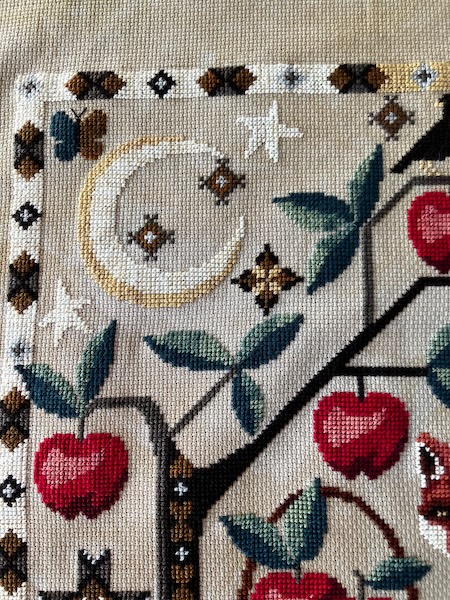
The cresent moon and stars are just so beautiful.
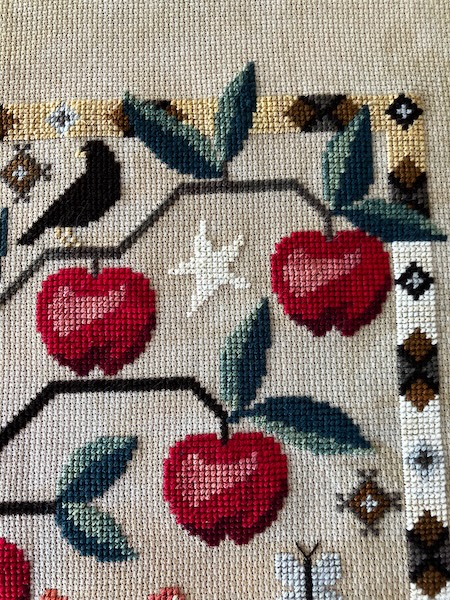
And so are the blackbird and the ripe red apples.
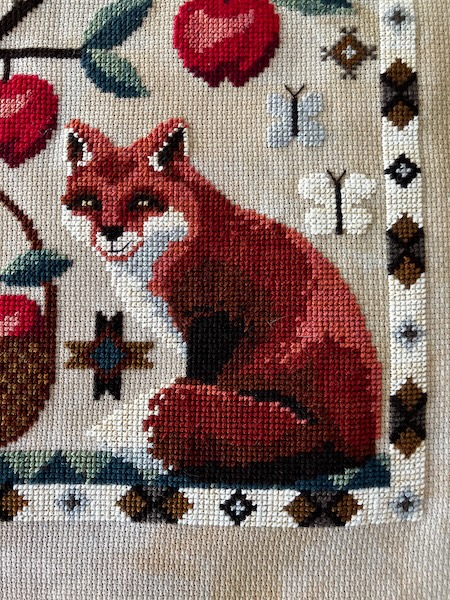
Abalonia, the fox, is so nicely detailed in shades of browns, reds, and creams.
The wicker basket has wonderful shades of brown and cream, and it really stands out against the Fiber on a Whim Old Gold 18 count Aida.
I am very happy with this project, and all that remains now is to find a perfect frame to house it in. I hope to get that done in the next couple of weeks.
Have a wonderful day
Julie-Ann
Want to discuss my post? Feel free to chat with me on Instagram or Mastodon or Bluesky.
Planting Tulips
Hello friends,
A little while ago I did an online order for garlic bulbs to plant this autumn, and while I was on the Bulbs Direct website buying those, I had a chance to peruse their other spring bulb collections. I've already completely filled our garden with daffodil bulbs, but other spring bulb plants are few and far between.
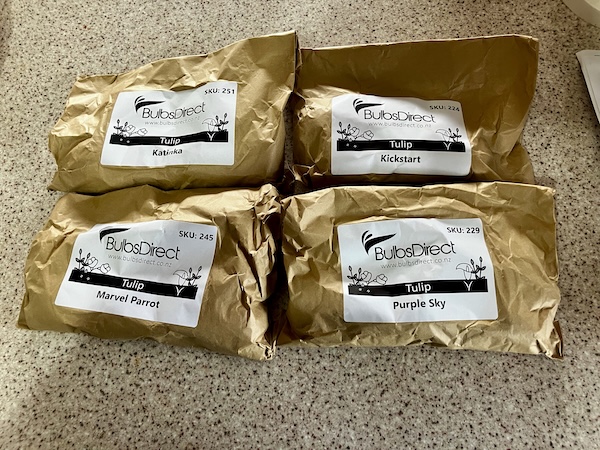
A couple of weeks later a package arrived from Bulbs Direct, and I had four new varieties of tulips to plant, including Katinka, Kickstart, Marvel Parrot, and Purple Sky. In shades of purples and pinks, these tulips will brighten up my front garden in spring.
The day the Bulbs Direct package arrived, I pulled out my trusty bulb planter, and got to work in the front garden.

I decided to plant each bulb variety in a clump together to really give a big floral punch of colour in various part of the front garden. The tulips will greet us every time we enter or exit our property, and they'll look great from the street too.

Now there is nothing to do but wait over winter and into spring for my new tulip bulbs to make their way above ground. It'll be something to look forward to over the coming dark and cold winter months.
Have a wonderful day
Julie-Ann
Want to discuss my post? Feel free to chat with me on Instagram or Mastodon or Bluesky.
Autumn Harvests
Hello friends,
Autumn is well and truly upon us, and the harvests are coming in thick and fast.
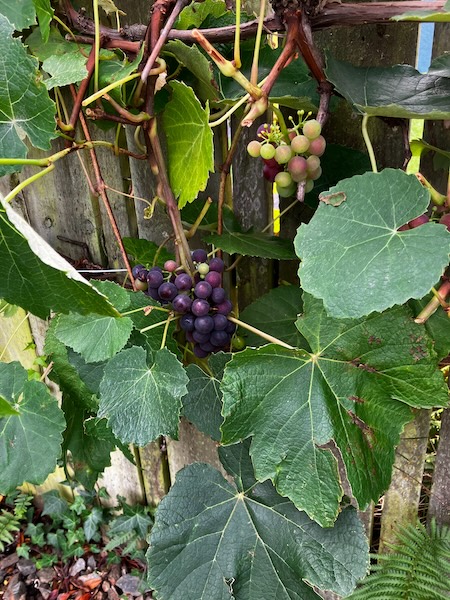
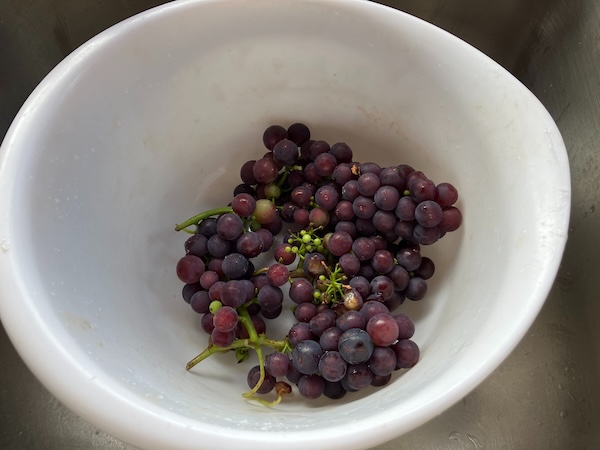
My grapes have already been harvested.
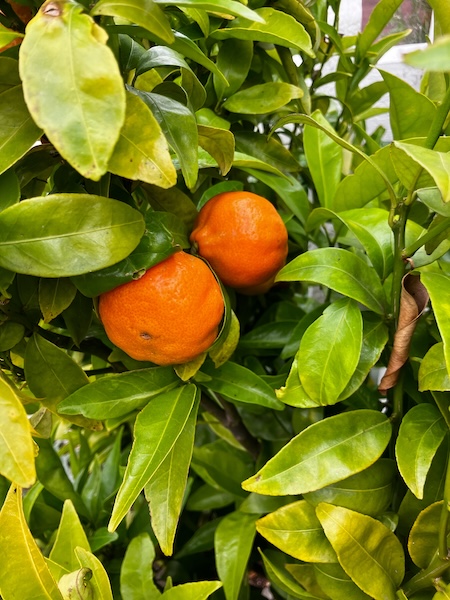
And my mandarins are now being harvested too.

I also managed to harvest my pumpkins before our first frost on the 24th of April.

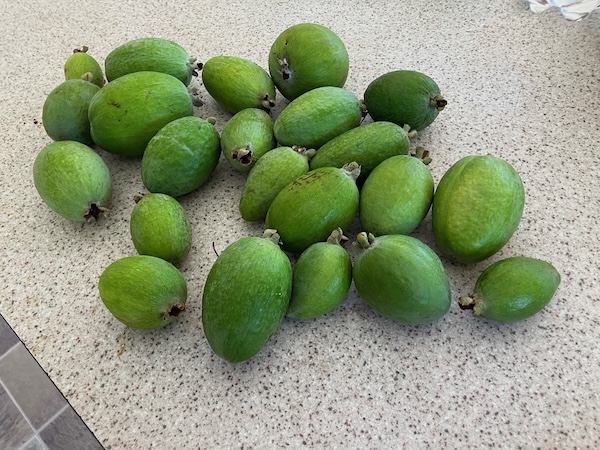
And it's now peak feijoa season, which means picking up feijoas off the ground before the birds get to them, and them giving them away to anyone who wants them because there's a glut.
I love the bounty of fruit and vegetables this time of the year, the challenge is to process them as they come in so that the food doesn't gooff while sitting in our fridge.
Have a wonderful day
Julie-Ann
Want to discuss my post? Feel free to chat with me on Instagram or Mastodon or Bluesky.
Social Media


Archives