

The Sweet Pea Project: Sowing the Seeds for a New Gardening Year
Hello friends,
Although the garden may seem quiet in the middle of winter, now is the time when preparation for the next growing season begins. For me, July is peak sweet pea sowing season, and I always save this job for cold, rainy days when it's too wet to work outside. Sweet peas prefer germinating in cooler temperatures, so sowing them in winter gives them the best chance of producing armfuls of fragrant blooms in late spring and early summer.
Sweet peas have always been a favourite of mine ever since childhood, when my grandfather used to grow them in his back garden. Their fragrance would drift through the backyard during the warmer months, and ever since then I've dreamed of having a dedicated sweet pea patch of my very own.
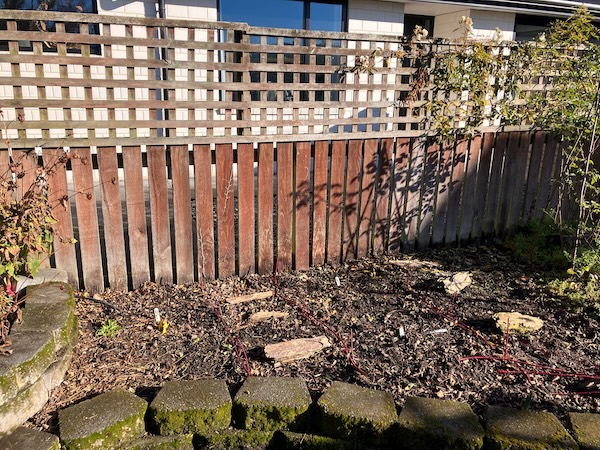
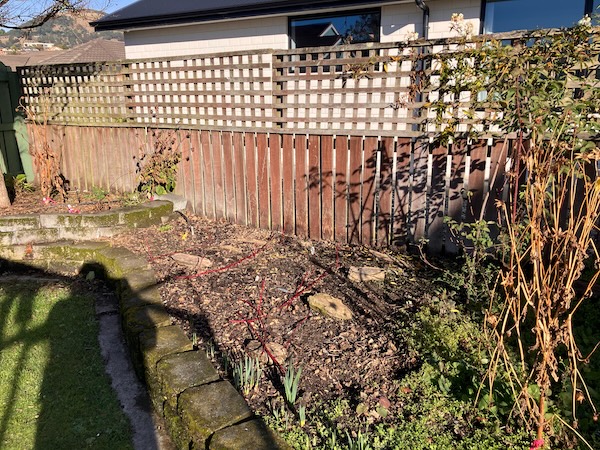
Until recently though, I simply didn't have the space in my garden to do this. That changed last summer when our old lilac tree finally succumbed to the damage it suffered during last year's big spring storm. Once the tree had been removed, a section of the backyard fence opened up to full sun from early morning until late afternoon, creating the perfect place for a sweet pea patch. With the space finally available, it seems like now is the perfect time to turn a long-held dream into a reality. So let's begin, and I'll show you the little patch of garden where this year's sweet pea project will take shape.
My sweet pea patch will run along the western side of our backyard, beside the boundary fence that used to sit in permanent shade beneath the old lilac tree. This section of fence line is approximately four metres long, providing plenty of room for this new project. My plan is to install metal mesh along the fence, and let the sweet peas scramble their way upward, hopefully filling the space with flowers and fragrance throughout spring and summer.
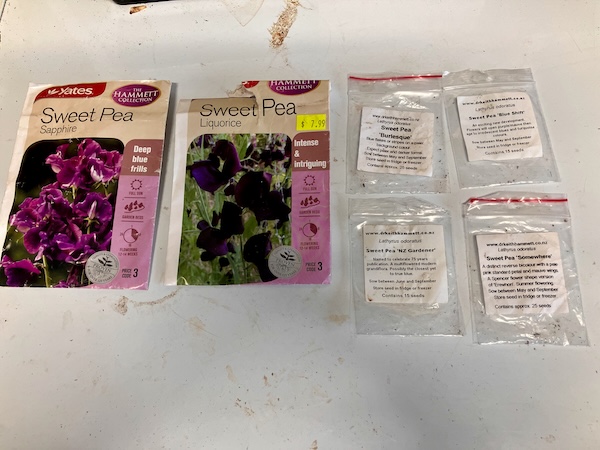
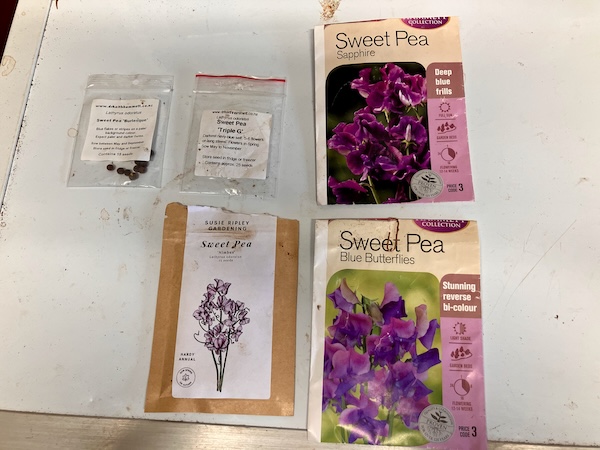
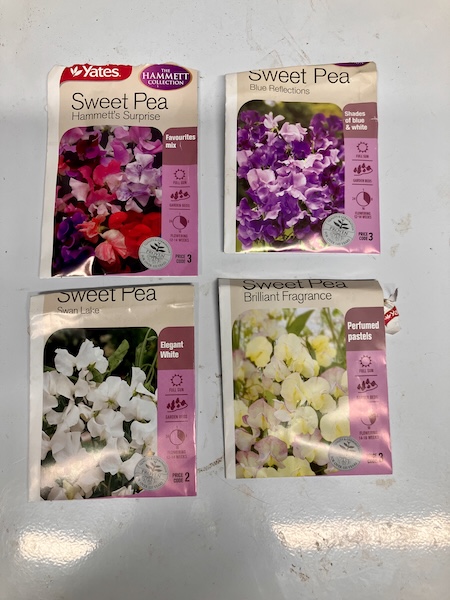
With the growing area planned, it was finally time to pull out my sweet pea seed collection, and decide which varieties to grow. Over the years I've accumulated a large collection of sweet pea seed, so narrowing down the choices was no easy task. In the end, I settled on a collection of mostly Keith Hammett varieties, along with a few other favourites, and some homegrown seed collected from my own garden, all selected for their beautiful colours and sweet fragrance.
The varieties I chose and sowed were:
- 23 × Hammett Blue Butterflies
- 15 × Hammett Blue Shift
- 10 × Hammett Blue Reflections
- 15 × Hammett Brilliant Fragrance
- 10 × Hammett Burlesque
- 15 × Hammett's Surprise
- 2 × Hammett Licorice
- 6 × Hammett NZ Gardener
- 10 × Hammett Somewhere
- 15 × Hammett Sapphire
- 9 × Hammett Triple G
- 10 × Hammett Turquoise Lagoon
- 25 × Homegrown seeds from my garden
- 10 × Nimbus
- 10 × Swan Lake
- 10 × Sweet Pea Original
In total, I sowed 195 sweet pea seeds, which should provide a beautiful mixture of blues, purples, smoky pinks, bi-colours, and wonderfully fragrant blooms over the coming spring and summer.
Although 195 sweet pea seeds may seem like a lot, some of the seed packets were older, and experience has taught me that not every seed will germinate. The seeds were sown into seed-raising mix that had been sieved to remove large stones and wood chips, before being placed into four 50-cell seed trays.
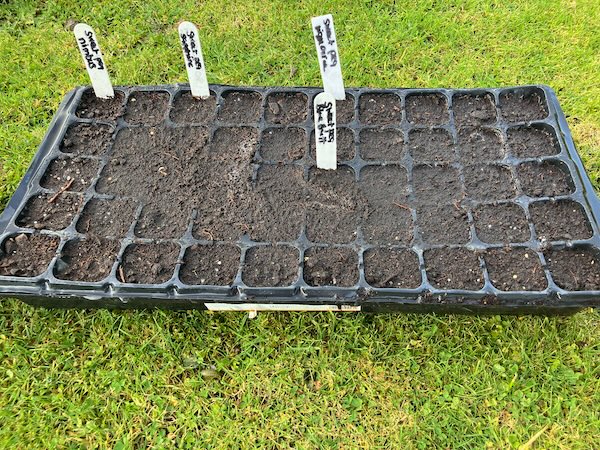
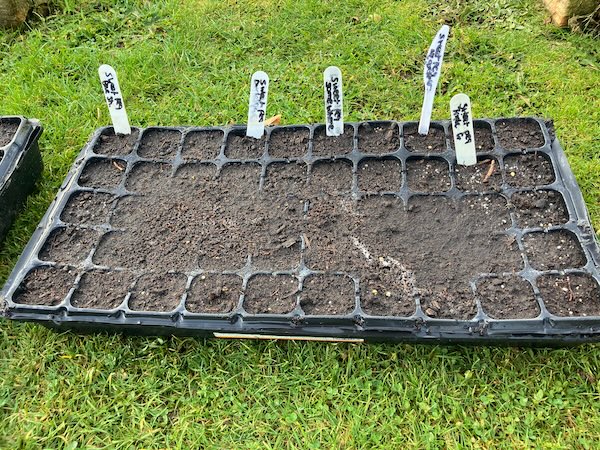
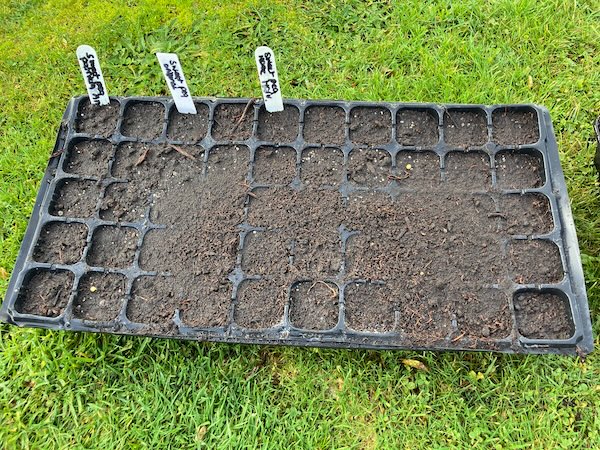
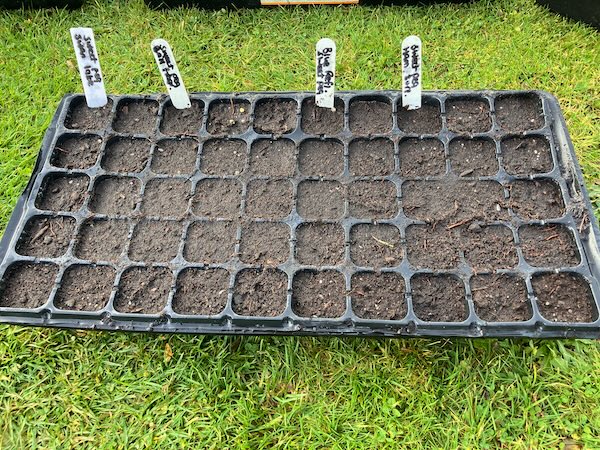
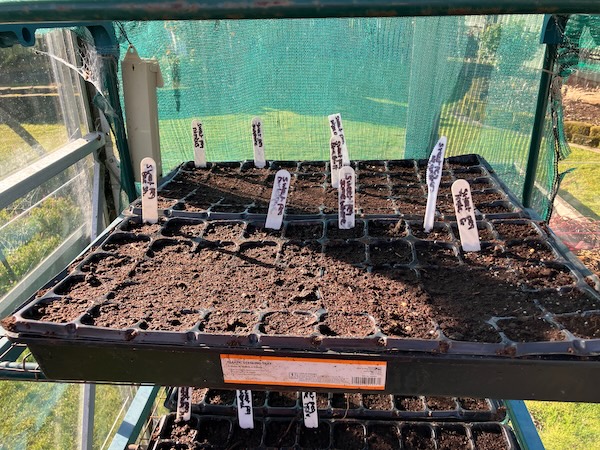
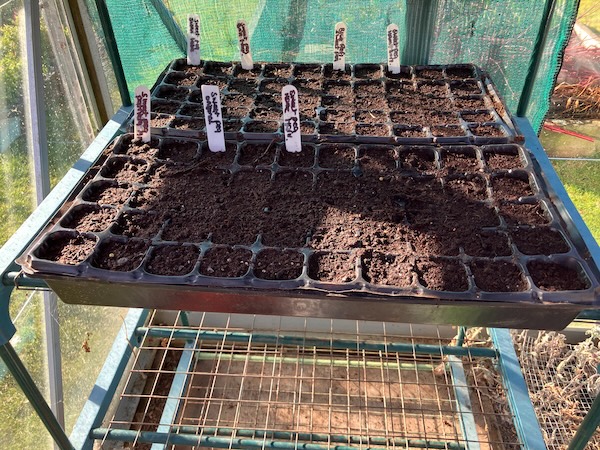
After sowing, the seed trays were watered well, and placed onto shelving in my glasshouse. The shelving is covered with some shade cloth, which helps protect the emerging seedlings from strong sunlight, and it also prevents them from drying out too quickly.
There is always something so hopeful about seed sowing. In the depths of winter, seeds are a reminder that spring is never too far away, and that every gardening year begins with the promise of new life.
For now, the sweet peas are sown, and the waiting begins...
Have a wonderful day
Julie-Ann
If you'd like to continue the conversation, you can find me on Instagram, Mastodon, Bluesky, and Facebook.
I'd love to hear what you're growing, making, or enjoying in your own garden.
A Week of Extreme Weather In October
Hello friends,
October is usually a tumultuous month for us here in Dunedin, with the weather swinging in extremes from hot north westerly gales, to cold southerly fronts, including the threat of possible snow and frost, and this October was definitely no different from previous years regarding this.
In the third week of October we were warned of a spring north westerly wind storm approaching, and the resulting weather watches and orange wind warnings from Metservice had me worried.

In preparing for the north westerly wind storm, it first meant picking up anything outside that could go airborne, including my frost protection buckets (I lost one in the wind, but I eventually found it days later), taking down our bird feeders, moving our patio furniture to a more protected spot, putting our wheelie bins into the woodshed, and tying the glasshouse doors shut as they face the North West.


I also took the precaution of moving my most precious plants out of the glasshouse and into the garage for extra protection. I just couldn't risk losing our tomato plants, and dahlias in pots due to something unforeseen happening, like our glasshouse blowing away.
The big north westerly wind storm itself was frightening, and our house shook and shuddered for hours, first with the North Westerly gales, and then the Southerly front behind it, which took out our grid power for 8 hours. Luckily, we have solar panels on our roof, and a solar battery in our garage, and this system kept our house powered during the blackout (our battery has a storm watch function, and as soon as Metservice sent out the orange wind warning, the system began charging the battery to 100%). We are now very glad we invested in a solar system a couple of years ago.


All around Dunedin mature trees were blown over, trampolines went flying, fences were blown over, and the roofs of houses were lifted off. Many people in the lower South Island lost power for hours, and some for days, and even weeks.
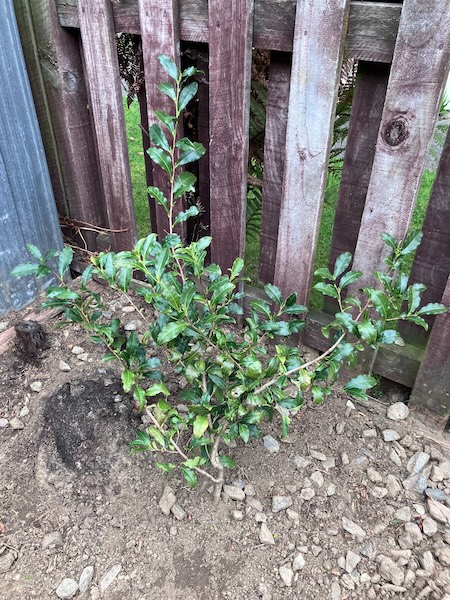
Unfortunately, there were two casualties in my garden from the north westerly wind storm. My Avalanche camellia in the backyard garden snapped off at its base, killing the plant. It was only a year old, and didn't have a thick trunk yet, and it looks like it bent over in the wind until it just snapped. The only good thing about this happening is that it has given me one extra spot to plant a dahlia in this summer, but I am sad that I lost a beloved plant...
And the second casualty, was that my quince tree lost two north west facing tree limbs. They snapped partially off, so I had to trim them back to the nearest healthy branch on the tree. My quince tree is only 3 years old, so it won't suffer from losing a couple of young tree limbs. Thankfully the quince fruit forming on the tree didn't fall off during the storm.


With the north westerly wind storm over, it was time to clean up the garden of plant debris, reinstate our garden furniture to the patio, return the bird feeders to their rightful places, and transfer my precious plants sheltering in our garage back to the glasshouse.
The weekend after the north westerly wind storm was Labour Weekend, the traditional time to plant everything out in the vegetable and main gardens, but I was wary of doing this because Metservice forecast a cold southerly system occurring, with the potential of snow to low levels, and a frost afterward. I refused to risk planting out all my plants into the garden that weekend, only to have to frost cloth them for nights afterward.
So instead of spending the entire Labour weekend out in the garden planting out everything, my plants stayed safely inside the glasshouse where it was definitely warmer than outside, and I watched as the cold weather arrived...
And thank goodness I listened to the Metservice forecast, because the predicted low level snow fell, and settled to about 200 m above sea level in the hills surrounding us, and our temperature dropped to 1.1˚C overnight.


The dahlias growing outside were protected by their frost protection buckets, and all the plants in the glasshouse was protected by a number of layers of frost cloth. After a couple of days the weather warmed up back to early November temperatures, and it was time to plant stuff out in the garden, but it adds to my growing evidence that late October/early November is a risk to my Labour weekend gardening plans.
Have a wonderful day
Julie-Ann
Want to discuss my post? Feel free to chat with me on Instagram or Mastodon or Bluesky.
Unusual Plants Growing In My Garden
Hello friends,
Today I wanted to share with you some of the more unusual plants growing in my garden. Either they're plants that are on the edge of being able to grow in Dunedin's climate, or they're plants that I want to do experiments with, in terms of harvesting and processing them.
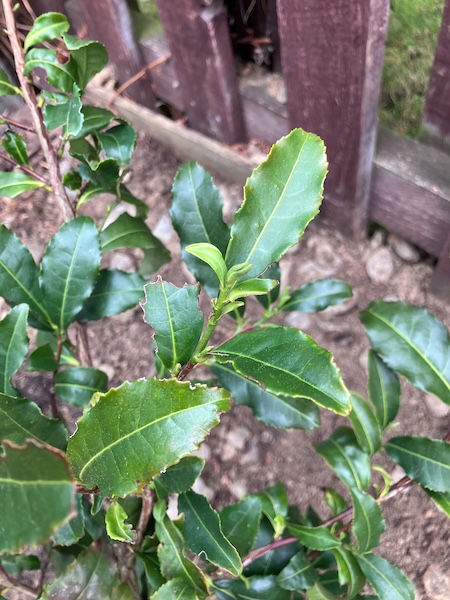
First up is my Camellia sinensis plant, aka my tea plant, which I've already discussed in a previous blog post where I harvested and processed my own white tea.
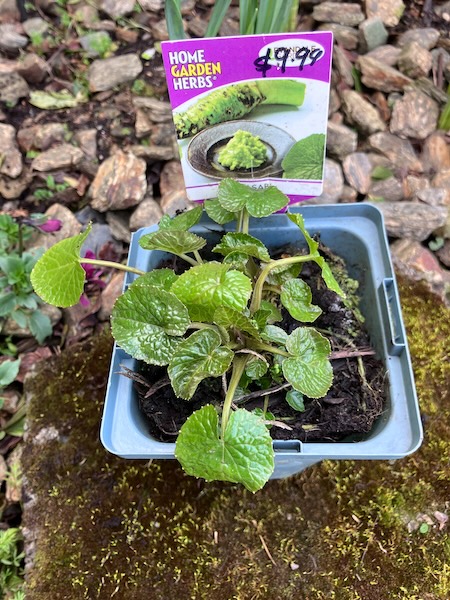
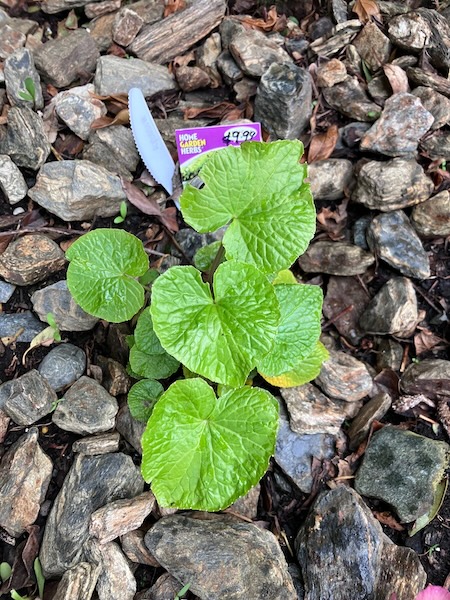
Next up is the Wasabi plant I recently bought from my local garden center. The plan is to grow my Wasabi plant for three years, and then harvest the root so I can make my own Wasabi for eating with sushi. Wasabi requires full shade and damp conditions, and I have the perfect spot in my garden to give it a home. It is sensitive to frost, so I've been spraying the leaves with liquid frost cloth this Spring for frost protection. It has only been growing for about a month, and it's already growing strong in its shady spot.
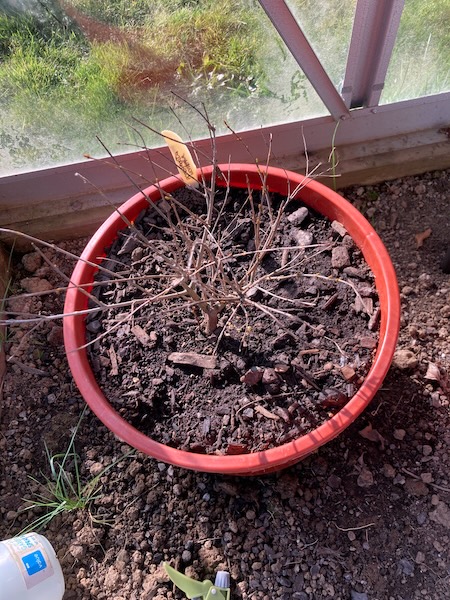
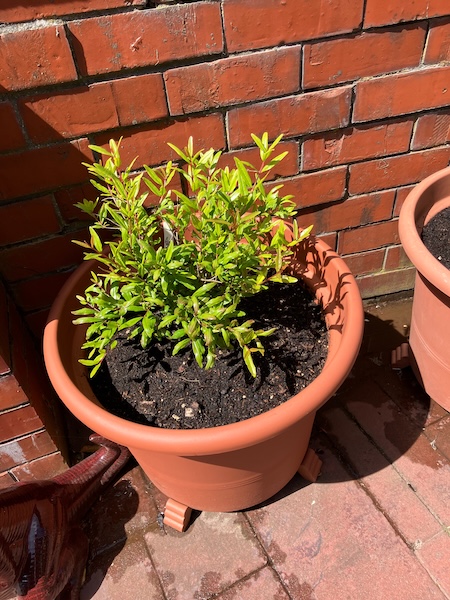
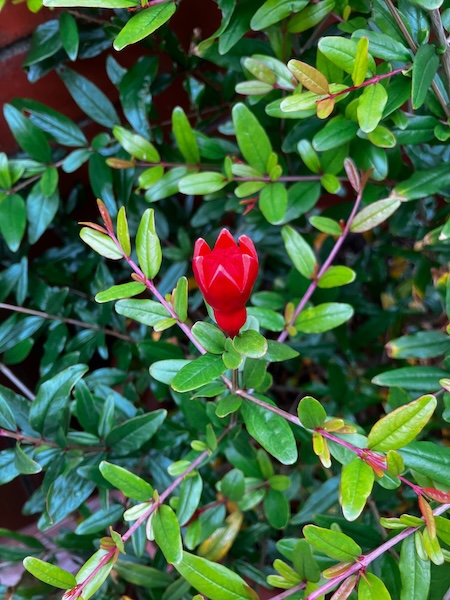
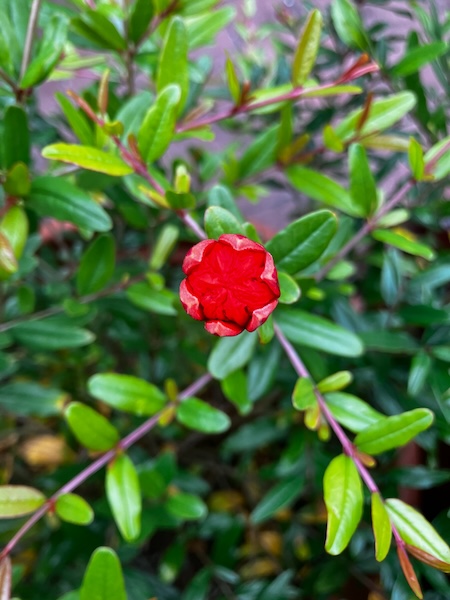
I have also been growing my own pomegranate plant for the past year in a large pot in my patio over the summer, and in my glasshouse during the winter. This pomegranate variety, "Wonderful" by Incredible Edibles, is a deciduous variety which can handle up to -6˚C frosts in winter, which makes it perfect for Dunedin's climate. In it's first year growing, last year, it even managed to flower before winter, but unfortunately it didn't set any fruit. Once the frosts are over this spring I plan to plant it in the south side garden alongside my blueberries and tea plant. I can't wait to harvest my own pomegranate fruit for turning into pomegranate juice in the future.
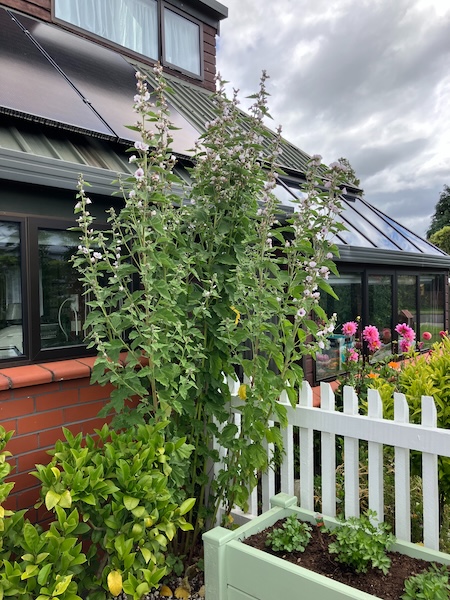
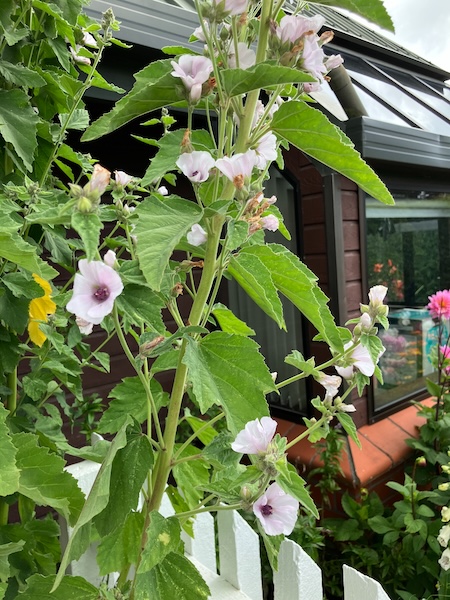
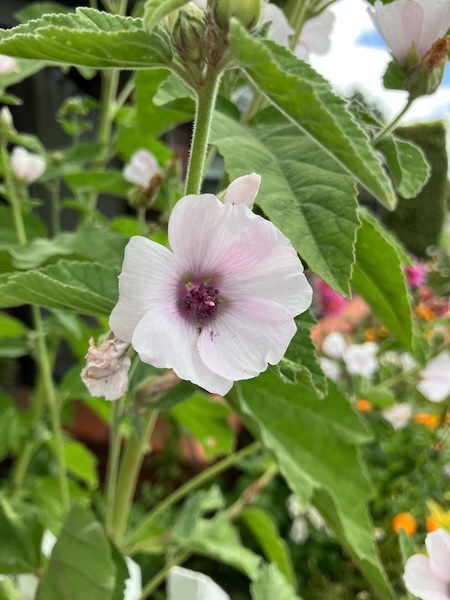
And finally there is my Marshmallow plant, Althea officinalis, which is the ancient source of making the marshmallow confectionery we know today. The marshmallow plant is a perennial which dies back each year over winter, and it grows again to a height of over 1.8 meters in summer, producing long stalks of white and pink flowers (which is where the marshmallow confectionery these days get their colours from). All parts of the marshmallow plant have medicinal uses, and its dried root is the original source of mucus for making marshmallow sweets.
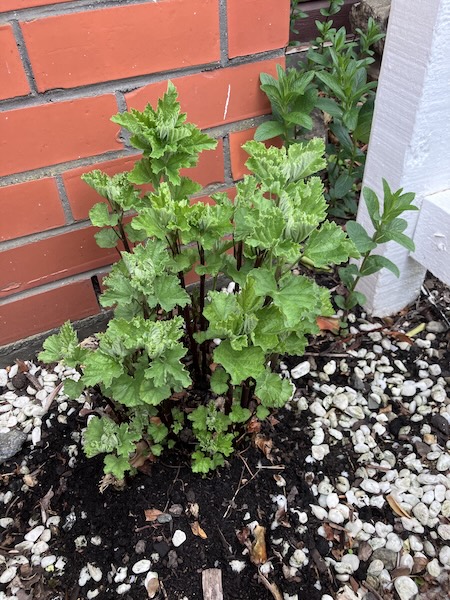
My marshmallow plant is growing in the garden so that I can one day try making my own marshmallow confectionery from scratch, but I forget to dig it up in winter to harvest the roots. If you want to try growing your own Marshmallow plant, Kings Seeds in New Zealand stocks the seed.
Do you have any unusual plants growing in your garden?
Have a wonderful day
Julie-Ann
Want to discuss my post? Feel free to chat with me on Instagram or Mastodon or Bluesky.
Dahlia Experiments 2025 - Source Books For Dahlia Growing and Hybridising
Hello friends,
As you've probably already figured it out by now, I love doing gardening experiments. Whether it be growing my own wheat, and then harvesting that flour to bake into my own bread, or growing my own linen plants so I can spin and then weave the fibre from it, I'm curious about how the world works, and especially how plants work. This mostly comes from the fact that I'm a trained scientist, I have a PhD in Plant Biochemistry, and also a certificate in Horticulture. From a very young age, while gardening with my grandfather and aunt in their backyard, I fell in love with plants, and I decided I wanted to work with them.
Even though I am no longer in these fields of work, I still love learning about plants, and I use my garden as an experimental testing ground to do this on a very small scale. This, combined with my obsession and love of dahlias, I've decided that this growing season is going to be the one where I hone my dahlia skills including growing hybridised seeds from scratch, taking my own cuttings, and also breeding new dahlias from dahlias I already have growing in my garden.
To do this my first job has been to find good source material to work from. Even though there is a tonne of information about dahlia growing and hybridising on the internet, it's hard to know what information is accurate, and what information is incorrect. Luckily there are some very good source books available from growers and hybridisers I trust, and I now have three books from them at my disposal.
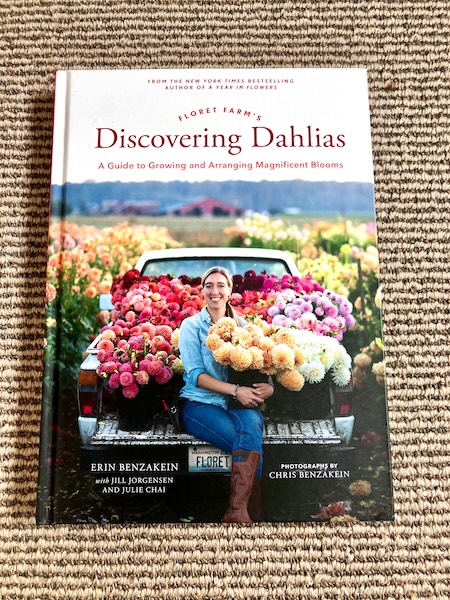
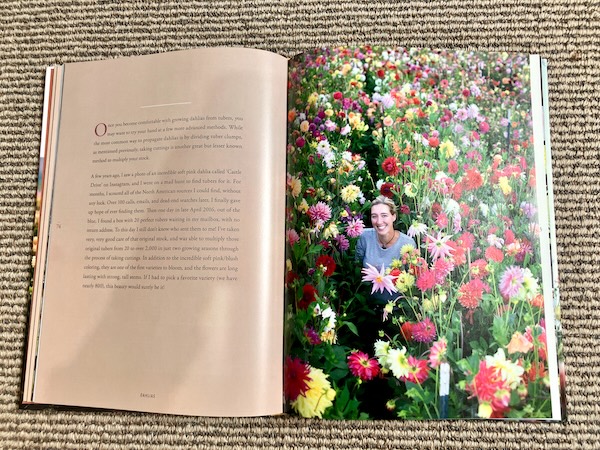
First up is Erin Benzakein from Floret Flower Farm, her work with dahlias and other plants like zinnias is legendary, and her book "Discovering Dahlias" has been my go to dahlia book for years. It includes understanding dahlia types, how to grow, store, and divide dahlias, and also advanced techniques including propagating and hybridising dahlias. Her book also includes a great section on floral designing with dahlias, along with a visual section of her favorite dahlias sorted by colour. I really recommend this book to any new dahlia grower.
The last two dahlia source books I now own are by Kristine Albrecht, the owner of Santa Cruiz Dahlias. Her long term work on dahlia breeding, and her deep dive into dahlia genetics (which she is willing to share), makes her a fountain of knowledge about dahlias. Her book "Dahlias: Seed to Bloom" is an in depth guide to dahlia growing from seed to bloom. This is a great companion book to "Discovering Dahlias", and I now use them both side by side.


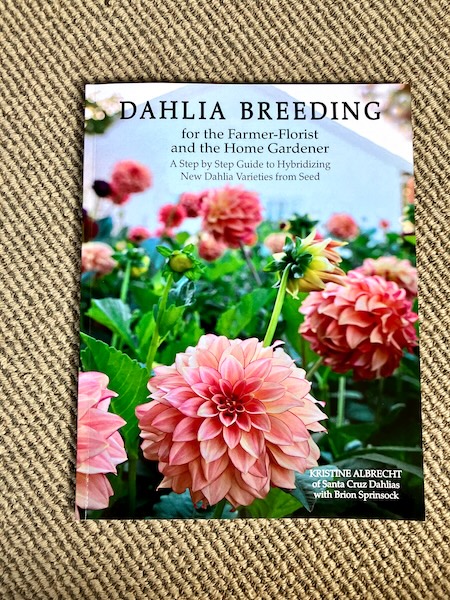
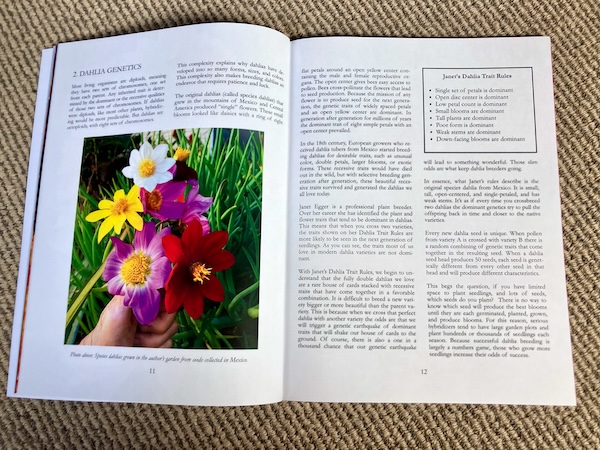
Kristine Albrecht's second book "Dahlia Breeding for the Farmer-Florist and the Home Gardener", is a small, but dense step by step guide to hybridising new dahlia varieties by seed. Its sections on dahlia genetics, traits to target in dahlia breeding, and growing dahlia seedlings, is perfect for the dahlia enthusiast interested in dahlia breeding. It was also really great to see her record keeping set up as well, as detailed notes are needed to decide whether a dahlia seedling has the traits you are looking for in the first year, and in the continuing years, if you decide to keep growing it.
With spring now sprinting towards summer with each passing day, and the first of my garden dahlias are popping their leaves above ground, I can't wait to dive into all things dahlias this growing season.
Have a wonderful day
Julie-Ann
Want to discuss my post? Feel free to chat with me on Instagram or Mastodon or Bluesky.
Social Media


Archives