

Frost Proofing My Outdoor Citrus Plants With Liquid Frost Cloth
Hello friends,
Autumn is here, and the Autumn equinox has just been, and so with it comes the increased risk of frosts. The earliest frost we've had at our home since I started keeping records was on the 6th of April 2019, which is only 17 days away from today's date. All it takes is one cold front to come through, followed by a cold clear night, and a frost is possible. We've already had a low temperature of 3˚C this month, so there's definitely now a risk to my frost tender plants.

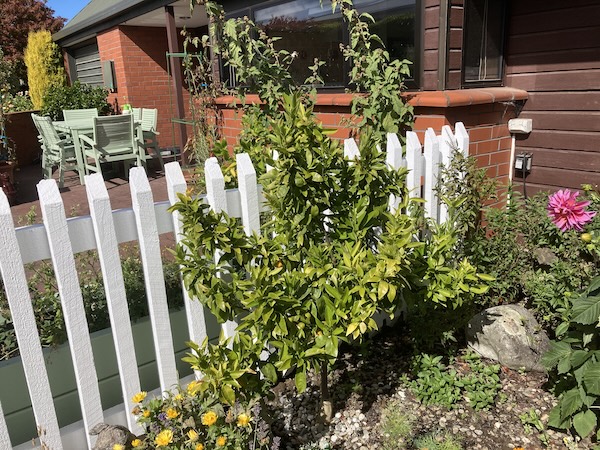
Our citrus plants outgrew their pots in spring last year, so they can no longer sit inside the glasshouse over winter for protection. I planted them in the patio in October 2023, so they now need to be protected from frosts and snow over the coming autumn and winters.
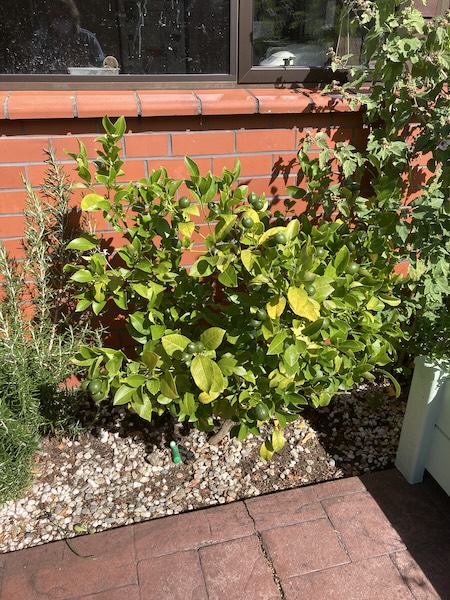
I plan to do this in a number of ways. The first one, which I've just done, is to treat all my citrus plants with liquid frost cloth, which is called Vapor Guard in NZ (you can buy this from garden centers). It protects plants down to -3˚C frosts by forming a protective wax coating over the leaves. Vapor Guard lasts about 6 weeks, as rain and frosts slowly break down the protective wax coating, and then it's time to spray Vapor Guard all over again. I keep a note of the dates I spray in my garden diary, and also calculate the next spraying day six weeks from then.
Vapor Guard does not protect the plants below -3˚C, so frost cloth is needed to protect the plants during the colder parts of the year. My plan over the next month is to build wooden frames, and then to attach frost cloth over the top. I'll then move the frames daily into position to protect the citrus plants when needed.
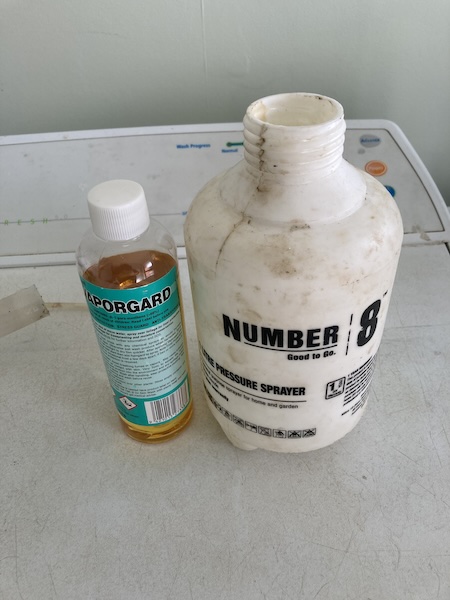
To treat the citrus plants with liquid frost cloth I added 15 mL of Vapor Guard to 1L of luke warm water. After giving it a good mix, I sprayed the liquid frost cloth onto the plant leaves on a dry and warm sunny morning with no wind. I wore gloves and a mask while doing so. The 1L of liquid frost cloth spray was enough to spray my lemon, mandarin, and lime plants, and also enough left over to protect my Camellia sinensis (tea plant) too.
My plants then had the rest of the day to dry, and for the wax to set. They're now protected from frosts for the next 6 weeks, we don't usually get heavy frosts until late May/early June, so I now have time to build the protective frost cloth cages.
I'm relieved to have done this, as the last week has been quite rainy, which meant I couldn't get a window to get this garden job done.
There will be no blog post next week, as hubby and I are having a much needed staycation between Otago Anniversary Day and Easter. Well be relaxing and eating hot cross buns and chocolate, and I hope to make strawberry and raspberry jam as well. I'll post again in early April.
Have a wonderful day
Julie-Ann
Want to discuss my post? Feel free to chat with me on Instagram or Mastodon or Bluesky.
Harvesting and Drying Alma Paprika
Hello friends,
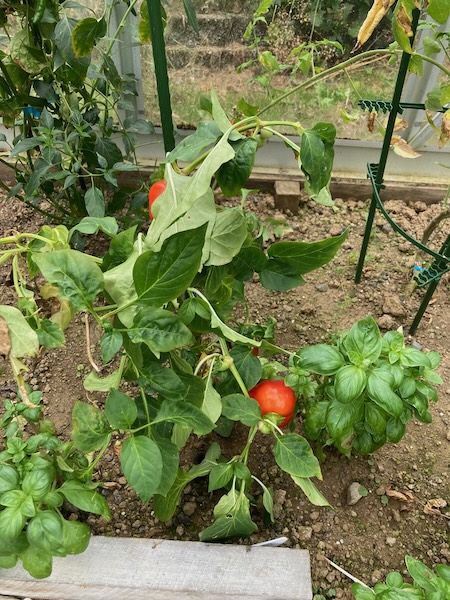
This is our second year growing alma paprika plants. It's really satisfying to sow them as little tiny seeds, see them grow up into seedlings, and then onto big pepper plants with red peppers that you can dry into mild paprika.
The process for growing alma paprika plants is pretty much the same as any other capsicums or chillies. The seeds need to be sown in late winter, at the same time as tomatoes, and they need consistent steady heat in order to germinate. At that time of the year we have them sitting in the dining room where we have the fire going each day. Within a couple of weeks they germinate, and slowly over a couple of months they grow into seedlings which need to be potted on.
I move the alma paprika seedlings into the glasshouse in early October, and once it gets to Labour weekend, it's time to plant them into the ground in the glasshouse. Over the next few months they get bigger, and need staking, and at around Christmas they begin to flower. The rounded alma paprika fruits begin to grow, and then it's a wait over late summer and early autumn for the growing fruits to begin to change colour to a bright red hue.
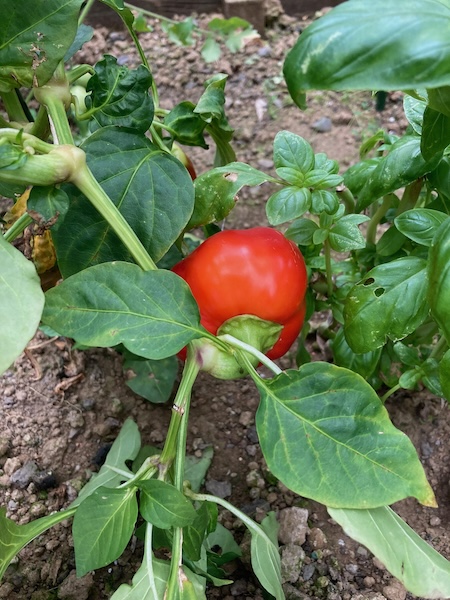
Once the alma paprika fruit has turned red, it's finally time to pick them. I cut them off the plant using a pair of secateurs, and then take them into the kitchen to begin processing them.
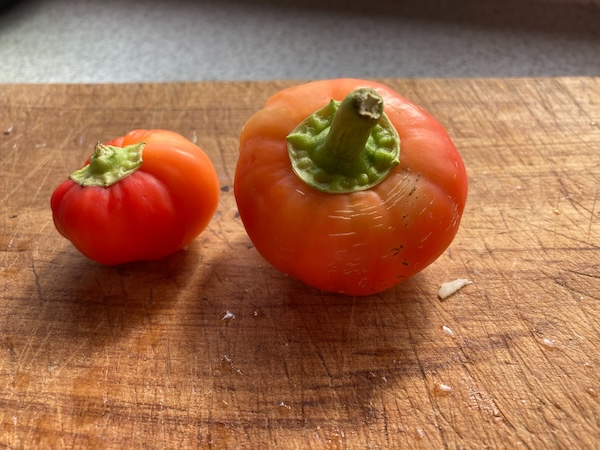
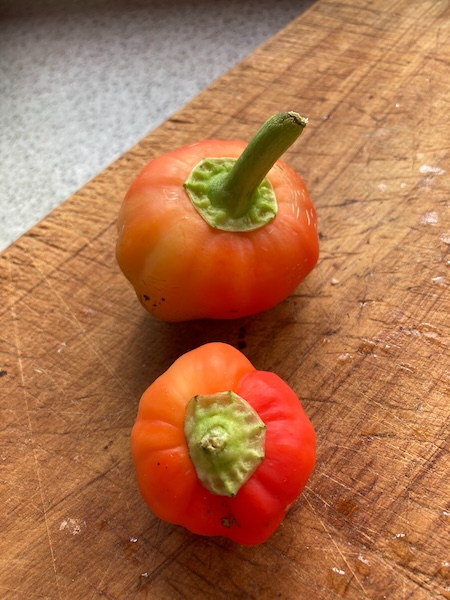
After chopping them in half, cutting off the stalks, and removing all the seeds, I slice the alma paprika fruit into thin slices and lay them out on a tray.
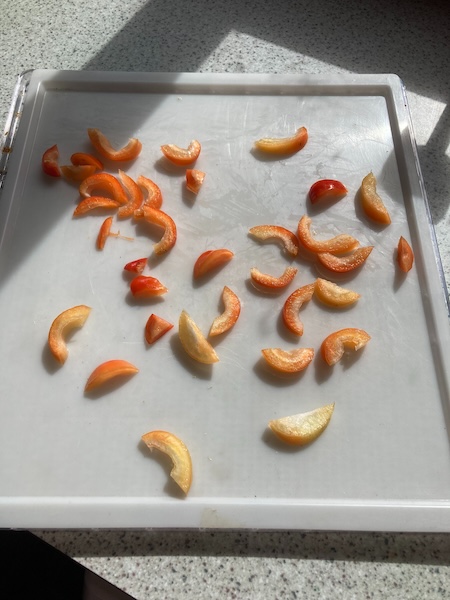
Then they go straight into the dehydrator at 35˚C, and I dry them until the slices are bone dry and brittle, ready for turning into paprika powder.
After a quick whizz in our spice grinder, the paprika powder is ready to use in cooking. The spice is tasty and mild, and works great in a number of dishes. The whole process is really easy, and satisfying, so it's now yet another yearly thing for me to do in the garden and kitchen.
Do you have any yearly tasks you enjoy? There's great satisfaction in accomplishing them when it means you have tasty food over the cold winter season.
Have a wonderful day
Julie-Ann
Want to discuss my post? Feel free to chat with me on Instagram or Mastodon or Bluesky.
Lavender, Calendula, and Chamomile Oil Infusion for Soap Making
Hello friends,
I've been collecting our lavender, calendula, and chamomile flowers all summer, with the intention of making my own cold-pressed soap with an olive oil infusion from the flowers this autumn. Years ago, when I lived in Wellington, I attended a cold-pressed soap making course, and I have been making my own for years since then. It's an interesting combination of gardening and crafting, with a big splash of science, and it's a lot of fun to make once you know how to take the safety precautions.
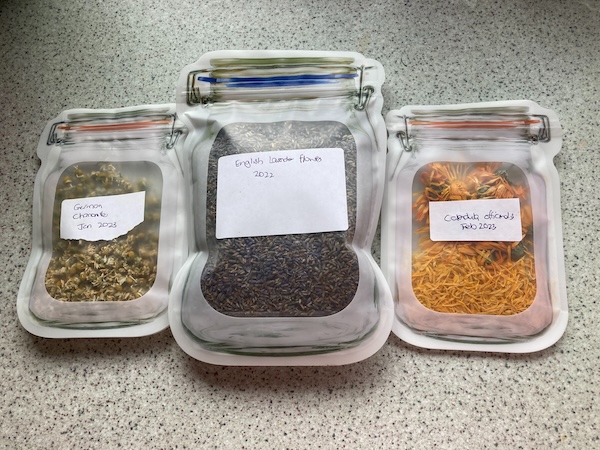
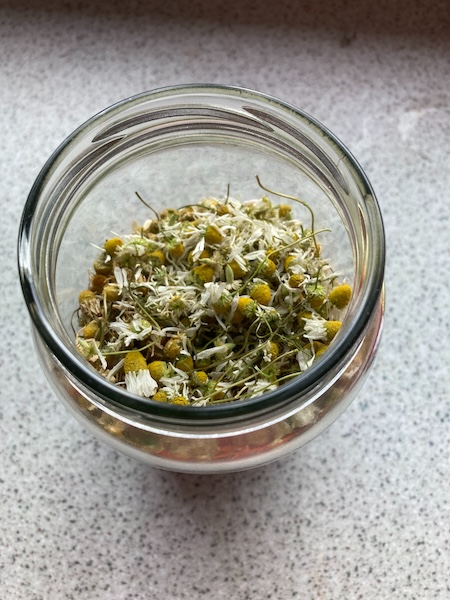
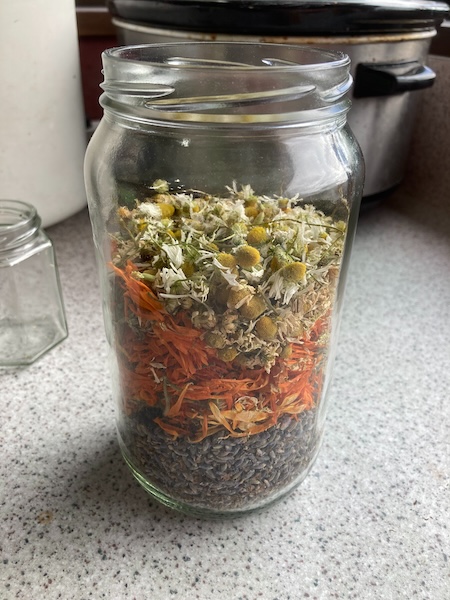
The first step was to gather the flowers I dehydrated over the summer. I store them under the stairs in our home, the temperature is cool and dry there, so it's perfect for storing dried flowers.
I then filled a glass container up as high as possible with the dried flowers.
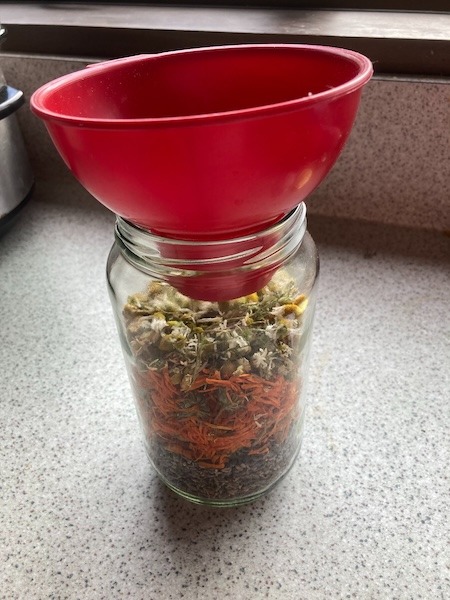
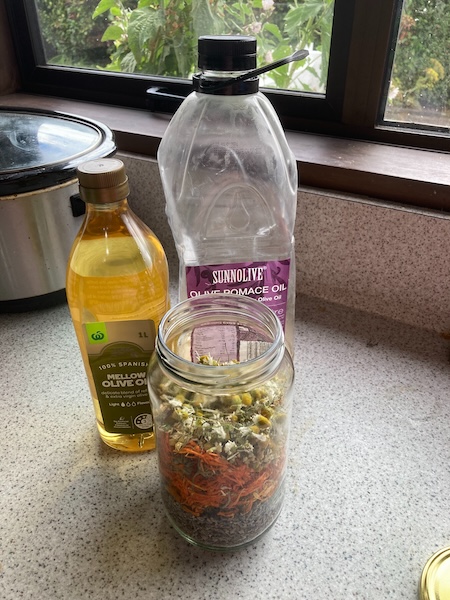
Once the container was full, I filled the jar with olive oil.
I usually use olive pomace oil, but I didn't have enough to fill the entire jar, so I had to go out and buy some mellow olive oil. The cheapest olive oil is the best to use, as I hate using extra-virgin olive oil for soap making, when it could added to meals.
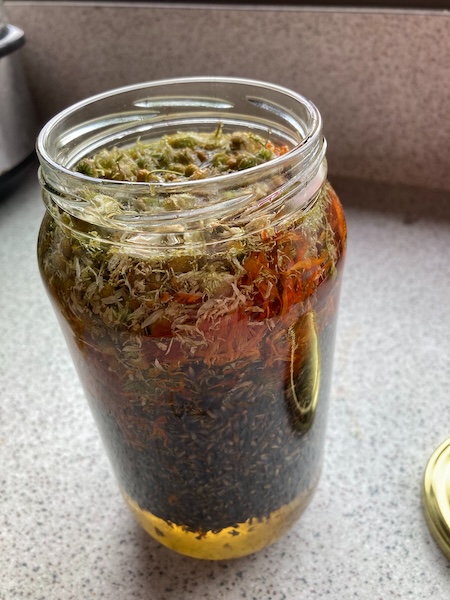
Once the olive oil was filled up to the top, I removed as many air bubbles as possible, and used a spoon to ensure the flowers were mixed evenly.
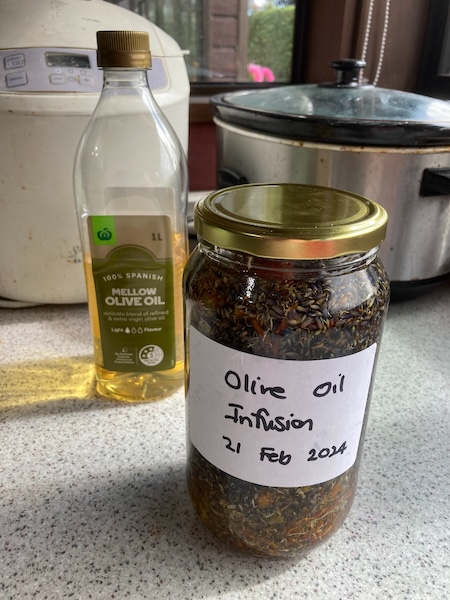
After putting the lid on the jar and dating it, I stored the jar in a cool, dry place for two weeks while it infused.
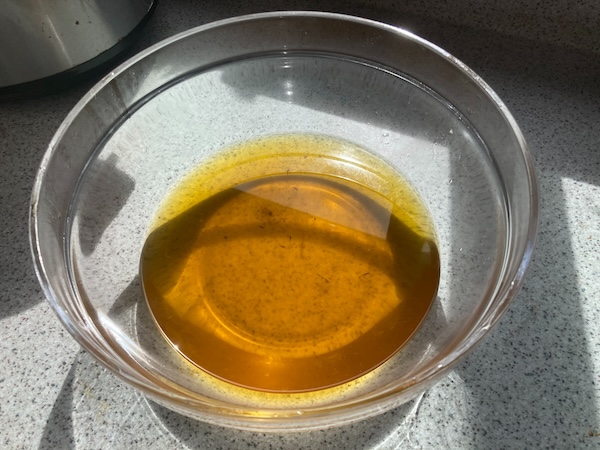
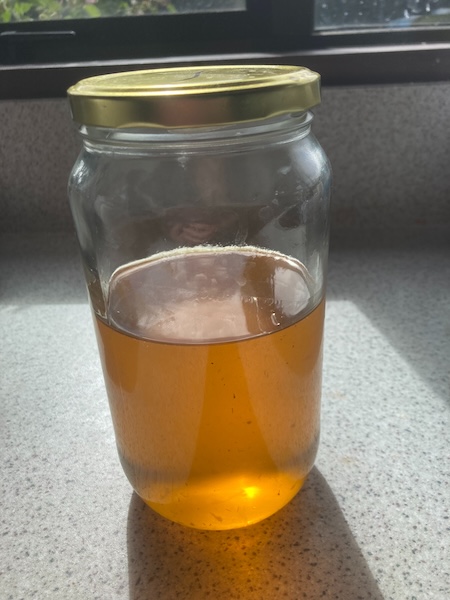
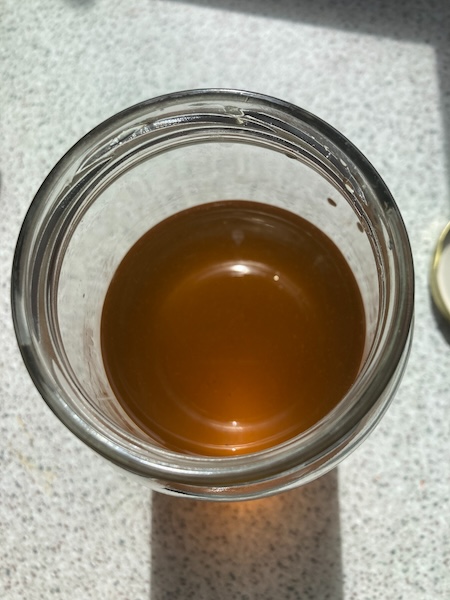
When the time was up I passed the olive oil infusion through a cheese cloth to remove as many flowers as possible. The olive oil had taken on such a beautiful orange colour, and smelled like lavender.
I've now stored the oil infusion away for couple of weeks until it's time to make the soap.
This was such a fun project to do, and I can't wait until soap making day in a couple of weeks.
Have a wonderful day
Julie-Ann
Want to discuss my post? Feel free to chat with me on Instagram or Mastodon or Bluesky.
Social Media


Archives