

Spring Is Here
Hello friends,
Tomorrow may be first official day of spring, but out in the garden, spring is definitely already here. I thought I'd share with you what's happening here in the garden right now.
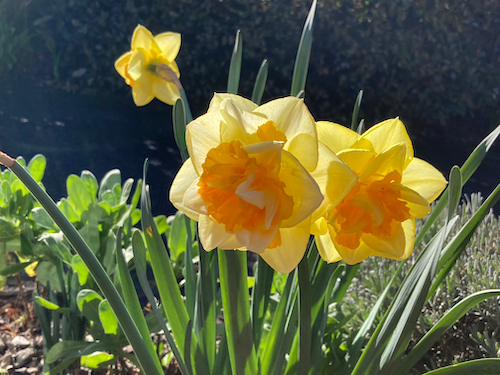
Daffodils: In my opinion the more tiny or frilly a daffodil is, the cuter they are. And they look even better when they're in a bucket.

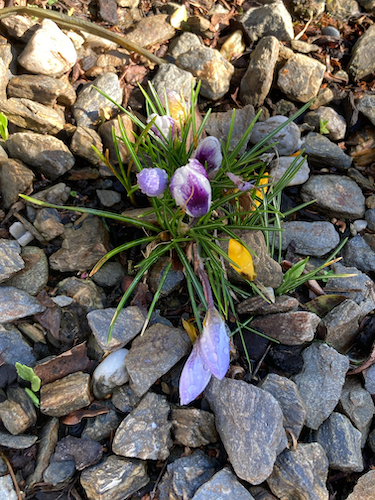
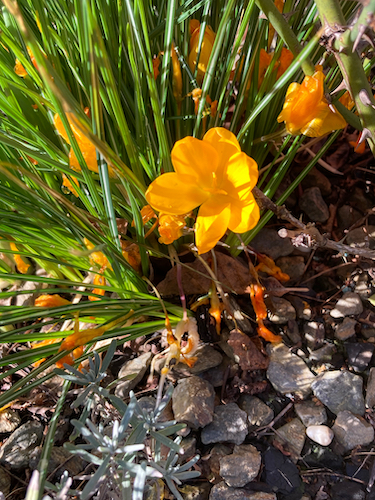
Crocus: A number of crocuses are flowering in the garden, but I don't know what varieties they are, they were planted by a previous owner,
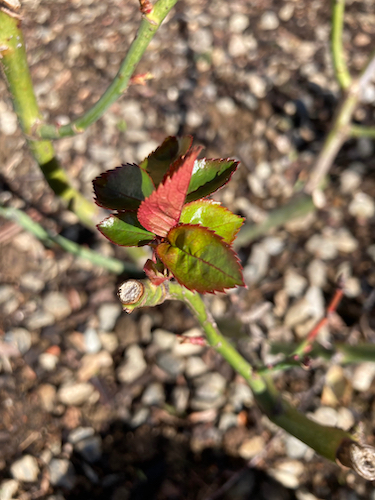
'Roses: My hybrid tea and floribunda roses have burst their buds, but as yet my new damask roses and climbing roses are still slumbering.
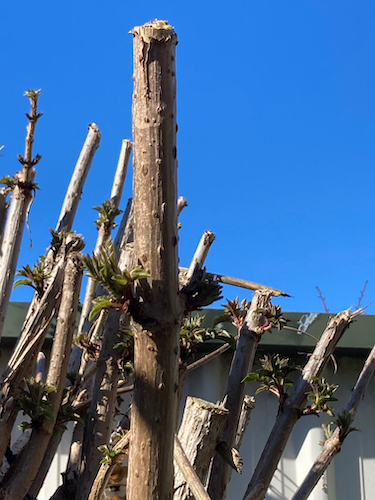
Blackcurrant: My huge blackcurrant bush has bust its buds as well, and it won't be long before it starts flowering. Its fruit is usually ready to harvest the week between Christmas and New Year.
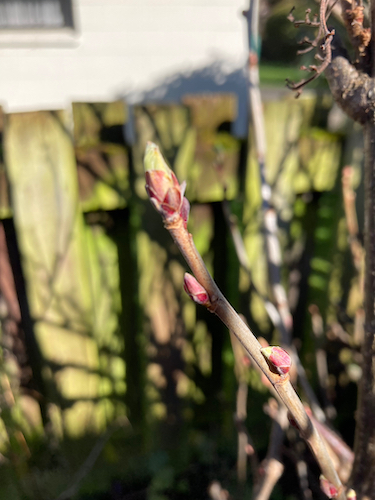
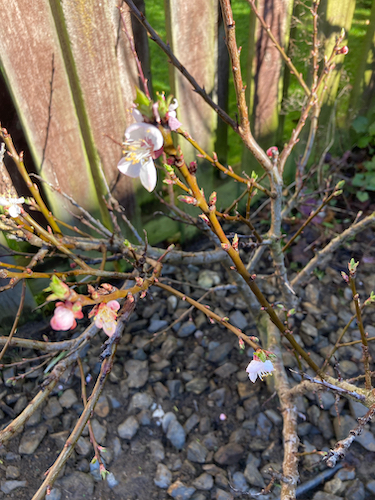
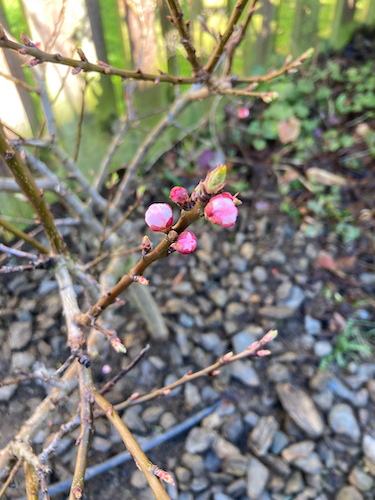
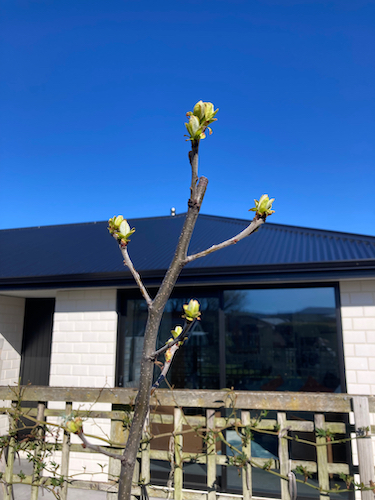
Apricot: My two year old dwarf apricot tree has burst it's buds, and has started flowering. We will have more frosts between now and October, so I don't know if we'll get any fruit. I'll try and remember to put frost cloth on it in the meantime.
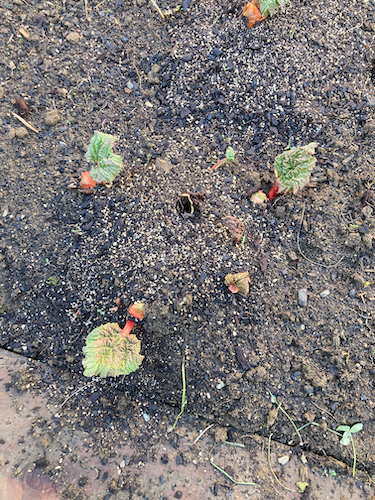
Rhubarb: My rhubarb plants have started to grow, I really do need to finish their garden bed. Hubby started "fixing" it last autumn, and it still isn't finished...
Quince: My quince tree has also bust its buds. It's still too small to carry any wonderful fruit, but I'll still be happy to see it flowering this spring.
Elderberry: Our self-seeded elderberry plant that grew all on its own in our garden has burst its buds as well. Elderberry shrubs grow wild all around Dunedin and Mosgiel, it's technically a weed, but I love popping out in the garden to collect elderflowers in late spring, and then elderberries in autumn. I love getting free food.
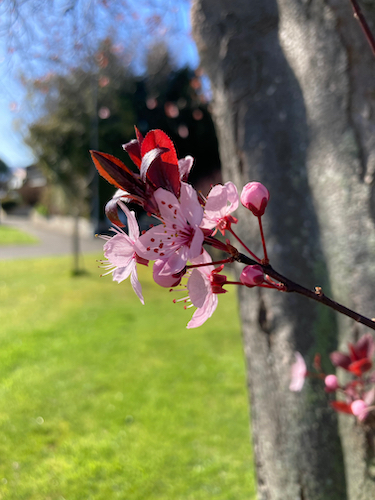
Plum: The plum street growing out on the street outside our home is now flowering, and its petals are like pink snow blowing all around. I love spring blossom.
Do you have signs of spring in your garden yet? I'm loving the longer, sunnier days...and I can't wait for summer to get here.
Have a wonderful day
Julie-Ann
Want to discuss my post? Feel free to chat with me on Instagram or Mastodon.
Spring Seed Sowing Week 4 2023
Hello friends,
We're up to week 4 of spring seed sowing, and I feel like I'm running behind. The past week has been busy painting and prepping areas of the garden for the coming growing season, but the pressure is also on to continue seed sowing as well.
Vegetable plants sowed this week:
- Beetroot Cylindra
- Cucumber Crunchy F1
- Cucumber Lebanese Medici F1
- Carrot Amsterdam Sprint
- Radish Easter Egg
- Sugar Beet

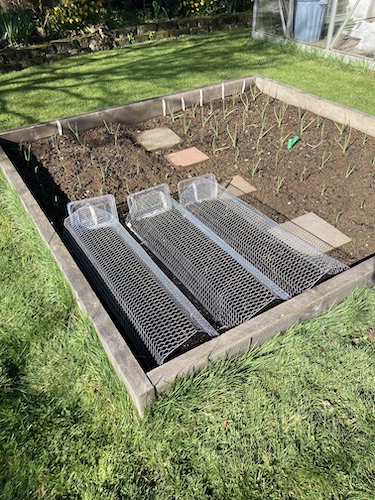
I also invested in some chicken wire cloches to prevent the sparrows from taking all my precious seed, they watched me hungrily the other day as I direct sowed the first of the root crops.
Herb plants sowed this week:
- Lemon Balm
- Orange Balm
- Olive Herb
- Basil Gustosa
- Basil Sweet Genovese
I'm particularly excited about growing the Olive Herb plants, as we definitely don't have the space to grow our own olive trees. A summary from the Kings Seeds website about the plant:
"Woody low growing border plant with green leaves that have an intense olive aroma. Said to add the flavouring of olives to marinades, pasta, a variety of meat and tomato dishes or wherever olives might be used. Combines well with thyme, rosemary, basil and tarragon flavours. The attractive yellow pompom flowers are also edible. Low maintenance plants are fairly hardy, preferring humus rich, well drained soil but will tolerate other conditions and soil types too."
Flower plants sowed this week:
- Dahlia Beeline II Keith Hammett
- Dahlia Keith Hammett NZ Gardener 2023 Seed Swap
- Dahlia Sunflower Keith Hammett
- Lavender Hidcote
I sent in a self addressed envelope to NZ Gardener in order to get some Keith Hammett dahlia seeds for this year's dahlia grow along, it's always great to see what sort of dahlias pop up, they're dahlia seeds collected from his breeding program. Each seed will be unique, and not ever seen before.
I hope your seed sowing is going well, this week is spring!
Have a wonderful day
Julie-Ann
Want to discuss my post? Feel free to chat with me on Instagram or Mastodon.
Winter Citrus Garden Project Part 1
Hello friends,
I'm in the middle of working on my Winter Citrus Garden Project, so that I can put my lemon, lime and mandarin plants into the ground this coming spring. They are too big for their pots, and need their own space to expand into in the garden. Of course this means that from next autumn and winter I will need to protect them from frosts and snow while living outside, but I've figured that this a problem for future me to sort out...
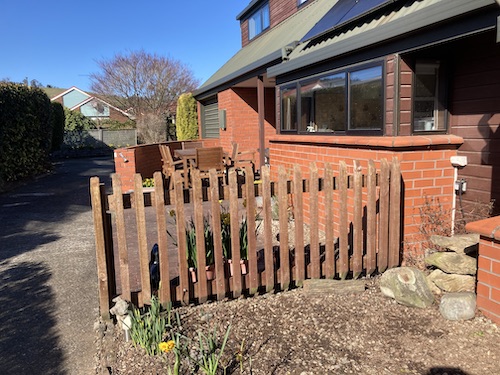
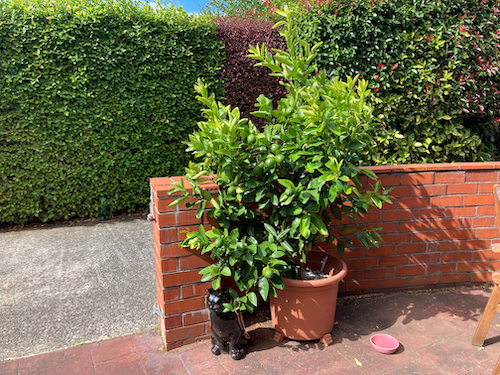
For the past couple of months I've been planning, and then preparing three areas of the garden for the citrus plants will move into. My citrus plants currently spend spring, summer, and the first part of autumn sitting on the patio, which pretty much gets all day sun. I love the way the plants look in our brick patio, especially when they're in flower and fruiting, it makes the area feel very Mediterranean, so I decided that the plants had to go into the ground near this space.
The mandarin tree is quite wide, so it will be going into the position previously held by the rhododendron bush behind the fence as shown in this photo.
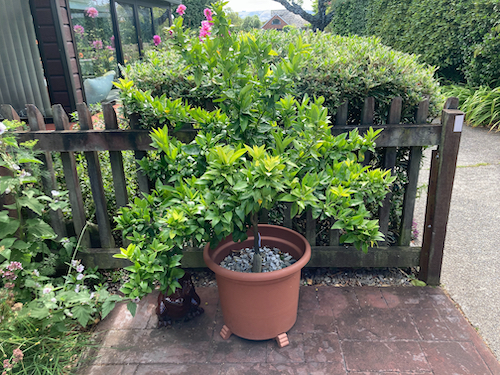
So far over the winter, hubby and I have chopped down the rhododendron behind the fence, and more recently I've water blasted the fence for painting. I don't particularly like rhododendron plants, the main reason being that rhododendron nectar is actually poisonous to Tui, and can kill them, which is why I didn't mind getting rid of it. My plan here is to paint the fence white, not only will the fence and mandarin provide a pop of colour in the garden, but it will also make the fence easier to see in the dark while driving down the driveway...
The next area to prepare, is for the lemon tree. As seen in this photo, the lemon tree is small and round, and it will be moving sideways as seen in this photo, into the herb garden bed under our kitchen window.
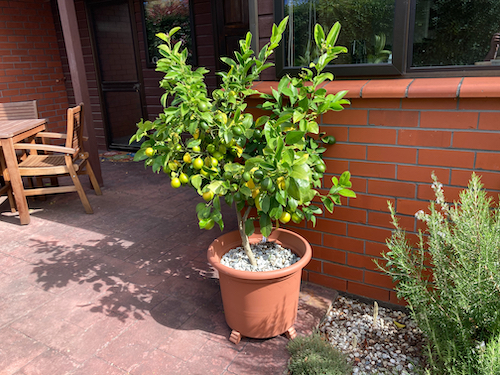
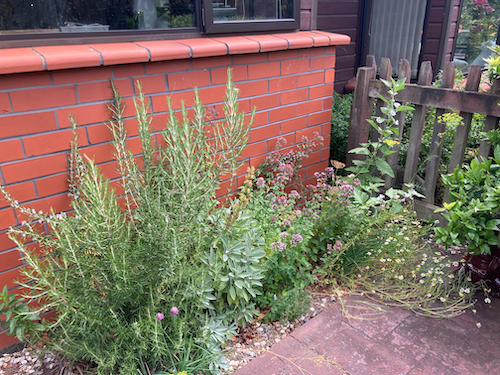
Last week I tidied up the herb garden for the winter, and left the thyme and rosemary plants to stay where they currently are (after giving them a big hair cut). The lemon tree will sit in the middle of the herb garden as seen in the photo below, and the mint and saffron plants will sit on the right.

The last area to prepare is for our lime bush. It is much more bushy and bigger than the lemon bush, and it will be going into the spot where the small Japanese maple tree used to be.
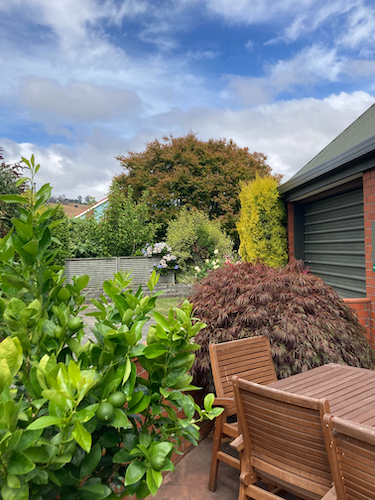
We really loved the Japanese maple tree, that you can see in the photo above, but the previous owners put the tree in a bad spot in the patio. The base of its trunk was right up against the brick wall for the driveway, and as it got bigger, its roots and trunk started damaging both the fence and the patio. Half the tree also stuck out into the driveway, making driving out of the garage tricky at times.
Over the last couple of weeks we chopped the Japanese maple tree down, and then spent a lot of time digging up as much of the roots as possible, in order to ensure there would be space to put the lime bush into. This part of the project actually took way more work than I first envisioned, so I feel like I'm somewhat behind in the project at this stage.
The next step in this winter citrus gardening project is to paint both the fence, and also the board holding back the soil where the lime tree will go. And given that it's winter in Dunedin, and it's rare that the temperature will be above 10˚C long enough for paint to dry and cure, this step will only happen on a sunny day with a warm north westerly wind, no doubt. This may take weeks to happen, so in the mean time I'll continue to work on other garden projects.
What winter gardening projects are you up to? I'd be interested to find out.
Have a wonderful day
Julie-Ann
Want to discuss my post? Feel free to chat with me on Instagram or Mastodon.
Spring Seed Sowing Week 3
Hello friends,
It's been another busy week in the garden seed sowing for Spring. And also, seeds that I've already sown have started germinating, including my tomato, chilli, and lettuce seeds.
In the Vegetable Garden this week:
- Prepped the first vegetable garden bed for sowing peas and potatoes
- Checked on chitting potatoes (Rocket, Jersey Benne, Ilam Hardy, and Haylo)
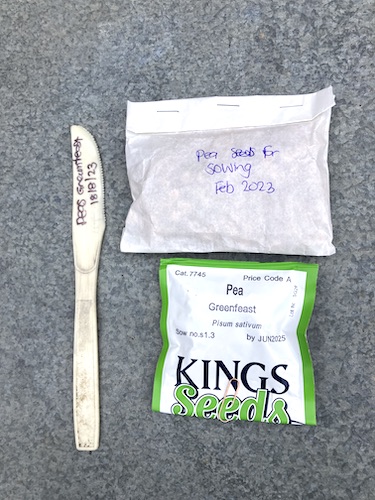
- Sowed Greenfeast peas

In the Herb Garden this week:
- Sowed Oregano
- Sowed Common Sage
- Sowed Cumin
In the Flower Gardens this week:
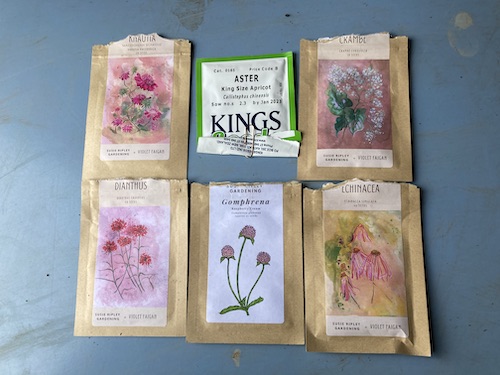
- Sowed King Size Apricot Aster
- Sowed Crambe Cordifolia
- Sowed Dianthus Cruentus
- Sowed Echinacea simulata
- Sowed Gomphrena Raspberry Cream
- Sowed Knautia Macedonia Scabium
I didn't sow as many seeds as I hoped this week, as I was working on my winter citrus project to get the garden areas ready for when my citrus plants go into the ground in October.
Hopefully this week I'll get more seed sowing done.
Have a wonderful day,
Julie-Ann
Want to discuss my post? Feel free to chat with me on Instagram or Mastodon.
Social Media


Archives