

Crawford Road Autumn Seed Haul
Hello friends,
Last spring I grew from seed a large number of flowering plants, in order to fill my garden with colour throughout the growing season. Some of the plant species I grew and harvested are used as dried flowers, and include plants like Calendula, Love in the Mist, Statice, and Strawflowers.

I enjoyed going out into the garden to harvest these flowers, and spent some time drying them using both the hanging, and flat lay techniques.

I'm not quite sure what to do with all these dried flowers as yet, but for now they're safely stored away in cardboard boxes waiting for the coming colder months, when I will have time to craft with them.
After enjoying growing and harvesting these flowers, I wanted to prepare for next spring by buying some more dried flower seeds from Crawford Road, a New Zealand boutique seed company.

I purchased some new to me plant species, including Ammobium Winged Everlasting, Gomphrena QIS Pink, Gomphrena Raspberry Pink, Helipterum Pierrot White, Helipterum Red, and Persian Cress.

I also purchased Matricaria Magic Lime Green, Matricaria Vegmo Snowball, Verbena Bonariensis Vanity, and two zinnia seed varieties, Zinnia Jazzy Mix and Zinnia Persian Carpet. Zinnias are not only great as fresh cut flowers, but they also dry well, and they keep their colouring for months as long as they are stored properly.

And finally I bought some more Strawflower (Apricot Peach, Cranberry Rose, Creamy White, Purple Red, Silvery Rose) and Statice seed varieties (Forever Happy, Pale Blue, Pink Pokers, QIS Lavender, and QIS Rose).


All my new seeds are now entered into my seed database, and stored in my seed storage boxes.

My plan was to sow some of them this autumn, but life has been busy, so they will now have wait until spring. I'm looking forward to seeing all these new flower varieties next growing season.
Have a wonderful day
Julie-Ann
Want to discuss my post? Feel free to chat with me on Instagram or Mastodon or Bluesky, and now also Facebook.
Dehydrating Apples For Snacks
Hello friends,
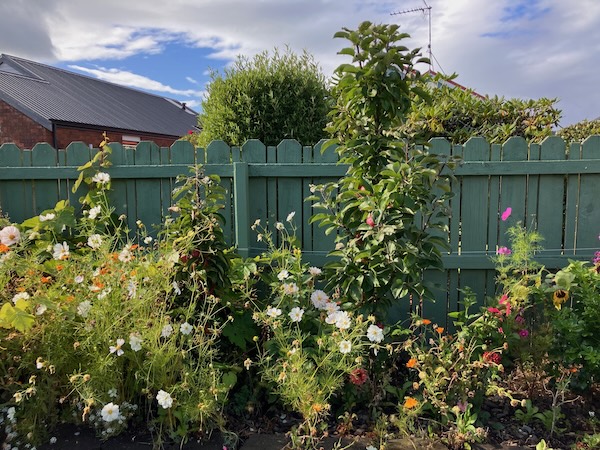
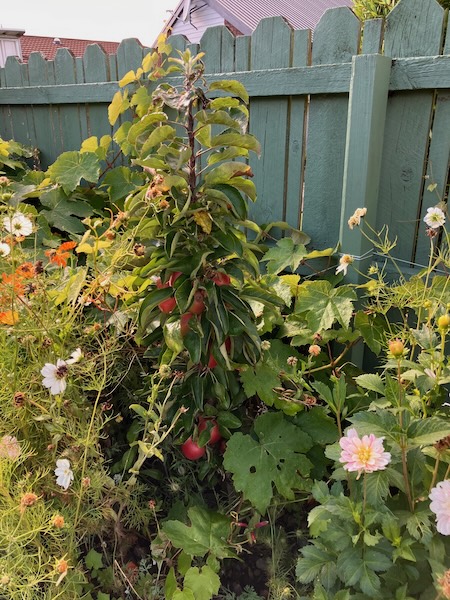
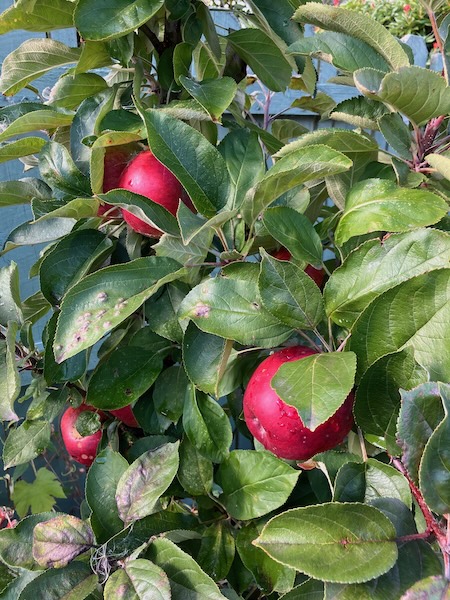
My parents dropped by our home one day in early March, and brought with them a 10 L bucket full of golden delicious apples off their tree for us. As it's also currently apple harvesting season in our garden, I added them to our growing pile of homegrown apples, and started thinking about what to do with them all.
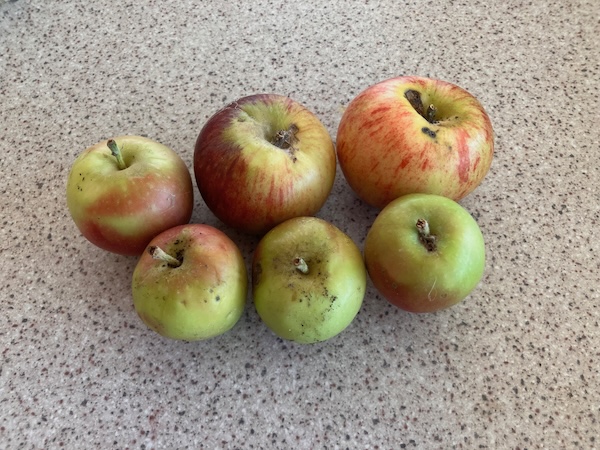
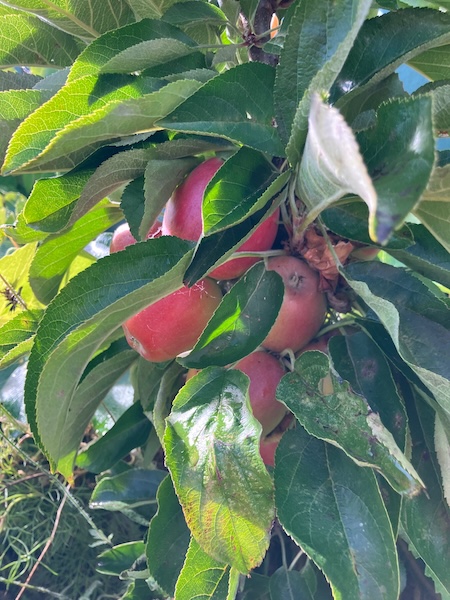
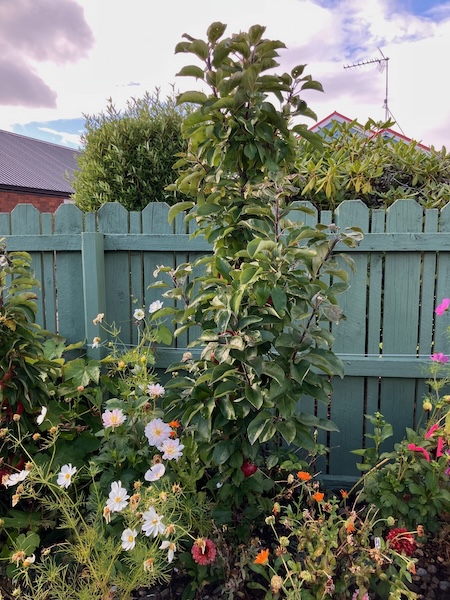
Our apples trees are the varieties Ballerina Waltz, and Ballerina Flamenco, highly compact, columnar apple trees ideal for small spaces. These apple varieties are bred to be no more than 40 cm wide, and up to 4 metres tall, with all the branches being completely covered in apples in autumn, making them perfect for urban gardens, and also for hedges. I really do recommend Ballerina apple trees if you don't have the space for fully grown apple trees, and they come in different varieties, so you can pick which apple types you'll be harvesting and eating.
Ballerina Waltz is a crisp and juicy variety with a slight tang, suitable for eating fresh, dehydrating, and cooking.
Ballerina Flamenco are eating apples, which also make a lovely apple jelly.
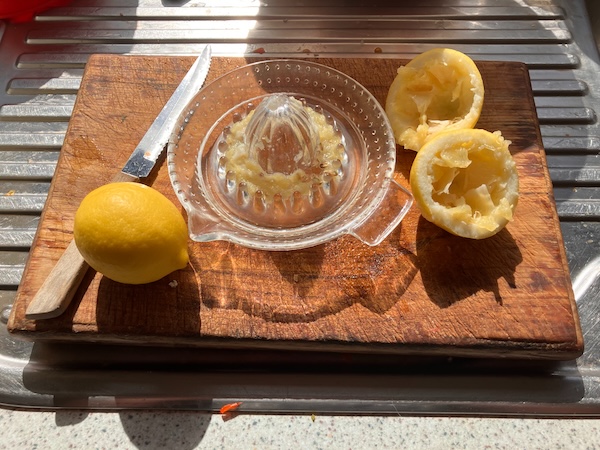
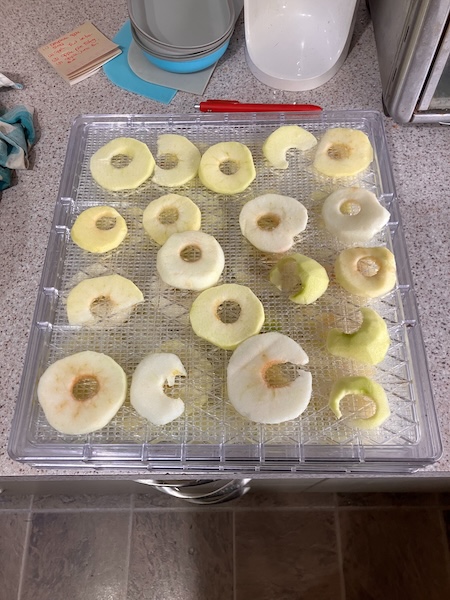
After some thought I wrote a small list of apple making possibilities, and got to work, first of all making dehydrated apples for snacks. I filled a bowl with water, and added the juice of a couple of lemons (from our lemon tree), to stop the apples from turning brown while I processed them.
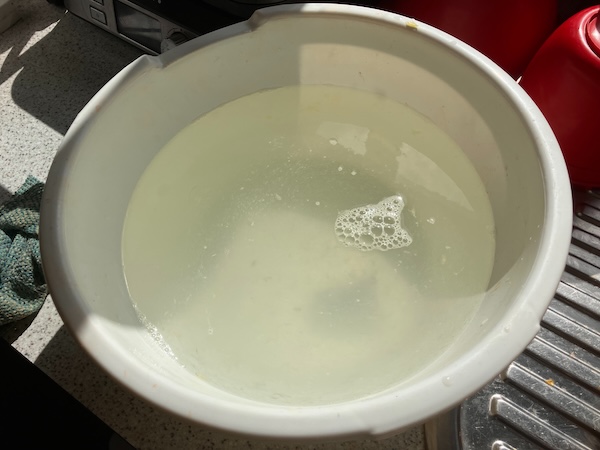
Once the some of the apples were all cut and soaked in lemon juice water, they were patted dry before placing on dehydrator trays. They were put in our dehydrator and dried at 60˚C for 5 hours, with them being flipped over halfway through.
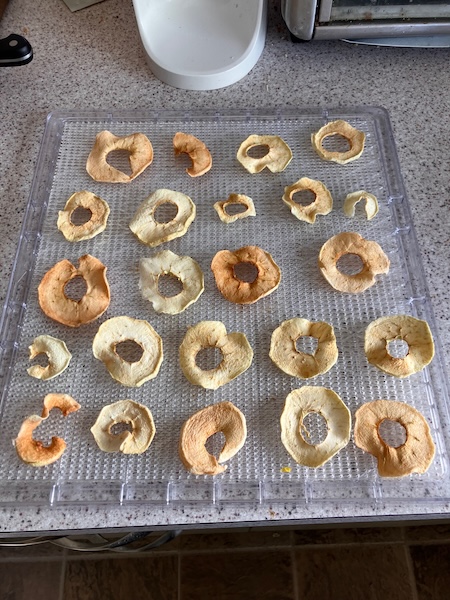
The dried apple slices were then tested for dryness, before being stored in a plastic container.
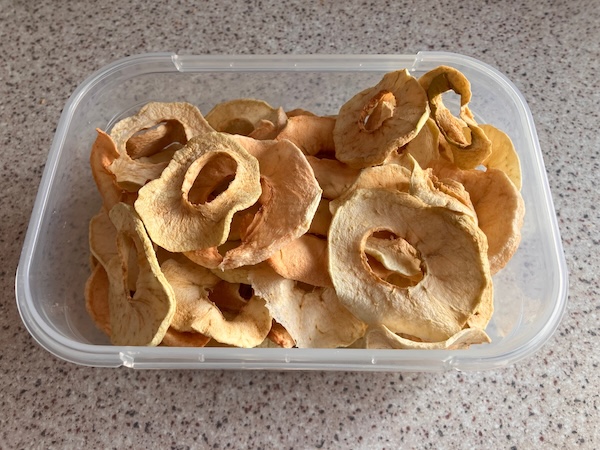
Dehydrated apples are great snacks, whether at home, or for when you're going on a walk and you need a little pick me up. The three different types of apples I dried all taste very different, with the Golden Delicious apples being super sweet, the Flamenco apples being nicely balanced between sweet and tart, and the Waltz apples being quite tart. It makes for a nice mix, and it's a pleasant surprise as the apples are eaten.
Unfortunately we didn't use up all the apples sitting in the 10L bucket, so hubby made a huge batch of apple pie filling with some cinnamon, and I've stored it away in our chest freezer to use over the coming autumn and winter months.
Have a wonderful day
Julie-Ann
Want to discuss my post? Feel free to chat with me on Instagram or Mastodon or Bluesky, and now also Facebook.
Flower Farming This Summer
Hello friends,
One day while I was doom scrolling on Instagram, I came across a reel from a local flower farmer, searching for local flower growers to sell their excess flowers to her for her floristry business. Since I was at the time in the middle of completing Floret Flower Farm's online Flower Farming Workshop, I thought this was a good opportunity to do some practical work for the workshop, by harvesting my flowers and foliage and selling them.


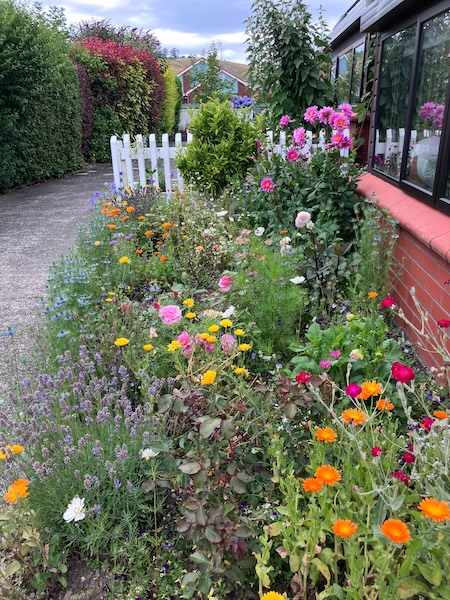
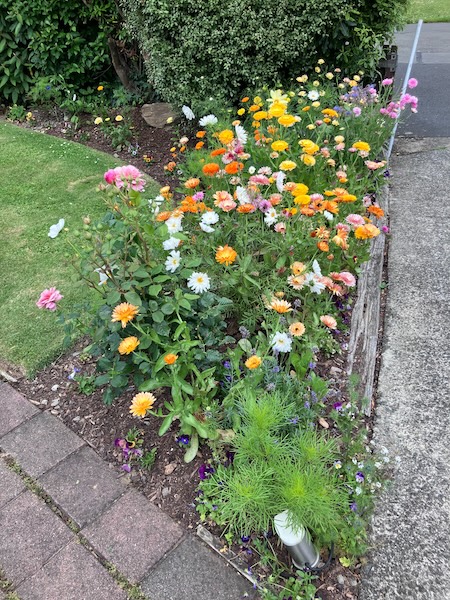
In summer my home garden is full of many flowers including varieties of dahlia, hydrangea, zinnia, scabiosa, cosmos, calendula, as well as many other precious goodies including my grown from seed dahlias. Most of these flowering plants are used in the floral industry for selling as cut flowers, and also many of these plant varieties that I grow do not travel very well over long distances, meaning that local florists need to find local growers to provide them for their floral work.


I contacted the flower farmer, and within a few days she came to my home to look at my garden, and also to pick her first bucket of flowers. She was impressed with my flower varieties, and especially my dahlias and Floret zinnia plants, and she quickly got to work photographing the flowers, and also harvesting them for use in her floristry business.
One of her favorite dahlias to harvest was a Floret Petite seedling dahlia of mine, which is currently named FP6, and it is an unusual anemone dahlia in shades of pink, red and yellow. I'm very happy with this dahlia, and intend to grow this as a second year seedling dahlia next year.

It wasn't long before she contacted me again, with the intention to buy more flowers from me, which I was very happy to do. This time she taught me how to harvest all the various flowers in the garden, so in the future I could harvest flowers for her myself.


This came in handy the next week which was Valentines Day week, the busiest time in a florist's year. For the first time I harvested all the flowers and foliage by myself, and I really enjoyed the process, harvesting the flowers that usually just flowered in my garden, and then processed them ready for her to pick them up.

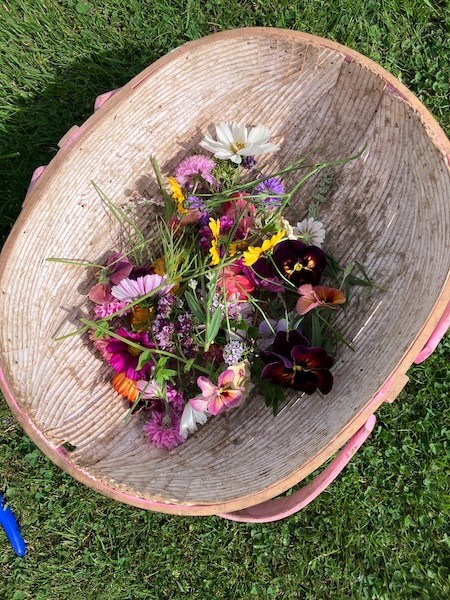
I had so much fun harvesting zinnias, dahlias, hydrangea, and also filler flowers like calendula, cosmos and coreopsis. I also picked foliage plants like rosemary and dogwood for her. When she came to pick up all the flowers up after they'd been harvested, she asked to pick some more, as she planned to make over 100 bouquets for Valentines Day. By the time she left, my garden had provided her six buckets of flowers and foliage, and I was so pleased to have the experience under my belt.


From here on out, she is happy to buy flowers from me whenever she has the need for flowers, and I'm willing to sell them to her. I'm very pleased with this arrangement because it's a way for me to do some flower farming without committing myself to owning a full on flower farm, and all the commitments that come with it, but it also means that any income I receive from this means I can invest it into more plants for my garden, and most likely more dahlia varieties...
Have a wonderful day
Julie-Ann
Want to discuss my post? Feel free to chat with me on Instagram or Mastodon or Bluesky, and now also Facebook.
Pressing Flowers and Leaves This Summer.
Hello friends,
This summer I undertook the process of pressing my own flowers and leaves, with the intention to arrange them in specimen frames.
For years I've seen this done on Instagram and also Pinterest, and I wanted the opportunity to try this myself. I already own a flower press thanks to my husband making me one back in the days when I was pressing and drying leaves and flowers for my New Zealand Certificate in Horticulture, and I've kept the flower press all these years just in case I needed it once again.
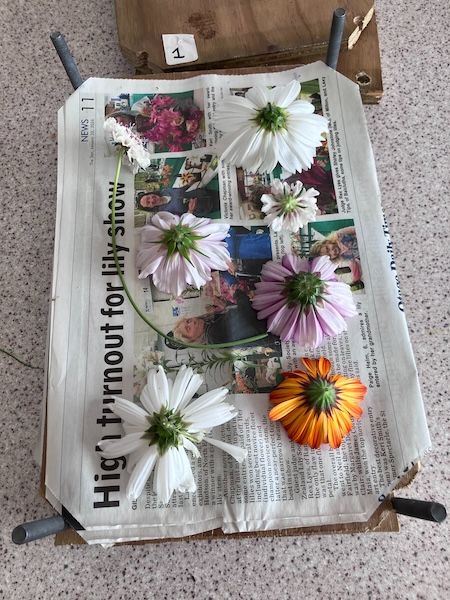
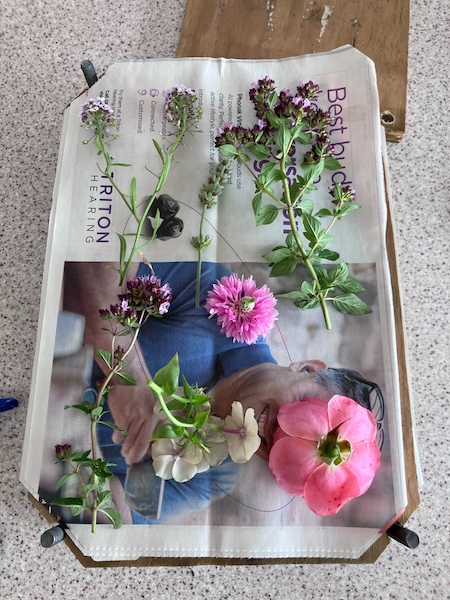
So over the summer I wandered around the garden every now and then, picking out flowers and leaves that appealed to me, and then set up my flower press for pressing them.
My flower press is made out of plywood which is sealed with polyurethane, and measures 20 cm wide by 30 cm deep and 10 cm tall, and has 7 sections to press flowers. The flower press is held in place with screws, washers, and wing nuts to apply even pressure over the plywood sheets.

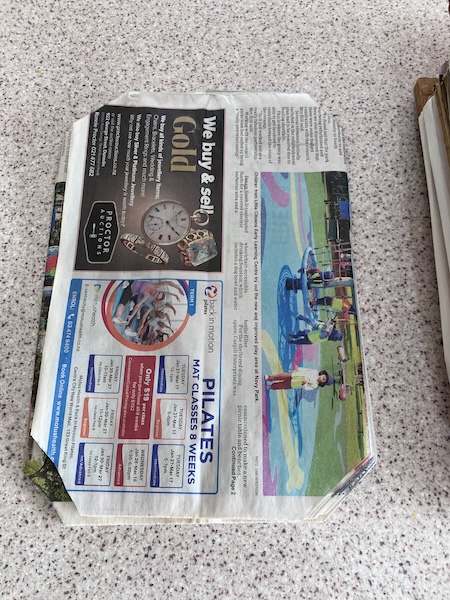
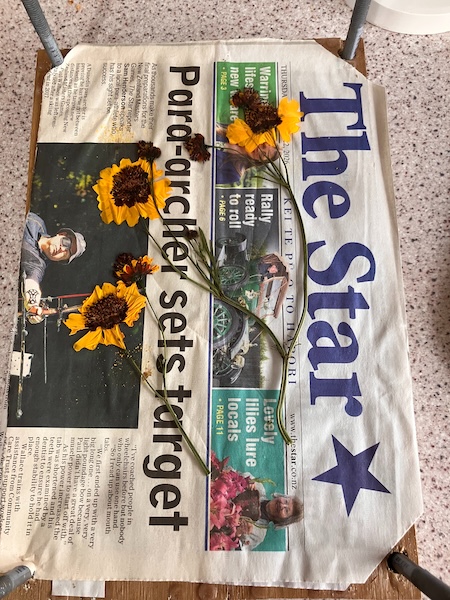
I cut up a large number of newspaper pages to fit the flower press, and got to work laying out the flowers in the sections.
I separated out the flowers and leaves into groups based on what flower and leaf type they were, and also how deep they were, so that similar depth flowers and leaves were pressed together in the same section.
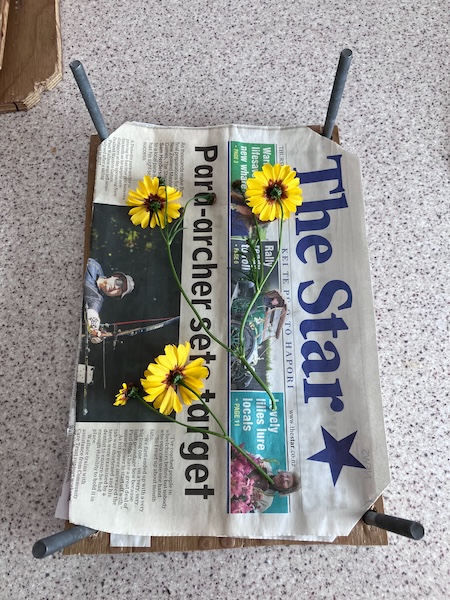
Once the flowers and leaves were separated out, I placed them face down on two pieces of newspaper, making sure the flowers and leaves weren't touching. Two sheets of newspaper were placed on top, and then a plywood board was placed above them to form the next section.
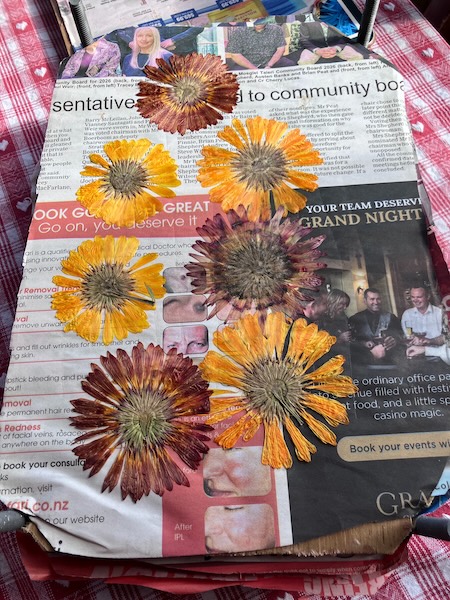
Once all the sections were filled, I placed the last plywood layer on top, and then tightened the screws using the washers and wing nuts to begin pressing the flowers. With all the wing nuts screwed down evenly with the same pressure, the flower press was left in our dry garage for up to two weeks to press and dry the flowers.
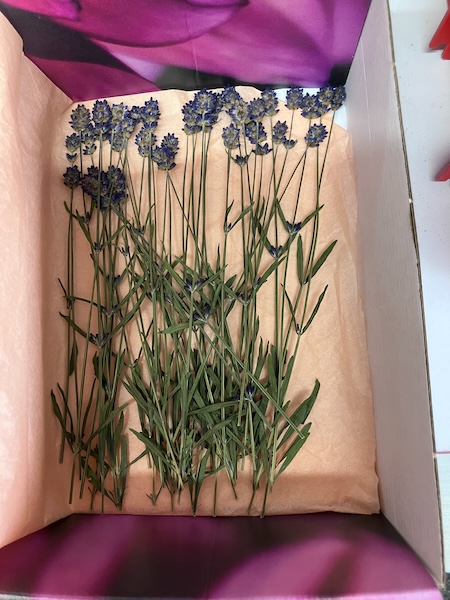
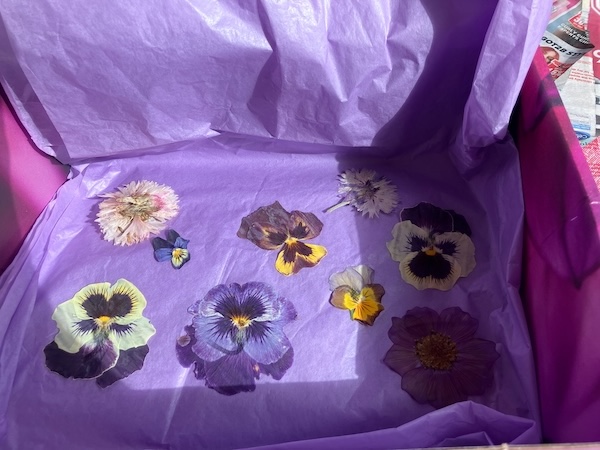
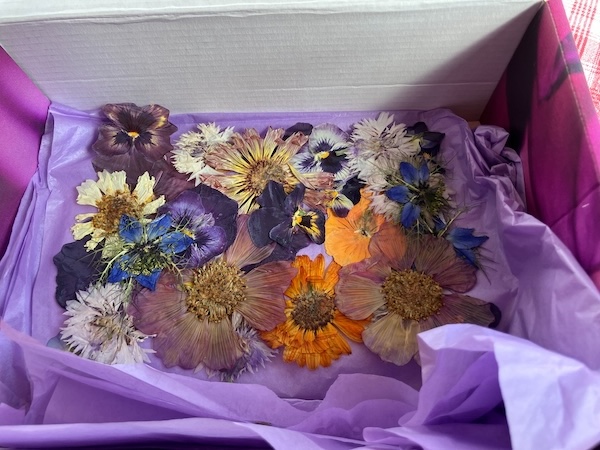
When the flower press was finally opened, it was time to remove the flowers and leaves from the paper layers. It can be a little tricky to remove the flowers and leaves without breaking them, but the best method I've found is to pry the paper away from the flowers and leaves (instead of prying the flowers and leaves away from the paper). For more tricky specimens, I used a pair of fine and flat tweezers to slide between the paper and flowers to break the seal.
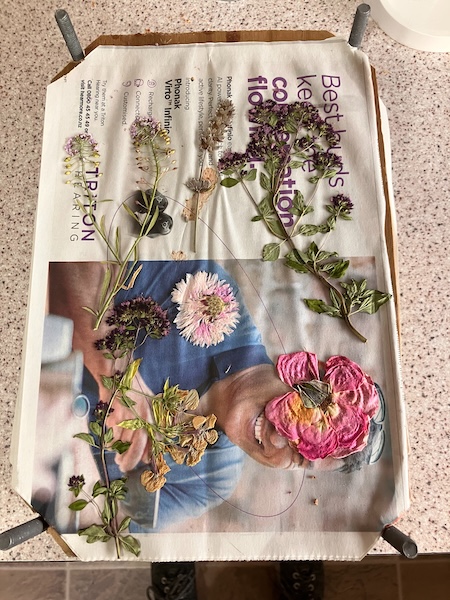
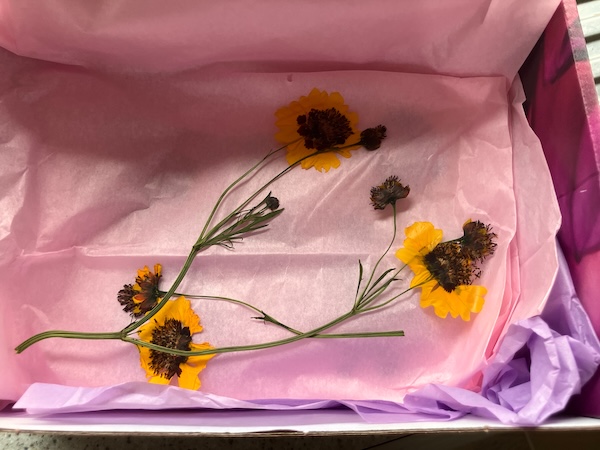
With the flowers and leaves released from the newspaper, I threw out or recycled the used paper, as sometimes the paper can develop a fungal infection from drying plants, or the paper becomes uneven afterward, making it unsuitable for pressing again. The resulting pressed flowers were laid flat in between tissue paper layers in a cardboard box for storage.
My plan for now is to continue collecting and pressing flowers and leaves, and later on in the year I will begin crafting my specimen frames...
Have a wonderful day
Julie-Ann
Want to discuss my post? Feel free to chat with me on Instagram or Mastodon or Bluesky, and now also Facebook.
Social Media


Archives