

July In The Garden - 2026
Hello friends,
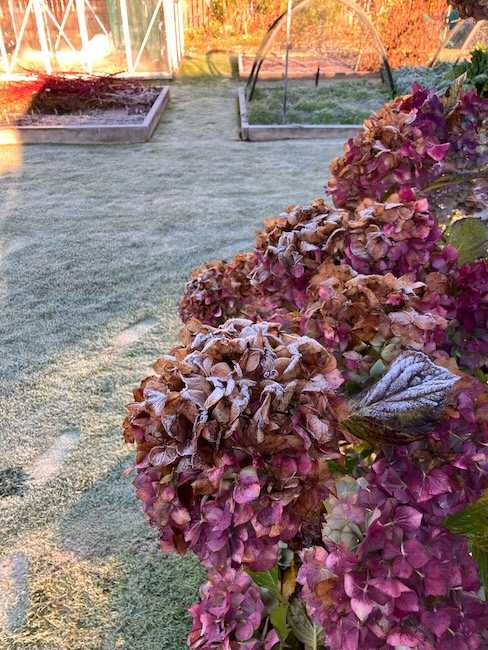
July is the depth of winter here in Otago, New Zealand. Frosty mornings are a familiar sight, the garden has settled into its winter rhythm, and much of this month's work has been focused on preparing for spring. Although everything feels a little slower at this time of year, there are still plenty of signs that a new growing season is on its way.
Here's what July has looked like in my garden...
What's Flowering:
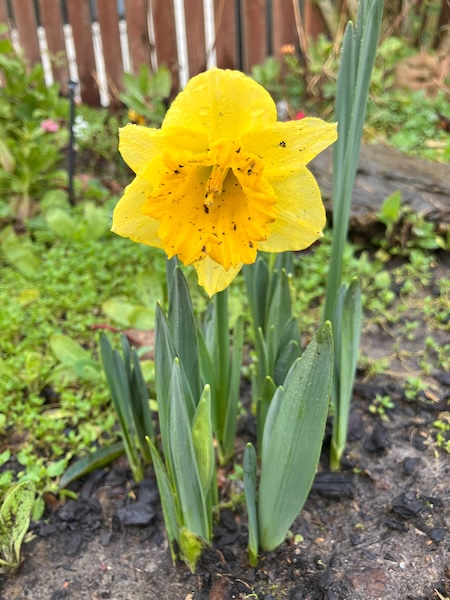
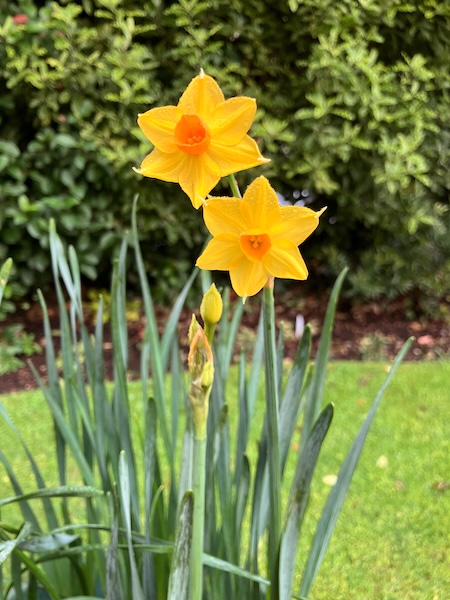
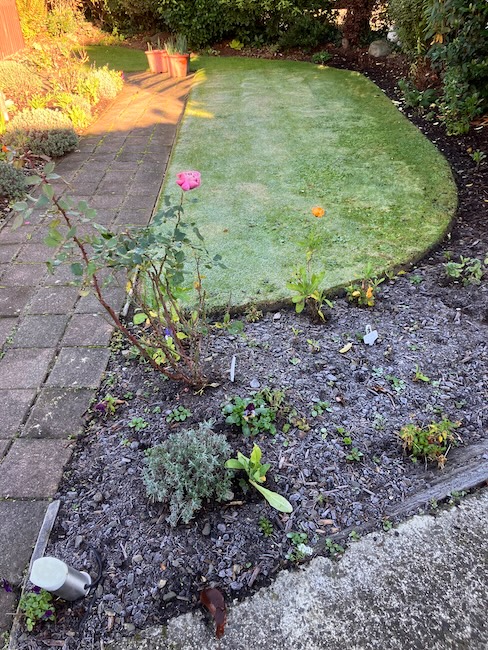
Surprisingly, the first yellow daffodils are already flowering in my backyard. Their foliage began emerging in early June, with the first blooms opening in early July. For now it's only a handful of flowers, but the main display will begin in August and continue right through until October.
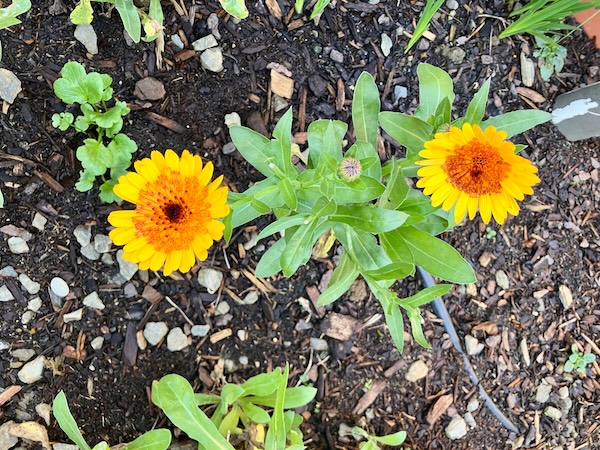
There are still a few calendula flowering in the garden. Over the years I've found they provide flowers for almost the entire year, and their cheerful blooms always brighten the cold, dreary days of winter.

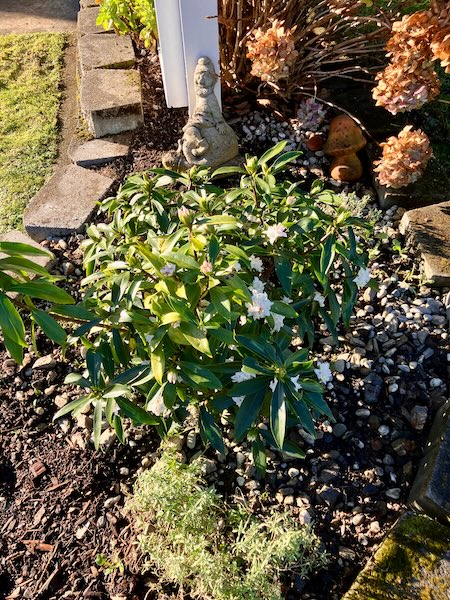
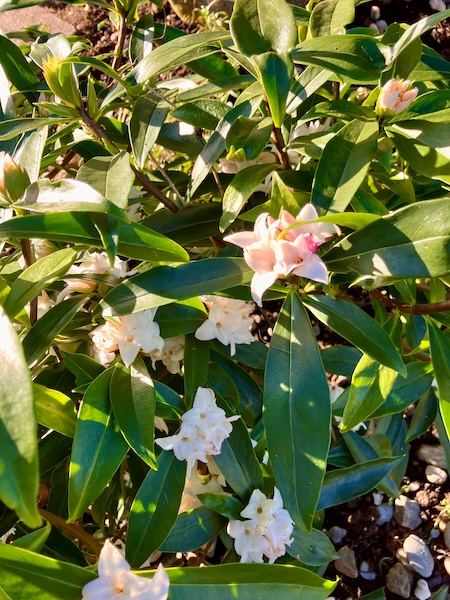
And finally, my young 'Perfume Princess' daphne has been flowering over the past couple of weeks, and its fragrance is intoxicating, filling the entire backyard on sunny still days.
What's Growing:
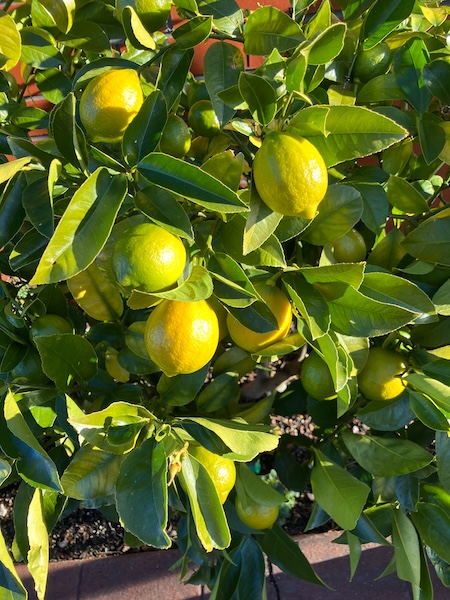
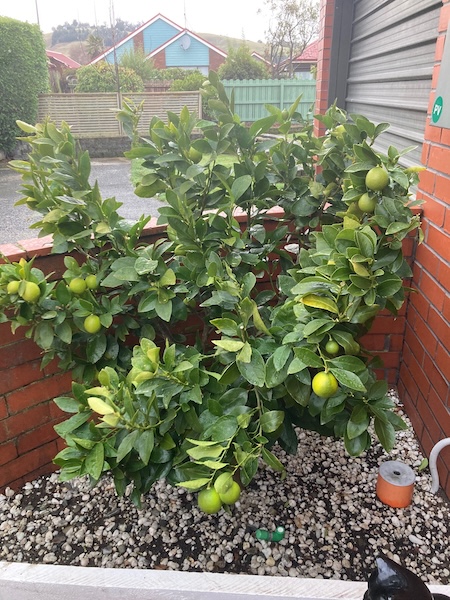
The lemons on my 'Meyer' lemon tree are beginning to ripen, and I'm looking forward to harvesting them over the coming weeks and putting them to good use in the kitchen.
I'm overwintering some sugar beet plants for seed saving, and they've taken all our winter frosts in their stride. They've remained completely hardy and continue to grow without any problems. It is still another 9 months until I can save seed from these plants, and no doubt I'll have to corral them to stop the seed heads from falling over in summer and autumn.

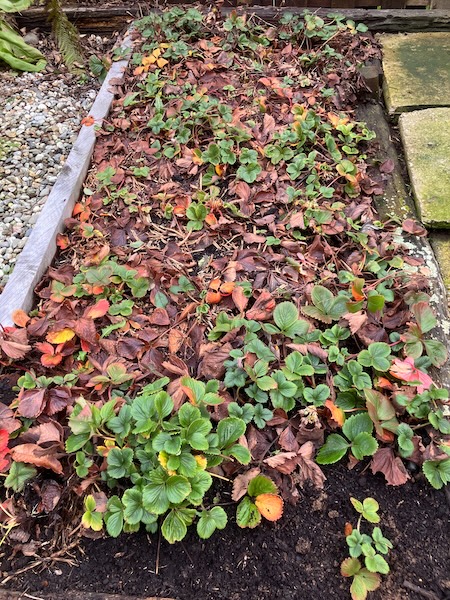
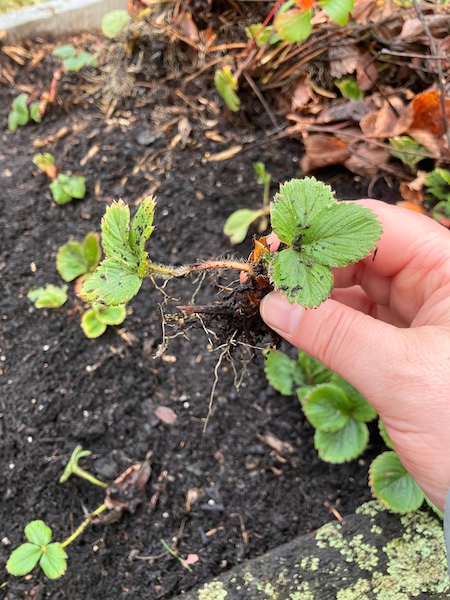
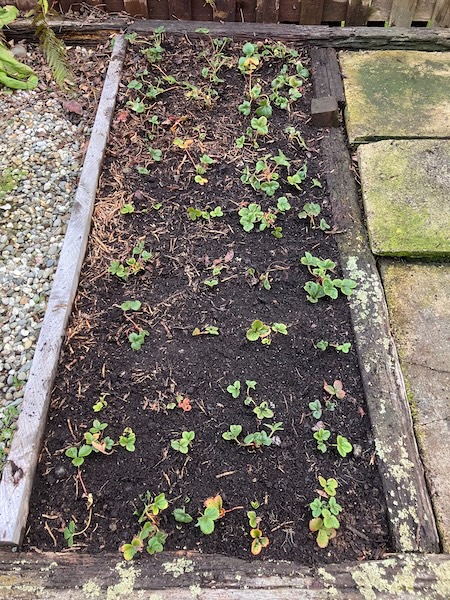
And finally, I gave my strawberry bed a tidy-up by weeding, removing
the older plants, and replanting it with fresh runners. In the process, I
increased the number of plants from 24 to 40, which should mean a much
bigger strawberry harvest this summer.
Nature Notes
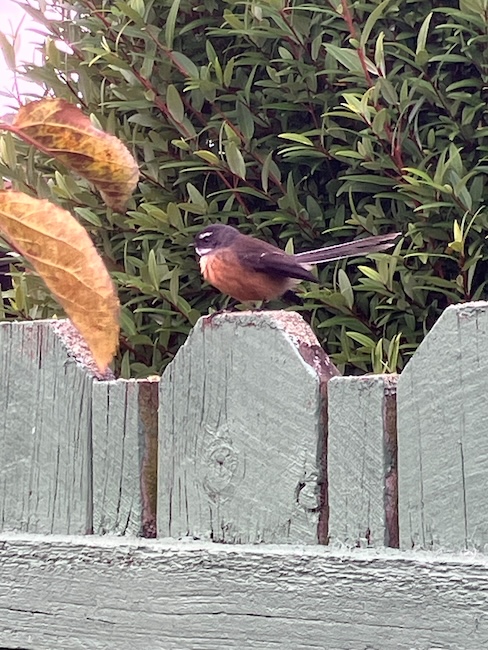
Bird life is abundant at this time of year, with many birds searching for food throughout the garden. As always, the blackbirds have been busy digging up the lawn, vegetable garden, and flower beds in search of worms. Tauhou (also known as silvereyes or waxeyes) have been flitting between the few plants still in flower, searching for nectar, while a pair of pīwakawaka have made themselves at home, darting about in search of insects.
I even managed to photograph one of the pīwakawaka as it followed me around the backyard one sunny afternoon—a lovely reminder that even in the middle of winter, the garden is full of life.
I usually put bird feeders out in the front garden over winter, but with the recent arrival of bird flu in New Zealand, I decided to follow the advice of our local ecosanctuary, Orokonui, and take them down. Hopefully it won't be too long before it's safe to welcome the birds back to the feeders.
July has been surprisingly mild. We've had a total of 19 frosts, with temperatures ranging from –0.1°C down to –2.6°C. For the coldest month of the year, that's quite unusual. In a typical July we would normally expect at least a few frosts of around –6°C, along with plenty of mornings below –4°C.
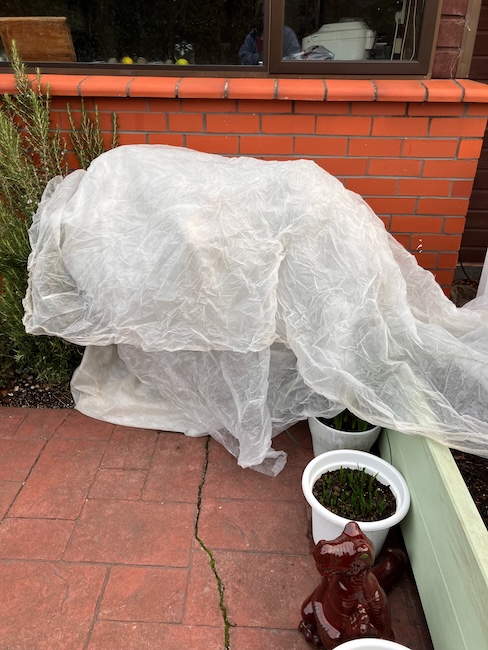
Every day it seems I'm outside in the early evening throwing frost cloth over my citrus plants, wasabi plant, and seedings growing in my glasshouse. My citrus plants look like ghosts in the garden the next morning...

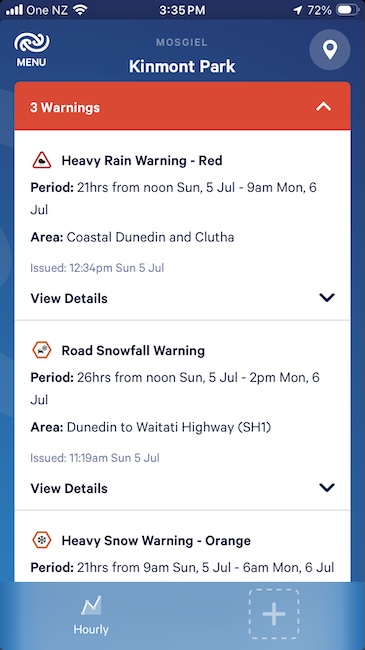
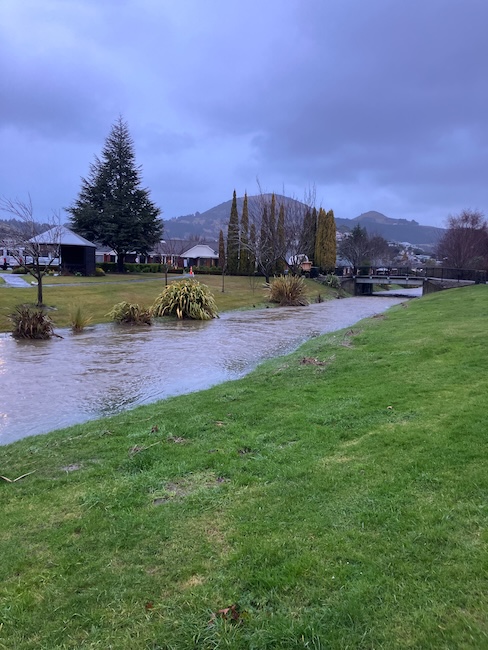
Our biggest weather event this month occurred on 5–6th of July, when a severe winter storm swept across the South Island. Many areas were blanketed in snow, but unfortunately the air wasn't quite cold enough here. Instead, we received torrential rain from the east, prompting MetService to issue a Red Heavy Rain Warning for Dunedin.
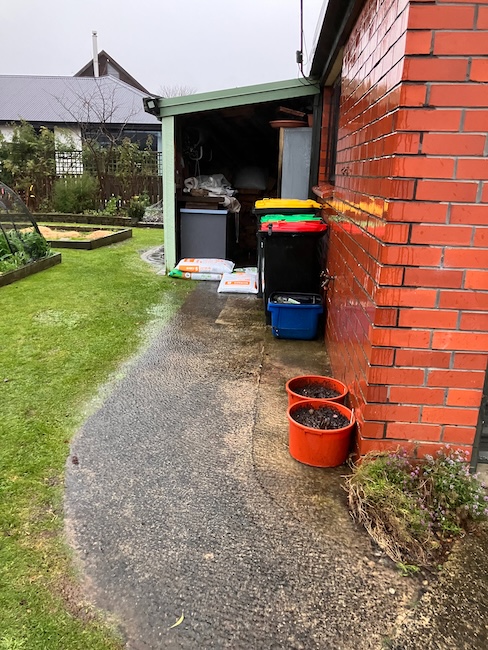
Whenever we get this type of weather pattern, it almost always leads to flooding in our backyard, as well as more widespread flooding across Dunedin. On the 5th of July we recorded 113 mm of rain in just 24 hours, followed by another 80.3 mm on the 6th of July.
As usual, the path leading to our woodshed flooded, so we built a temporary flood barrier using bags of potting mix to keep the water at bay. We keep meaning to fix the problem properly, but this particular weather pattern only comes along every few years, so it never quite makes it to the top of the to-do list.
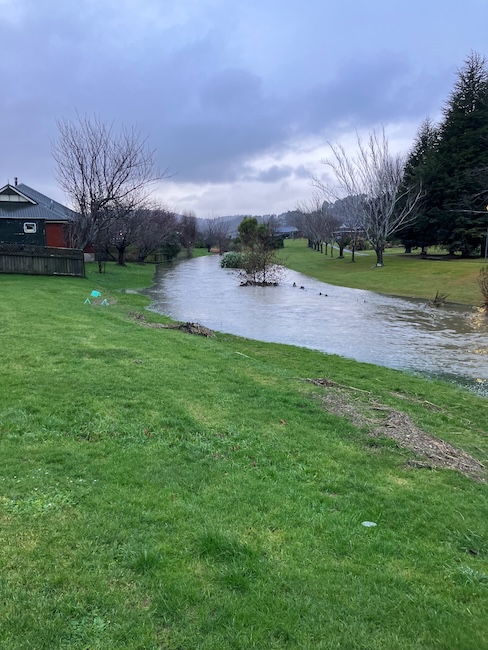
I took a trip out in the pouring rain to check out our local stream. Luckily it stayed within its banks, even though the water was so swift that even the local ducks didn't want to go anywhere near it.
Luckily, the torrential rain eventually came to an end and the garden began to dry out. We've since enjoyed a run of crisp, sunny winter days, making it much easier to catch up on jobs around the garden.
As July draws to a close, the garden is slowly beginning to wake from its winter rest. My seed orders are on their way, and I can't wait to start filling the glasshouse with trays of seedlings. It won't be long before another growing season is underway.
Have a wonderful day
Julie-Ann
If you'd like to continue the conversation, you can find me on Instagram, Mastodon, Bluesky, and Facebook.
Herb Garden and Patio Tidy Up
Hello friends,
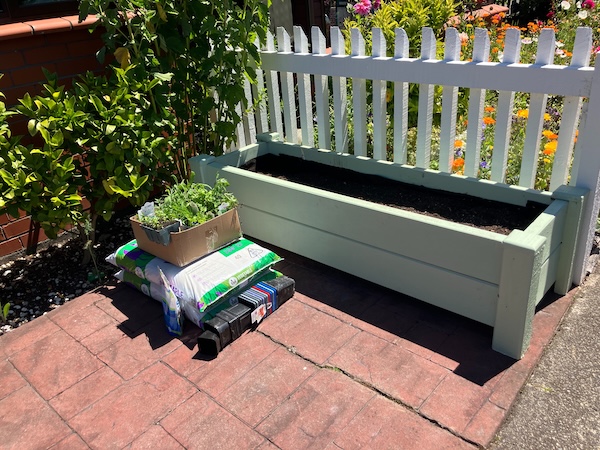
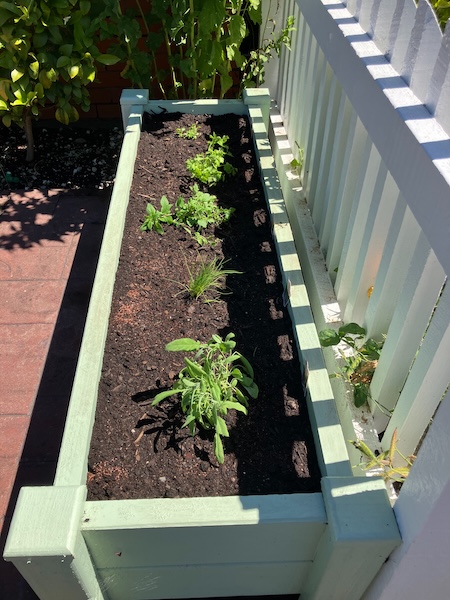
Our herb garden and patio were looking a little weary over the summer, and the plants in the herb garden bed had well and truly bolted and gone to seed, so it was time to give the herb garden and patio a tidy up.
After pulling out all the weary looking plants from the herb garden bed, it was time to head off to the local garden centre. I bought a couple of replacement bags of potting mix, and a range of herb plants that we regularly use.
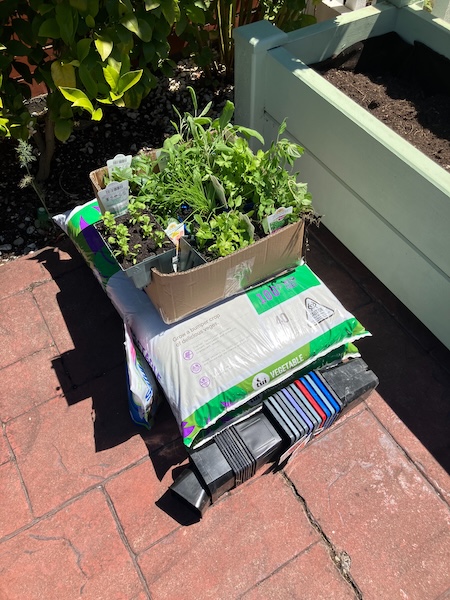
After topping up the potting mix, and watering it in, it was time to place out all the new herb plants.
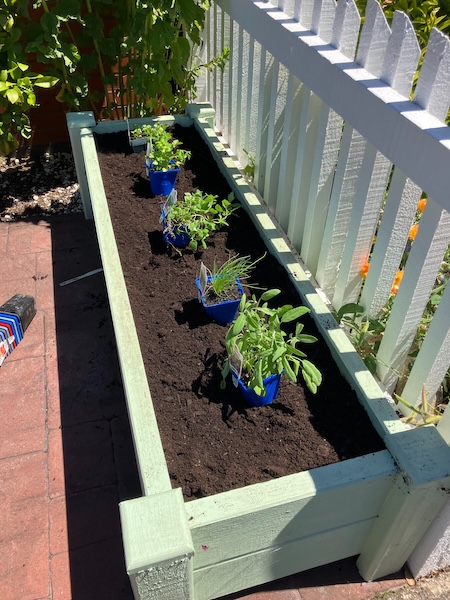
I bought coriander, chives, oregano, sage and a parcel plant. I thought the parcel plant was Italian parsley when I bought it, but when I got home I realised I'd bought a new to me herb plant. According to research I had to do "Parcel tastes like a combination of parsley and celery. It is sometimes known as Chinese celery, wild celery or leaf celery. It is often used in salads but can be used in just about any dish."
Luckily the parcel plant will work with our cooking style, so it's a welcome addition to our herb garden.
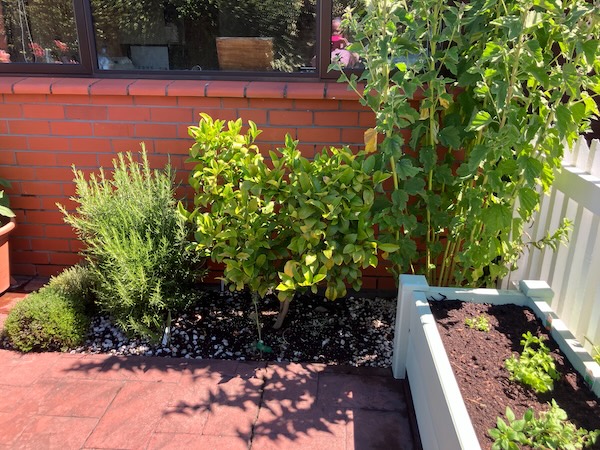
I then weeded the rest of the patio as well. While I was tidying things up in the herb and patio area, I also fertilised our citrus bushes.
Once all that was done, I gave the patio and herb garden a decent watering after the hot and sunny weather we've been having recently.
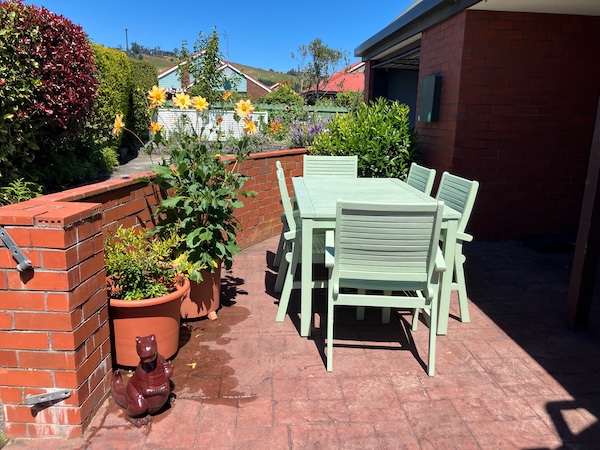
It was really good to tidy up that area of the garden, and it'll be fine now until late autumn. It's now a great place to sit in the sun and enjoy on hot sunny summer days.
Have a wonderful day
Julie-Ann
Want to discuss my post? Feel free to chat with me on Instagram or Mastodon or Bluesky.
Dehydrating Citrus Rind for Making Citrus Peel
Hello friends,
It's Christmas Cake making season again, so it's once again time to dehydrate our own citrus rinds for making citrus peel.
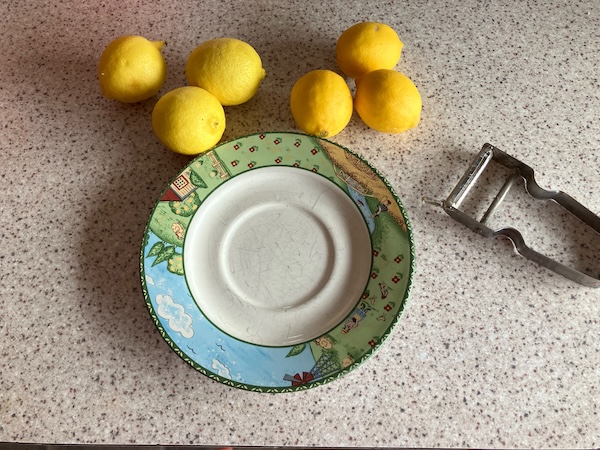
The process is very easy, all you need to do is to use your potato peeler to take off thin layers of citrus rind (I used lemons and limes from our trees), and then pop them into a dehydrator.
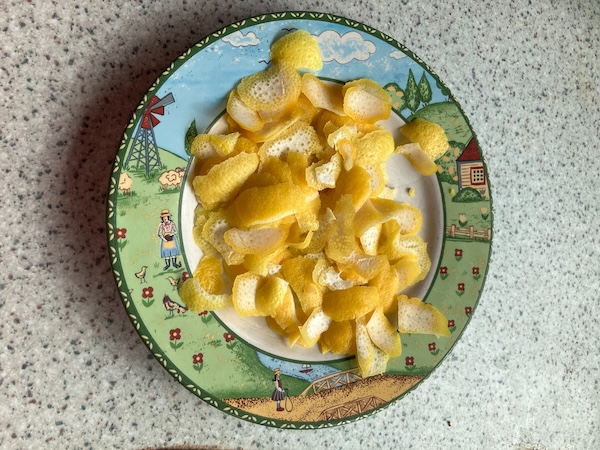
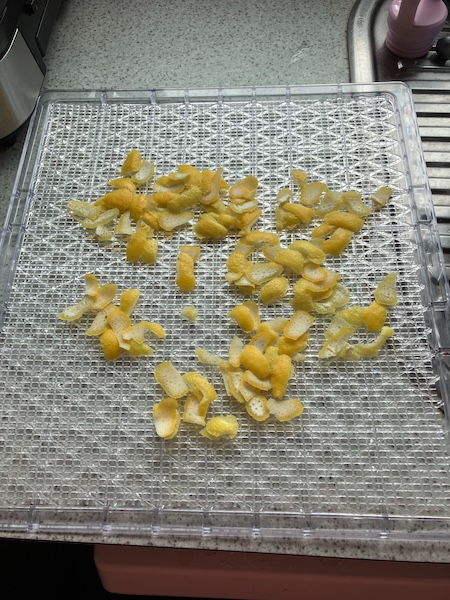
Luckily our dehydrator has a citrus peel calculator on the top, so I set the dehydrator to 55˚C and dried the rind for 4 hours.

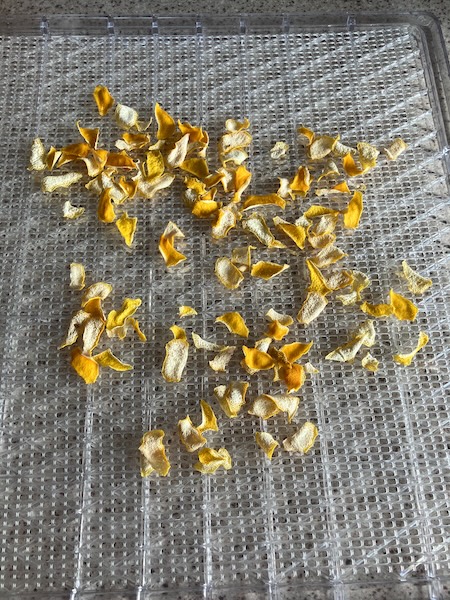
When the rind was very dry, and snapped when bent in half, the citrus peel was ready to store.
Hubby made my Grandad Bob's Christmas Cake last weekend, and added the citrus peel to the recipe. I can't wait to try the cake out this Christmas, but you can too if you follow the recipe I posted in a blog post from last year.
Have a wonderful day
Julie-Ann
Want to discuss my post? Feel free to chat with me on Instagram or Mastodon or Bluesky.
Making Lime Syrup With A Glut of Limes
Hello friends,
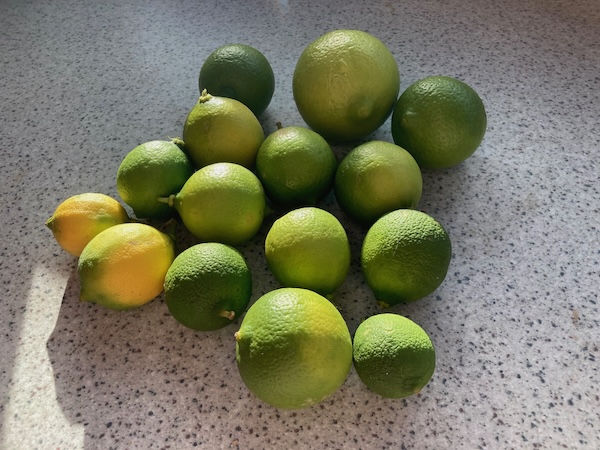
As it's now winter, it's peak citrus fruit season for our lemon and lime bushes. The lime fruit ripened on the bush first, so we've been using them in various baking and cooking recipes for the last couple of months (wherever citrus is needed), and I've even been giving away limes to anyone who comes to visit us...
But even after doing all that, we still have too many limes sitting on our kitchen window sill and also on the bush, so I searched the internet for ideas for what to do with all the limes.
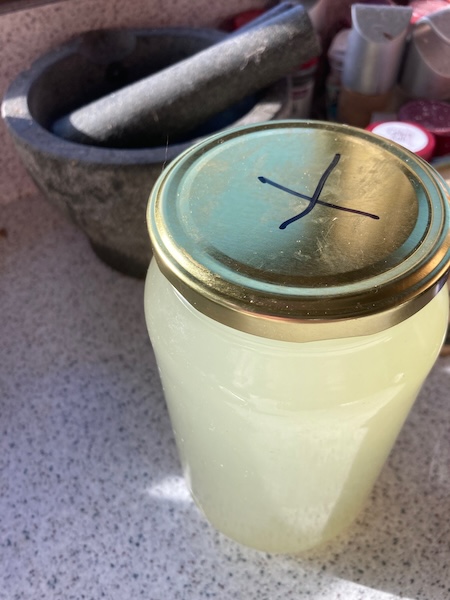
After searching for a while, I settled on making some simple lime syrup. It uses up a lot of limes, and it means I have homegrown syrup for hot and cold drinks, and also for using in baking recipes.
Simple Lime Syrup
Ingredients
1/2 Cup of Fresh Lime Juice
Zest of Those Limes
1 + 1/2 Cups of Water
1 Cup of Sugar
1/2 Teaspoon of Citric Acid (citric acid makes the lime syrup flavor more intense)
Recipe
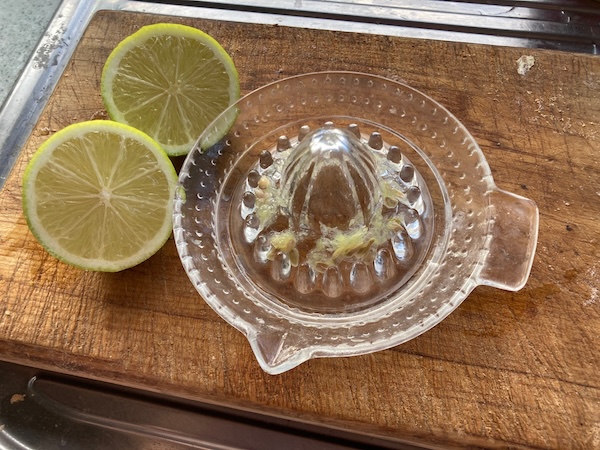
(1) Zest limes one by one before you juice them, aiming to have 1/2 a cup of lime juice, plus the zest from them at the end. This step is not exact, depending on how much juice is in the limes. As I had a lot of limes, I just kept juicing them until I had enough juice and zest. It's always easiest to zest the limes first before cutting them in half and zesting them.
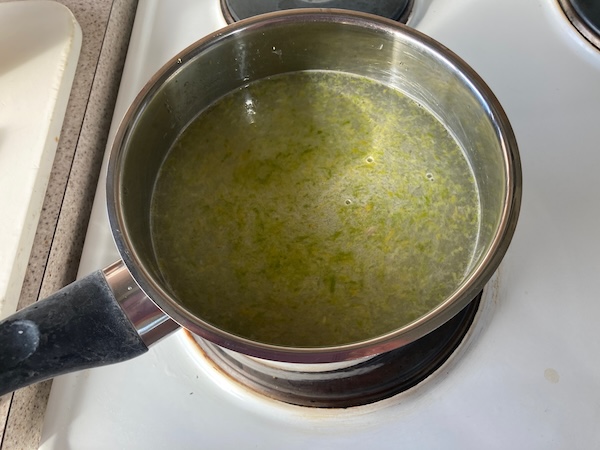
(2) To a pot, add 1 + 1/2 cups of water and heat to a simmer, add the sugar and citric acid, and mix until the sugar is completely dissolved. Add in the lime zest and juice, and cover the pot, and simmer for 15 minutes.
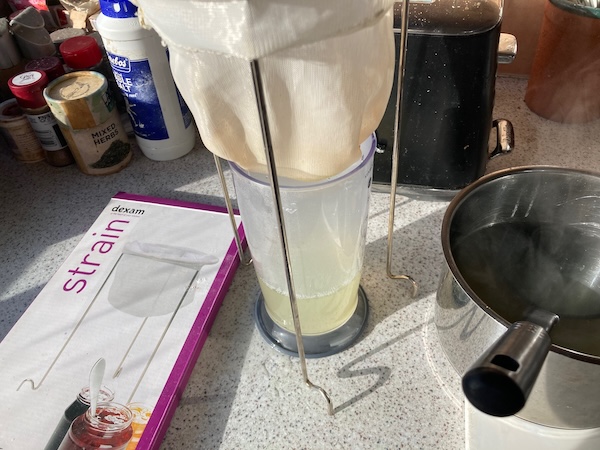
(3) Remove the syrup from the heat and allow it cool. When the syrup is cool enough to handle safely, strain the lime syrup to remove the zest and any stray lime pieces. I used a dexam strainer that I got from Moore Wilsons when we lived in Wellington. (The dexam strainer is very useful for many cooking, bottling, juicing, and jam making projects, as the strainer is super fine.)
(4) Collect the lime syrup in a container, and store it in the fridge, where it will last for up to a month.
You can also use this recipe to make a simple syrup with other citrus fruit like lemons and mandarins and oranges. I've found that the lime syrup is great for making a hot citrus drink, similar to making a hot lemon, and you can add honey to it as well. It's quite refreshing and warm on a cold frosty day.
Have a wonderful day
Julie-Ann
Want to discuss my post? Feel free to chat with me on Instagram or Mastodon or Bluesky.
Social Media


Archives