
Sewing a Traveller Cape for My Little Sister
Hello friends,
Over the winter, I spent a few cosy evenings tucked away in my craft room, making something special for one of my sisters — a Traveller Cape by Twig & Tale. For several years, she has been telling me that she'd love a winter cape made from wool, so I thought it was time to make her one.
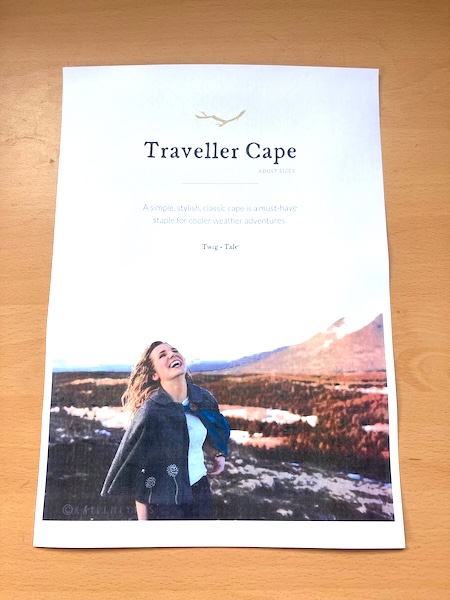
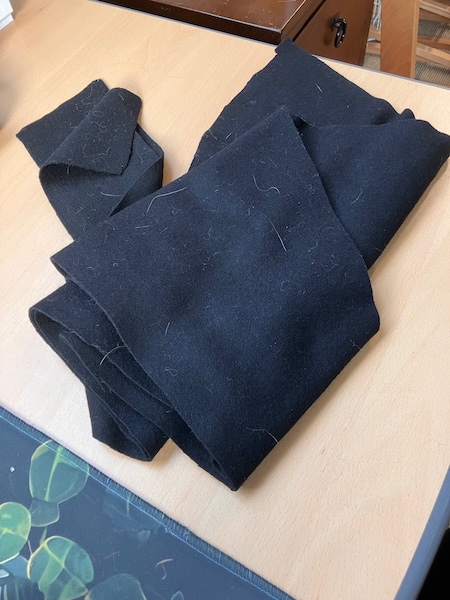
And luckily, I had just the fabric I needed on hand, some wool fabric left over from making my husband's Overland Cloak, also another Twig & Tale pattern. There was just enough black, 100% pure wool coating fabric to make my sister a cape in the classic length, complete with a matching collar, blue satinette lining (also left over from hubby's Overland Cloak), and black toggles.
I would have liked to share some photos of the sewing process, but unfortunately, it seems I forgot to take any. The process was very much the same as making the Overland Cloak for my husband, but overall I found the Traveller Cape an easier pattern to follow and sew as the steps were simpler.
And here is the finished result! The Traveller Cape looks so elegant in black wool coating, finished with a beautiful blue satinette lining.
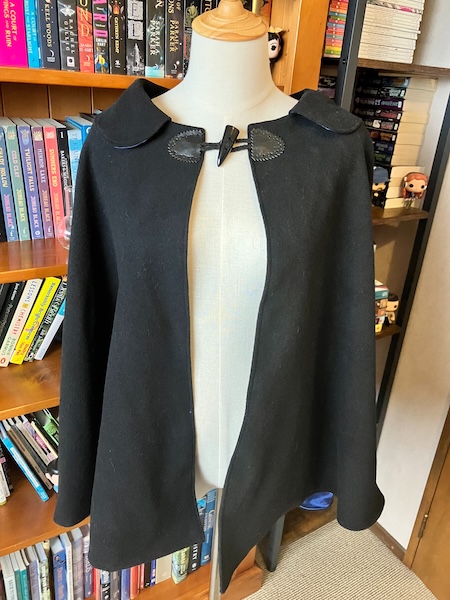
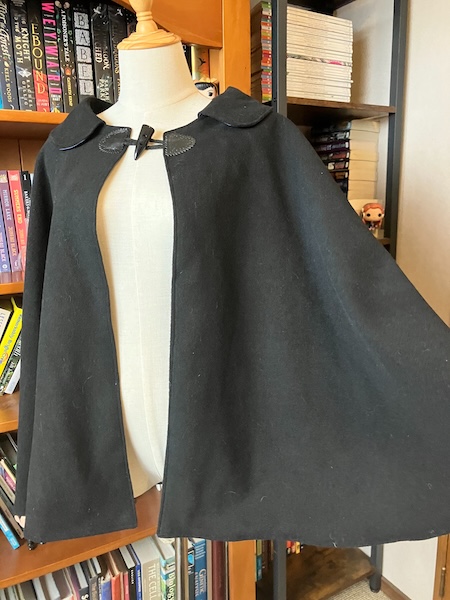
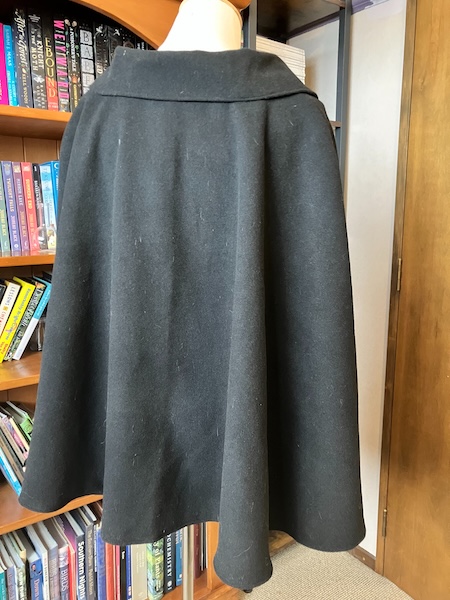
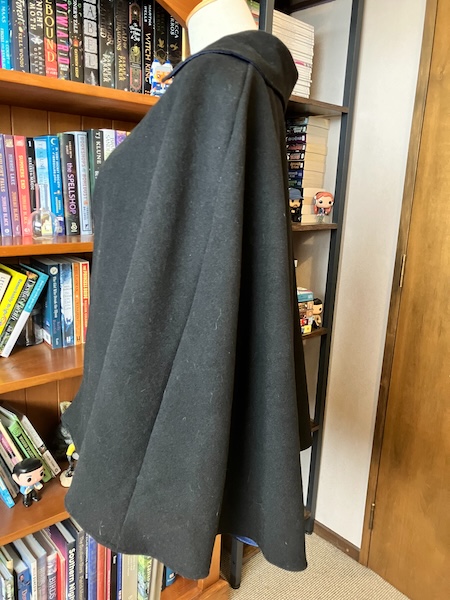
The Traveller Cape is warm yet lightweight, with little flashes of blue satinette lining peeking through as you move. The toggle fastening makes the cape easy to put on and take off.
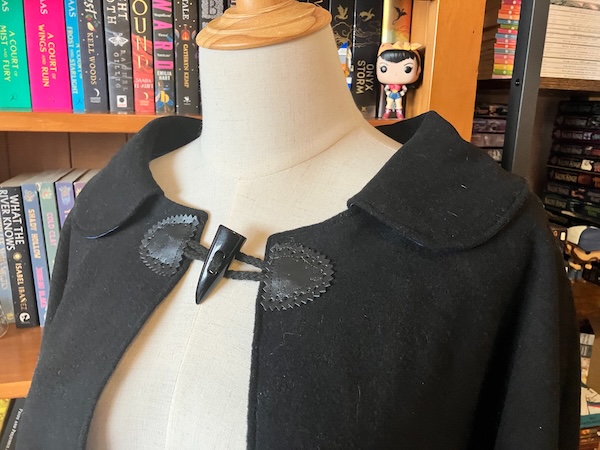
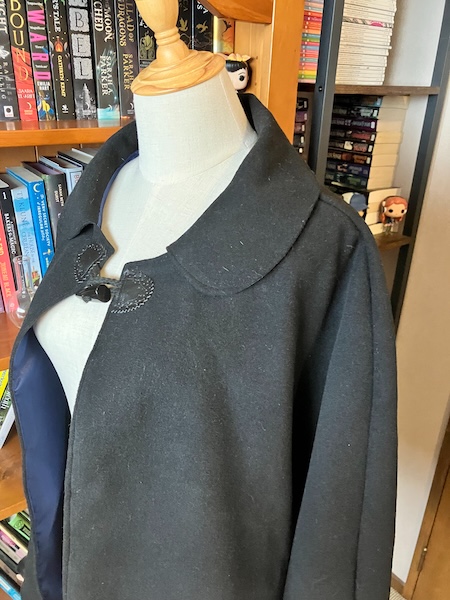
I had originally planned to give the Traveller cape to my sister for her birthday in November, but an outdoor wedding early in spring provided the perfect opportunity to give it to her ahead of time. With the weather still being quite chilly, I thought she could put it to good use at the wedding. My niece who saw my sister try it on is now quite jealous of her mum's new cape, and wants one of her own.
I still have some beautiful purple wool coating and matching lining fabric tucked away in my craft room, ready to make another cloak for myself. I've got my eye on the Cascades Cloak by Twig & Tale, but that project will have to wait until after Christmas. With work and life hopefully being a little quieter over the summer months, I'll have more time to enjoy another big sewing project.
Have a wonderful day
Julie-Ann
If you'd like to continue the conversation, you can find me on Instagram, Mastodon, Bluesky, and Facebook.
Sewing Two Overland Cloaks For A Wedding
Hello friends,
In June this year our nephew is getting married, and him and his wonderful fiance are having a Medieval/Renaissance Faire themed wedding. Since they encouraged everyone to dress up in Medieval/Renaissance Faire inspired outfits for the event, it was time for me to pull out my sewing machine and get to work.
Now was the chance for me to finally make a medieval winter cloak of my dreams, which I've wished to own for a very long time. After a lot of searching on the internet, and asking some knowledgeable friends online, my friend Karyn suggested the Overland Cloak by Twig + Tale pattern, which is a "luxurious hooded cloak designed for hiking and adventure, with a generous dash of dreaminess". When I bought the Overland Cloak pattern, and showed it to my husband, he got very excited and wanted a cloak of his own, and so it was now up to me to now make two cloaks for the upcoming wedding...

As this wedding is happening in the middle winter, in a community hall, which more than likely is going to be a little chilly, I thought it best to make cloaks with some heft, so we could would stay warm and toasty on the wedding day and into the evening festivities.
First up was finding the fabric needed for the project. I needed 5 metres of outer fabric for each cloak, and the same for lining. From Spotlight we picked up two satin linings in midnight blue and gold. For the outer cloak fabric, the pattern suggested fabrics including wool coating, linen, cashmere and twill. I went hunting in our local secondhand stores to see if I could find any fabric treasures, and came across a steal, 10 metres of vintage gold velvet fabric for $80. This fabric came home with me to be used for my cloak.


For hubby's cloak, I couldn't find any more appropriate secondhand fabric which would work for him, so I ordered some black 100% pure wool coating from the The Fabric Shop in Auckland. When the fabric arrived I was so pleased with it, it wasn't too thick, but it was warm and very good quality. The only bad thing about the fabric is that it was so warm and cosy that Rosie cat became enamored with it and wanted to snuggle with it, and so the fabric quickly became covered with her cat fur...

With all that done it was time to cut out the fabric and then start sewing. I sewed my cloak first, and to be honest the vintage gold velvet was horrible to sew. Even with a Brother Walking Foot the velvet fabric shifted and bunched while sewing, and it took me a long time to make this cloak because it was so difficult, and I was getting very frustrated with it. I eventually finished it, but the cloak has lots of small flaws which are thankfully mostly hidden inside the linings.


On the other hand, hubby's cloak was a dream to sew, and the outer pure wool coating fabric was boiled and felted, which meant I could skip the overlocking steps since the fabric didn't fray at all. I managed to finish hubby's cloak in about a week with Rosie cat's help.


Hubby's cloak look's amazing on him in his favorite colours of black and midnight blue. It sits really great on his shoulders (size 5 pattern), and is the perfect length for all your Medieval/Ren Faire, and Lord of The Rings needs. He chose silver buttons which we got from Spotlight. As you can see from all the photos hubby's cloak is covered in Rosie Cat fur, because she just won't leave it alone.


My cloak looks amazing in shades of gold velvet and satin, along with gold buttons which I also chose from Spotlight. My cloak was sewn in a size 4, which was based on my shoulder width. Due to the incredible difficulty in sewing the cloak, I was unable to insert buttonholes into the velvet fabric, because the buttonhole foot on my sewing machine kept slipping while trying to make the buttonhole. Instead I had to sew on snap fasteners under the top section, and then just sew buttons on top to look like they had buttonholes.


Hubby and I both chose the oversized hood for the Overland Cloak, but they ended up being huge on us, so much so that it completely covered my face if I wore it. I think next time I make an Overland Cloak, I'll choose the smaller rounded hood available.


All in all I'm very pleased with both of the Overland Cloaks that I've made for the wedding. And I certainly now have the Medieval cloak of my dreams. But I am already planning on making another cloak, this time in pure wool coating in shades of purple like hubby's one, with silver buttons, and a smaller rounded hood. And I already have all the fabric and buttons that I need, I just need to find the time and energy to make it...
Have a wonderful day
Julie-Ann
Want to discuss my post? Feel free to chat with me on Instagram or Mastodon or Bluesky, and now also Facebook.
Star Wars Cross Stitch Project Bag for Hubby's Birthday
Hello friends,
Recently I made a Star Wars cross stitch project bag for hubby for his birthday. He loves both Star Wars and cross stitching, so I though I'd combine the two for his birthday present this July.
For a job, I sew, and also weave, fabric into various textile products that I sell in my store Hearth and Oak on Felt (a New Zealand artisan online market place similar to Etsy), and one of the products I make regularly are cross stitch project bags. So all I had to do was pull out my cross stitch project bag pattern and got to work cutting out the fabric, and then sewing it up. Luckily I had a black zip in storage to help sew the bag up.
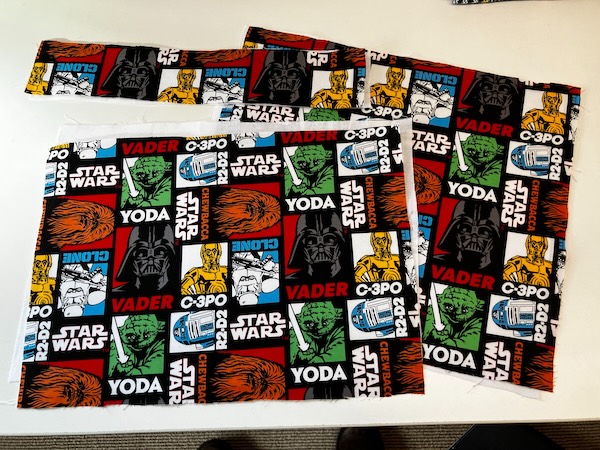
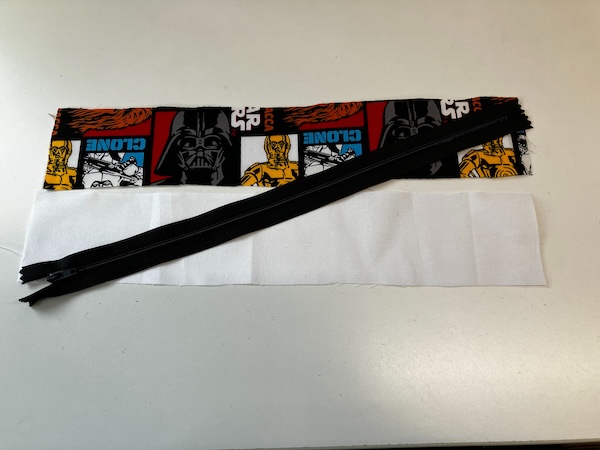
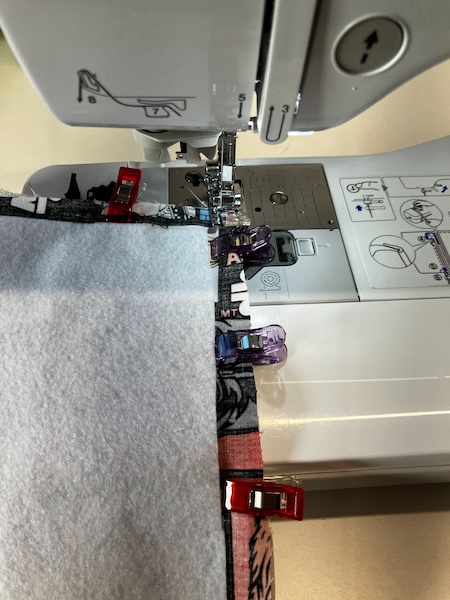
And here is the cross stitch project all sewn up. I think it looks really great with the fabric and the blocks of colours, and I really like the black zipper, rather than the usual white ones I use for work.
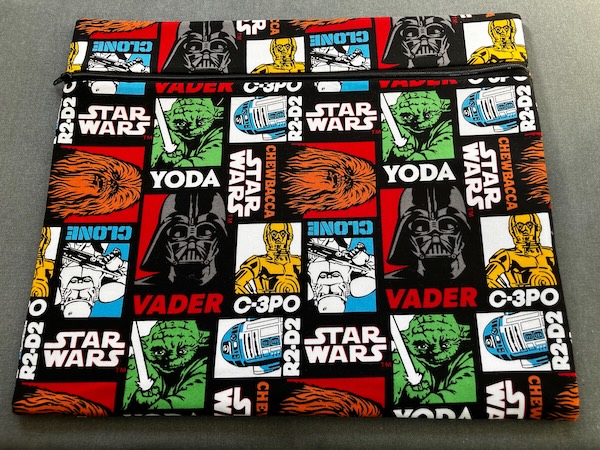
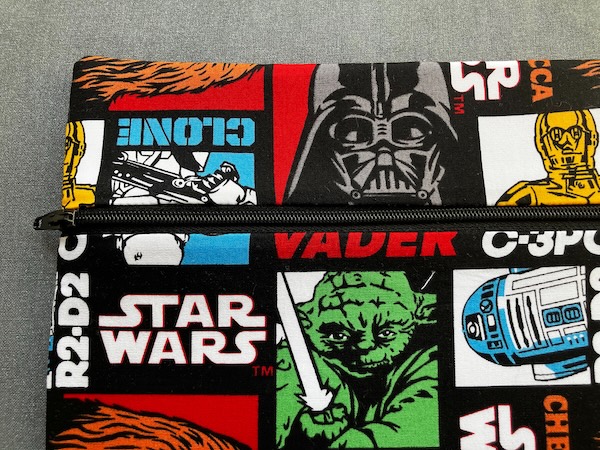
On hubby's birthday, I gave him the cross stitch bag as a gift, along with a new cross stitch project all kitted up. He loves his new bag to store his cross stitch WIPs in, and this way our cat Rosie won't get into his projects and try to eat the DMC floss...
Have a wonderful day
Julie-Ann
Want to discuss my post? Feel free to chat with me on Instagram or Mastodon or Bluesky.
Sewing Reusable Birthday Present Gift Bags
Hello friends,
Recently I finally got around to sewing some reusable birthday present gift bags.
A couple of years ago I made a big bunch of reusable bags for wrapping Christmas presents, so that there was no longer a deluge of wrapping paper every Christmas day. I've been meaning to do the same with reusable birthday present gift bags, but I was being lazy, and I hadn't found the perfect fabric for the project.
About two months ago I found this birthday fabric at Spotlight, and brought 1 m to make some bags. I also bought some Homespun white cotton fabric to line the bags on the inside. I have a bunch of ribbons in a box at home, so I just delved into it until I found the perfect ribbon to tie up the bags.

I have a reusable gift bag set pattern I use for work at my online textile store, Hearth & Oak, so I used that to quickly whip up three birthday gift bags.


I'm really pleased with how the birthday gift bags have turned out, they look really pretty, and they will be used for birthdays for years to come. And now I no longer have to scramble around searching for appropriate birthday present wrapping paper to wrap birthday presents for family, when I can just pop them into a bag and be done with it.
Have a wonderful day
Julie-Ann
Want to discuss my post? Feel free to chat with me on Instagram or Mastodon or Bluesky.
Social Media



Archives