

Winter Solstice Hot Spiced Apple Juice
Hello friends,
And happy Winter Solstice to those of us in the Southern Hemisphere. It's a day for wrapping up warm in your winter jacket, hat, gloves,and scarf, and going for a walk in the chilly air, followed by coming home and cuddling up in front of a cozy warm fire (or putting one up on your TV if you don't have a fireplace).
And what better way to defrost from the cold than to make a pot of my favorite Hot Spiced Apple Juice, and then toasting with your loved ones to the coming of light. From this point on the days will slowly get longer, and eventually spring and summer will be on their way. I love the idea of the wheel of the year, and the perpetual cycle of winter followed, by spring, summer, and eventually autumn.
My spiced apple juice recipe is very easy to make, and because of the citrus and spices, your home will smell wonderful afterward, let alone the lovely taste of the spiced apple juice. Another wonderful thing about this recipe is that the slices of orange and lemons in the pot while cooking remind me of all the sunny days to come.
Spiced Apple Juice Ingredients (makes 3 liters, but I usually only make up 1L and cut back on the spices)
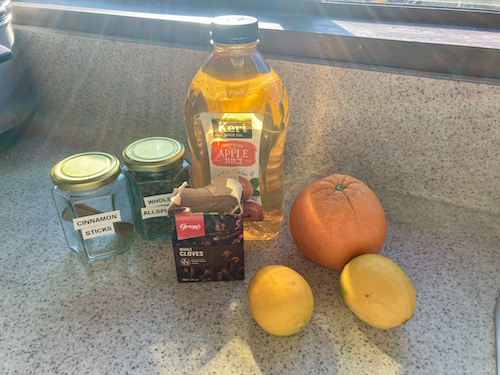
1 x 3L container of Apple juice
1 Orange
1 Lemon
1/2 Cup of Sugar
1/2 a Cinnamon Quill
4 Cloves
8 Allspice Berries
Spiced Apple Juice Recipe
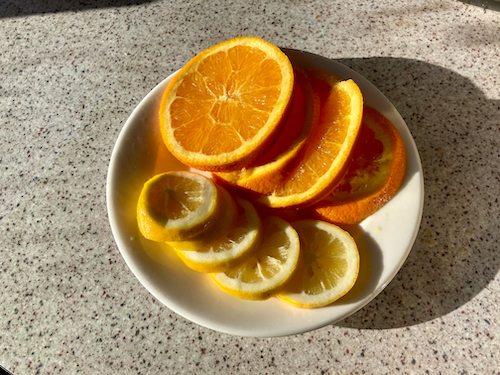
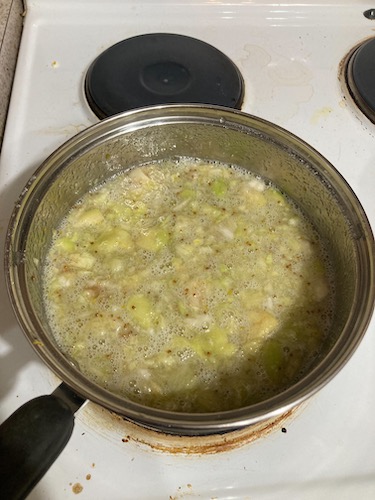
1. Wash and then cut the whole lemon and orange into 1/2 cm slices. Remove all seeds before adding to the pot.
2. To a medium sized pot add all the ingredients.
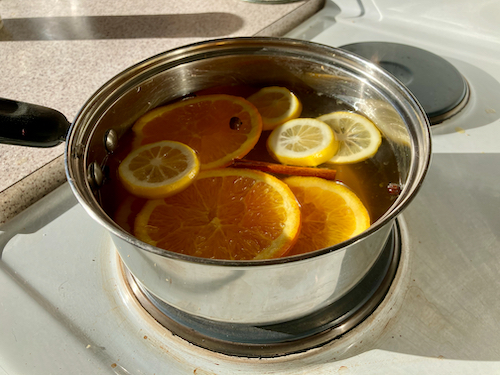
3. Heat the ingredients until simmering. Let the spiced apple juice continue simmering and taste test until it reaches your preferred taste. If you leave it too long the cinnamon, cloves, and allspice berries may get quite strong. I usually find 5 minutes simmering is enough.
4. Take the pot off the stove and sieve all the ingredients from the hot spiced apple juice.
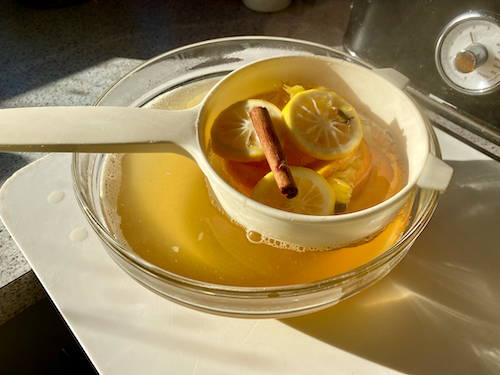
5. Serve in cute mugs, sip, and enjoy.

6. If you have any left over spiced apple juice, let it cool and store it in the fridge. It doesn't take long to heat back in up in the microwave for enjoying later.
I hope you love my recipe as much as I do, it's become a winter solstice favorite over the last couple of years. This recipe would also work wonderfully while celebrating Matariki, after waking up early to try and spot Matariki before dawn.
I find it hard to celebrate winter-themed Christmassy things in summer—when hearty food and drink are much more appreciated when the weather is colder. In our household we celebrate the winter solstice with hot spiced apple juice, a roast dinner, followed Christmas pudding with custard and ice cream.
Have a wonderful day,
Julie-Ann
Want to discuss my post? Feel free to chat with me on Instagram or Mastodon.
Carrot Forest Cross Stitch Project Finish
Hello friends,
While I was recovering from surgery back in March 2023, I spent the first couple of weeks resting either in bed, or on the couch. One of the benefits of it was it gave me plenty of time for crafting, and cross stitching in particular. I had started working on the Carrot Forest cross stitch pattern from Owl Forest Embroidery back in 2022, and I was already three quarters of the way through the project before my surgery.
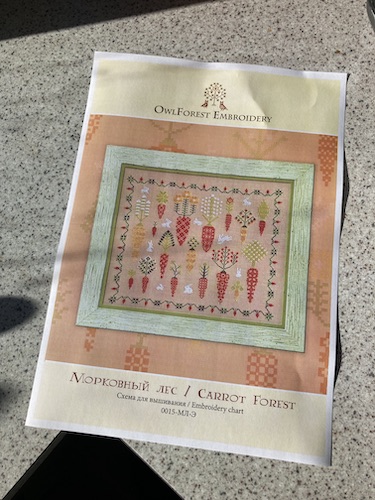
I love the aesthetic of Owl Forest Embroidery, and I had bought this pattern in early 2022 because the mix of uniquely patterned carrots and cute white rabbits was completely adorable. I made some changes to the pattern, for the background I used 16 count black Aida, and for the DMC colours for the carrots, I changed them to DMC608 and DMC741. I wanted a really stark contrast between the cross stitch pattern and the background, to give it a chalkboard effect that would match my mushroom sampler cross stitch I already had framed in my craft room.

Cross stitching on black Aida is tricky in order to easily see the stitching holes. It's best to stitch it during the daytime with strong daylight, or at night with a white cloth underneath and a strong white light above. The other thing to take into account with stitching on black Aida is that it is possible to see the coloured DMC floss underneath the Aida if you're moving to a different section of the project. I made a point of not jumping sections between each carrot or rabbit, and I used the loop start method to start off each section so there would be no tails underneath.
I prefer a good drum-like tightness of my fabric while stitching, and moved my cross stitch project over to a Nurge square plastic hoop when I recently got one. I'm really happy with the even, tight tension of the fabric in the Nurge hoop, but at the same time it is really gentle on the stitches underneath. The other thing I like about the Nurge square hoops is that it gives you more room to work with, especially in the edges of projects.
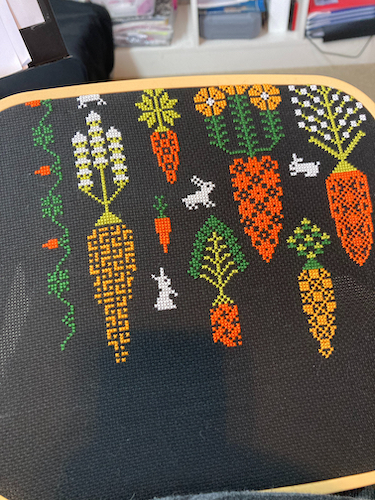
I had made decent progress in 2022, and my favorite part of stitching was watching the rabbits appear, surrounded by giant carrots. When I picked the project back up after surgery, only three carrots, and a small section of the border remained, and in about a week the project was finally finished.
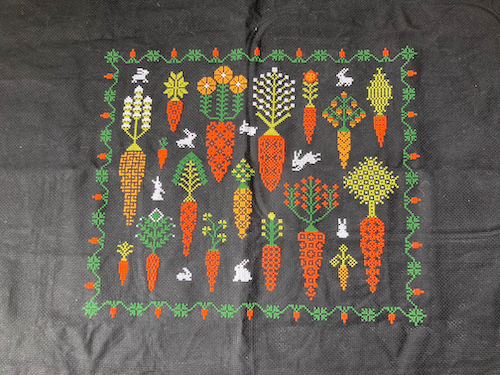
I'm really pleased with the my cross stitch overall, and I've since washed and ironed the project. The dimensions of the project are a little weird, so it's going to be a little tricky to find a frame which will fit it nicely. We have a bunch of old picture frames that were given to us, so I'll try there first, and if I have no luck I'll try checking out the local op shops to see if they have any that might do. My Mushroom cross stitch project is in a white frame, so if I don't have any luck finding a white frame, I think I'll paint whatever frame I do find to be the same colour.
Have a wonderful day
Julie-Ann
Want to discuss my post? Feel free to chat with me on Instagram or Mastodon.
This Year's Feijoa Harvest
Hello friends,
This year's feijoa harvest is finally over.
When we first moved back to Dunedin in October 2019, one of the first things I did in the garden was to plant two feijoa plants side by side in the backyard. I chose the varieties Unique and Wiki Tu from Waimea Nurseries, because the shrubs were smaller in final size, bore prolific fruit, and their staggered fruiting harvests would give us a long season lasting from early to late autumn. I positioned them in a sunny but sheltered position on the back fence line, so the surrounding trees and shrubs would protect the plants from winter frosts.
The first season I only got two fruit, the next, about twenty, and now in our latest season we got at least one hundred.

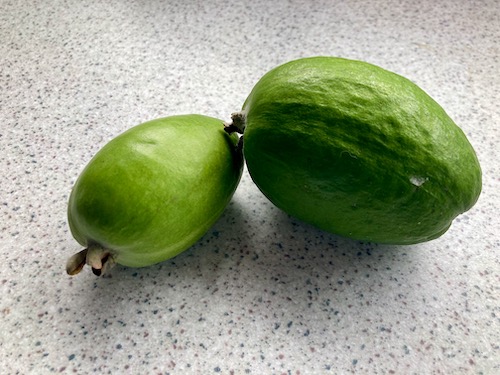
There was quite a big difference in the size of feijoa depending on the varieties. The Unique variety is on the left of the photo below, and the Wiki Tu variety is on the right. The Wiki Tu variety harvest started in March with huge fruit as big as my palm, and the smaller Unique variety wasn't ready to harvest until May. This is quite amusing considering the variety notes show that the Unique variety should be ready in March, and the Wiki Tu variety should be ready in May...
Overall it didn't matter too much, and pretty soon in March we were inundated with feijoa fruit. The first harvests of feijoa were frozen away for later use, with the skins set aside to make feijoa syrup (which I'm yet to do), and the pulp set aside to make one of our favorite recipe's, Feijoa and Coconut cake.
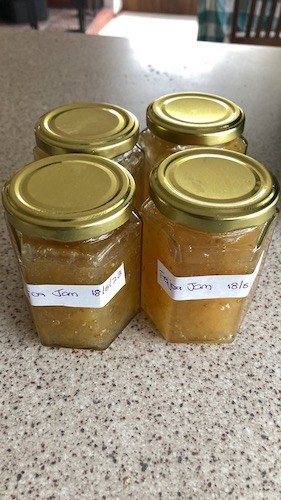
With our freezer stocked up, we began to give away feijoa to friends and family. Luckily since there aren't that many feijoa bushes in Dunedin (the plants don't like the cold, so there aren't feijoa bushes in every backyard like they are in the North Island), soon our bounty was soon carried off to other peoples homes. Even then the feijoa harvests kept on coming. And after hearing that my young nephew was unsuccessfully trying to make his own feijoa jam by mashing feijoa pulp with sugar in a bowl, I decided to make a batch for him, and the wider family too.
I used the feijoa jam recipe from the Chelsea sugar website, and I'm really happy with the result. The addition of lemon zest and juice really gave the jam a nice zing that my whole family liked when they tried it.
And even after all that, the feijoa still kept on coming...so once again we gave left over feijoa to family members. I don't really mind that we started giving away so many, as my feijoa loving family would otherwise be spending up to $10 a kg buying them, and with very hungry nephews and nieces, the expensive feijoa fruit wouldn't last very long. All I hope though, is that in the coming years, they will continue to help us out with the no doubt increasingly larger and larger feijoa harvests...
Have a wonderful day
Julie-Ann
Want to discuss my post? Feel free to chat with me on Instagram or Mastodon.
Planting Garlic and Saffron Bulbs
Hello friends,
It's now early June, but I'm still in the middle of bulb planting season thanks to being so ill earlier this autumn. But I'm trying to catch up now, and I'm taking a targeted approach to this task.
Basically
I'm weeding an area I need to put in bulbs in, and then planting the
bulbs. It's leading to the garden looking very patchy, with wild
unweeded areas, surrounded by neat and tidy weeded sections with
pretty, clearly labelled markers. I like to label all my bulbs when I
first put them in so over winter I can avoid them while doing any major
work in the garden. I'm
hoping once all my bulbs are planted I can then go back and weed the
areas that aren't quite so urgent.
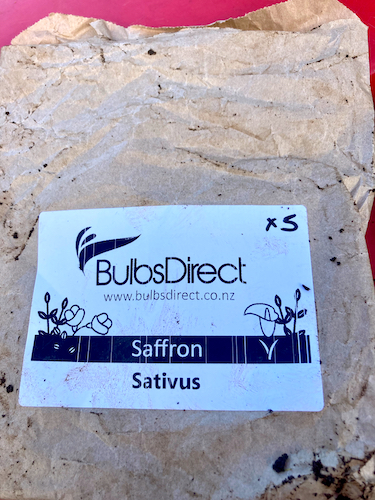
My first job with bulb planting was to get my saffron bulbs in the ground. When I got the email from Bulbs Direct to say they were in stock, I was very excited, as I wanted some for years, but have always missed out. They arrived promptly, and I planted them the same day they arrived on my doorstep, I weeded an area of the herb garden and planted all 5 bulbs. My reason for sowing them in the herb garden, is that I already have other crocus in other areas of the garden, and didn't want to get them mixed up with the other bulbs.
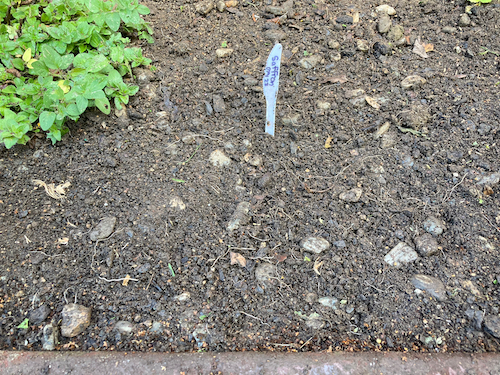
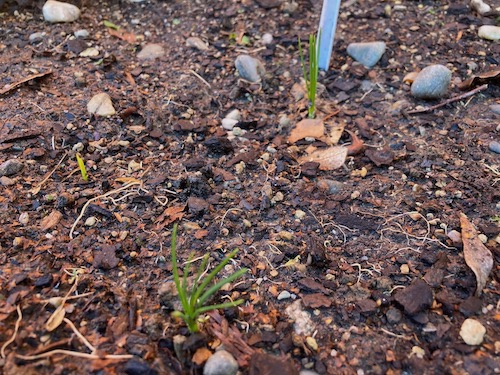
And I have exciting news already, three saffron bulbs have already popped out of the ground. It's only been two weeks since I planted them, so I'm happy to see their needle like leaves.
Garlic
bulbs were next to go in the ground. Even though most it's common to
plant garlic bulbs on the Winter Solstice in New Zealand, I always like
to get them in the ground in May. Down here in Dunedin, by the time we
get to the Winter Solstice, the ground is very cold and wet, and it's
hard to dig the holes to plant the garlic. So I like to get it done in
mid-May while the ground is still warmish, and it gives the bulbs a chance to grow their roots while the temperatures are not freezing.
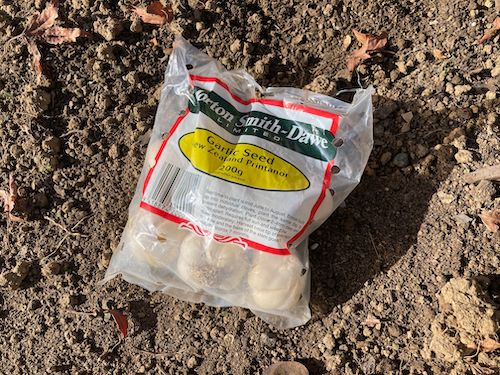
This year the only variety of garlic I could get hold of was New Zealand Printanor. It grows well for us, and we haven't had any garlic rust as yet. We don't tend to get garlic rust down here in Dunedin, as weather conditions in spring tend to be cool with low humidity.
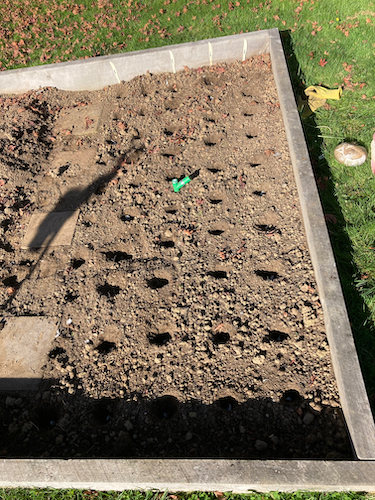
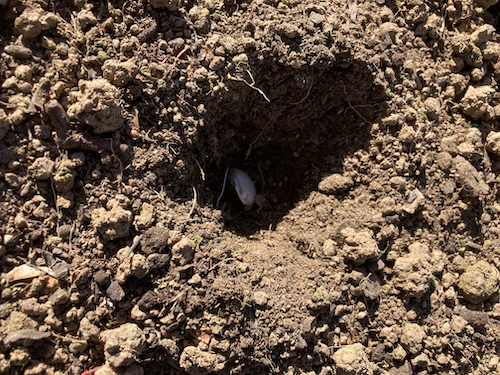
After I gridded the garden bed and making holes with my handy bulb planter, it didn't take long to pop in all the garlic cloves.
This year I planted 60 cloves, and gave the rest of my garlic bulbs in the packet to my father to plant at his house. My plan is to store enough for us to use for the year, and the rest will be set aside for both ensuring seed garlic bulbs for the year after, sharing with family, and then any left over can be swapped in our local produce group for fruit and veges that I don't grow.
There's something about sowing bulbs in autumn and winter, it makes me hopeful that the cold weather will be over eventually, and that we'll have homegrown food in the spring and summer months.
Have a wonderful day
Julie-Ann
Want to discuss my post? Feel free to chat with me on Instagram or Mastodon.
Social Media


Archives