

Milling and Baking Our Own Homegrown Bread
Hello friends,
After harvesting and processing the 2023/2024 season's wheat, we were ready to mill our grain, and then bake our own homegrown bread.
The first step was to mill the wheat grain using our Mockmill Stone Mill which attaches to our Kitchenaid stand mixer. You can find out more information about our Mockmill milling set up in last year's blog post.
It only took a few minutes to mill all of this year's grain into flour (and some of last year's leftover grain), in the stone mill using a fine milling setting.
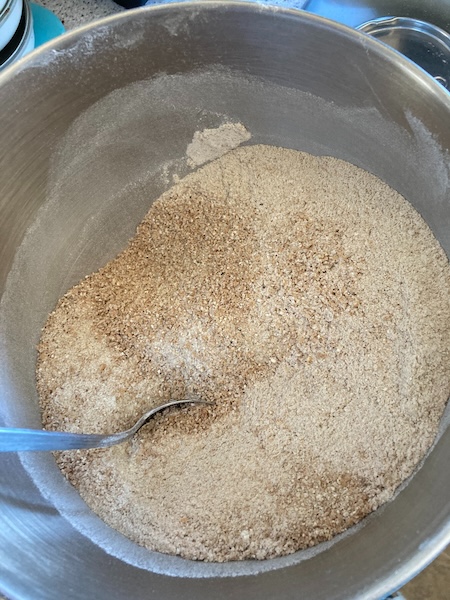
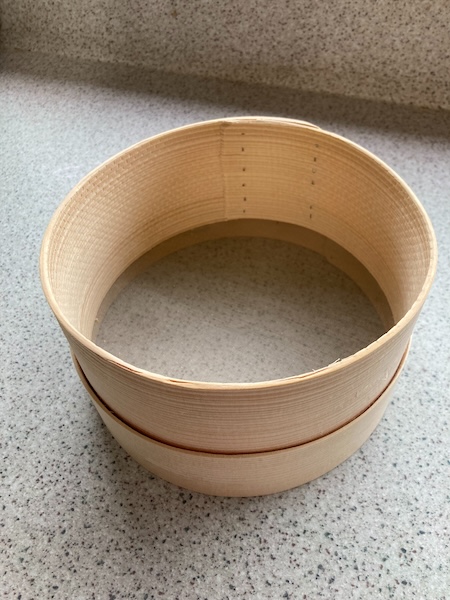
The next step was to separate the white flour from the majority of the wheatgerm and bran. Last year we used the sieve we have at home, but the sieve was too coarse, and most of the wheat germ and bran still got through. So this year we invested in a super fine manual flour sieve from Flour Power Mills. When sieving was completed we were left with a light brown super fine flour, which still contained some fine wheatgerm and bran. The coarser wheatgerm and bran is now stored away for other baking and cooking projects during the year.
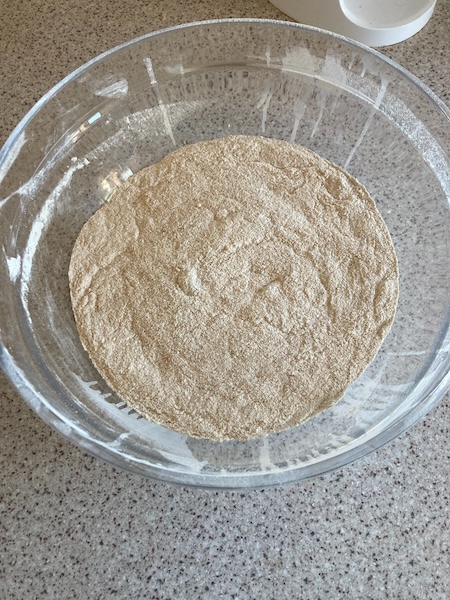
All that remained was to bake a loaf of bread. After milling we had 4 cups of flour, which we used in our standard wholegrain bread recipe.
Wholegrain Bread Recipe for use in a Bread Maker
Ingredients
1.25 cups of hot tap water
1 teaspoon of salt
1 tablespoon + 1 teaspoon of sugar
2 tablespoons of vegetable oil (canola or any other neutral seed oil)
1/3 cup of milk (can be from milk powder, but the liquid volume is important)
1/3-1/2 cup of 7-seed-mix, whole-grain, or other similar tasty grains (we get ours from Bin Inn)
3 cups of strong/bread flour (or in our case homegrown and milled flour)
2 teaspoons of supabake yeast (i.e. mixed yeast with bread improver)
Recipe
(1) Place in the baking tin in the order above, it is important to have:
* The grains *in* the liquid (to soak)
* The flour on top of the first 6 ingredients
* The yeast on top of the flour (so it's not in the water, or in contact with the salt or sugar until it starts mixing)
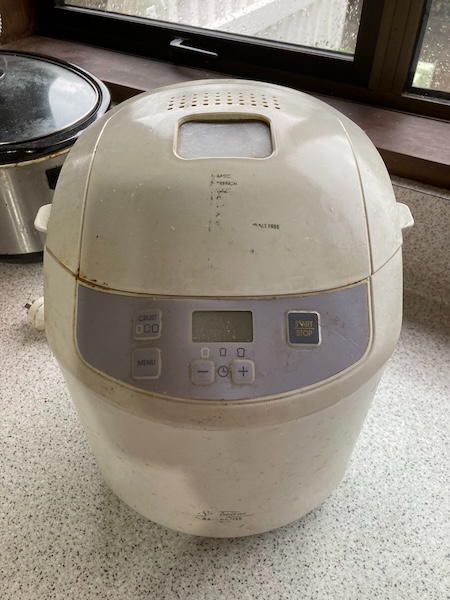
(2) Place the baking tin in the bread maker, and set the bread maker to the "wholegrain" program in your bread maker. Start baking your bread.
(3) We have a 10+year old Sunbeam bread maker, but we have reports this recipe works well in others. The bread maker should have a first period where it keeps the water warm to soak/soften the grains (which is why you do not want the yeast in the water, with warmth and sugar it'll activate far too soon).
And two hours and twenty minutes later our homegrown bread was out of the bread maker. It wasn't quite as fluffy as commercially grown bread, but the bread had a wonderful nutty flavor which was great fresh, as well as toasted.
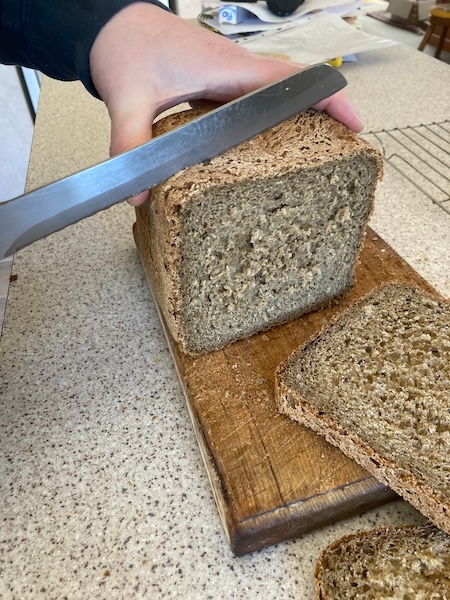
We've found that growing our own wheat, and then processing and milling our own flour is a very fulfilling thing to do. It's nice to see how processed food is made, and to appreciate the hard work that goes into making flour and bread.
Have a wonderful day
Julie-Ann
Want to discuss my post? Feel free to chat with me on Instagram or Mastodon or Bluesky.
Processing Our Own Homegrown Wheat
Hello friends,
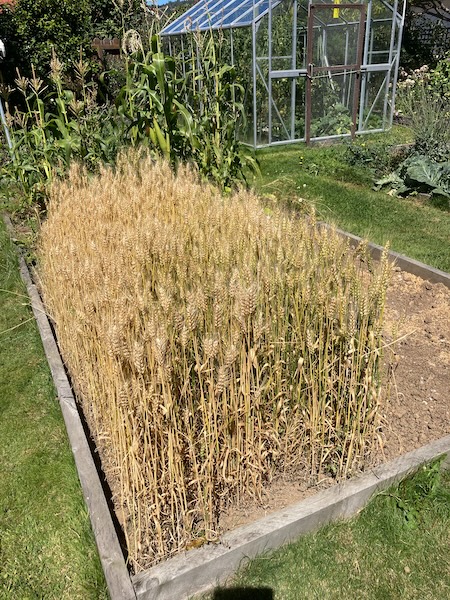
In an earlier blog post I shared with you how I grew wheat from seed last summer. In this blog post I share with you how I processed the wheat seeds, and turned it into flour.
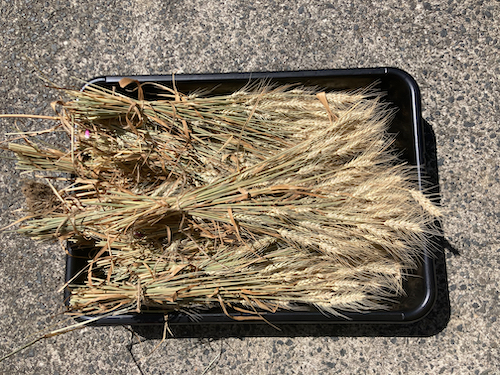
The first step in processing the dried wheat is threshing, whereby you loosen the wheat seeds from the attached straw and wheat head. After looking at a lot of videos on YouTube, we found two methods that would be relatively easy for a home grower to try.
The first method was pretty simple, basically it involved taking bunches of wheat and slapping it between the two sides of a bucket back and forth in a fast and furious manner. It sure made for a good arm workout.
The second method involved bashing the wheat head with a big stick, while not losing any of the wheat seeds in the process. We decided the easiest way for us to do this was to put the bunches of wheat into a fine pillow case, and bashing it with a flat piece of wood.
After experimenting to see how much the wheat seeds would loosen after using each threshing method, we decided that the best way forward would be to use both methods. I did the bucket method, and then passed what was left over to hubby for him to bash with a piece of wood.
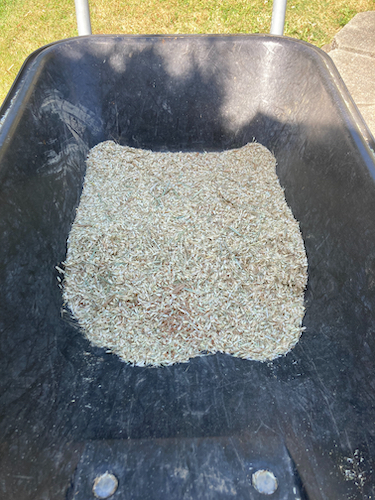
What you end up with is a mix of wheat seeds and chaff. WIth threshing done, it was onto the winnowing process to remove the wheat seeds from the chaff. After watching even more videos on YouTube, I decided that the easiest way to winnow the wheat was to wait for a super windy day, and then get the wind to blow the chaff away from the wheat as I dropped the mixture into a wheel barrow. I used a wheel barrow for this process because it gave me a big area to winnow in, and the high sides of the wheel barrow meant that seeds were less likely to blow away.
The trick I soon learnt was that there is a specific height you hand has to be at to remove the chaff without losing the wheat seeds over the edge in the process, and this was mainly dependent on how hard the wind is blowing. If the wind is very strong, it's best to keep your hand close to the wheel barrow, and if the wind was light you could raise your hand higher. Also another thing to note, is that the wheat chaff is very dry and sharp and pointy, and it hurts your fingers, so wearing gloves is a must. The winnowing step was the most time intensive step, and I had to repeat the winnowing multiple times to get rid of most of the chaff from the wheat seeds.
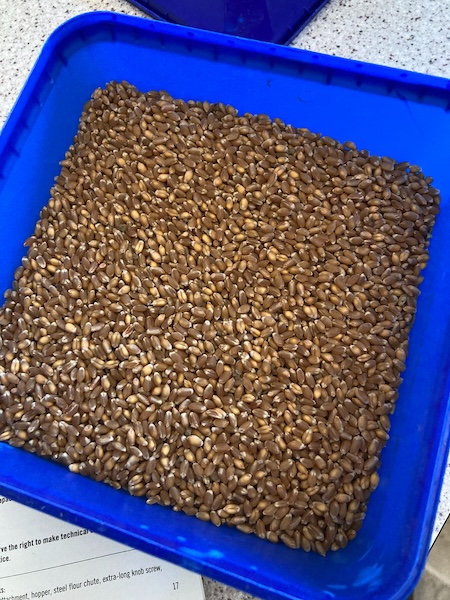
WIth the main winnowing step complete, we then by hand had to pick out any stray bits of chaff from the wheat, along with any other random bits of stuff that had made it through the previous steps, and this also took a while, but it was made easier by watching TV while we did so.
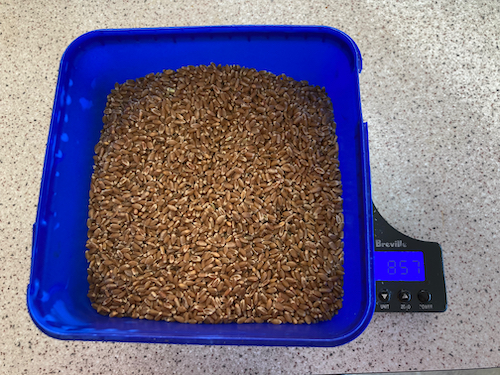
Finally after all those steps, all we had left was wheat seeds, and in particular 857 grams of homegrown wheat seeds. Getting to this stage was quite a feat in itself, but we hadn't even gotten to the milling stage yet. So it was back to the internet and in particular YouTube to see how we could mill the wheat into a fine enough grade for making bread...
The following methods suggested to mill the grain into flour did not work for us:
1 - Using a mortar and pestle - Didn't do anything at all, a complete waste of time.
2 - Using our coffee and spice grinder - It did chop the grains into a couple of pieces each, but did not mill it at all
3 - Using our food processor - Didn't do much better than the coffee and spice grinder.
This was all pretty frustrating, but the good thing about wheat seeds is that they can store for over a year as is in a sealed container at room temperature (much longer than flour can), so we left it while we pondered what we could do. Hubby and I finally came to the conclusion that the only way forward would be to buy a mill of our own. There are a lot of options in New Zealand to buy stand alone home mills, but most were super expensive, and were much bigger and stronger than what we needed.
But then, while perusing the Flour Power Mills website, we found a small stone mill that would attach to our KitchenAId stand mixer. The Mockmill Stone Mill attachment was at least half the price of the smallest stand alone mills available, and as a bonus it would also mill a wide range of other grains and legumes (including amanath, chia seeds, oats, millet, chickpeas, maize, barley, dried rice, quinoa, rye, and dried soya beans), as well as milling a whole bunch of herb and spice seeds...
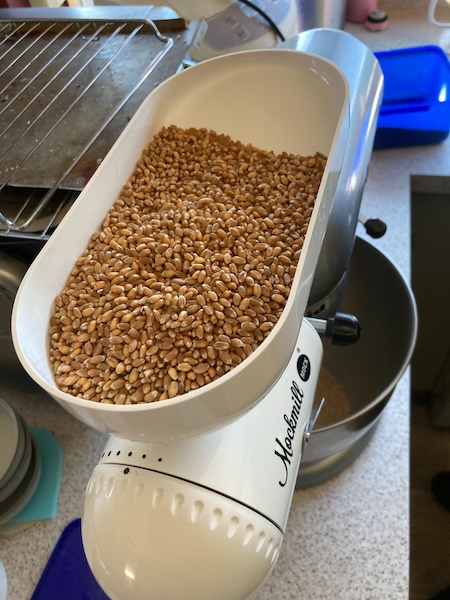
It wasn't too long before the Mockmill Stone Mill had arrived by courier, and hubby attached it to our KitchenAid stand mixer.
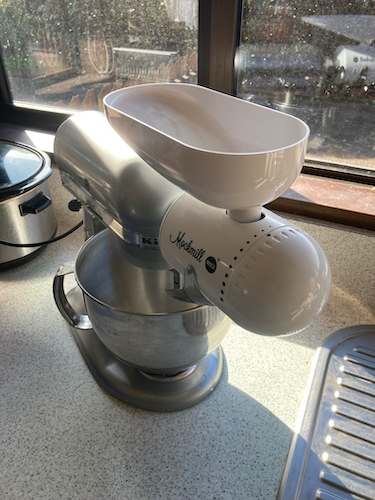
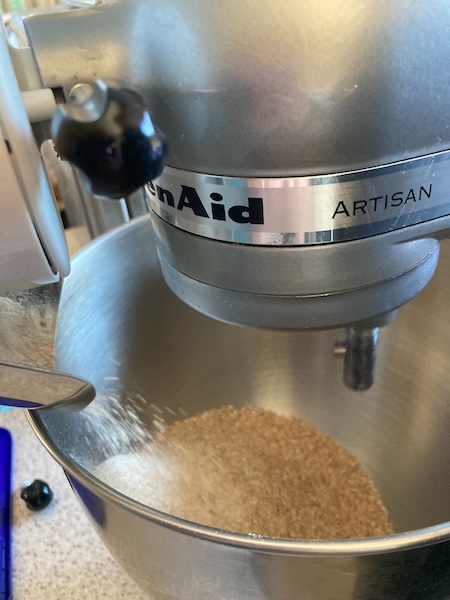
The set up was pretty easy, and all we had to do was set the mill to a fine setting, and then put the wheat seeds in the hopper. We turned the stand mixer on, and fine flour began pouring out of the flour chute.
The process was loud, but very easy, and within 5 minutes we had our own flour! We hadn't lost any wheat in the process, and the flour the mill had produced on the finest setting was just as good as flour we used normally for making our own bread.
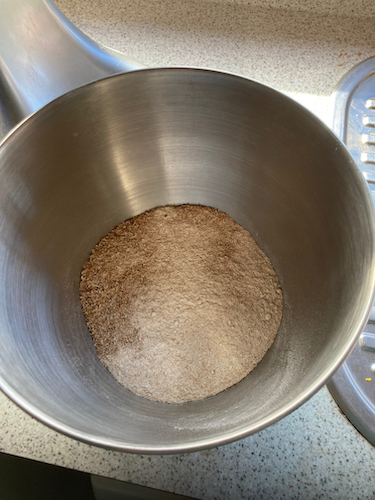
The wheat in this state is a mixture of fine white flour and wheat bran flakes. For a rustic bread it's fine to use as is, or you can sieve the flour to remove the wheat bran if needed. The only step left in this journey is to make bread with the flour, in a future blog post I'll share with you hubby's family famous bread recipe that never fails, using our own homegrown flour!
We are very excited about this, but not only that, hubby has already started mumbling about growing our own maize, so that we can make our own corn chips...
Have a wonderful day
Julie-Ann
Want to discuss my post? Feel free to chat with me on Instagram or Mastodon.
Social Media


Archives