

Spinning Union Fibre's Dyed Haunui Purple Roving
Hello friends,
Recently my friend Karyn was at Capital Fibre Fest in Wellington, and she knows I'm always on the look out for new fibre to spin on my drop spindle and spinning wheel, and she came across Union Fibre's booth, where Bonnie had for sale a bunch of different colourways. Karyn chose two rovings for me, in colours she knew I would l love.
First for me to spin up was a 100 gram roving of purple Union Fibre colourway (colourway not labelled on the paper wrapping), dyed with of medium Haunui Fibre.

Haunui fibre comes from a breed of sheep known as Haunui, which is grown on a family farm based in the foothills of South Canterbury, New Zealand. Haunui are known for its lustrous fibers and strong crimp, and it strikes a beautiful balance between softness and durability.

As I began spinning up the Haunui fibre on my drop spindle, the fibre was indeed soft and easy to spin, much more than Romney and Corriedale. It was such a pleasure to spin over the coming hours and days.


Once the drop spindle became full, I transferred it onto bobbins on my Majacraft Suzie Pro. I prefer to ply on my spinning wheel, as this is much easier than faster than on a drop spindle.

Once the fibre was fully spun up on two bobbins, it was time to ply the yarn as a two ply. It didn't take very long at all to ply on my jumbo plying bobbin.


Once transferred to a niddy noddy, the purple and brown shades of the dyed yarn really showed how beautiful the yarn was all spun up.


After a quick wash in some wool wash, the yarn was left to dry in the dining room in front of the winter fires over the coming days.

The final 100 gram 2 ply dyed yarn is of fingering weight/4 ply width, and came out at a total of 285 metres all spun up.


I really love how deep and cozy the shades of purple and brown look in the yarn. I'm not sure what I'm going to do with the spun yarn, sometimes it's just fun to spin for the hell of it. It'll eventually find a home in a knitting or weaving project in the future. For now it's just nice to have on display, and to squish it sometimes...
Have a wonderful day
Julie-Ann
Want to discuss my post? Feel free to chat with me on Instagram or Mastodon or Bluesky.
Tearing Down The Old Aviary
Hello friends,
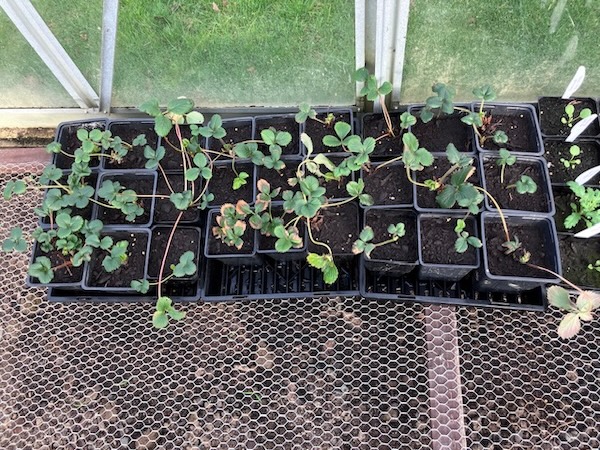
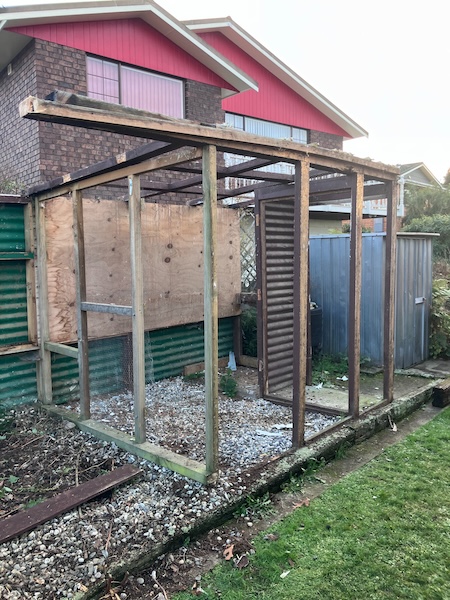
Down the south side of our house, in the part of the garden you never get to see on the blog, is an outdoor aviary the previous owners of our home constructed to house their many birds. When we first moved into the house we used this section of the garden to host our strawberry and raspberry plants away from local wild bird life who wanted to eat our fruit.
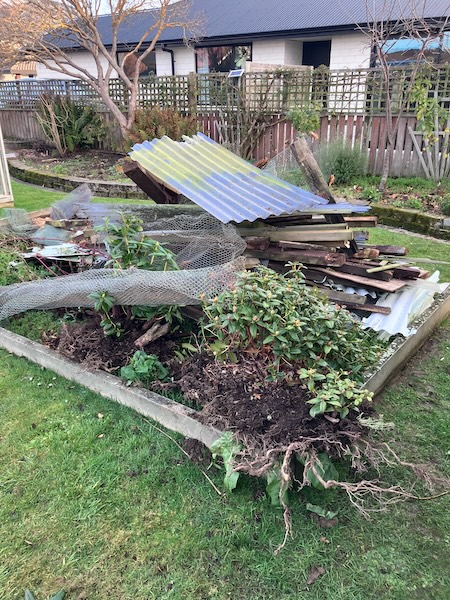
The aviary was beginning to rot back then, and in the time since, the aviary has been falling further and further apart. Now with pieces of rotten wood falling off it, it was time to tear down the aviary this winter. The first job was to rescue the strawberry plants, and then tie back the raspberry canes to protect them while the aviary was being demolished.
Next up was taking off all the facing boards so we could access the chicken wire, so we could tear it off with brute force using hammers and a prying bar. We also removed the doors to get easier access into the aviary while demolition was under way.
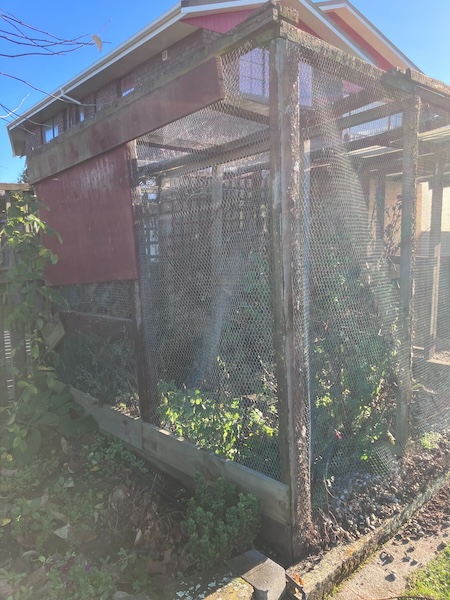

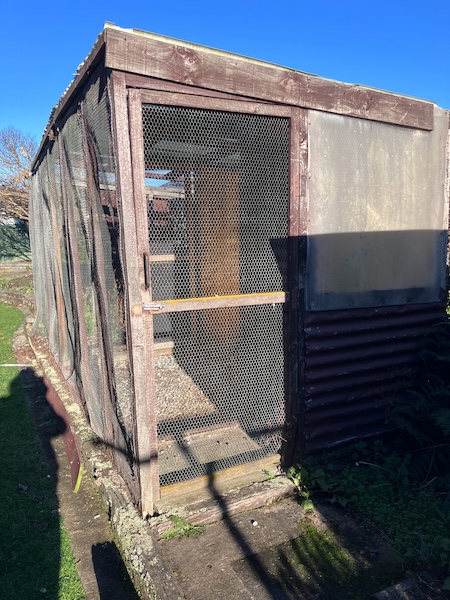
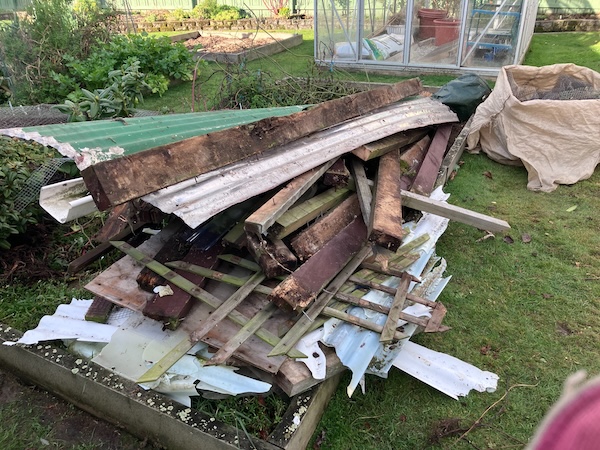
The aviary was far more rotten than we expected, especially on the south side, so we had to leave some wire netting in place so that whole walls wouldn't fall down. In the mean time the pile of rotten wood and chicken netting was steadily growing bigger and bigger in our empty vegetable garden beds.
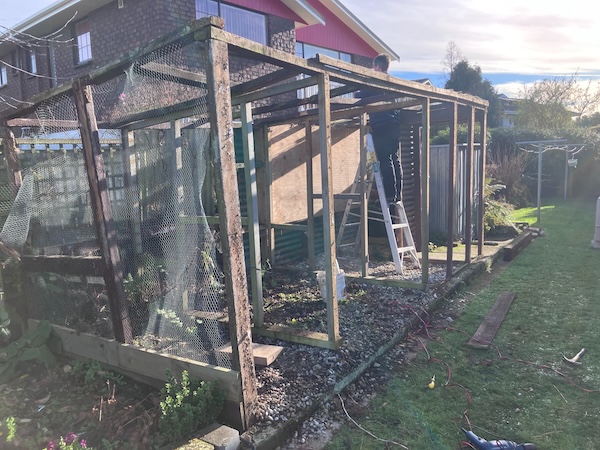

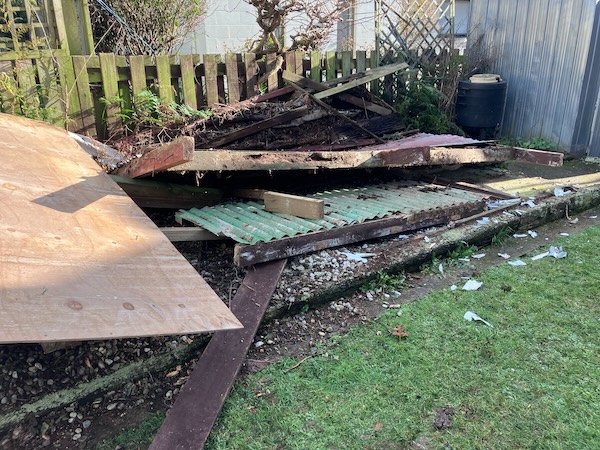
We decided that the best way to go forward was to start taking down the aviary at the most rotten end, which was the south end. It didn't take very long to remove stuff section by section. By the time we got to the northern end of the aviary, the structure became quite unstable. And considering we were due for 100 km/hour gales in the coming days, we made the decision to take an hour off work one day to drop the last of the aviary before it fell down by itself in the wind.

The last wall, which had green corrugated iron covering it, was the last to go, and all it took was a gentle push for it all to collapse. Now all that was left was to finish pulling apart the walls and corrugated iron, and begin hauling it away to the rubbish tip.
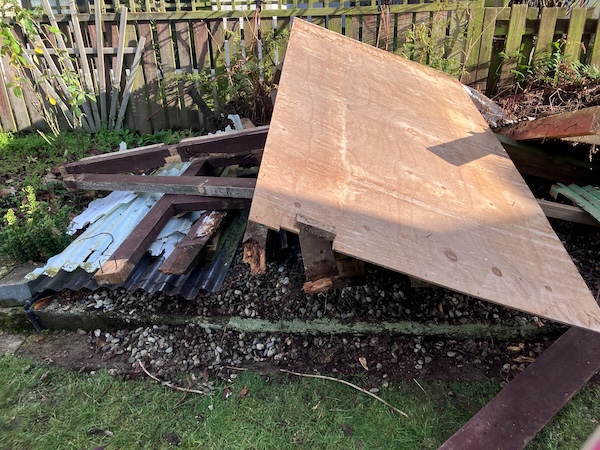
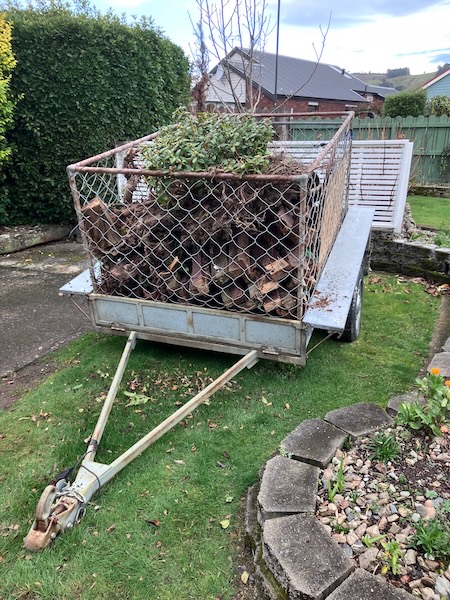
Luckily my dad has a car and a trailer, and left his trailer with us so we could fill it up over a weekend. Between that, and also filling up our car with loads of rubbish, we were able to get it all taken away. We also salvaged some good pieces of wood for other projects around the garden.
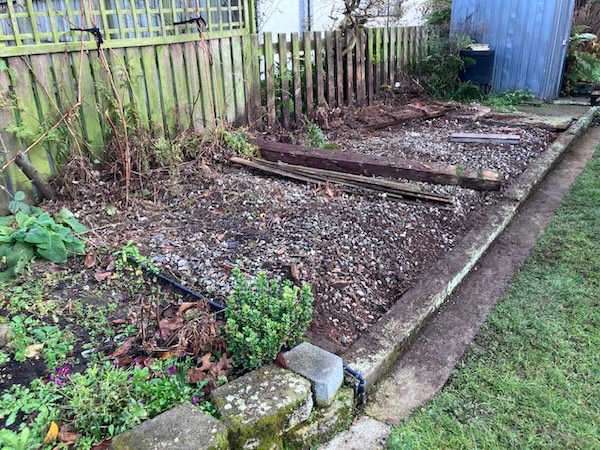
All that remains now is to clean up the area, do some weeding, and I can begin an exciting project in this space. I can't wait to show you my plans in an upcoming blog post.
Have a wonderful day
Julie-Ann
Want to discuss my post? Feel free to chat with me on Instagram or Mastodon or Bluesky.
1st of June 2025 Aurora Australis
Hello friends,
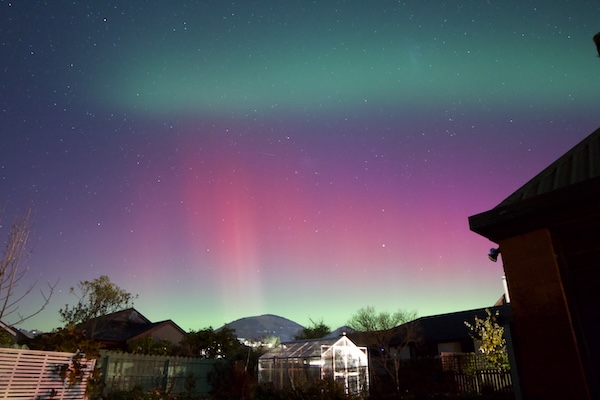
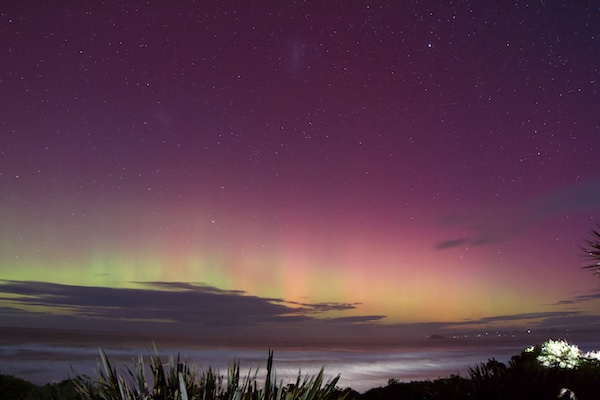
On the 1st of June in New Zealand, aurora chasers all over New Zealand were treated to an amazing Aurora Australis display thanks to a a strong geomagnetic storm stemming from a coronal mass ejection from the sun.
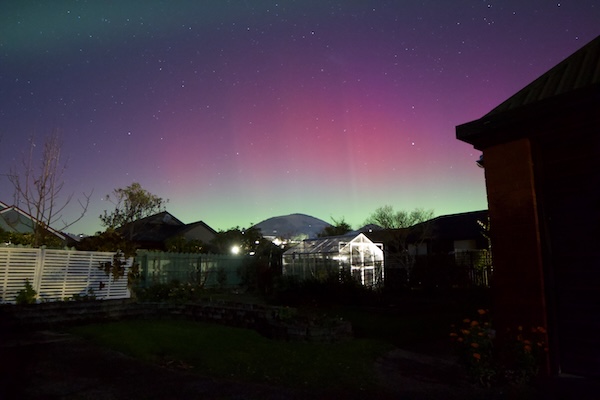
As we live in Dunedin, in Otago, we were treated to a auroral display right in our own backyard. The pastel shades of green, pink, purple and teal lit up the sky above us. We were also treated with auroral pillars which rose up the aurora in rays of light.
My astrophotography set up is as follows for those interested:
Canon EOS 700D Body, Samyang Ultra Wide AF 14mm F2.8 EF Lens set to infinity focus (ultrawide lens set up for astrophotography), Protage USB lens heater (needed for cold nights so that the lens doesn't form condensation on the inside), and a remote control attached to the camera to take shake free photos, and a tripod.
My camera settings are: Manual Focus, f2.8 at infinity (on the lens), ISO 3200, Image Quality Raw, long exposure noise reduction off, high Iso speed noise reduction off, white balance set to 4000K, shutter speed 5" to 10" depending on the strength of the aurora, and Custom function III: autofocus drive mirror lock up enabled.
The camera settings are based from am astrophotography workshop I took with Mark Gee about 10 years ago, and I've refined them since then as I got to know my camera better. Just something to note is that all these photos are straight out of the back of the camera, I didn't want to alter anything in my photography software afterward.
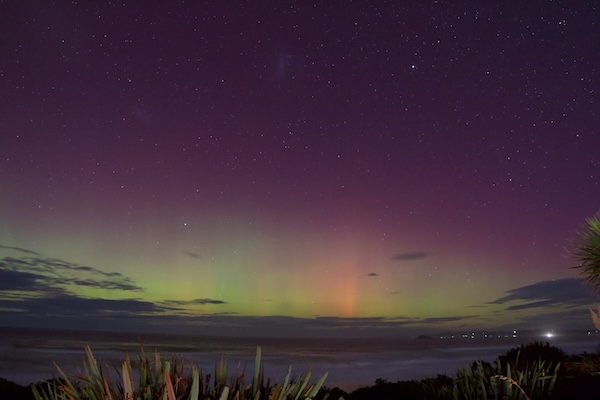
With the aurora being so active, in the range of Kp7 - Kp8, we decided to head out to our favorite aurora photography viewing area at Blackhead Beach. When we arrived, the car park was quite empty, but it soon filled up with general members of the public coming to see the aurora. Unfortunately there was a lot of light contamination from the cars in the car park, as well as cars driving on the road behind us, which made for a frustrating photography session.
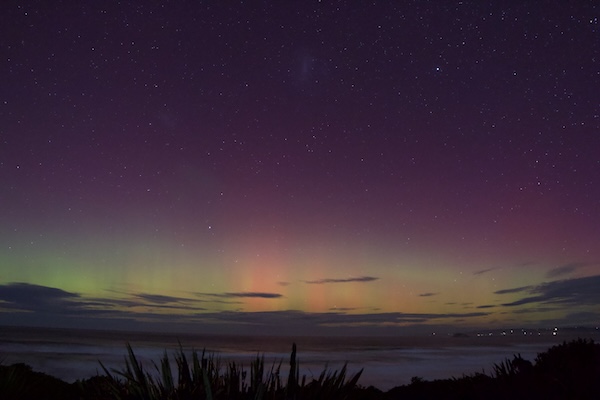
By the time we got there, the aurora was more muted and smaller than before, but there was still some great photos, despite the light pollution and also a cloud bank to the south of us. Shades of green, red, and purple were the most prominent, along with auroral pillars in shades of green, white and red.
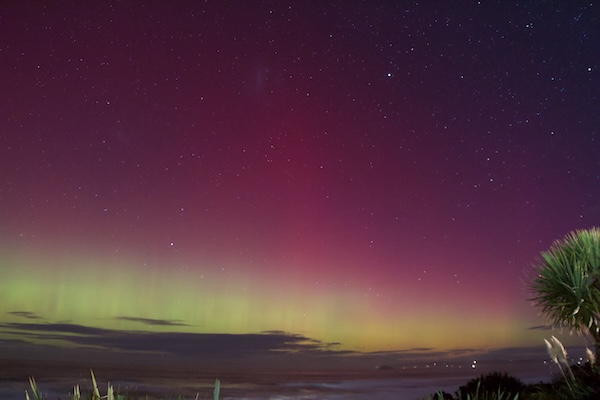
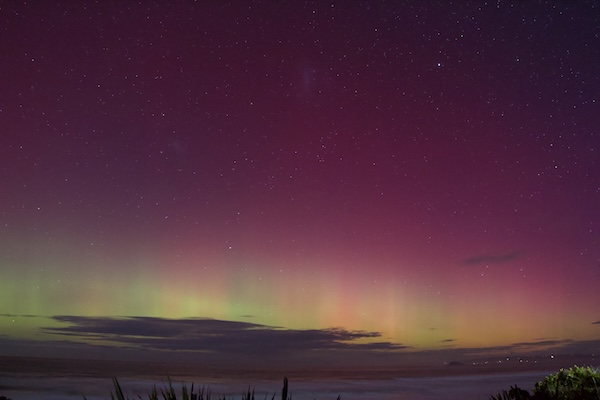
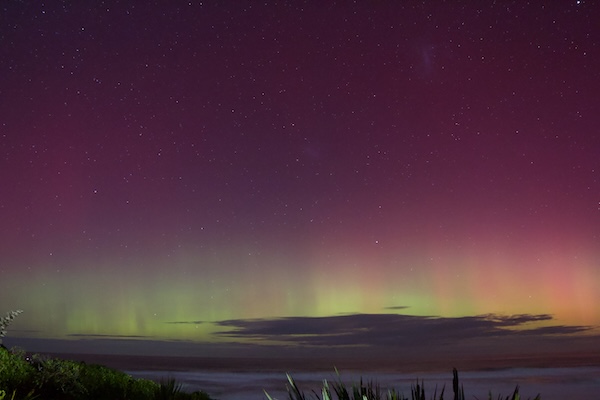
Thanks to the position of the milky way and sky at the moment, I was able to get photographs of the Magellanic Clouds in my aurora photos.
As time went on the aurora became dimmer, and we became colder, as it was a cold frosty night in the beginning of winter. After two hours out in the cold we decided to head home to warm up before going to bed.
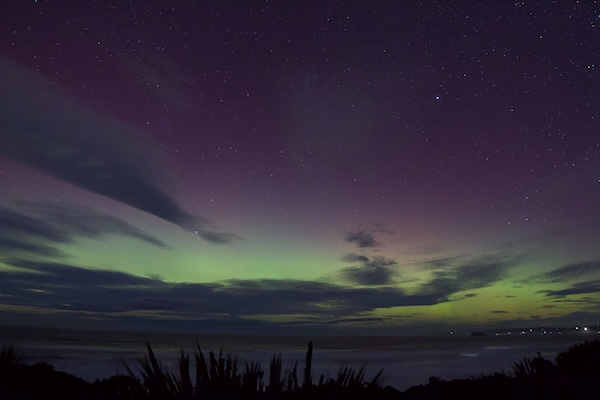

The aurora brightened again after we went home, but we were just happy to see it in the first place. There will be more chances to see auroras in the future, and hopefully on a warmer night.
Have a wonderful day.
Julie-Ann
Want to discuss my post? Feel free to chat with me on Instagram or Mastodon or Bluesky.
Star Wars Cross Stitch Project Bag for Hubby's Birthday
Hello friends,
Recently I made a Star Wars cross stitch project bag for hubby for his birthday. He loves both Star Wars and cross stitching, so I though I'd combine the two for his birthday present this July.
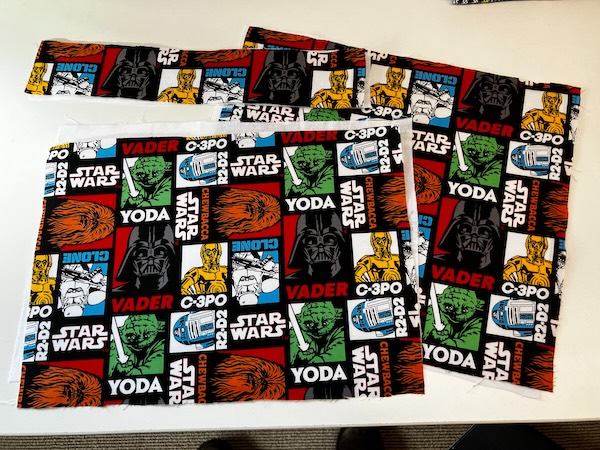
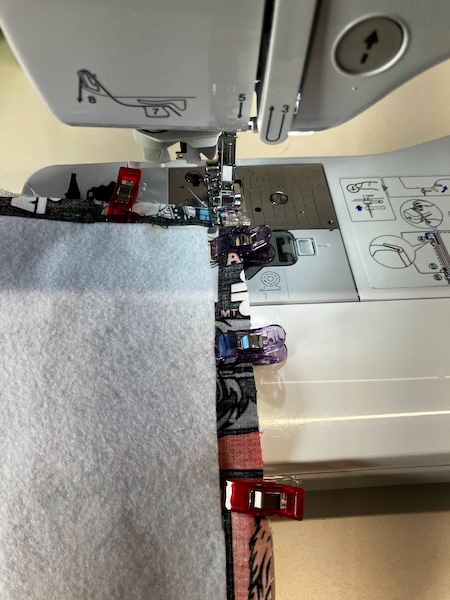
For a job, I sew, and also weave, fabric into various textile products that I sell in my store Hearth and Oak on Felt (a New Zealand artisan online market place similar to Etsy), and one of the products I make regularly are cross stitch project bags. So all I had to do was pull out my cross stitch project bag pattern and got to work cutting out the fabric, and then sewing it up. Luckily I had a black zip in storage to help sew the bag up.

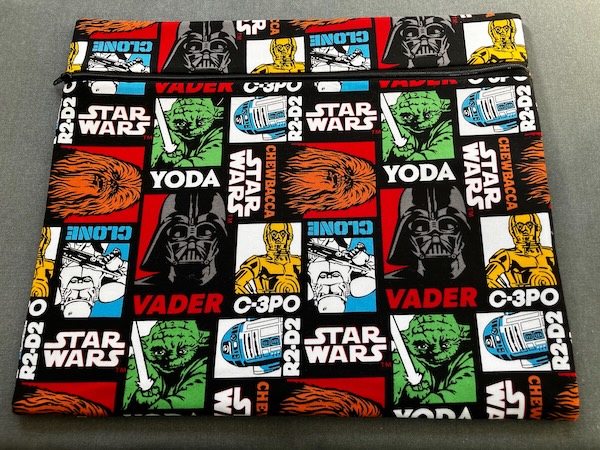
And here is the cross stitch project all sewn up. I think it looks really great with the fabric and the blocks of colours, and I really like the black zipper, rather than the usual white ones I use for work.

On hubby's birthday, I gave him the cross stitch bag as a gift, along with a new cross stitch project all kitted up. He loves his new bag to store his cross stitch WIPs in, and this way our cat Rosie won't get into his projects and try to eat the DMC floss...
Have a wonderful day
Julie-Ann
Want to discuss my post? Feel free to chat with me on Instagram or Mastodon or Bluesky.
Social Media


Archives