
Growing and Harvesting European Linen for the 2023-2024 Season
Hello friends,
As a crafter and a gardener, I like to combine my hobbies in interesting ways. In this case it was growing and harvesting European flax (Linum usitatissimum) in order to prepare some linen for spinning and weaving.
Back when we lived in Wellington I bought some Essene European flax seed (Linum usitatissimum) from Koanga Gardens. In the first year I sowed half the seed packet into a 1 m x 2 m space, and grew the linen plants mainly for producing seeds, so in years afterward I could grow even more flax for linen. My linen harvests thereafter would be self-sustaining. I now grow linen every couple of years for collecting seeds, and stockpiling flax stalks for making linen.
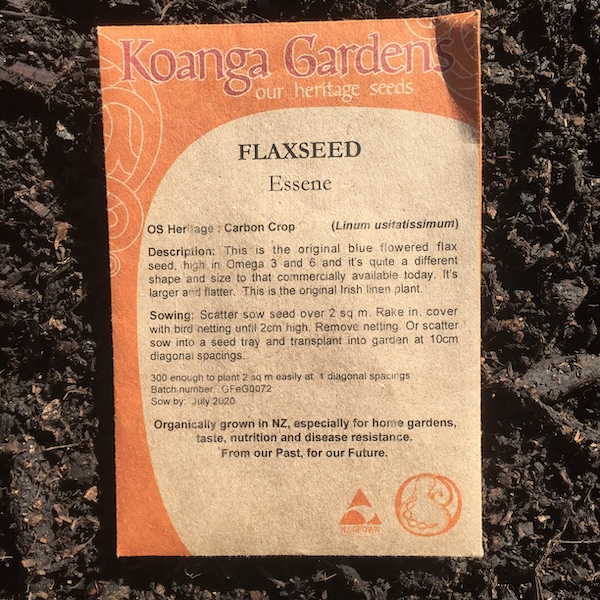
This blog post is showing the process of growing linen from seed sowing to harvesting. In later blog posts I'll share as I go through the flax processing and then spinning and weaving it.
The first thing I did was buy the book "Homegrown Linen: Transforming flax seed into Fiber." by Raven Ranson. This book is very detailed, and shows all the necessary steps in growing homegrown flax for linen. I then used it to calculate how to grow it in New Zealand seasons.
The first step in growing flax seed is deciding when to sow the seed. Flax seed is sown in spring when oats and barley are sown, and in our case it was in mid-October. If flax is grown for linen then the seeds are grown very close together so that long tall stalks are produced, but if flax are grown for seeds, they are planted further apart to allow for branching and more flower production.
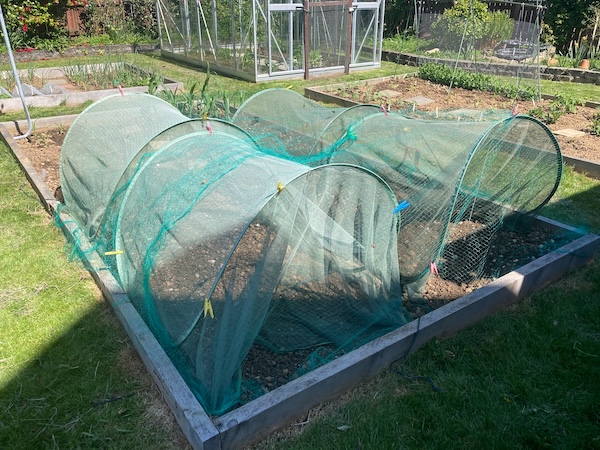
After weeding the patch of ground it was to go into in spring last year, I fertilized it with a high nitrogen fertilizer in the form of sheep pellets, and then prepared the soil to a fine tilth. I then sowed the flax seed in a broadcast fashion very close together, so that the linen plants would grow very tall, with little to no branching. After covering the seeds over with a fine layer of soil using a rake, I watered the seeds in, and then covered the crop with bird netting to protect the seeds from the local very hungry avians. It takes approximately 100 days from seed sowing until plant harvest, so this was classed as day 0.
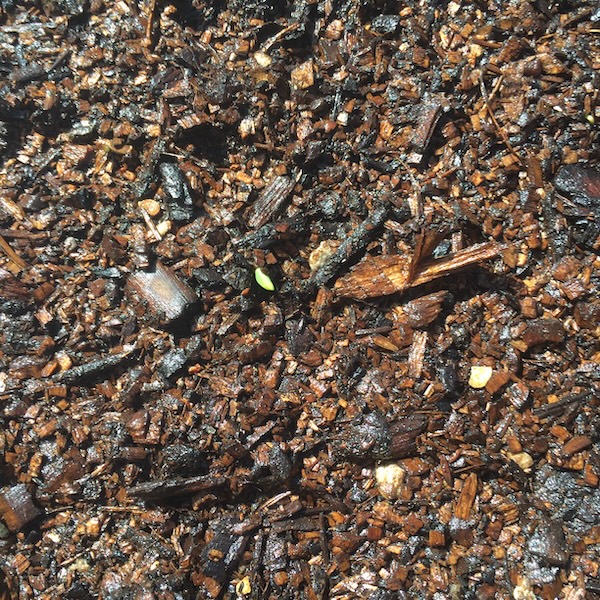
Within a few days of watering each day, the flax seedlings began to appear. It is always very exciting to see them come up.
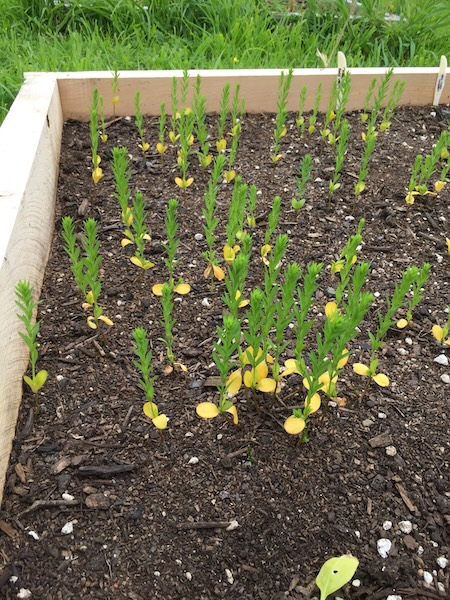
And within a week, the seedlings were actively reaching for the sky. In the photo below I was growing the linen plants for seed, but as you can see, I spread them a little too far apart.
Once the flax starts growing, it basically fends for itself. If sown very close together no weeds will grow, making it an easy crop to take care of, as long as it gets enough water. And once the flax reaches about 50 cm tall, it begins flowering at around day 60. The beautiful blue flowers open during the day, and close again at night. And now that the plants are tall, they sway very prettily in the breeze.

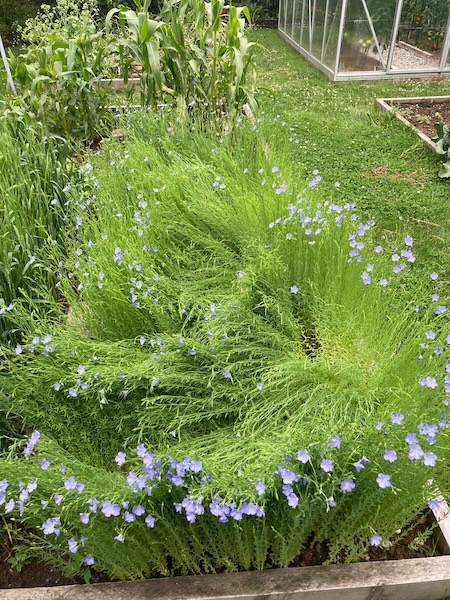
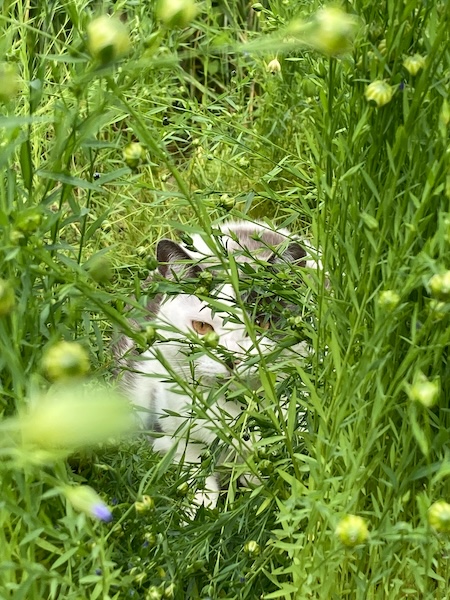
Flowering and setting seed boils takes around a month. One of our neighbourhood cats, who we call Patches, decided to make their snoozing spot inside the linen crop. No matter how many times I tried to shoo them away, they kept coming back, so I let them be. It's a good thing they're cute because they ended up squishing a bunch of linen...
Once the seed heads (boils) have set, now is the time to think about when to harvest. It's a good idea to set aside a section of your crop to let the boils (seed heads) mature and turn brown, which means they are then ready to harvest for next years seeds. Their plant parts will be dry and thick and yellow, and they won't make good linen.

The rest of your crop will be used for producing linen. When the bottom half the plant has turned golden, it is time to harvest the plants. The seed heads will not usually be viable for collecting seed, but I've found in the past that some of them can be.
The best way to harvest linen is to pull them out by hand in clumps. Lay the harvested linen plants out on the grass, all facing the same way, with the roots at one end, and the boils at the other. Once you've harvested all the linen plants, it's time to stook the plants, which means creating bunches of sheafs, and then tying them in the middle like the poles of a teepee. You want air to get up into the middle of the sheaf to dry it out. Place the sheafs upright with the roots at the bottom and let them dry in the sun on sunny days.


Once the linen plant sheafs are dry you can store them until you want to begin processing your linen. The next step is processing my current linen crop, and this will occur in a couple of weeks after autumn starts...
Have you ever tried experimental gardening? I've done this in the past with growing wheat, and it's very interesting to see how food and fibers are processed. It makes you appreciate how complicated food and textile production is.
Have a wonderful day
Julie-Ann
Want to discuss my post? Feel free to chat with me on Instagram or Mastodon or Bluesky
A Home For My Stickers using My Cottagecore Apothecary Jars
Hello friends,
You know how sometimes you fall in love with something you've seen, and you need to buy them all, and in all the sizes available, but then when you get home you're not entirely sure what to do with them, yeah well that's me with the many apothecary jars I bought about ten years ago.
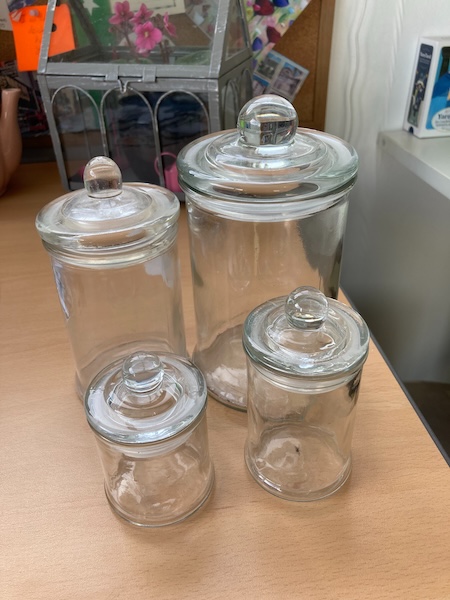
Back when we were living in Wellington, I saw the apothecary jars during one of my many visits to Pete's Emporium in Porirua, and I knew straight away I needed them in my life. But then when I got them home I wasn't entirely sure what to do with them. Over the years I've filled them with various different things, including dried herbs and flowers, and Christmas decorations, but it never seemed to be the right thing, so I gave up and put them away in storage.
But while I was renovating my craft room I found a pile of them in a cupboard, and thought now was the perfect time to use them. And I finally found their new home with my huge stationery sticker collection. You see I also have a problem with buying and not using stickers, especially because I put them away somewhere safe, and then forget to use them. I was so happy and excited about this exciting mashup, that I got started on this project straight away. I separated my stickers into different collections and then got to work.
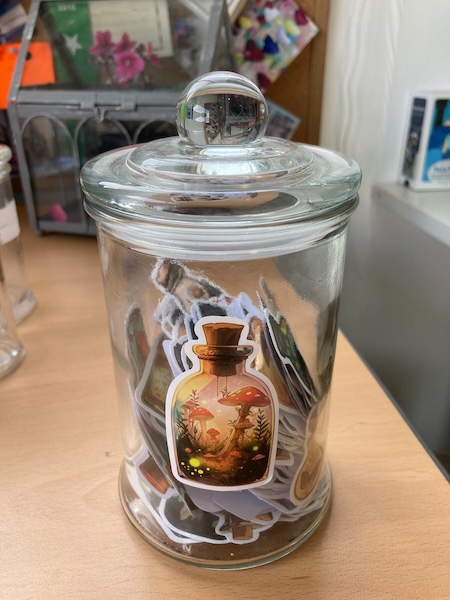
First up was my apothecary jar sticker collection, which was quite serendipitous...
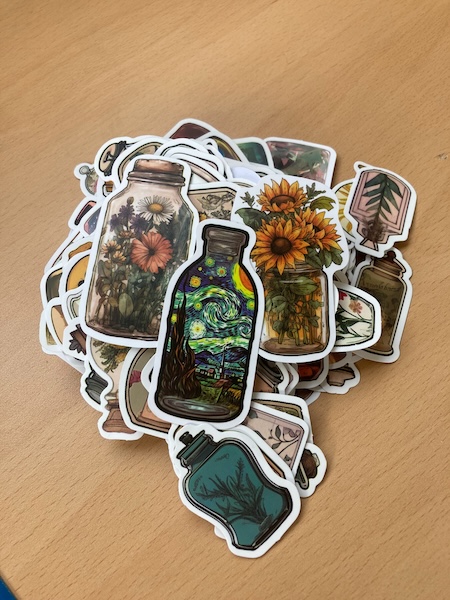
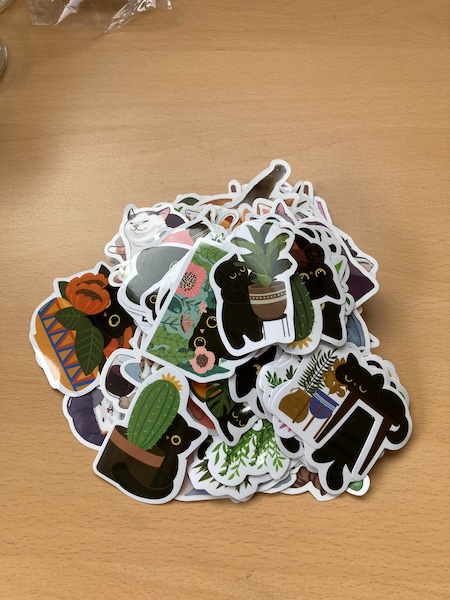
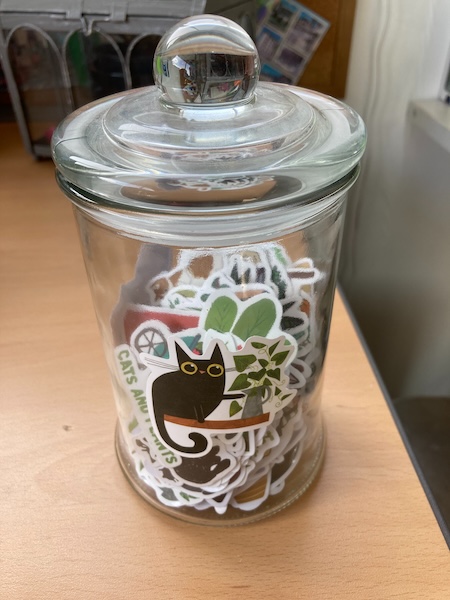
Next up was my collection of cat stickers. And because I am a crazy cat lady, I do have a lot of cat stickers.
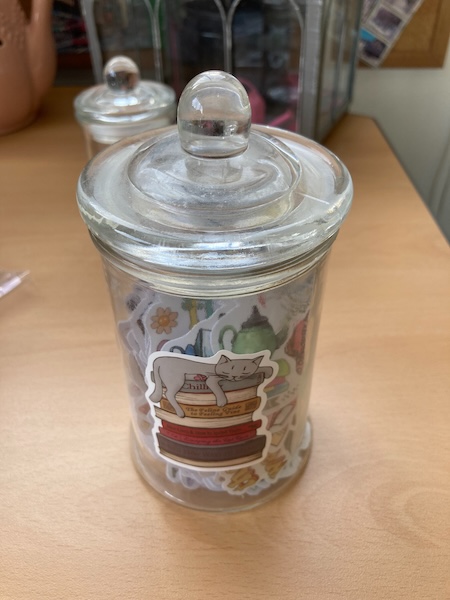
And then of course there is my book sticker collection, which usually includes also cats, tea pots and flowers...

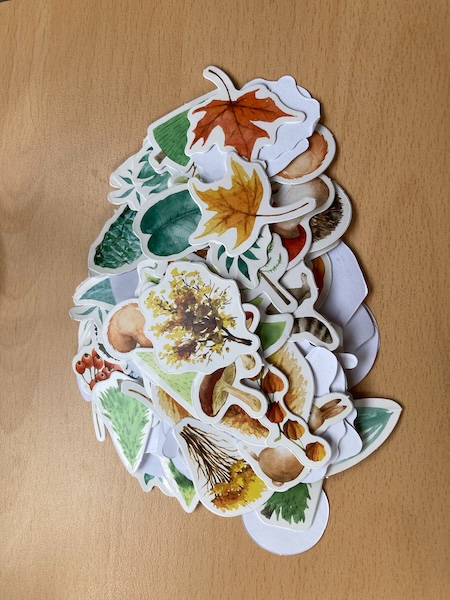
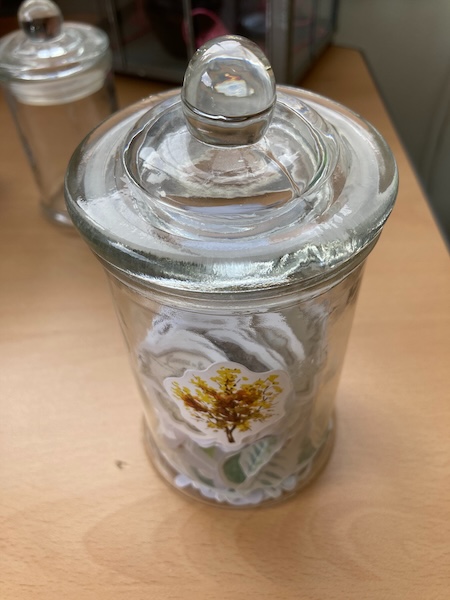
And I also have a huge collection of nature stickers including leaves and mushrooms and cute woodland animals, so they also had to find an apothecary jar of their own...
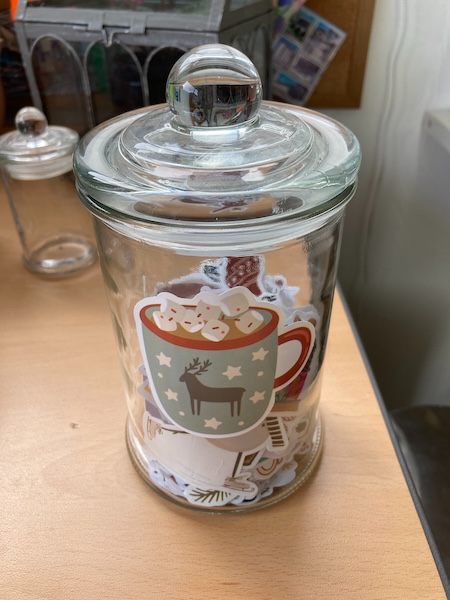
And don't even get me started with my Scandi christmas themed stickers, which I also have a lot of. I mean who can resist stickers featuring hot chocolate, snowflakes, reindeer and gnomes...

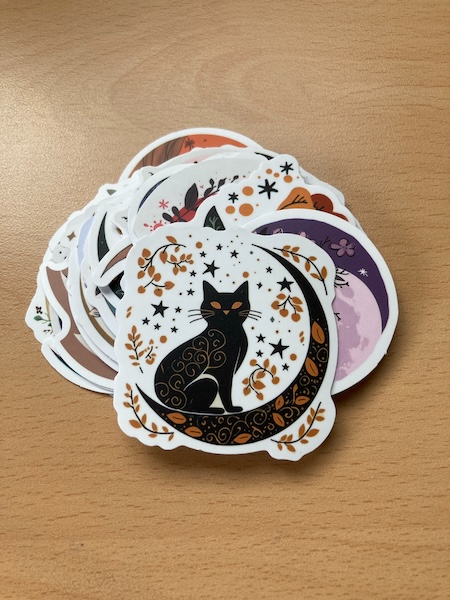
And then there's all my witchy stickers. You put moons and starts and cats and other witchy things on a sticker, and it's like take all my money...
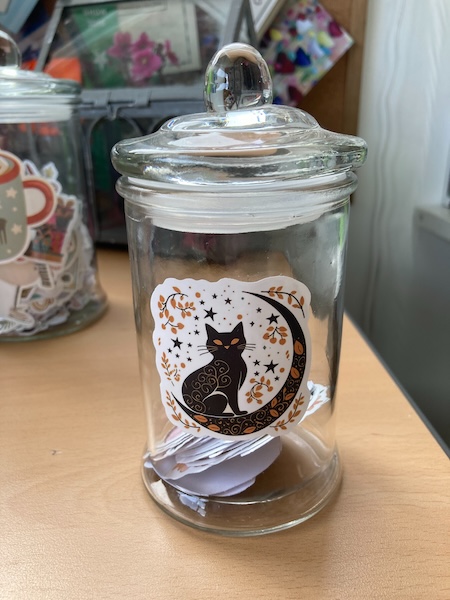
And with all that done, I have a whole set of apothecary jars filled up with lots of beautiful stickers. I laid them all out along the windowsill behind my computer desk in my craft room. And now whenever I'm at my desk I can look up and see both my beloved apothecary jars and stickers.
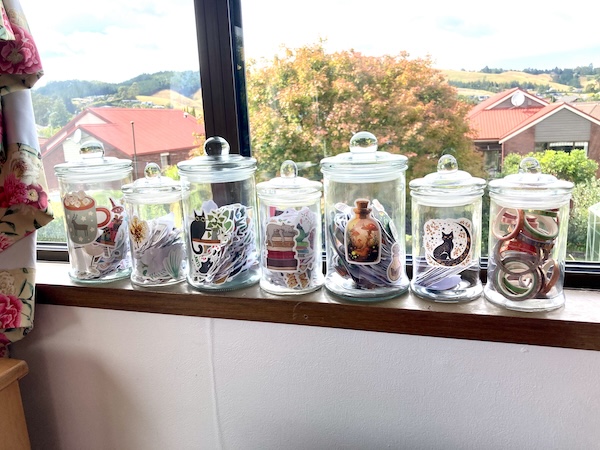
Already I've found that I've been using my stickers more often now that I can see them. I hope to decorate all my diaries, journals and notebooks with my beloved stickers from now on. Do you have something small like apothecary jars and stickers that bring you joy? I'd love to find out.
Have a wonderful day
Julie-Ann
Want to discuss my post? Feel free to chat with me on Instagram
or Mastodon or Bluesky
My 2023 Garlic Harvest
Hello friends,
According to one of last year's blog posts, I sowed my garlic bulbs for this season on Friday the 2nd of June 2023. Apparently, at that time I planted 60 Printanor bulbs, and in my naive state back then, claimed that we hadn't had any problem with garlic rust in all the years since we returned to Dunedin, so I wasn't worried about it happening at all.
Well it turns out I was really wrong about this. Normally, the humidity in Dunedin in spring usually isn't too bad, but unfortunately in mid-December 2023 the tell tale signs of garlic rust began appearing on my garlic plants after a period of rainy, humid days. I was devastated to say the least, but it was only a few weeks until the garlic harvest, so I prayed for lots of dry and sunny weather, and hoped my garlic plants had already formed decent bulbs while I waited impatiently for harvest day.
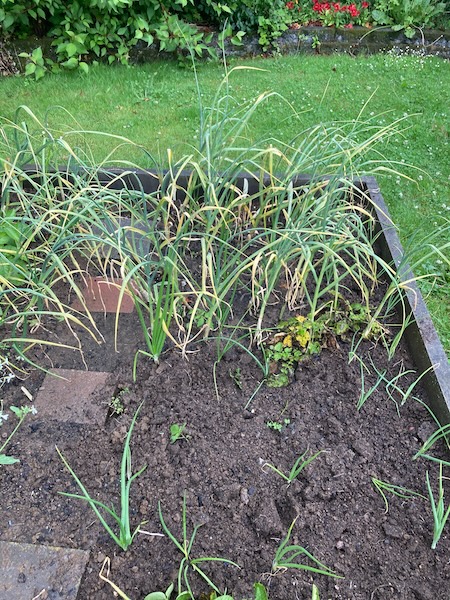
A couple of days after Christmas, my garlic plants were ready to harvest. It was a gray, drizzly day, but hubby and I got to work, and began lifting all the garlic bulbs. It wasn't the biggest garlic bulb haul in the world, but it was good enough for us. I had been hoping for lots of large bulbs, so I could swap some of our harvest for other things like apples and pears etc in autumn, but due to their smallish size, we ended up only with enough to last us for the year.

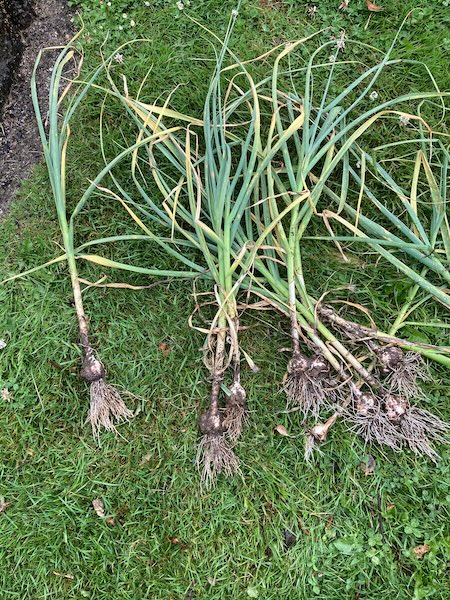
After a quick spray with water to clean off all the dirt, we made the decision to harvest the garlic then and there. Garlic plants with rust don't tend to keep very long while stored dry and whole, so we harvested the garlic bulbs and froze the cloves in our chest freezer. When we cook with garlic we just use the cloves, or we dehydrate the garlic to get flakes and powder.
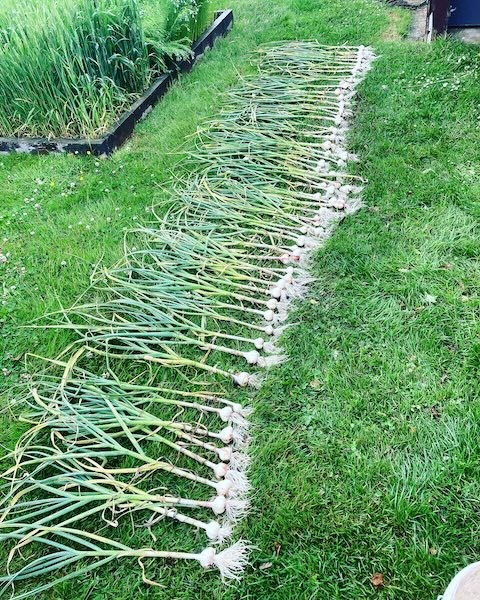

The thing about growing underground vegetable crops is that you're not entirely sure what the harvest will be like until you dig them up. It's really just a case of making do with what you get, and then planning accordingly. If gardening life was predictable all the time, it would probably be boring...but I still would've loved to have a bigger harvest. So instead, I'll just have to buy autumnal fruit the normal way, at the supermarket.
Have a wonderful day
Julie-Ann
Want to discuss my post? Feel free to chat with me on Instagram or Mastodon or Bluesky.
Craft Room and Office Make Over
Hello friends,
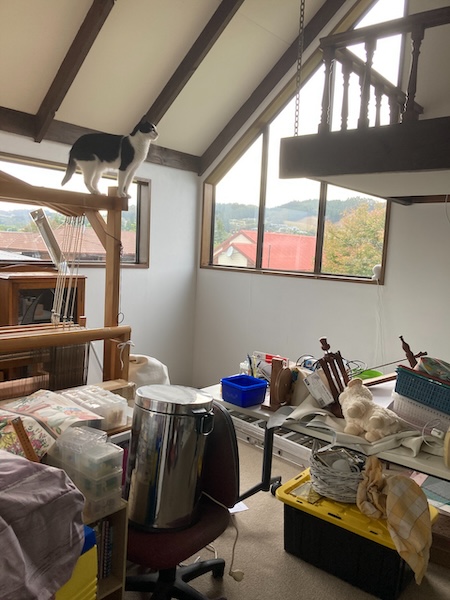
When we first moved into our home when we came back into Dunedin in 2019, we chose a house that would fit both hubby and my work spaces, since we have the privilege to work from home. I chose my craft room space in what was a big bedroom that had a mezzanine attached. The decor in the room was typical for the 1990s, with lots of beige and brown, and also with a feature wall. I was just happy to have a dedicated crafting space at the time, and I knew I could decorate later it to my tastes.
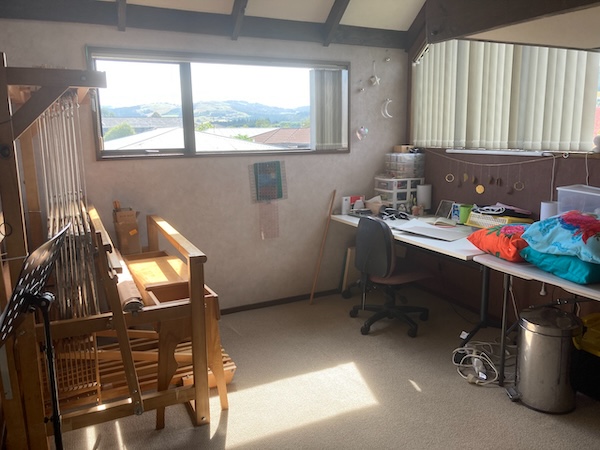
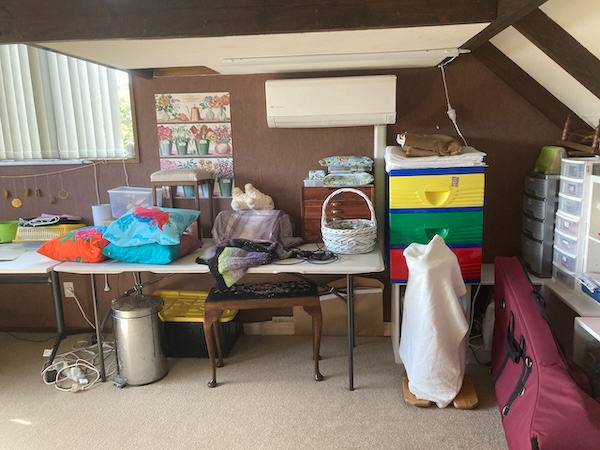
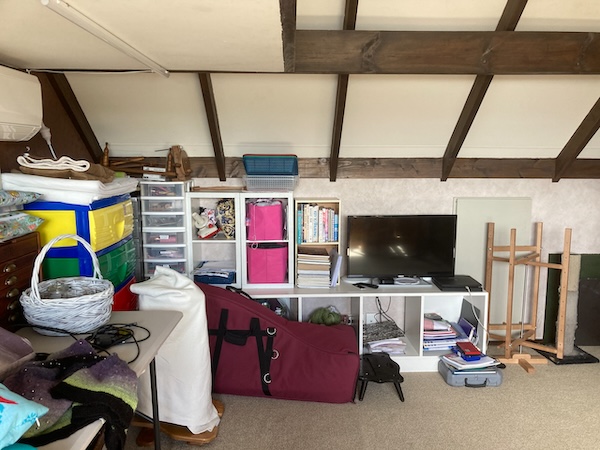
The plan was to use the mezzanine space as storage for all my craft supplies, but as soon as we moved in our cat Missy (black cat) chose the mezzanine as her own personal sleeping space. And then when Rosie (tuxedo cat) joined us as a kitten later on, she also fell in love with the mezzanine, now all decked out with soft toys and cat beds.
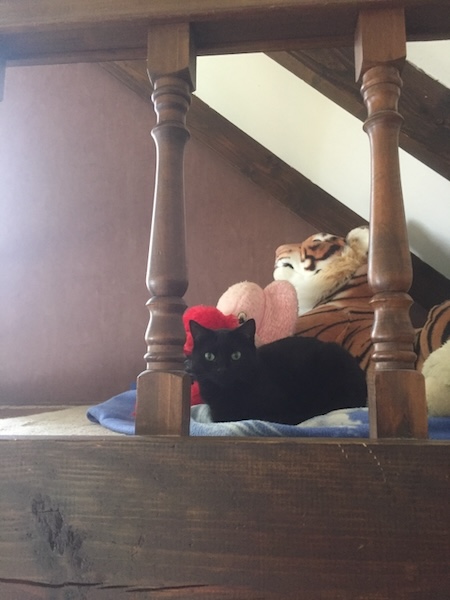

This set up has worked for a number of years, there's space for sewing, spinning, and weaving, and chilling out and crafting at night while hubby plays on his Playstation in the lounge. The kitties have also enjoyed the space they've also claimed as their own.
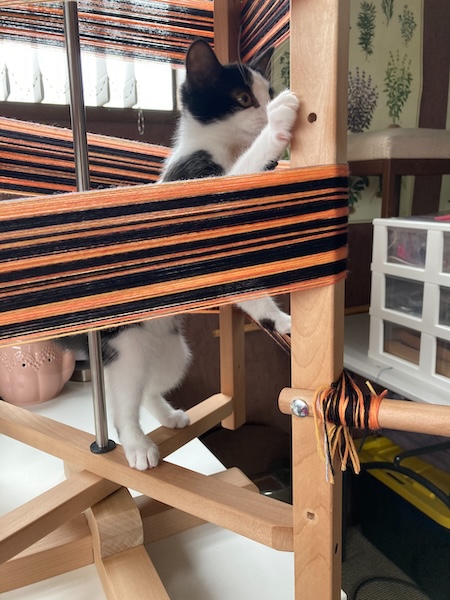
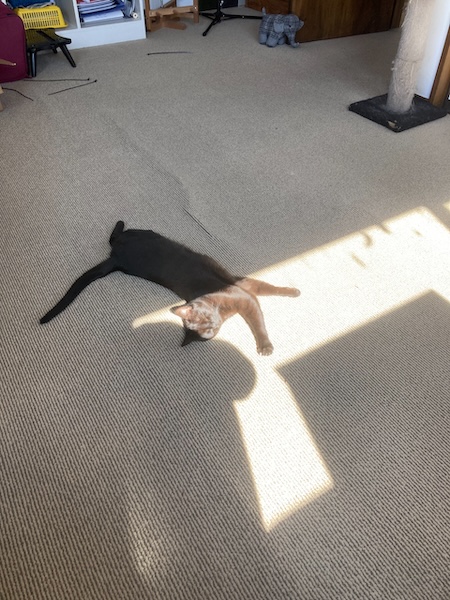
I had my office down stairs in a room shared with hubby's home office, and it was dark and dreary, with no sunshine at all during the day, and south west facing. The other problem is that it was so far away from my craft room that my workflow was very disjointed. I had started thinking about moving my office upstairs into the craft room at the end of 2023, and then over the summer holidays, hubby came to me pondering the idea of having his own space for building and storing his Lego.
The problem with Missy and Rosie cat is that they love eating things, and especially Lego, so the Lego space couldn't be somewhere that the cats could get to, which meant it would have to be in hubby's work office. But hubby's work office already had his piano in there, which meant we would have to move it elsewhere. We soon came up with a plan to move the piano into the office I was in, and then I would move my office into the craft room, which I was very happy with.
The other problem was that my craft room had a big couch in there, as well as a large loom I used for work, which meant that my desk wouldn't fit in the space. So after some brain storming, we came up with solution. The first task was to sell the couch, which was relatively easy to do within a couple of days on Trade Me. And then we also put my big loom up on Trade Me as well to sell. I'd wanted to downgrade my loom to a smaller sized Ashford 8 shaft jack floor loom for a while, and this was a perfect opportunity to do so.
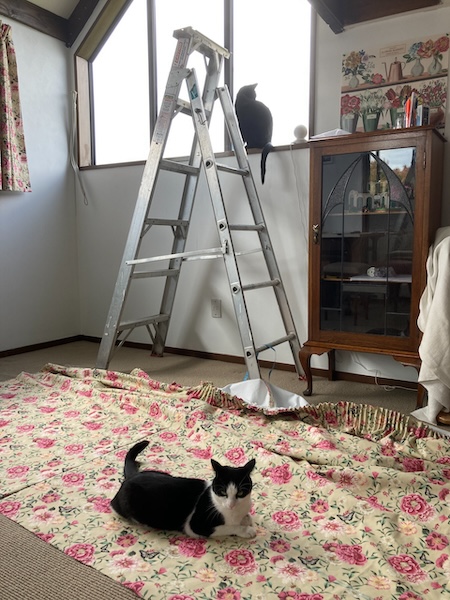
With the couch gone, and the loom being readied for selling, there was finally space to move my office desk up to the craft room. But, that's when I come up with another idea—since there was room in the craft room to move around, it was a perfect time to paint it. I couldn't stand the brown walls anymore, and within a couple of hours of suggesting it to hubby, we'd already bought the paint, Quarter Alabaster from Resene (I chose this colour as I often need neutral backgrounds for product photos for my business), and started prepping the room for painting. Missy cat loves climbing ladders so she was very helpful during this stage.
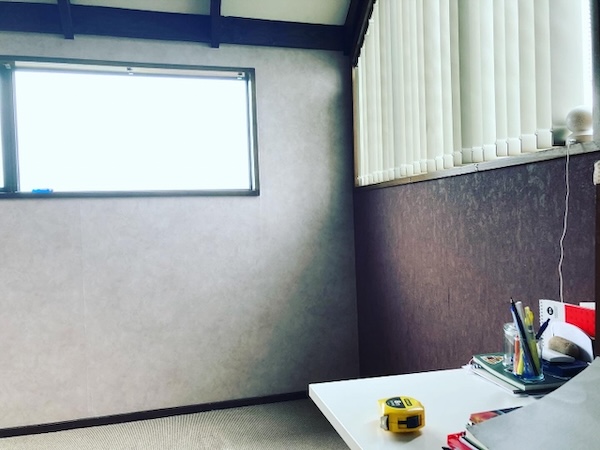
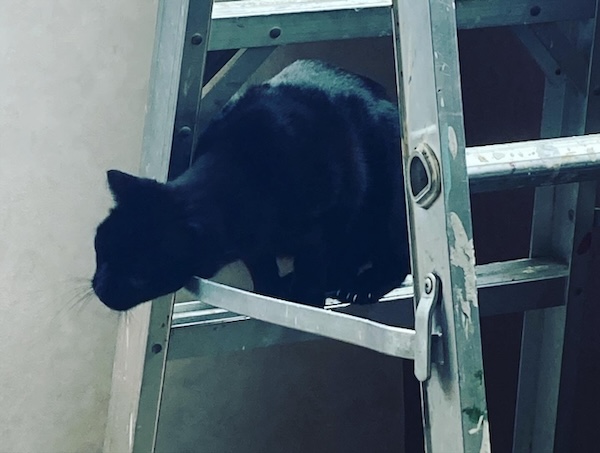
Because we had to keep pushing stuff around the room to make space, we ended up painting one wall at a time over a couple of weekends, but we finally got it done.
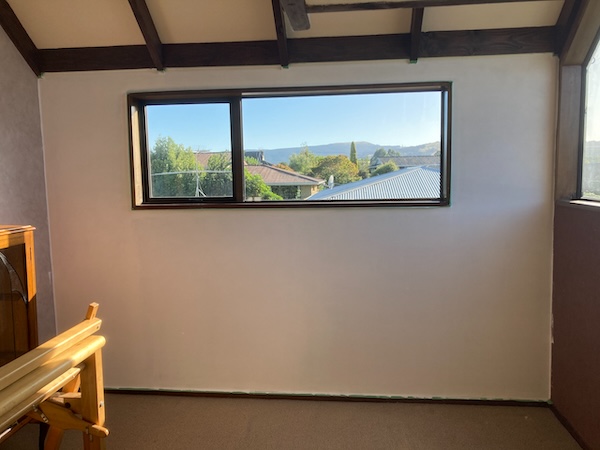
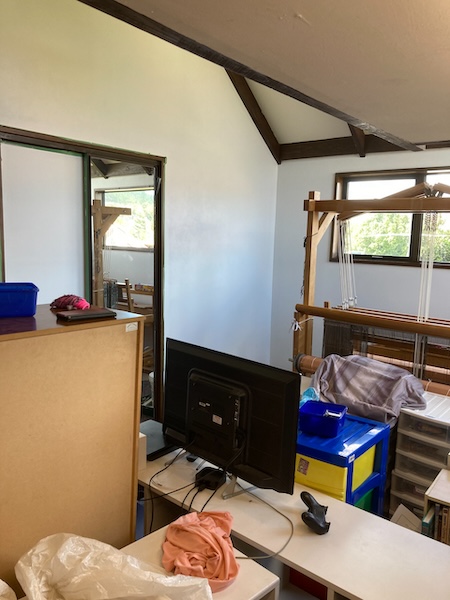
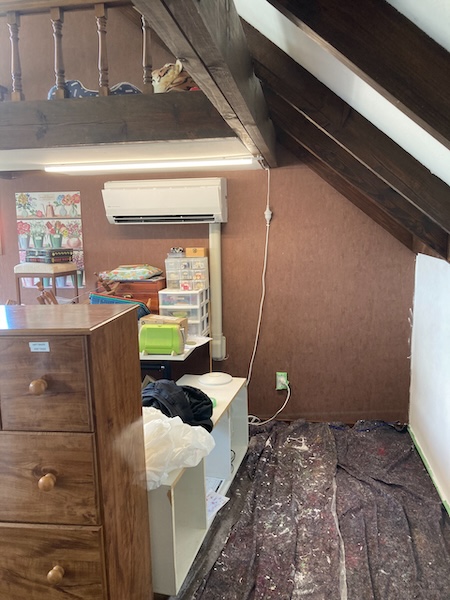
With all the painting done, we moved everything back into position. But we had another hurdle to overcome, we had taken down the blinds during the painting, and now needed to replace them with thermal curtains. After a quick trip to Spotlight, I returned home with the most girly of curtain fabrics, and with my mum's help, we made the two sets of curtains needed for the craft room. The big south facing triangle window was a challenge, but luckily we'd done it before in our bedroom at the other end of the house, and still had the template to cut the curtain to the correct angle.
Within minutes of getting the finished curtains up on the windows, hubby and I excitedly began moving my office. It didn't take long at all to move my desk and all my other stuff up the stairs. And while I was pottering around and putting my desk stuff back into it's rightful place, hubby was already moving his piano into his home office space...
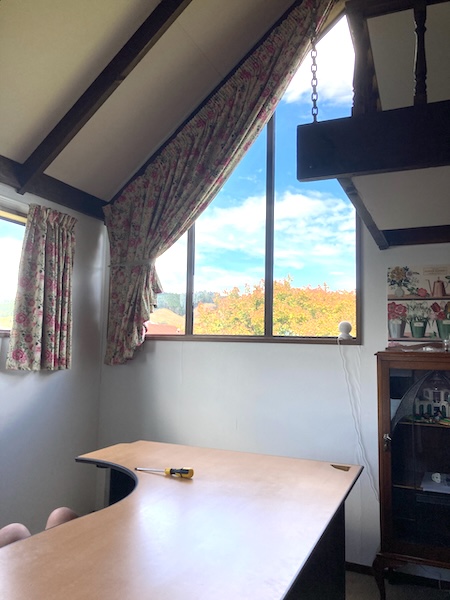
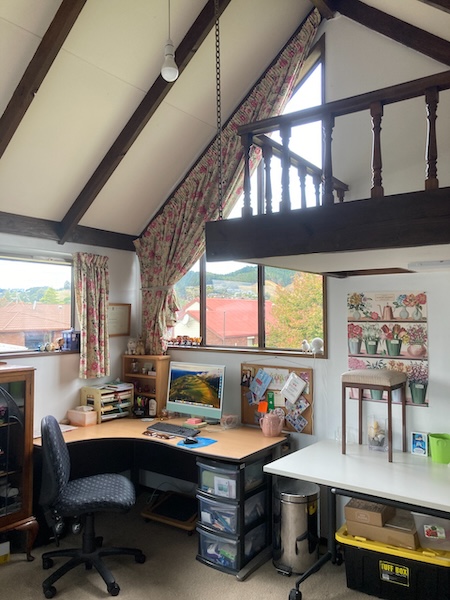
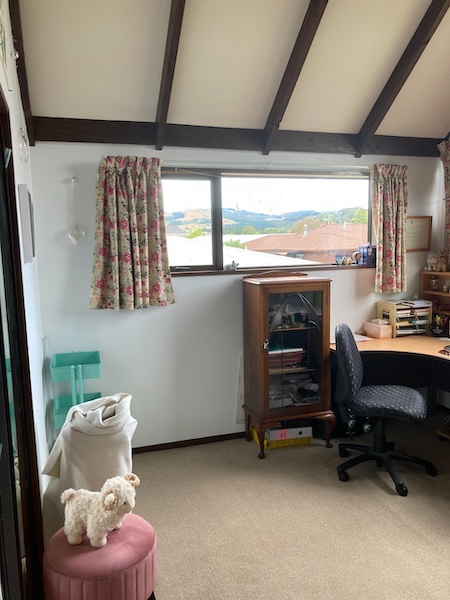
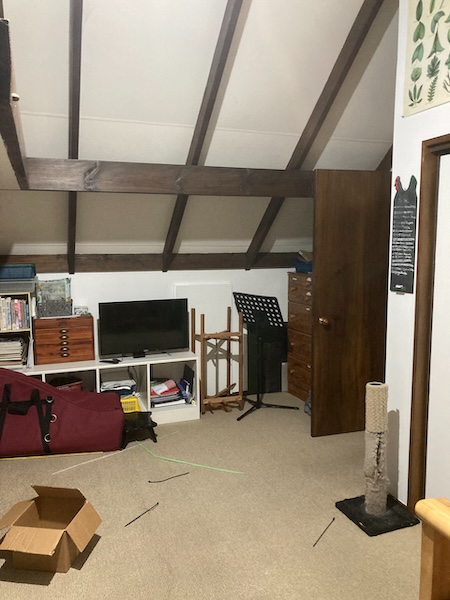
The room is looking better by the day as I potter around making it the space I've always dreamed of, and since then I've sold my big loom. I then ordered my new loom from Ashford, and it arrived within only a couple of days, and is now assembled ready for weaving. The display cabinet I blogged about last week, is in it's final position, and now has a cat bed on top. Rosie and Missy are now arguing who gets to sit in it each day.
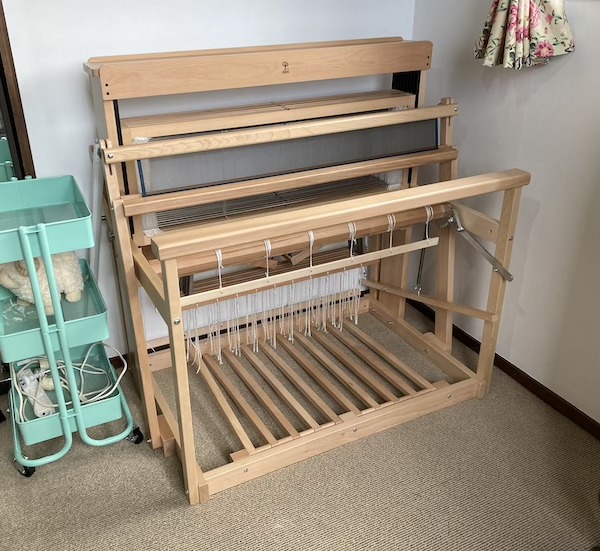
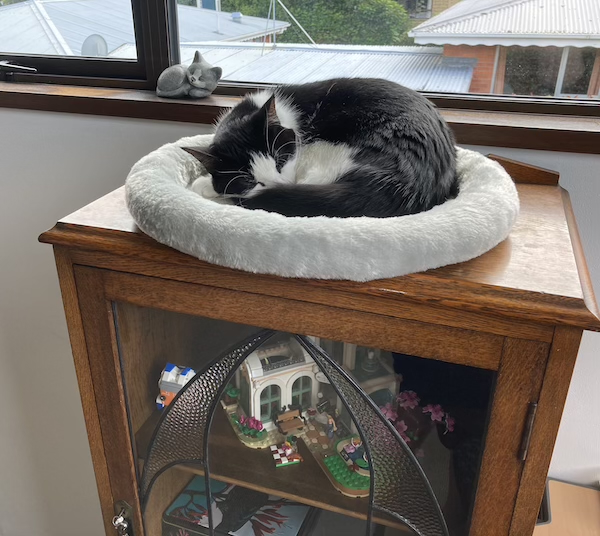
I also ordered an occasional chair to replace the big couch I used to do crafting on, but it isn't due to arrive for another month. Once that is here, my craft room makeover is complete. It was a longer process than it initially started out as being, but I'm really happy now with this space. It makes me happy to go to work and to craft, and it is a really relaxing place, with great views, and plenty of natural light.
And if you're wondering how hubby's Lego project is going, well it turns out that he didn't check the size of the piano vs the chicane the piano would have to go around in order to get into his home office, and the piano didn't fit, no matter what we tried. We ended up moving the piano into the lounge, and then rearranging the couches after that, and then moving our treadmill into his home office to make enough space. But what is done is done, and he's now happily unboxing all his Lego in half of his work office, and organizing it to his heart's content.
The one thing that we did take away from all this, is that our 1980s home looks better when it's been repainted to a more neutral light colour. Most of our home is currently in shades of brown and maroon, with many feature walls, and it feels dark and gloomy inside. We are already planning on painting more rooms this year, but are currently taking a break until autumn. During this renovation my garden has been neglected alot, and needs lots of love between now and the colder months.
Have a wonderful day.
Julie-Ann
Want to discuss my post? Feel free to chat with me on Instagram or Mastodon.


