

Growing and Harvesting European Linen for the 2023-2024 Season
Hello friends,
As a crafter and a gardener, I like to combine my hobbies in interesting ways. In this case it was growing and harvesting European flax (Linum usitatissimum) in order to prepare some linen for spinning and weaving.
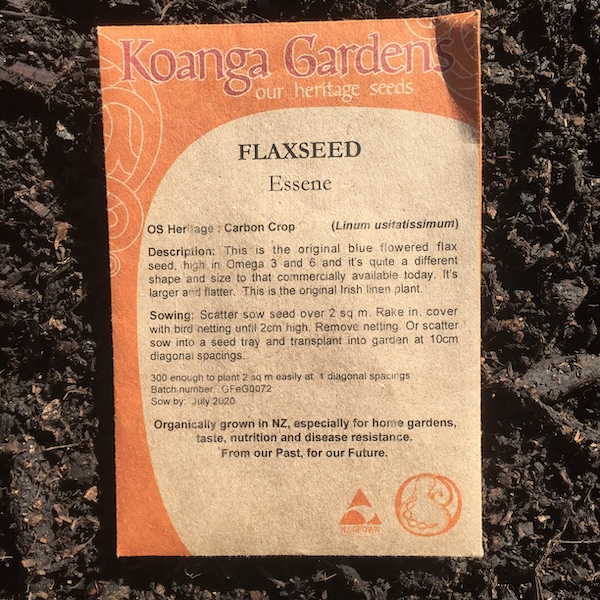
Back when we lived in Wellington I bought some Essene European flax seed (Linum usitatissimum) from Koanga Gardens. In the first year I sowed half the seed packet into a 1 m x 2 m space, and grew the linen plants mainly for producing seeds, so in years afterward I could grow even more flax for linen. My linen harvests thereafter would be self-sustaining. I now grow linen every couple of years for collecting seeds, and stockpiling flax stalks for making linen.
This blog post is showing the process of growing linen from seed sowing to harvesting. In later blog posts I'll share as I go through the flax processing and then spinning and weaving it.
The first thing I did was buy the book "Homegrown Linen: Transforming flax seed into Fiber." by Raven Ranson. This book is very detailed, and shows all the necessary steps in growing homegrown flax for linen. I then used it to calculate how to grow it in New Zealand seasons.
The first step in growing flax seed is deciding when to sow the seed. Flax seed is sown in spring when oats and barley are sown, and in our case it was in mid-October. If flax is grown for linen then the seeds are grown very close together so that long tall stalks are produced, but if flax are grown for seeds, they are planted further apart to allow for branching and more flower production.
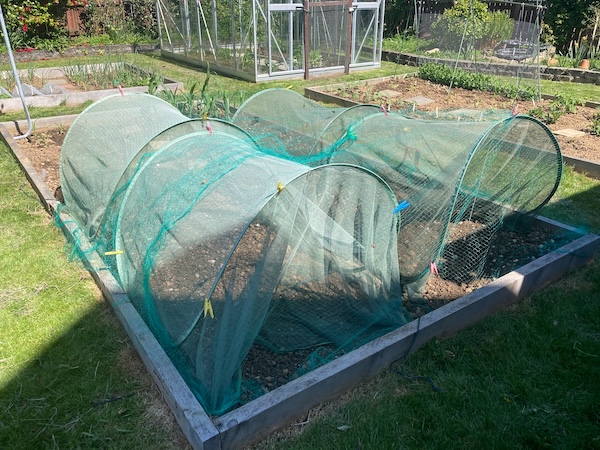
After weeding the patch of ground it was to go into in spring last year, I fertilized it with a high nitrogen fertilizer in the form of sheep pellets, and then prepared the soil to a fine tilth. I then sowed the flax seed in a broadcast fashion very close together, so that the linen plants would grow very tall, with little to no branching. After covering the seeds over with a fine layer of soil using a rake, I watered the seeds in, and then covered the crop with bird netting to protect the seeds from the local very hungry avians. It takes approximately 100 days from seed sowing until plant harvest, so this was classed as day 0.
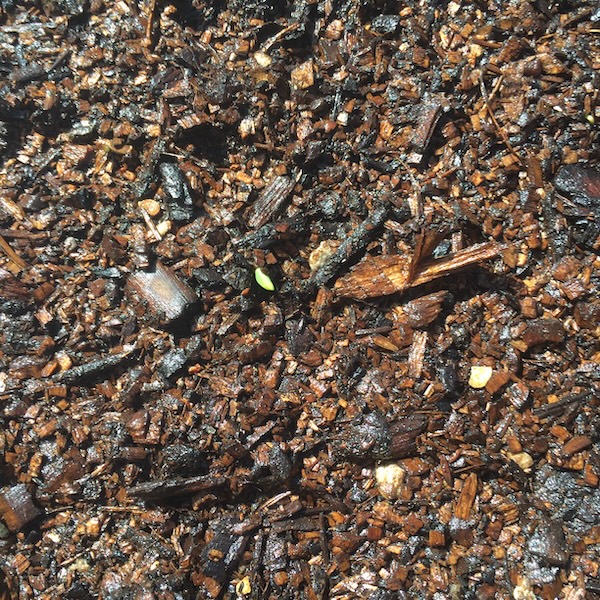
Within a few days of watering each day, the flax seedlings began to appear. It is always very exciting to see them come up.
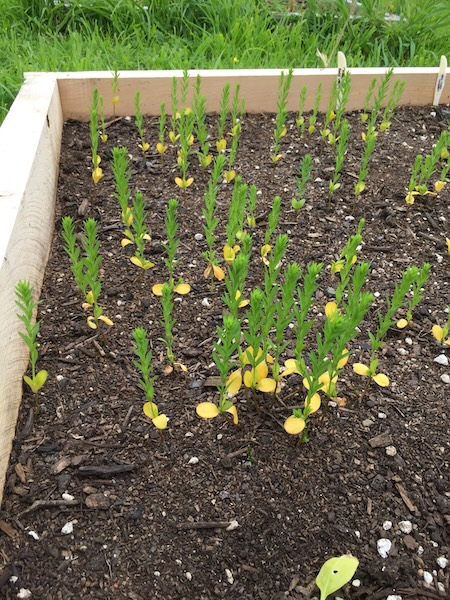
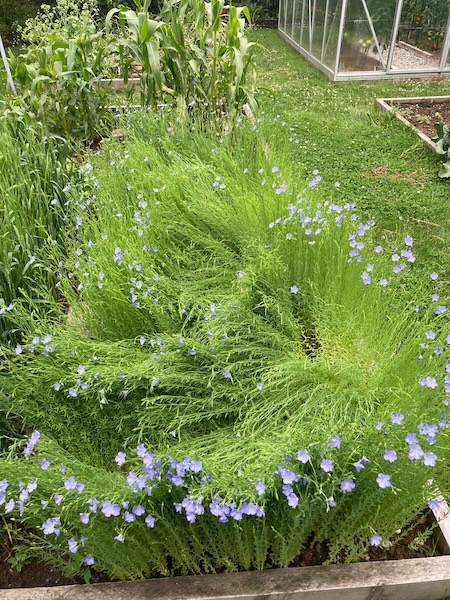
And within a week, the seedlings were actively reaching for the sky. In the photo below I was growing the linen plants for seed, but as you can see, I spread them a little too far apart.
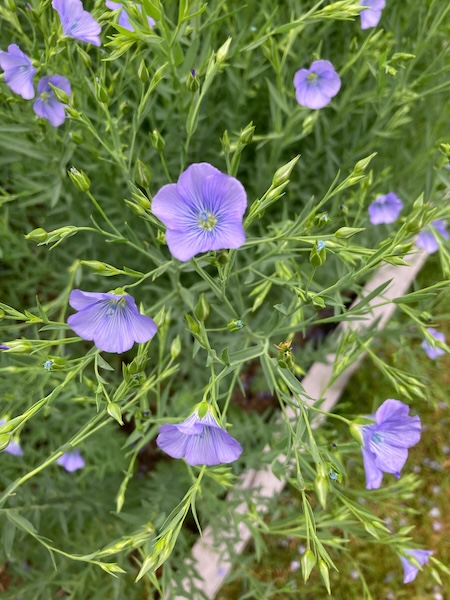
Once the flax starts growing, it basically fends for itself. If sown very close together no weeds will grow, making it an easy crop to take care of, as long as it gets enough water. And once the flax reaches about 50 cm tall, it begins flowering at around day 60. The beautiful blue flowers open during the day, and close again at night. And now that the plants are tall, they sway very prettily in the breeze.
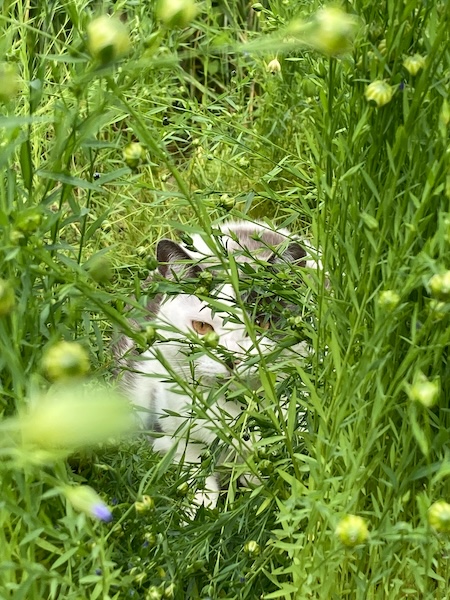
Flowering and setting seed boils takes around a month. One of our neighbourhood cats, who we call Patches, decided to make their snoozing spot inside the linen crop. No matter how many times I tried to shoo them away, they kept coming back, so I let them be. It's a good thing they're cute because they ended up squishing a bunch of linen...
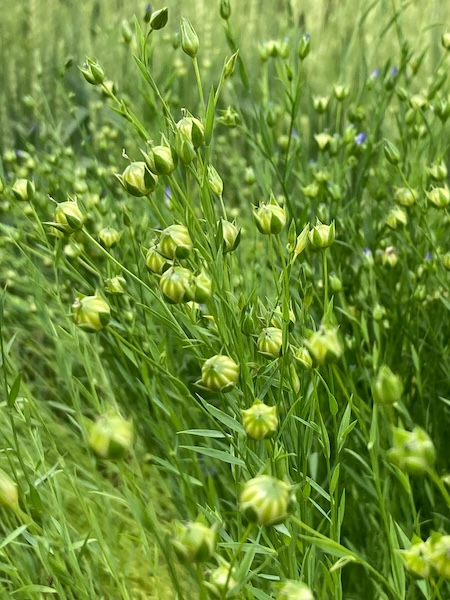
Once the seed heads (boils) have set, now is the time to think about when to harvest. It's a good idea to set aside a section of your crop to let the boils (seed heads) mature and turn brown, which means they are then ready to harvest for next years seeds. Their plant parts will be dry and thick and yellow, and they won't make good linen.
The rest of your crop will be used for producing linen. When the bottom half the plant has turned golden, it is time to harvest the plants. The seed heads will not usually be viable for collecting seed, but I've found in the past that some of them can be.
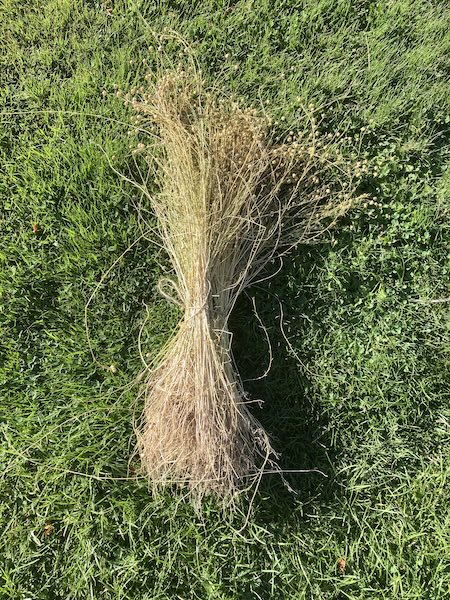
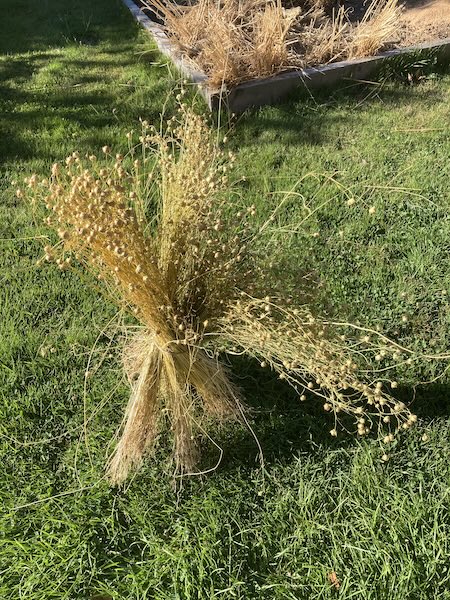
The best way to harvest linen is to pull them out by hand in clumps. Lay the harvested linen plants out on the grass, all facing the same way, with the roots at one end, and the boils at the other. Once you've harvested all the linen plants, it's time to stook the plants, which means creating bunches of sheafs, and then tying them in the middle like the poles of a teepee. You want air to get up into the middle of the sheaf to dry it out. Place the sheafs upright with the roots at the bottom and let them dry in the sun on sunny days.
Once the linen plant sheafs are dry you can store them until you want to begin processing your linen. The next step is processing my current linen crop, and this will occur in a couple of weeks after autumn starts...
Have you ever tried experimental gardening? I've done this in the past with growing wheat, and it's very interesting to see how food and fibers are processed. It makes you appreciate how complicated food and textile production is.
Have a wonderful day
Julie-Ann
Want to discuss my post? Feel free to chat with me on Instagram or Mastodon or Bluesky
Our Weather Station, and Our 2023 Weather Data
Hello friends,
With it now being the new year, I can now share the 2023 weather data from our home weather station. I like to track the weather each year, so I'm aware of trends like first and last frost date, snow, and also how much rainfall we're getting.
Up until March last year, I had been using nearby weather stations for our data, but when the two closest weather stations shut down, it was time to once again invest in a weather station of our own. We had a weather station when we lived in Wellington, but my husband accidentally smashed it when he chopped down a tree on our property (I did suggest before he chopped the tree down that we should move the weather station out of the way, but he said it would be fine...).
After much research last year we chose the Ecowitt GW1101 WIFI weather station, which has a 7-in-1 Outdoor Sensor Array: (wind vane, wind cups, UV / solar
radiation sensor, thermo-hygrometer sensor, and rain gauge), and a USB Wi-Fi Gateway. The WIFI gateway lets you import your weather data in a number of ways, and we chose to import the data onto our local server, and hubby made a local web interface for looking at the data. We also chose to add on a number of other sensors to the WIFI gateway, so we also have four soil water sensors, and a PM 2.5 air quality sensor. We currently have one soil sensor in our glasshouse, and the other three under each citrus tree we have. The air quality sensor is installed between us and our neighbour who has a very smoky woodburner. We have also just purchased two water leak detection sensors to add to our system, as we got a leak in our roof space last week, and had water coming down from our garage ceiling. We're going to place the sensors near our old hot water cylinder, and also near the garage in the roof space as an early warning system for the future.
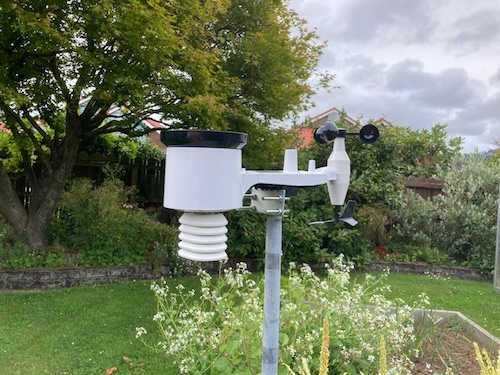
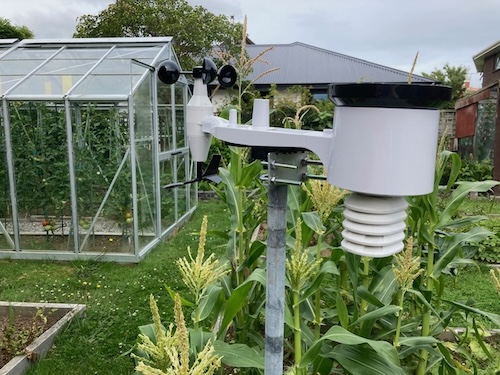
We positioned our weather station in one of our vegetable garden beds, as it was away from lots of heat sinks like the house and concrete paving, and we reused the pole from our old TV aerial to mount it in place.
In this blog post, I will be sharing the general weather data that was collected during the 2023 year.
Yearly Weather Totals:
Lowest Temperature of the Year: The lowest temperature for the year was -6.8˚C, which happened on the 8th of June 2023. This temperature occurred during a week of heavy frosts, we had 7 days of no wind and clear nights. This temperature happened on the third day of frosts in that week. This frost was responsible for killing one tree, as all the leaf buds had been heavily damaged. This cold weather led to very high PM2.5 air quality readings in all of Mosgiel, and we had to have two air filters running inside the house to keep the air clean.

Highest Temperature of the Year: The highest temperature for the year was 34.5˚C, and this happened on the 2nd of February 2023. This happened on a summer day where we had strong North Westerly Foehn winds. This NWer Foehn wind set up is common in Dunedin before a Southerly arrives, and this can happen at any time of the year. NWers are common in winter just before a winter snow storm from Antarctica, so the temperature change can be quite drastic within a day.
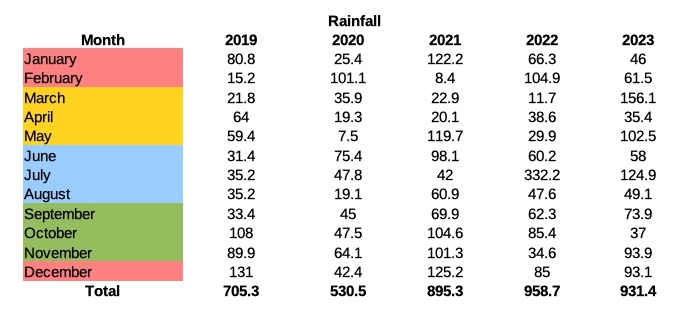
Rainfall for the Year: This year we had a rainfall total of 931.4 mm rain. March was unexpectedly rainy, it's usually one of the driest months of the year in mid autumn. January 2023 was particularly sunny and dry, and we were on water restrictions until March.
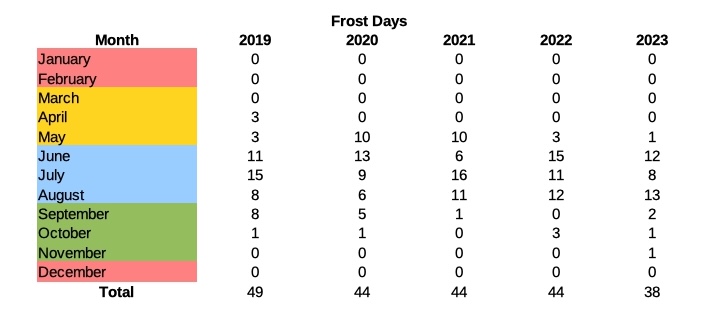
Frost Days: Here in Dunedin it's cold in winter, and we get a large number of frosts, which is good for killing off pathogens in the garden, and helping fruiting in trees and bushes like apricots, cherries, and blackcurrants. We had 38 frost days in 2023. The first frost was on 22 May 2023 and was -0.8˚C, and the last frost was on 10th November 2023 and was -1.1˚C. The last frost date was particularly terrible, as it was well past the date where it is assumed plants growing in the vegetable garden would be safe, and I lost many vegetable plants including beans and pumpkins. My grandad always told me it was safe to plant vegetable plants outside from Labour day weekend, and that's the date I use in planting frost tender plants. You can find an in depth blog post on the November frost here.
I've included other Frost Days in the years since we moved into our home. As you can see in general, the first frost is usually in May, and the last one in October. The last frost in November 2023 is an outlier.
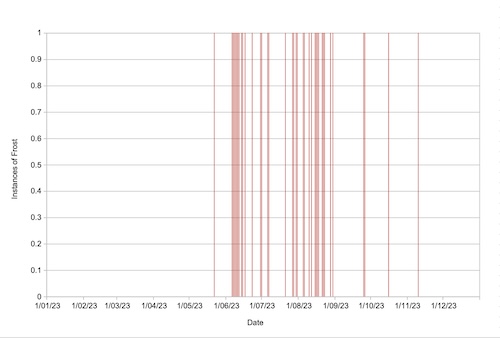
As another way of visualising the frosts in 2023, I've graphed out each instance of frost against time for 2023. There are distinct clumps of frost occurring throughout the year, and they usually happen after a southerly front has gone through.
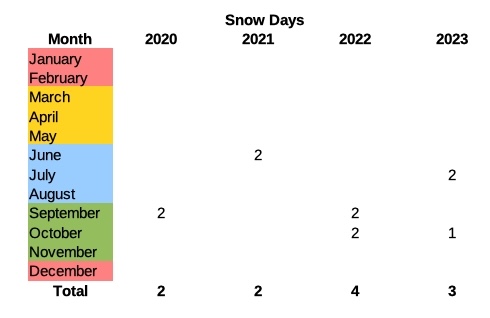
Snow Days: I count snow days as days that we have snow falling outside our home at our height above sea level (30 m), whether or not it may settle. Snow means that a big southerly storm has gone through, and this will lead to frosts afterward. In 2023, we had three snow days, two in July, and one in October. The one in October was very out of character, as usually we get snow events between July and September.
These are the most important factors I look at in interpreting the weather data, but there is much more I could look at, for example comparing frost and snow days verses days that NWers come in before a Southerly storm. 2024 will be the first year I will collect data on NW days.
Do you collect your own weather data for the year? I found it's very useful for in planning in the garden. There's lots of amateur weather stations available online to collect your own weather data, but if you're a big weather geek like me, it doesn't take long before deciding to get a weather station of your own.
Have a wonderful day.
Julie-Ann
Want to discuss my post? Feel free to chat with me on Instagram or Mastodon.
It's Christmas Time, The Blackcurrant Harvest Has Begun
Hello friends,
Christmas is closing in on us, and the biggest way I can tell is that our blackcurrant harvest has begun.
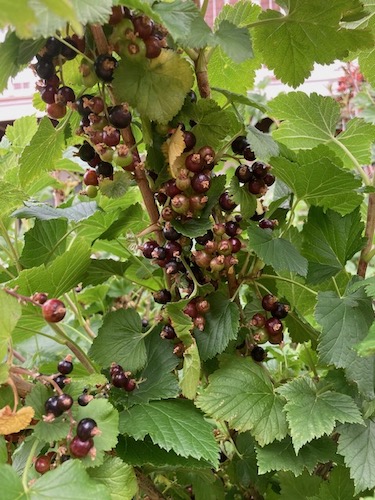
When we moved into our home in October 2019, we noticed that we had a big blackcurrant bush in the back yard, and every year around Christmas since then it has supplied us, and the local bird population, with a huge harvest of blackcurrants.

The harvest has started early this year, after I spotted some overripe blackcurrants splattered on the ground in front of the bush over the weekend. So I grabbed a container and started picking.
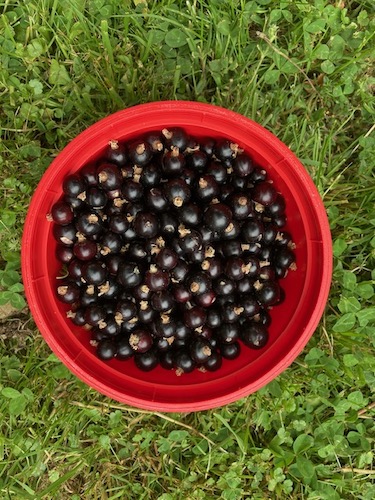
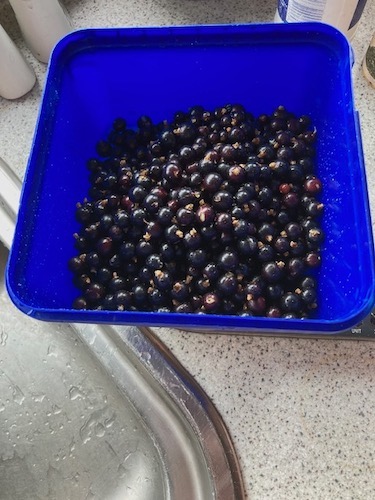
It wasn't long before I'd picked a whole container worth of juicy ripe blackcurrants. After a good wash to remove any detritus and bugs, I placed them in an ice cream container for freezing. I tend to bulk freeze blackcurrants, and then bring them out in autumn to process them into other stuff. The first black currant harvest was 475 grams, so I think it'll be a good harvest over the next month.
The harvest is usually so bountiful, that between us and the birds, there is still a lot of blackcurrants left on the bush, so this year I plan to pick more than what we need for the year, freeze it away, and then use them to swap for other produce in our local produce swap Facebook group. We don't have space for apple or pear trees, so it's a good way for us to have access to other fruit in autumn.
This is the last blog post for 2023. Hubby and I go on holiday this Friday, and after a rough year health wise, I really need a good break to rest and recuperate over the Christmas break. I still plan on taking photos and videos for the blog over that time, and will begin posting again sometime in January.
I hope that you and yours have a wonderful Christmas and New Year break.
Have a wonderful day.
Julie-Ann
Want to discuss my post? Feel free to chat with me on Instagram or Mastodon.
Dehydrating All The Herbs
Hello friends,
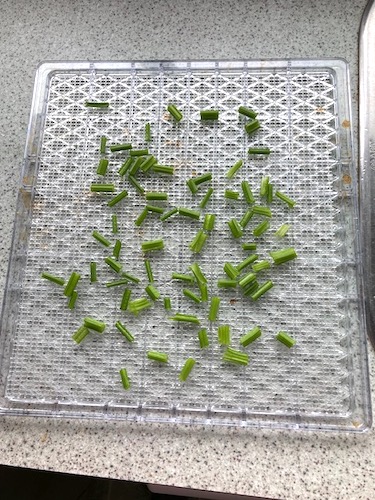
It's finally the time of the year when the dehydrator is working full time, and there's currently a bunch of herbs drying in the dehydrator.
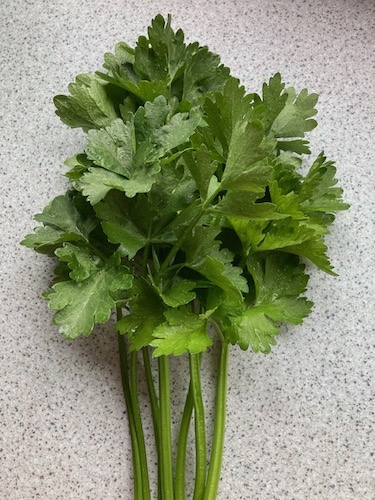
First up is coriander, which is currently on it's second harvest for the season.
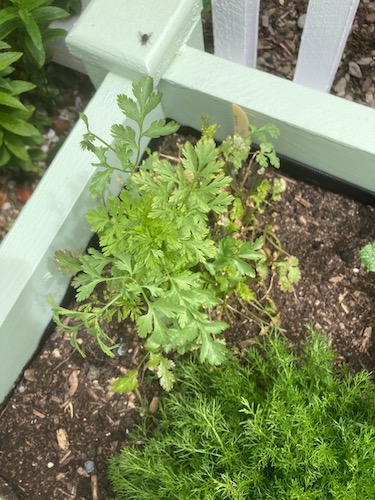
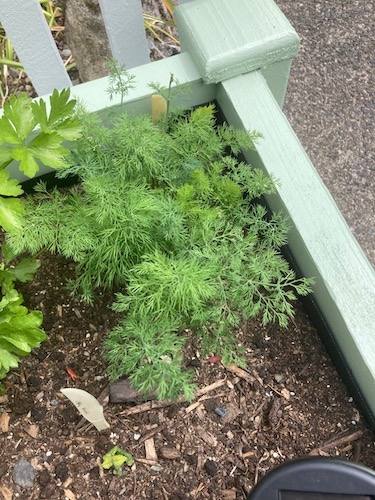
Next we have dill, which has also been harvested for the second time this season.
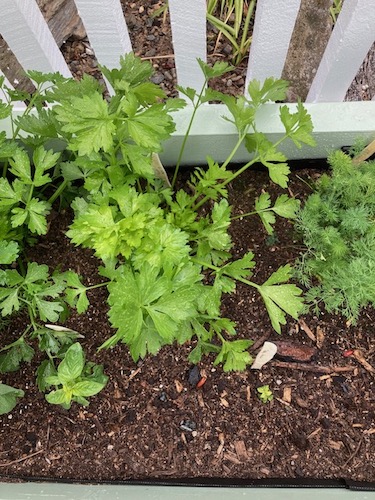
I've also just harvested celery for cutting for the first time this season, and I'm hoping to turn it into celery salt.
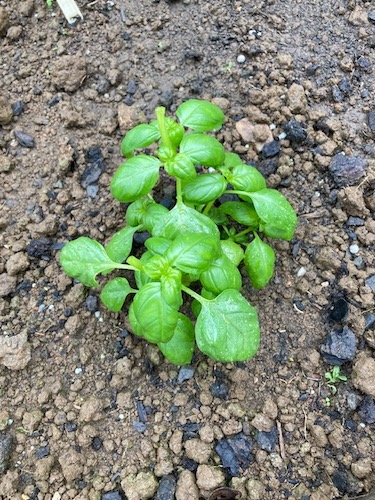
And also, there's finally enough basil to start dehydrating. I've just did the first harvest, and there was enough for both making a small amount of pesto, and also for some to dry.


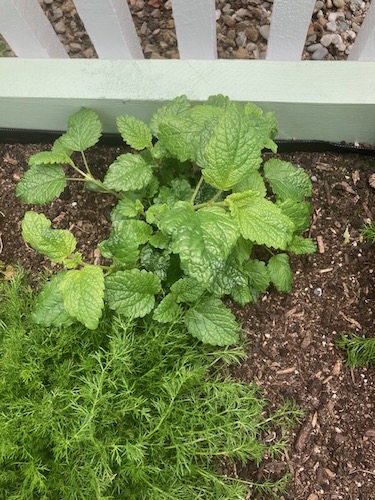
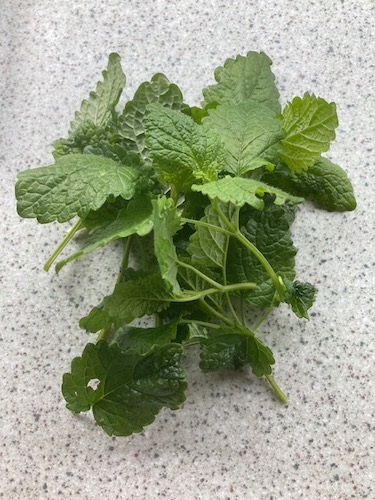
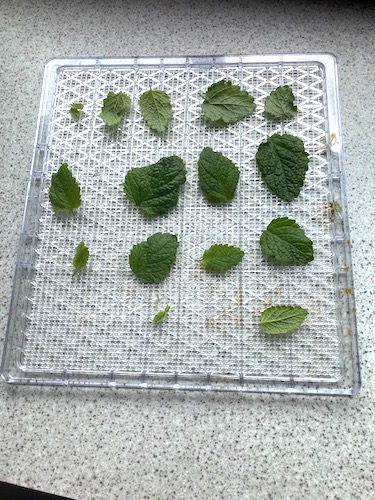
And finally, I've just harvested lemon balm for the first time ever. It's used a lot in the teas I often drink, so I'm hoping to make some for myself.
Have you got harvests coming on? I love early summer in the garden, it's full of so much potential.
Have a wonderful day.
Julie-Ann
Want to discuss my post? Feel free to chat with me on Instagram or Mastodon.
Social Media


Archives