

Framing Two Cross Stitch Projects
Hello friends,
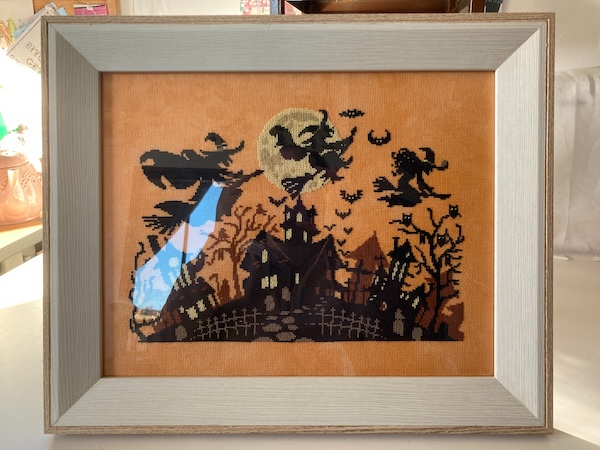
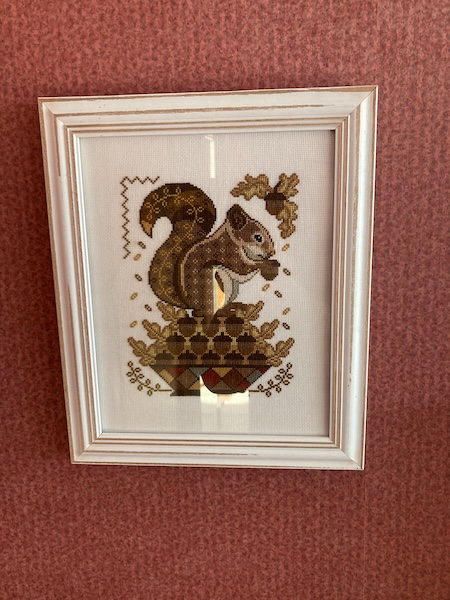
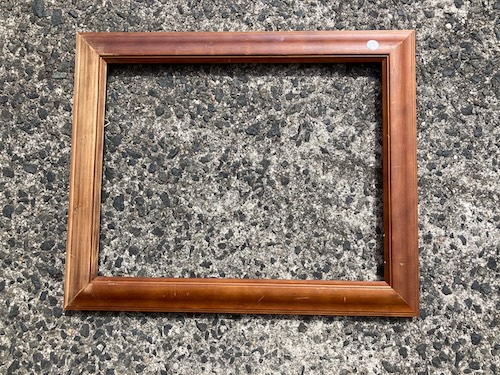
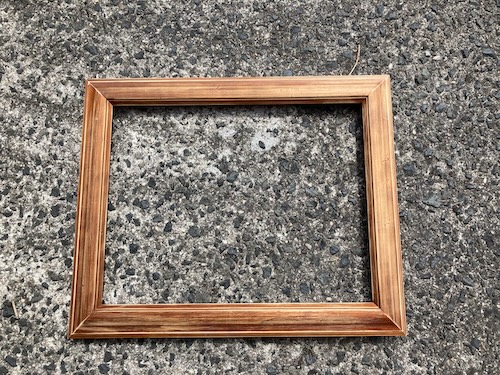
Recently during our vacation at home I got a chance to frame two recent cross stitch finishes, Tonight We Ride, and also Gathering Acorns. Due to their shape and size, we didn't have any appropriate frames in our stash, so I had to pop along to Spotlight to hunt for some. Luckily they had a sale, so we got the frames for half price, and then I framed them using my normal cross stitch framing method.
The Tonight We Ride cross stitch project ended up in a big frame, as it was a weird size. I'm not sure where to put it yet, but it really looks great.
Luckily the Gathering Acorns cross stitch project was a standard size, so it was easy to frame, and it looks adorable on our bedroom wall.
I'm making great progress on my Dimensions Aurora Cabin cross stitch project, and I'm over halfway through now, but I doubt I'll get it finished before spring.
Have a wonderful day
Julie-Ann
Want to discuss my post? Feel free to chat with me on Instagram or Mastodon or Bluesky.
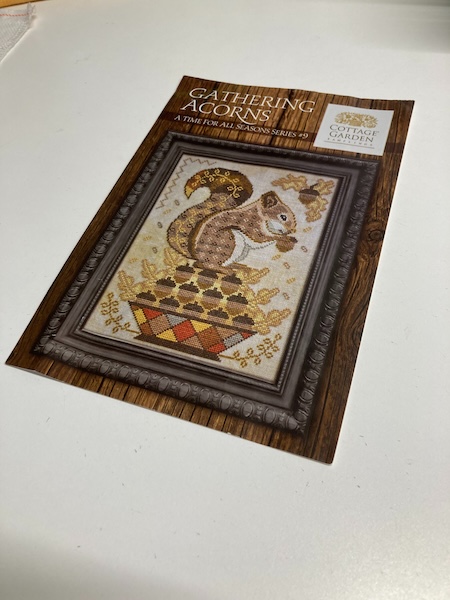
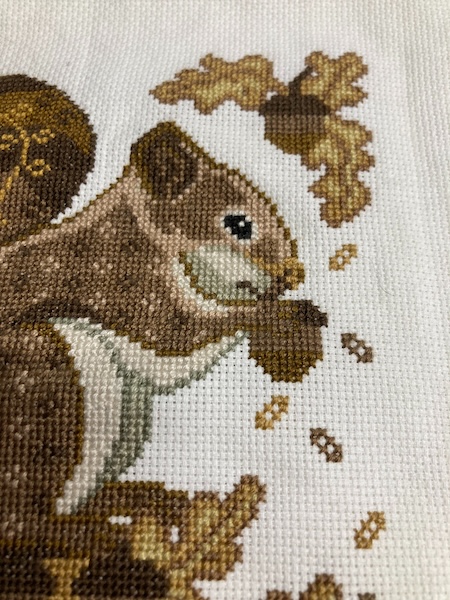
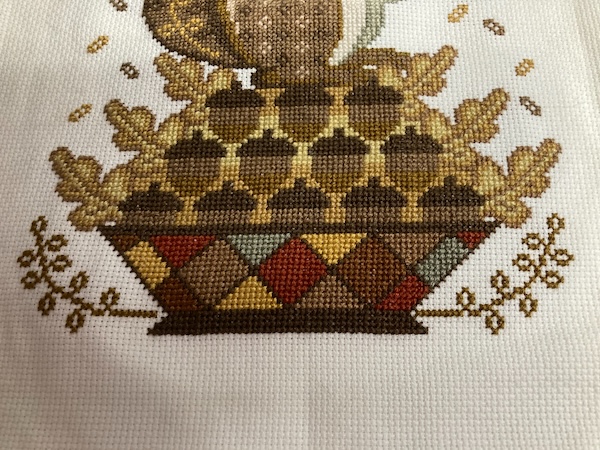
Gathering Acorns Cross Stitch Project
Hello friends,
I had an autumn cross stitch start and a finish!
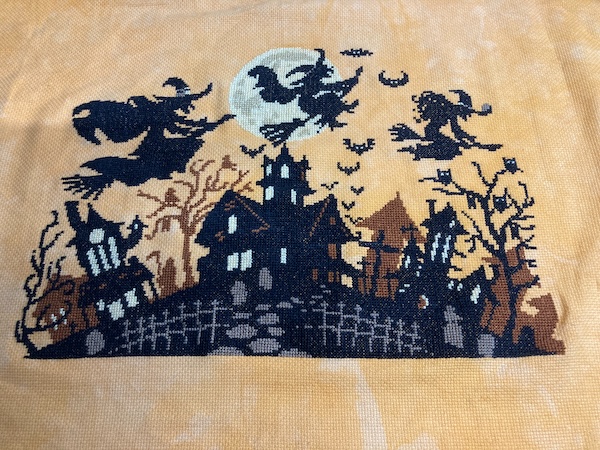
After completing the Tonight We Ride cross stitch project in early autumn, I pulled out the Gathering Acorns cross stitch pattern from Cottage Garden Samplings, which I've had in storage for a while. I decided to use a fat quarter of 18 count Aida in the colour Antique White from Stitch NZ I also had lying around. Stitch NZ are my favorite cross stitch supplier in NZ, as they have a large range of fabric in many sizes. I also bought Gentle Arts Sampler Thread in the colour of Maple Syrup from them, which was the main background colour for the squirrel. The rest of the thread colours used in the project were DMC that I had in stash.
The stitch count for the project was only 100 stitches wide by 130 stitches tall, so it didn't take very long at all to stitch up 2x1. I started in the middle, which was in the lower part of the squirrel, and worked my way out. I managed to finish stitching Gathering Acorns a couple of days before winter started on the 1st of June.
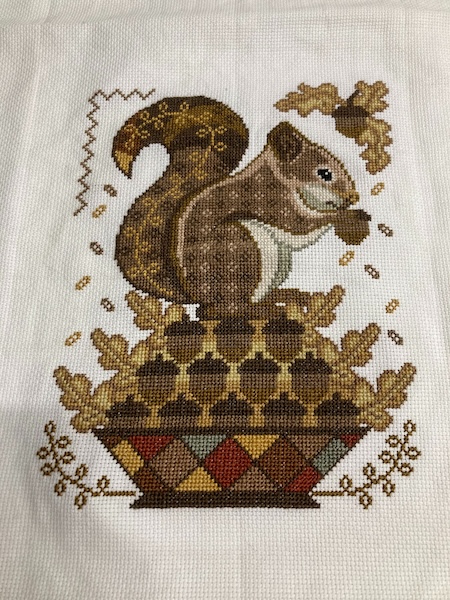
I really love the autumnal colours of the squirrel and the pie dish, and the pattern was very easy to follow.


I'm really happy with how the project looks, and I hope to frame it soon, along with the Tonight We Ride project. In the mean time I'm moved onto a winter cross stitch project, which is a Dimensions Gold Collection kit called Aurora Cabin. I had previously started this a couple of years ago, and I like to pull it out of storage each winter to work on it.
Hubby and I will be on holiday next week, so there won't be a blog post out. I'll see you all in July.
Have a wonderful day
Julie-Ann
Want to discuss my post? Feel free to chat with me on Instagram or Mastodon or Bluesky.
Tonight We Ride Cross Stitch Project Finish
Hello friends,
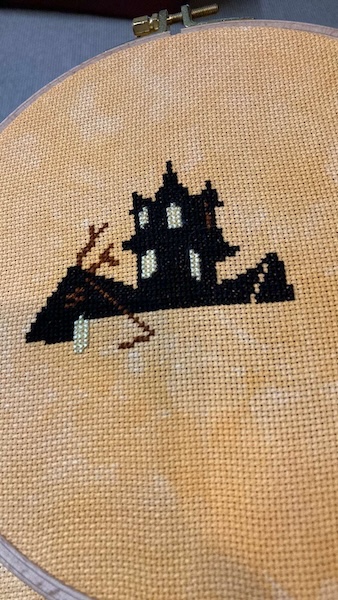
I finally have a cross stitch project finish! I started the Tonight We Ride cross stitch project by Autumn Lane Stitchery back in September 2023, when all the new Halloween cross stitch projects by many designers were released In September. I loved the witchy aesthetic, along with the pretty orange autumnal fabric.
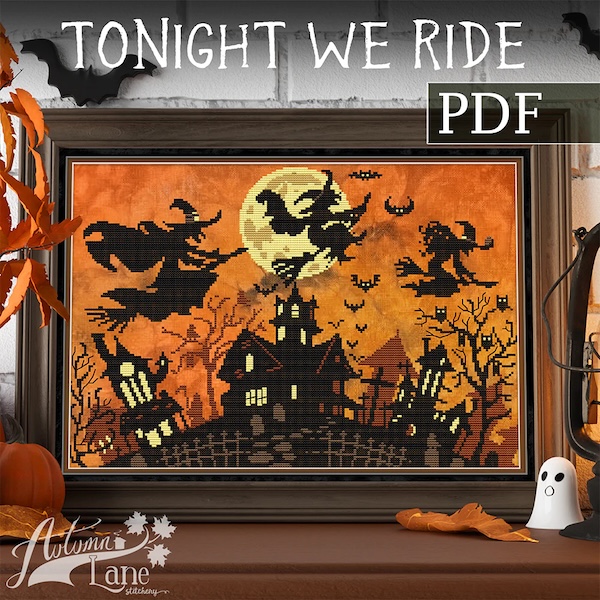
After ordering Fiber on a Whim Aida 16 count fabric in the shade Pumpkin for the project from 123 Stitch, I started in the middle of the fabric, and got to work.
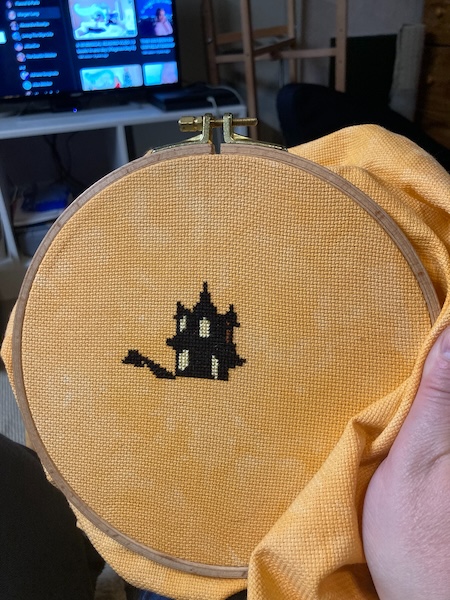
Over September and October 2023 I worked on the main house in the middle. This project requires a lot of DMC 310 Black, and I really mean heaps and heaps of it. Thank goodness I have a huge cone of DMC 310 black that I got from Stitch NZ a year ago. If you're working on projects needing a lot of black 310 DMC, I really advise to buying a cone of it.
By the time it got to the 31st of October, and Halloween for the North Hemisphere, I was done with all the black stitching. I decided to give this project a break over the summer, as I've finally figured out that I am a mood stitcher, and specifically a seasonal mood stitcher. I like stitching seasonal projects in the season I'm currently in.
Over the summer I worked on some other projects that weren't seasonal, and on the first day of autumn in March 2024 it was time to pull out Tonight We Ride again, so I could finally get it finished. I was super motivated to get the project done, and it wasn't long before I had made significant progress.

And I got Tonight We Ride finished and off the hoop on the 9th of April. I love the witchy autumnal feel of the project, and the Pumpkin Aida just adds to the aesthetic.
All that remains now is to wash and hang the project. But that involves finding a picture frame that fits it, and it may take a while of searching at our local op shop to track one down. I've already started another autumnal project, but that's a story for another time.
Have a wonderful day
Julie-Ann
Want to discuss my post? Feel free to chat with me on Instagram or Mastodon or Bluesky.
Carrot Forest Sampler Cross Stitch Project Framing
Hello friends,
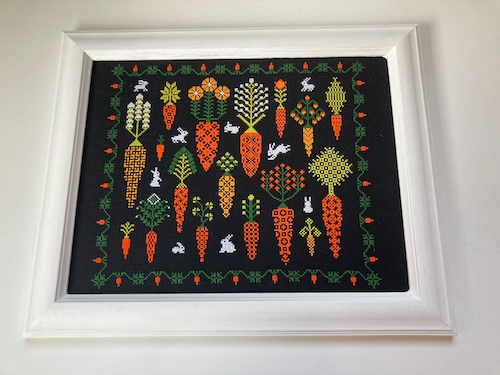
Last year I finished the Carrot Forest Sampler cross stitch project from Owl Forest Embroidery (if you want to see more information about this project, please check out the original blog post here), and one of my tasks over the Christmas holiday break was to finally get around to framing it, and then getting it up on the wall in my craft room.
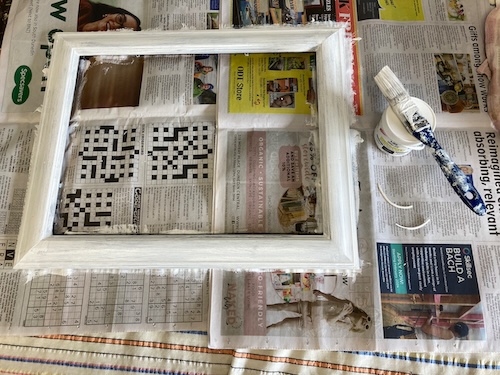
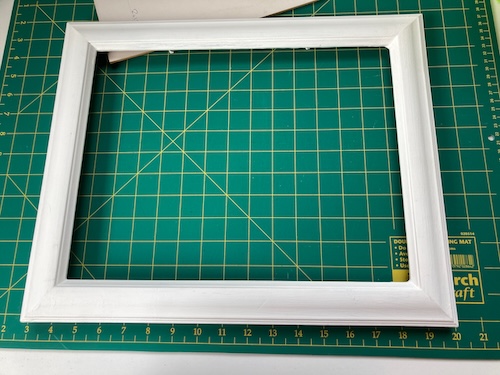
The size of the project was a little weird, so it took me a couple of months to track down a frame that would fit it. I ended up finding an old wooden picture frame at one of our local second hand stores, but it wasn't in a colour that I wanted. So the first task was to sand the picture frame down, and then paint it using some white chalk-based paint.
After a quick sand down, it was time to paint the frame with an undercoat. I unfortunately, however, chose an undercoat that took 5 hours of drying and curing, so I had to wait until the next day before I could paint it with two coats of the white chalk paint.
And finally when the paint was dried and cured, it was time to frame my cross stitch project using my pretty newly painted frame. I used the same framing method that I used for the Christmas Cross Stitch project last year, and you can find the information to do that here.

And now that it's done, I'm really happy with the finished project. The carrots in the Carrot Forest Sampler really pop against the black aida and the white picture frame, and the white rabbits make a cute feature.
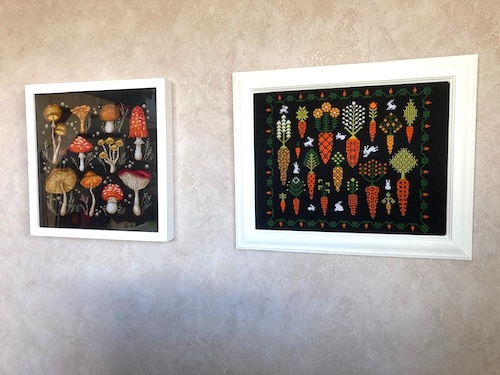
And now my Carrot Cross Stitch Sampler hangs on the wall beside my beloved Mushroom Sampler by CutePatternsByMaria on Etsy. One day I'll share with you about my Mushroom Sampler, as it really is a beautiful project to work on, and to have on your wall afterward.
The next couple of weeks are busy for me, as I am in the middle of renovating my craft room (and moving my office into it when finished), painting our woodshed before autumn, and my parents will be staying with us when my dad goes into hospital for knee replacement surgery next week. I hope to keep to weekly blog posts, but if that doesn't happen, I will get back to it as soon as possible.
Have a wonderful day.
Julie-Ann
Want to discuss my post? Feel free to chat with me on Instagram or Mastodon.
Social Media


Archives