

Harvesting, Cooking, And Then Eating A Dahlia Tuber
Hello friends,
Yes, I finally did it. I finally had the opportunity to try harvesting, cooking, and then eating one of my dahlia tubers.
I've been growing dahlias from seed this year as part of my dahlia breeding program, and a lot of the dahlias that flower just don't have the characteristics I'm looking for in a great seedling. Either they're single dahlias, or they have very plain and boring colours, or their flower heads are weak (and they droop), so I pull them out of the ground once I'm sure I know what sort of dahlia they are like.
I plant my dahlia seedlings very close together for spacing reasons, and when I decide that a dahlia is not what I'm looking for, that's when the dahlia seedling is pulled out of the ground, giving more space for other dahlia seedlings to grow in the garden bed.
All ornamental dahlias are edible, particularly the tubers, and their taste apparently is reminiscent of a potato crossed with celery, depending on which dahlia variety you harvest and cook. Dahlia tubers contain inulin (a prebiotic carbohydrate), other carbohydrates, have four times the amount of potassium than bananas have, and are high in fiber, making them a great food source if needed (Dahlia nutrition information (Nsabimana and Bo Jiang 2011).

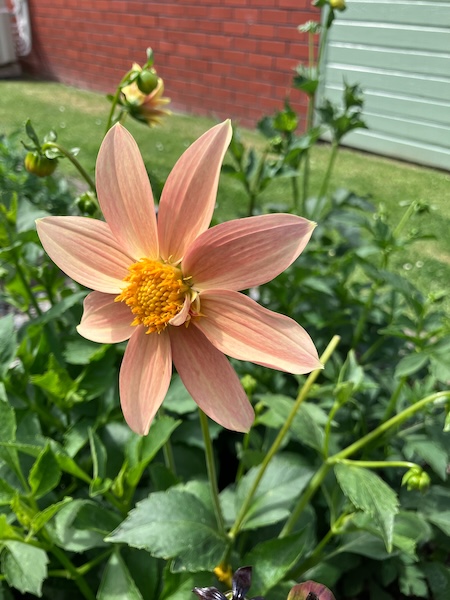
With all this in mind, the next time I had to remove an unwanted dahlia seedling, I decided it was the time to try cooking and then eating a dahlia myself. The seedling dahlia donating its tubers was Dahlia SR 11, a boring single apricot dahlia variety that had flowered a few times, but its flower hadn't improved at all...
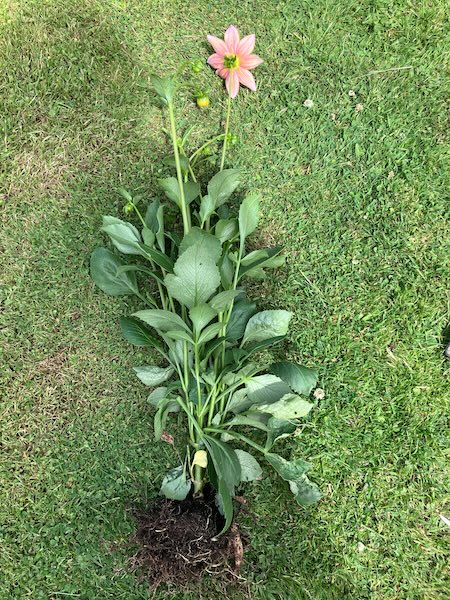
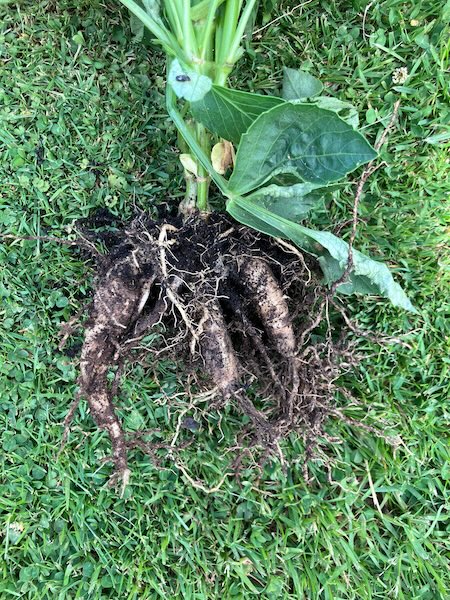
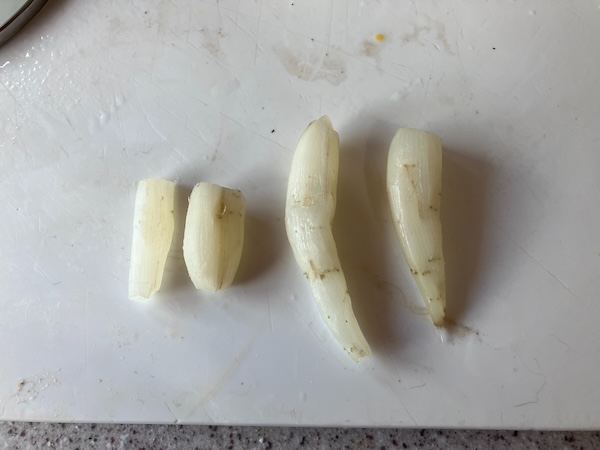
I dug the dahlia out of the ground, removed the stems and leaves, and then washed out as much dirt as possible from the tubers and roots. After bringing the root system of the dahlia into our kitchen, I cut off the small tubers the dahlia seedling had begun to grow. Small dahlia tubers we thought would be less fibrous, and more easy to cook with, compared to older and bigger tubers.
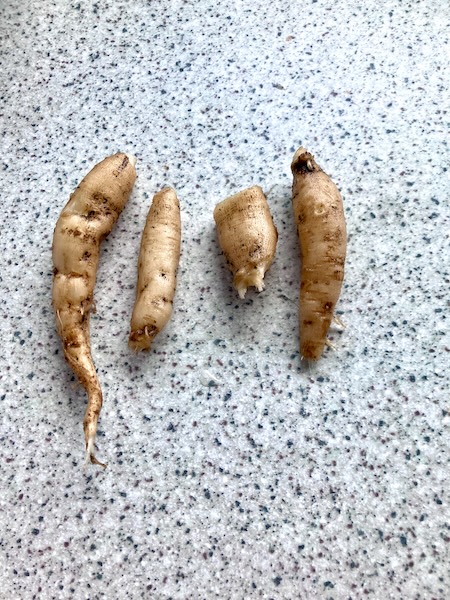
After giving the tubers another wash to remove all the dirt, I peeled the dahlia tubers as was suggested on the internet by other sources. With them now clean, I put the tubers into a small pot containing water, and added a bit of salt (similar to when boiling potatoes).
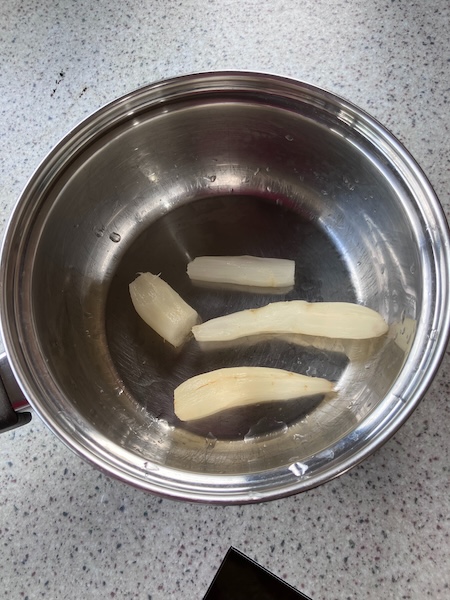
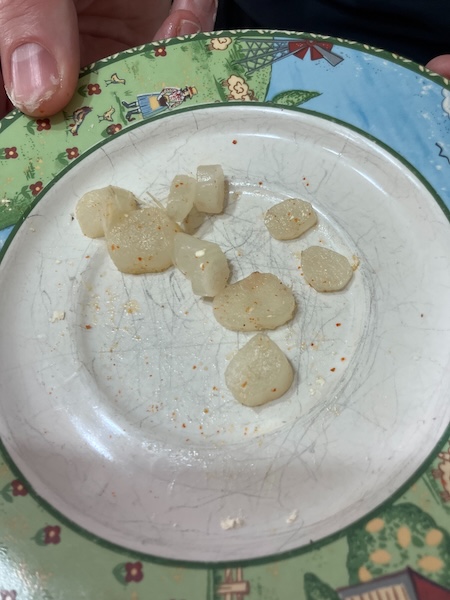
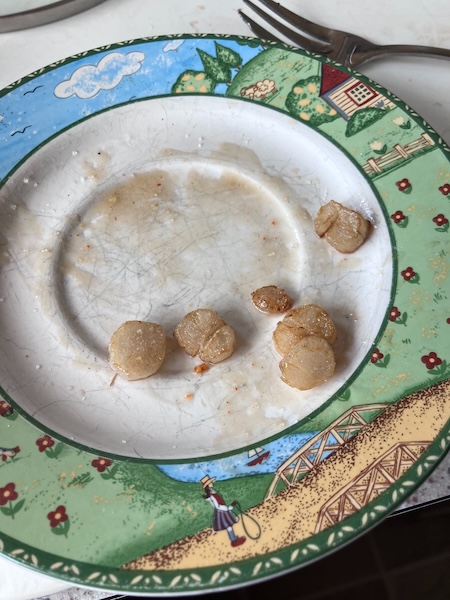
We brought the pot of water up to a boil, and let the dahlia tubers simmer for 10 minutes. At that point we tested the tubers with a knife and found them to be al dente, which was what my research suggested meant that the dahlia tubers were ready for eating. We cut one of the dahlia tubers up into thin slices and ate the slice plain...
The dahlia tuber was okay to eat, and did indeed taste like a potato crossed with celery (and it was a little earthy tasting too, a bit like beetroot). A bit plain, but okay. We sprinkled a little salt on top of the dahlia tuber slices, and it definitely improved the taste.
Wanting to explore eating the dahlia tubers further, we decided to pan fry the rest of the cooked and sliced tubers, to try out other flavor combinations with them, using ingredients we already had in the kitchen...
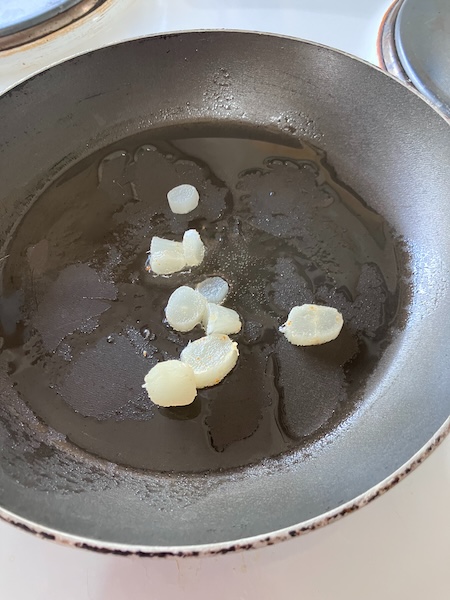
Here are the dahlia tuber flavor combinations we tried:
- Chilli and Garlic - Definitely more tasty than plain, the flavor was improved by sprinkling a tiny bit of salt on top to finish.
- Parmesan and Salt - Super tasty when fried plain and then sprinkled with parmesan and salt at the end.
- Basil and Olive Oil and Salt - Quite pleasant, but not as nice as the Parmesan and Salt.
- Fried in Butter with Chilli and Lemon Juice and Garlic - Definitely my favorite. The chilli and lemon and garlic combination made the dahlia tuber super tasty. We think it would've been better with lime juice instead of lemon, but we didn't have any available at the time.
With all those flavor combinations completed, we were out of dahlia tubers to eat, and that was perfectly okay for ending our experiment in dahlia cooking and eating.
I think that doing this experiment in dahlia cooking and eating was a good experience to try once. It was okay to eat, but if it came to a choice between eating potatoes and eating dahlia tubers, potatoes would be my choice every single time. If it ever came to a point that there was no choice but to eat dahlia tubers to survive (like during a zombie apocalypse), I would very happily do it, as long as I didn't need to eat any of my precious named dahlia varieties to do so. Those are sacrosanct, but they would make great seed producing dahlias, and those seeds could then go onto produce seedling dahlias tubers which I would happily to eat in the long term...
Have a wonderful day
Julie-Ann
Want to discuss my post? Feel free to chat with me on Instagram or Mastodon or Bluesky, and now also Facebook.
Harvesting and Processing Tea From My Camellia Sinensis Plant
Hello friends,
I drink a lot of tea, and especially flavored black, green, and white tea, usually for breakfast and alongside a piece of toast. And of course since tea comes from the plant Camellia sinensis, growing my own tea plant, and then harvesting tea leaves from it, has been high on my list of things to do over the years.
Camellia sinensis, aka the tea plant, is in the camellia family, so if you can grow camellias in your garden, you can grow a tea plant of your very own. Camellia sinensis
thrives in conditions with part shade, and needs to be protected from strong winds, in acidic, well-drained, and organically rich soil. Consistent moisture is needed for the tea plant to be happy, especially during dry spells and leaf production, but it also doesn't like waterlogged conditions either. Here in Mosgiel where we live, our winter temperatures drop down to -6˚C, and in summer they rise up to 35˚C, and my tea plant happily survives both of these extremes without needing any frost cloth or extra watering.
The first challenge in growing my own tea plant was getting hold of a Camellia sinensis plant of my very own. The easiest time of the year to track down tea plants is in the spring, but when I hunted for one in autumn, I was able to find one for sale online. Once it arrived by courier, I planted it in a spot on the south side of the house, where it gets periods of both sun and shade during the day, and it lives beside my blueberry bushes which also like acidic conditions.

Ever since I bought my tea plant, I've been patiently waiting for it to be big enough to harvest the leaves for processing. Tea leaves are harvested by plucking off new buds and the first two leaves from the tip of the plant in spring for the highest quality tea. After doing some research on how to process tea at home, I decided to wait and see how big of a harvest I got before making a decision about which tea type to process. Well, it ended up being a very small harvest, a total of 8 grams of tea leaves this year, so I opted to go for the simplest tea processing method, which was making white tea.

The process of making white tea involves only two steps, and they are both very easy to do at home. The first step was to pluck the tea leaf tips off the plant and then lay them out to dry for 48 hours, in a stage they call withering. During withering, tea leaves begin breaking down, and the biochemical processes inside them leads to a tea which is fruity and floral and sweet, with reduced astringency and a sweet aroma profile.


I harvested tea leaves in the morning, as was suggested in my research, and then laid them out to wither on a tray in the sun for 48 hours. As it's been quite windy this spring, I couldn't lay them outside, as they would very easily blow away, so I set them up inside our glasshouse for two days.

At the end of this step, it was time to dry the tea and stop the break down process. For white tea, you dry the withered tea leaves at 180˚F/82˚C for 15 - 20 minutes, or until the leaves are crispy. For this step I decided to use our dehydrator on its highest setting, which ended up taking 1 hour of drying time at 80˚C.

When the tea leaves were dry and crispy I removed the leaves from the stalks and then popped them in our coffee/herb grinder for about 10 seconds to break the leaves up smaller. The resulting leaves were only big enough to make two cups of tea.


All that remained was to brew my own cup of tea, so I placed 1 teaspoon of white tea leaves into a strainer and added it to a tea cup. I heated water to around 85˚C, and then added it to the cup and let the tea steep for 1 minute.

The resulting tea was just wonderful, despite some of the tea leaves escaping the strainer while steeping. The white tea flavor was light, sweet, delicate, and had a slight floral taste, along with a pleasant grassy scent. It was very drinkable and much nicer than white teas that I've bought commercially.
Now knowing how easy it is to make my own white tea, I'm very much looking forward to harvesting and brewing my own tea each spring. Hopefully as my tea plant continues to grow bigger, I'll get bigger harvests so that I can try brewing other types of tea.
Have a wonderful day
Julie-Ann
Want to discuss my post? Feel free to chat with me on Instagram or Mastodon or Bluesky.
Making Lime Syrup With A Glut of Limes
Hello friends,
As it's now winter, it's peak citrus fruit season for our lemon and lime bushes. The lime fruit ripened on the bush first, so we've been using them in various baking and cooking recipes for the last couple of months (wherever citrus is needed), and I've even been giving away limes to anyone who comes to visit us...
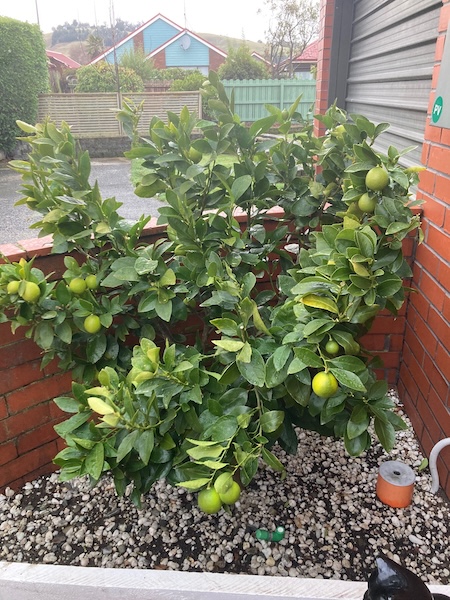
But even after doing all that, we still have too many limes sitting on our kitchen window sill and also on the bush, so I searched the internet for ideas for what to do with all the limes.
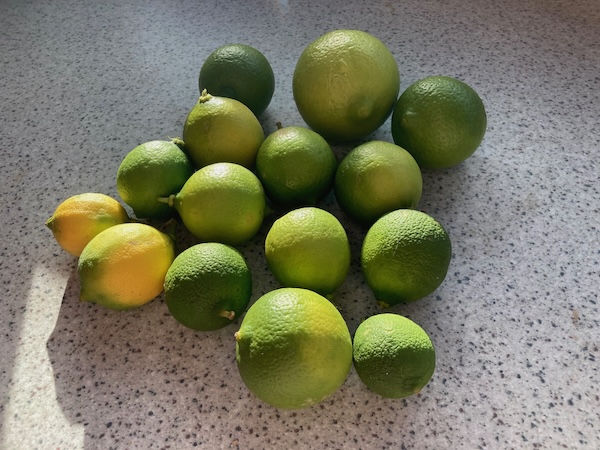
After searching for a while, I settled on making some simple lime syrup. It uses up a lot of limes, and it means I have homegrown syrup for hot and cold drinks, and also for using in baking recipes.
Simple Lime Syrup
Ingredients
1/2 Cup of Fresh Lime Juice
Zest of Those Limes
1 + 1/2 Cups of Water
1 Cup of Sugar
1/2 Teaspoon of Citric Acid (citric acid makes the lime syrup flavor more intense)
Recipe
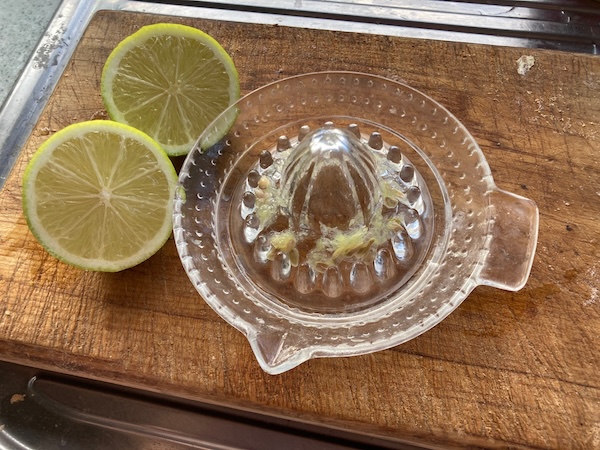
(1) Zest limes one by one before you juice them, aiming to have 1/2 a cup of lime juice, plus the zest from them at the end. This step is not exact, depending on how much juice is in the limes. As I had a lot of limes, I just kept juicing them until I had enough juice and zest. It's always easiest to zest the limes first before cutting them in half and zesting them.
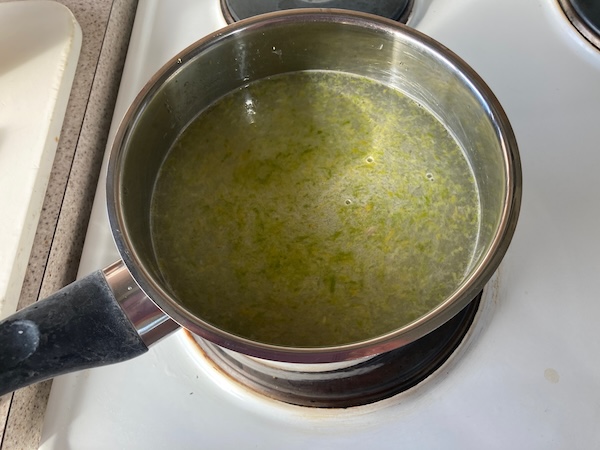
(2) To a pot, add 1 + 1/2 cups of water and heat to a simmer, add the sugar and citric acid, and mix until the sugar is completely dissolved. Add in the lime zest and juice, and cover the pot, and simmer for 15 minutes.
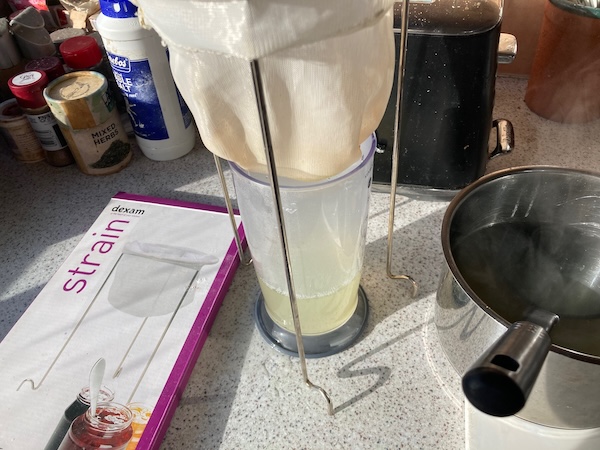
(3) Remove the syrup from the heat and allow it cool. When the syrup is cool enough to handle safely, strain the lime syrup to remove the zest and any stray lime pieces. I used a dexam strainer that I got from Moore Wilsons when we lived in Wellington. (The dexam strainer is very useful for many cooking, bottling, juicing, and jam making projects, as the strainer is super fine.)
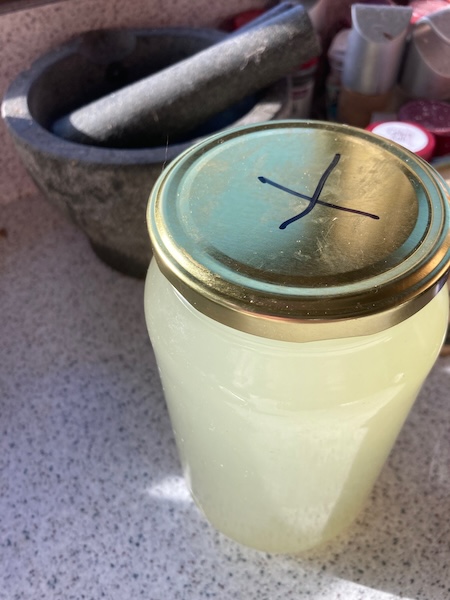
(4) Collect the lime syrup in a container, and store it in the fridge, where it will last for up to a month.
You can also use this recipe to make a simple syrup with other citrus fruit like lemons and mandarins and oranges. I've found that the lime syrup is great for making a hot citrus drink, similar to making a hot lemon, and you can add honey to it as well. It's quite refreshing and warm on a cold frosty day.
Have a wonderful day
Julie-Ann
Want to discuss my post? Feel free to chat with me on Instagram or Mastodon or Bluesky.
Tomato, Capsicum, and Lime Soup Recipe
Hello friends,
Happy winter solstice, soon the days will become much lighter again!
We're heading into the coldest time of the year, so I thought I'd share with you my favorite soup recipe, which is Tomato, Capsicum, and Lime soup. The ingredient list is pretty small, and most years I've grown my own tomatoes, lime, garlic, onion, and chilli for the recipe. I've had a bad run of growing my own capsicums, so I buy frozen capsicums from Frozen Direct for the recipe, as it's much cheaper and it comes pre-chopped.

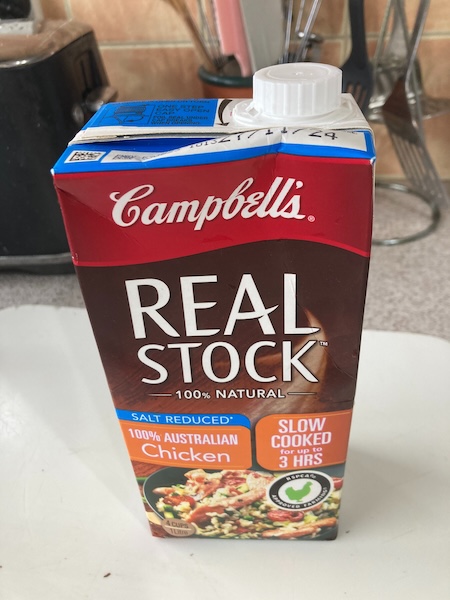
In this recipe you can choose whichever stock you want, we usually use a salt reduced chicken stock, or if you want a vegetarian option, go for a vegetable stock.
Tomato, Capsicum, and Lime Soup
Ingredients
1 tablespoon Olive Oil
1 large Onion
1 clove of Crushed Garlic
1L Chicken Stock (Vegetable stock works great also)
4 Red Capsicums deseeded and chopped, OR
600 grams frozen Red Capsicums
1 small red Chilli or ½ teaspoon Chilli powder (this is approx, it depends on what heat level you like)
3 tins of tinned 400 gram tomatoes OR
one 2L ice cream container of frozen homegrown tomatoes
1 Tablespoon of tomato puree (This is purely optional. It depends on how tasty the tomatoes are in the recipe. My advice is to do the recipe up to step 4 without the tomato puree, and do a taste test, and if it’s not tomatoey enough, then try adding tomato puree by the tablespoon)
1 Lime – Juice + Zest
Salt and Pepper to taste
Recipe
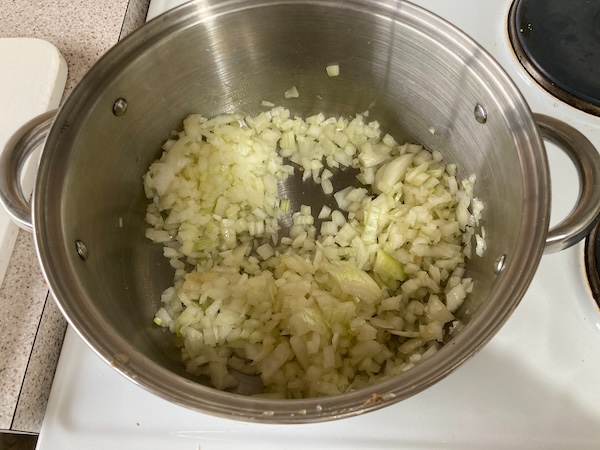
(1) Cook chopped onion and garlic gently in olive oil in a covered pot for approximately 5 minutes until softened, stirring occasionally.
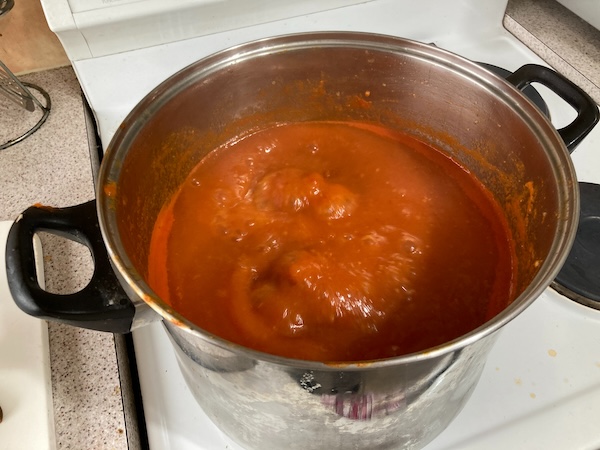
(2) Stir in chopped capsicum, chilli, tomatoes, and chicken stock. Bring to the boil and simmer for 20 minutes.

(3) Puree the mixture with a stick blender until smooth.
(4) Do a taste test once the soup is at a smooth consistency, to see if tomato puree needs to be added. Add the juice and zest of the lime.

(5) Simmer for 10 minutes, and then do a taste test to see if salt and pepper is needed. Add salt and pepper and simmer for 5 more minutes.
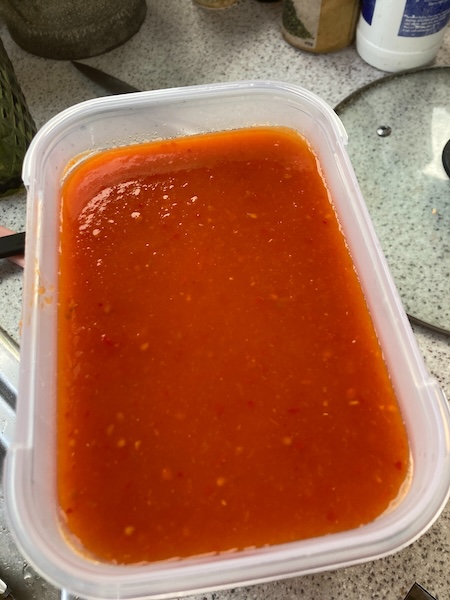
(6) Enjoy the soup straight away, or freeze if you have any excess. This recipe gives approximately 4 - 6 serves depending on how big your soup bowl is.
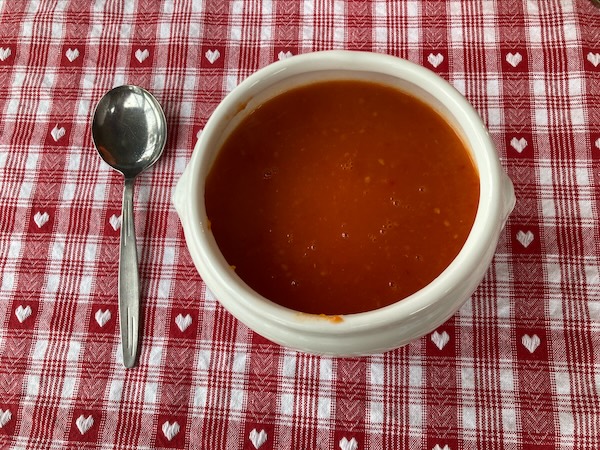
This soup recipe, is my favorite of all time, and I look forward to eating it each autumn and winter. We usually have it with toasted ciabatta and a sprinkling of Parmesan cheese, but it is wonderful just on it's own. I usually also make a double batch, so that we have plenty of this soup over winter whenever I have a hankering for it. I hope you give this wonderful soup a go, and please let me know what you think of the recipe...
Have a wonderful day
Julie-Ann
Want to discuss my post? Feel free to chat with me on Instagram
or Mastodon or Bluesky.
Social Media


Archives