

A Home For My Stickers using My Cottagecore Apothecary Jars
Hello friends,
You know how sometimes you fall in love with something you've seen, and you need to buy them all, and in all the sizes available, but then when you get home you're not entirely sure what to do with them, yeah well that's me with the many apothecary jars I bought about ten years ago.
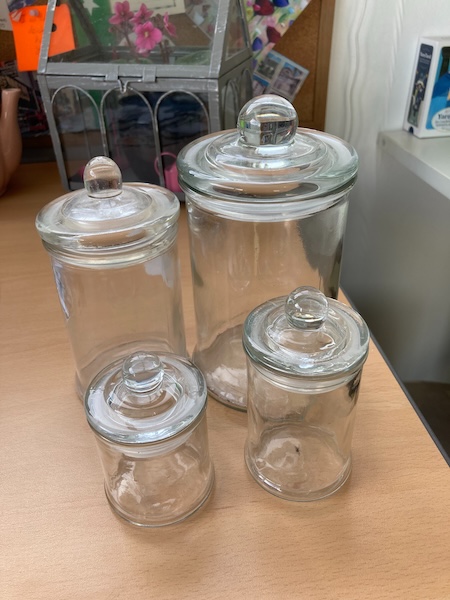
Back when we were living in Wellington, I saw the apothecary jars during one of my many visits to Pete's Emporium in Porirua, and I knew straight away I needed them in my life. But then when I got them home I wasn't entirely sure what to do with them. Over the years I've filled them with various different things, including dried herbs and flowers, and Christmas decorations, but it never seemed to be the right thing, so I gave up and put them away in storage.
But while I was renovating my craft room I found a pile of them in a cupboard, and thought now was the perfect time to use them. And I finally found their new home with my huge stationery sticker collection. You see I also have a problem with buying and not using stickers, especially because I put them away somewhere safe, and then forget to use them. I was so happy and excited about this exciting mashup, that I got started on this project straight away. I separated my stickers into different collections and then got to work.
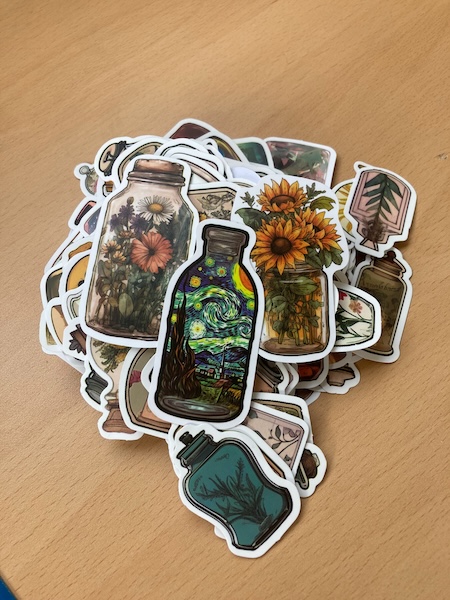
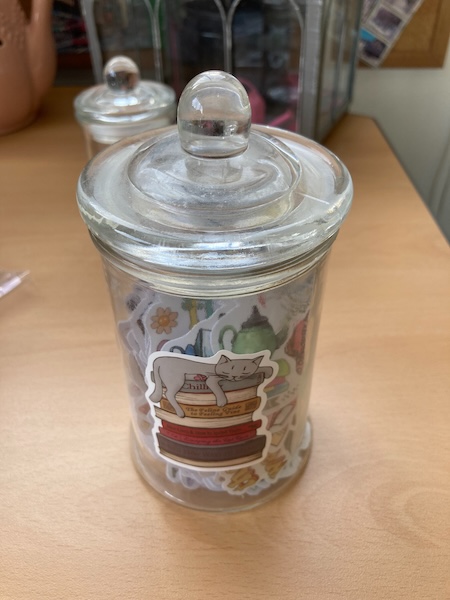
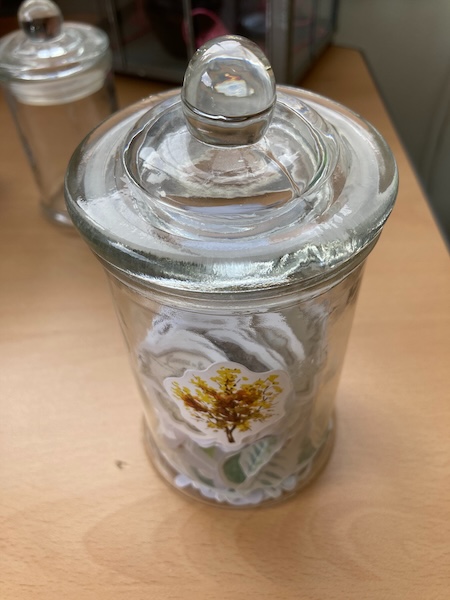
First up was my apothecary jar sticker collection, which was quite serendipitous...
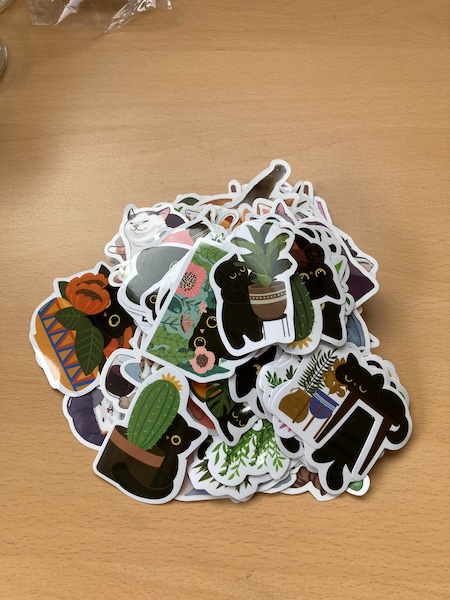
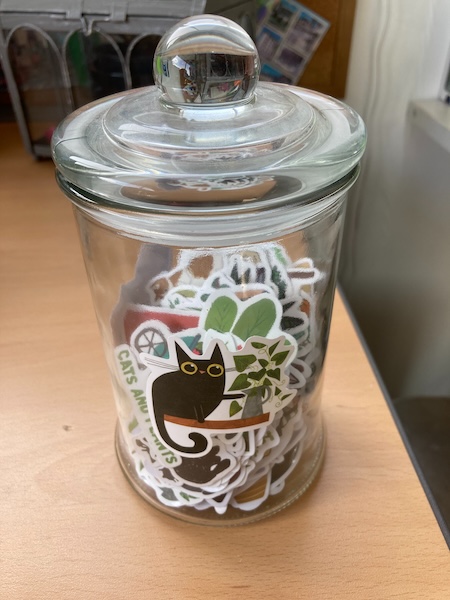
Next up was my collection of cat stickers. And because I am a crazy cat lady, I do have a lot of cat stickers.
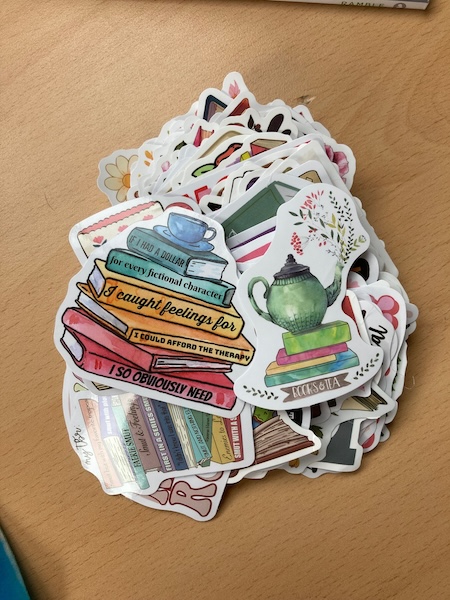
And then of course there is my book sticker collection, which usually includes also cats, tea pots and flowers...
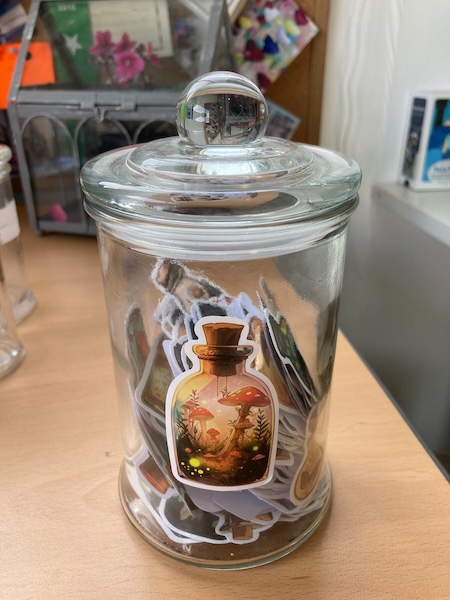
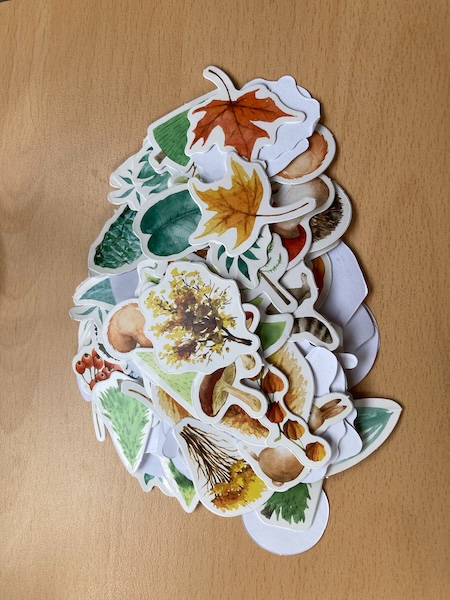
And I also have a huge collection of nature stickers including leaves and mushrooms and cute woodland animals, so they also had to find an apothecary jar of their own...
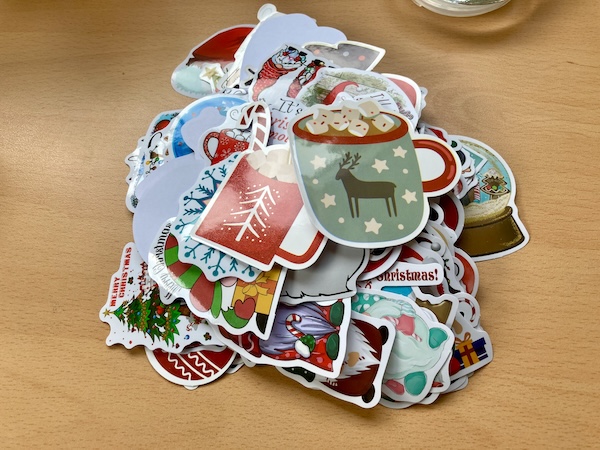
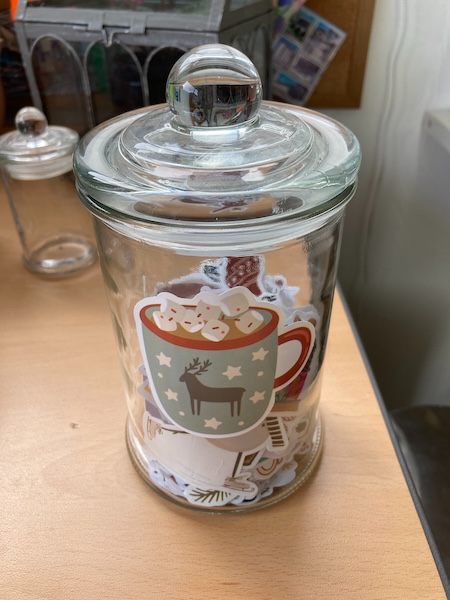
And don't even get me started with my Scandi christmas themed stickers, which I also have a lot of. I mean who can resist stickers featuring hot chocolate, snowflakes, reindeer and gnomes...
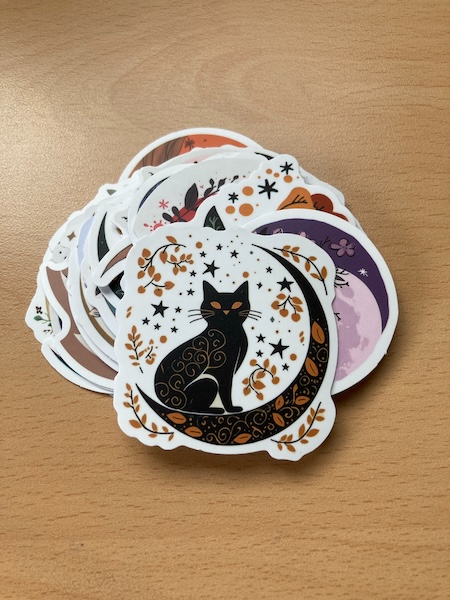
And then there's all my witchy stickers. You put moons and starts and cats and other witchy things on a sticker, and it's like take all my money...
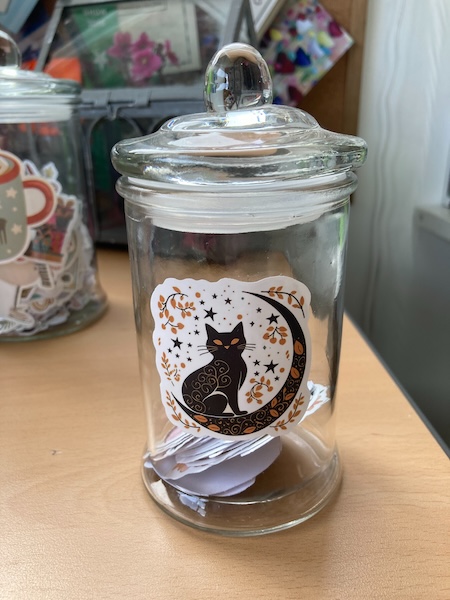
And with all that done, I have a whole set of apothecary jars filled up with lots of beautiful stickers. I laid them all out along the windowsill behind my computer desk in my craft room. And now whenever I'm at my desk I can look up and see both my beloved apothecary jars and stickers.
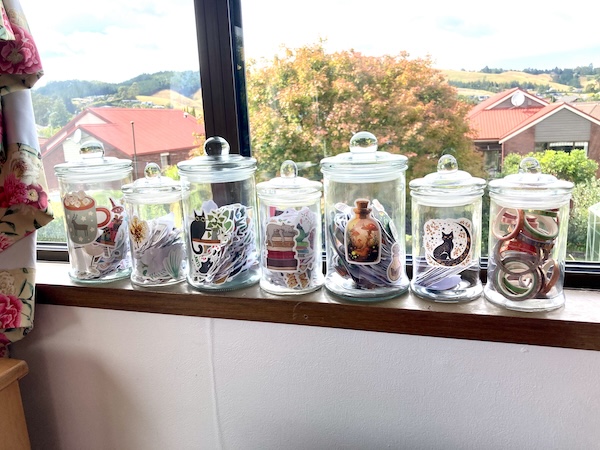
Already I've found that I've been using my stickers more often now that I can see them. I hope to decorate all my diaries, journals and notebooks with my beloved stickers from now on. Do you have something small like apothecary jars and stickers that bring you joy? I'd love to find out.
Have a wonderful day
Julie-Ann
Want to discuss my post? Feel free to chat with me on Instagram
or Mastodon or Bluesky
Craft Room and Office Make Over
Hello friends,
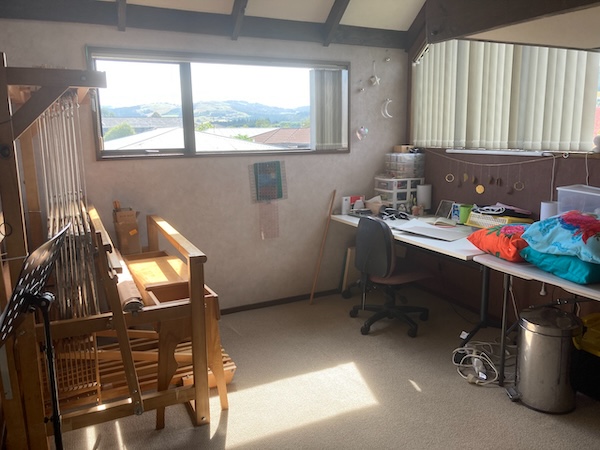
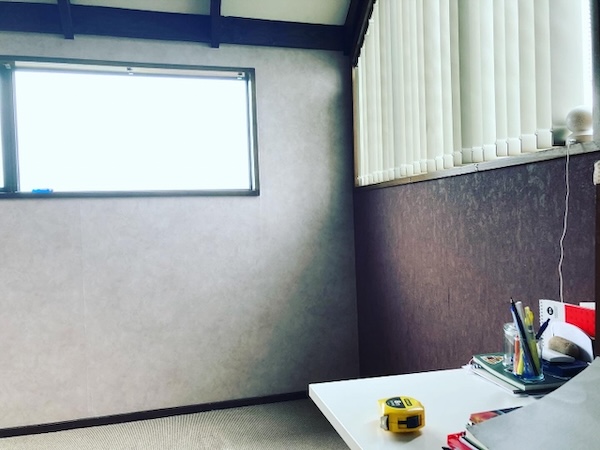
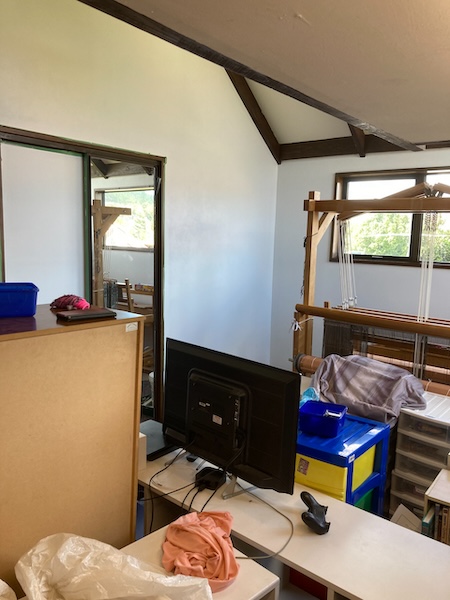
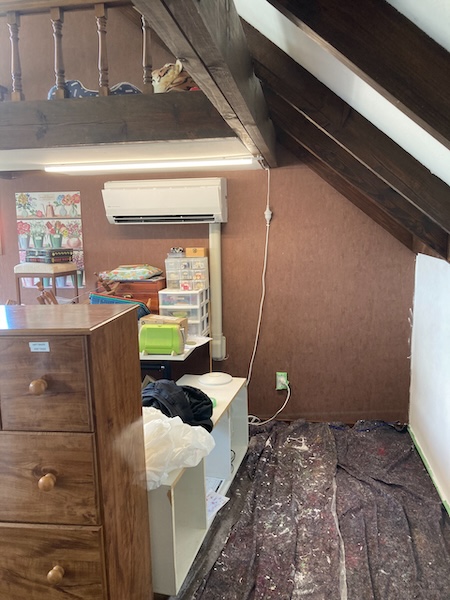
When we first moved into our home when we came back into Dunedin in 2019, we chose a house that would fit both hubby and my work spaces, since we have the privilege to work from home. I chose my craft room space in what was a big bedroom that had a mezzanine attached. The decor in the room was typical for the 1990s, with lots of beige and brown, and also with a feature wall. I was just happy to have a dedicated crafting space at the time, and I knew I could decorate later it to my tastes.
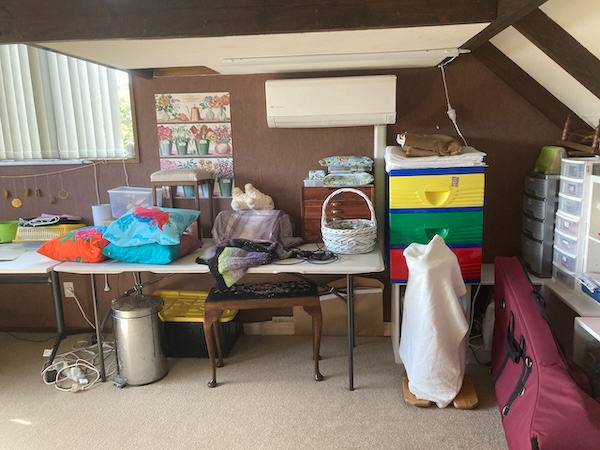
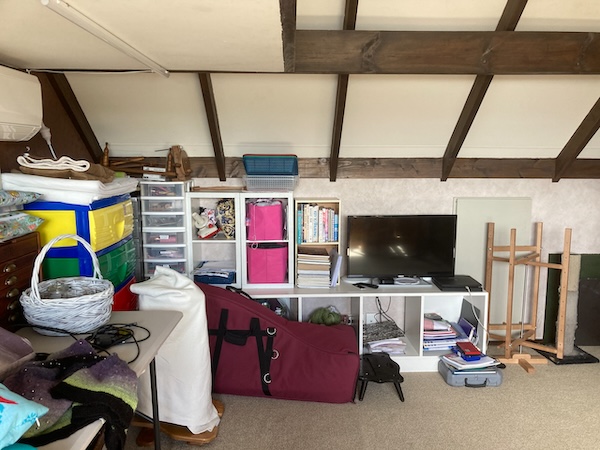
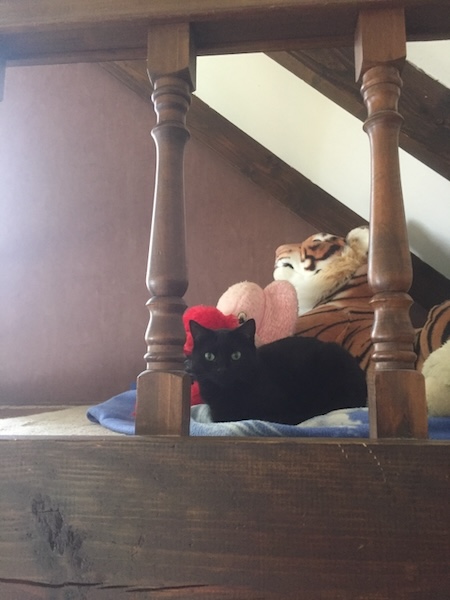
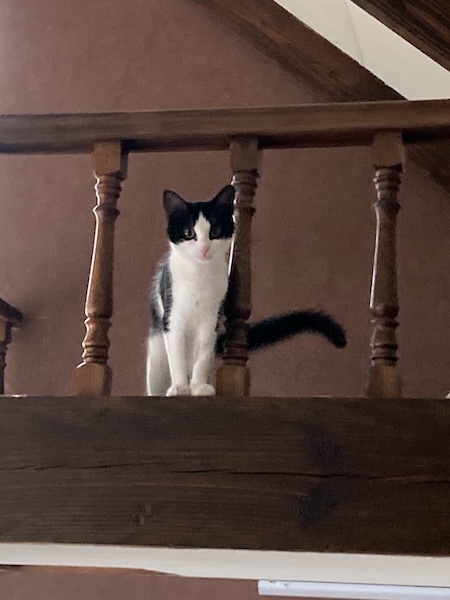
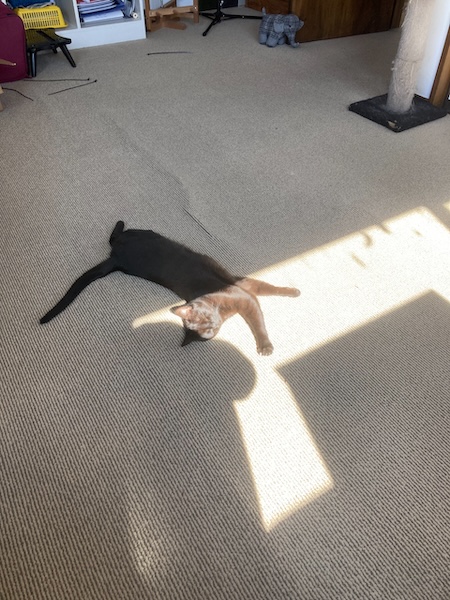
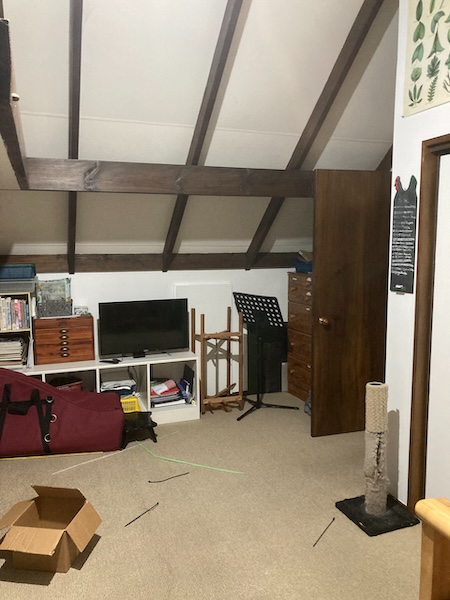
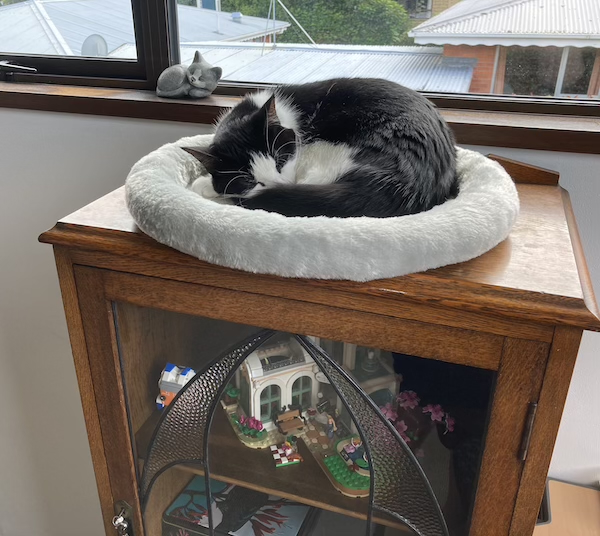
The plan was to use the mezzanine space as storage for all my craft supplies, but as soon as we moved in our cat Missy (black cat) chose the mezzanine as her own personal sleeping space. And then when Rosie (tuxedo cat) joined us as a kitten later on, she also fell in love with the mezzanine, now all decked out with soft toys and cat beds.
This set up has worked for a number of years, there's space for sewing, spinning, and weaving, and chilling out and crafting at night while hubby plays on his Playstation in the lounge. The kitties have also enjoyed the space they've also claimed as their own.
I had my office down stairs in a room shared with hubby's home office, and it was dark and dreary, with no sunshine at all during the day, and south west facing. The other problem is that it was so far away from my craft room that my workflow was very disjointed. I had started thinking about moving my office upstairs into the craft room at the end of 2023, and then over the summer holidays, hubby came to me pondering the idea of having his own space for building and storing his Lego.
The problem with Missy and Rosie cat is that they love eating things, and especially Lego, so the Lego space couldn't be somewhere that the cats could get to, which meant it would have to be in hubby's work office. But hubby's work office already had his piano in there, which meant we would have to move it elsewhere. We soon came up with a plan to move the piano into the office I was in, and then I would move my office into the craft room, which I was very happy with.
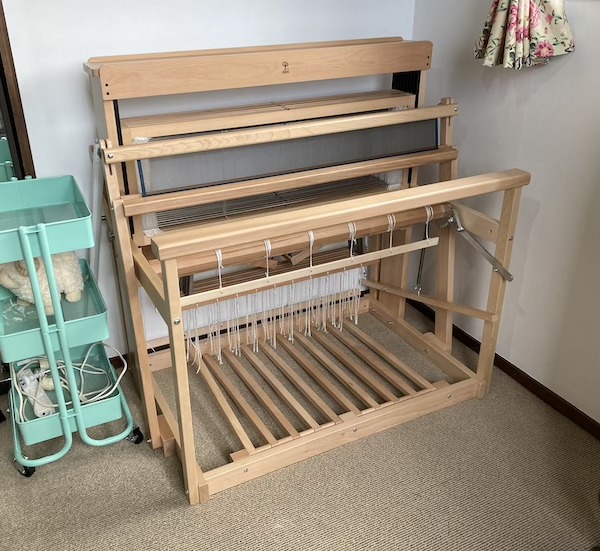
The other problem was that my craft room had a big couch in there, as well as a large loom I used for work, which meant that my desk wouldn't fit in the space. So after some brain storming, we came up with solution. The first task was to sell the couch, which was relatively easy to do within a couple of days on Trade Me. And then we also put my big loom up on Trade Me as well to sell. I'd wanted to downgrade my loom to a smaller sized Ashford 8 shaft jack floor loom for a while, and this was a perfect opportunity to do so.
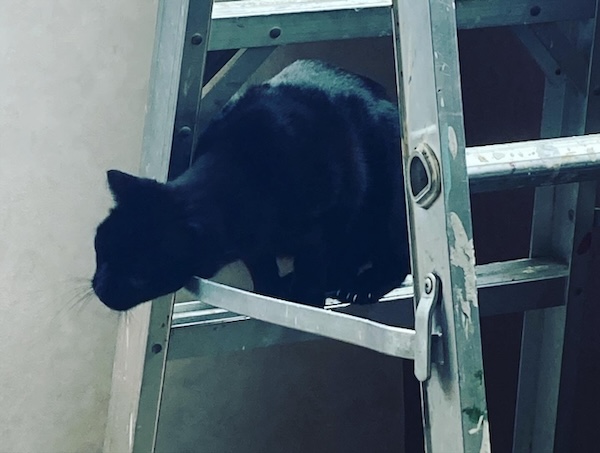
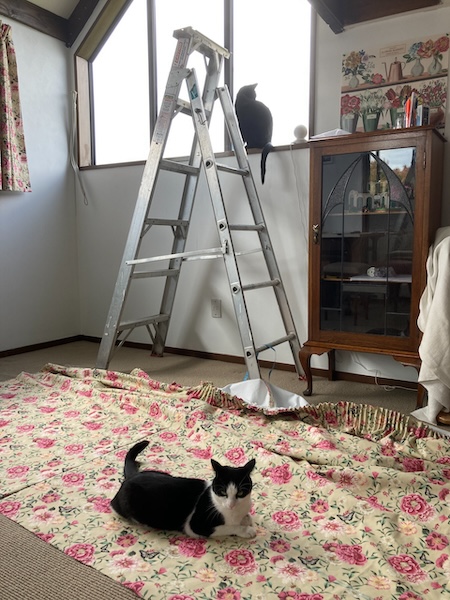
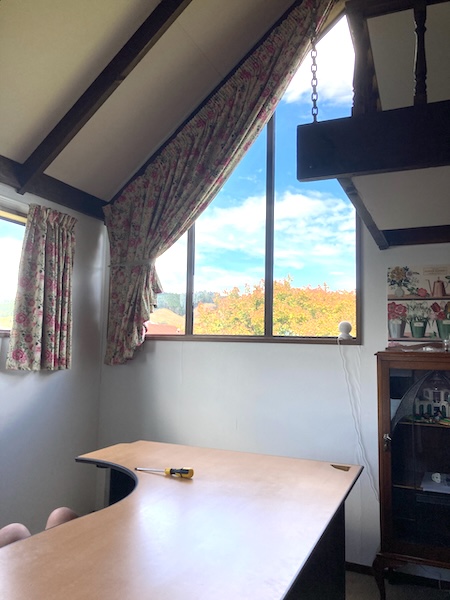
With the couch gone, and the loom being readied for selling, there was finally space to move my office desk up to the craft room. But, that's when I come up with another idea—since there was room in the craft room to move around, it was a perfect time to paint it. I couldn't stand the brown walls anymore, and within a couple of hours of suggesting it to hubby, we'd already bought the paint, Quarter Alabaster from Resene (I chose this colour as I often need neutral backgrounds for product photos for my business), and started prepping the room for painting. Missy cat loves climbing ladders so she was very helpful during this stage.
Because we had to keep pushing stuff around the room to make space, we ended up painting one wall at a time over a couple of weekends, but we finally got it done.
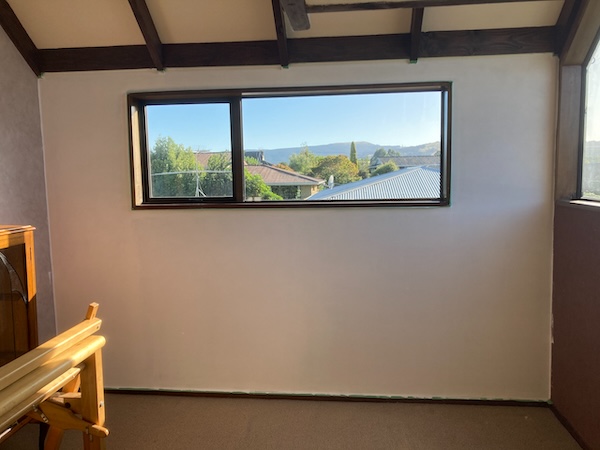
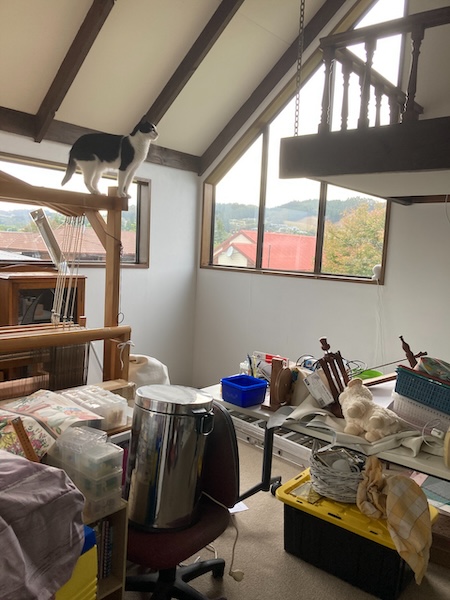
With all the painting done, we moved everything back into position. But we had another hurdle to overcome, we had taken down the blinds during the painting, and now needed to replace them with thermal curtains. After a quick trip to Spotlight, I returned home with the most girly of curtain fabrics, and with my mum's help, we made the two sets of curtains needed for the craft room. The big south facing triangle window was a challenge, but luckily we'd done it before in our bedroom at the other end of the house, and still had the template to cut the curtain to the correct angle.
Within minutes of getting the finished curtains up on the windows, hubby and I excitedly began moving my office. It didn't take long at all to move my desk and all my other stuff up the stairs. And while I was pottering around and putting my desk stuff back into it's rightful place, hubby was already moving his piano into his home office space...
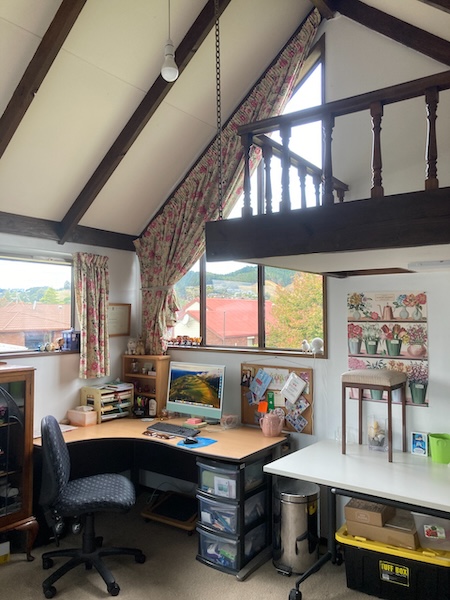
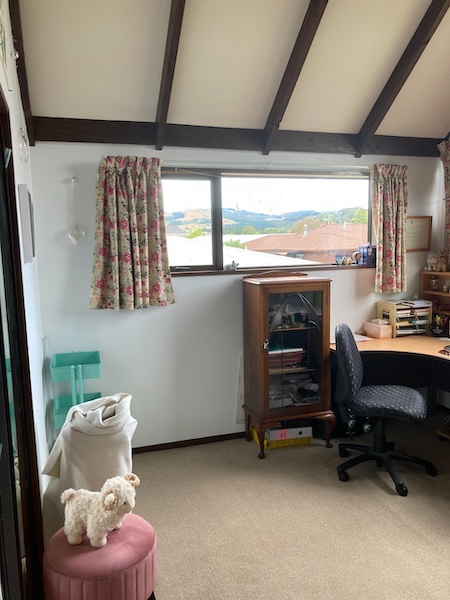
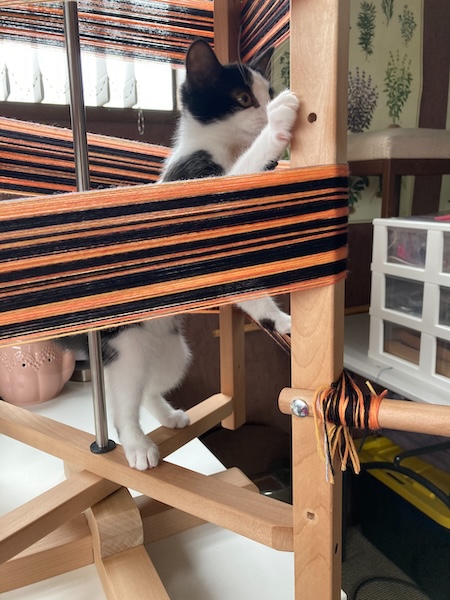
The room is looking better by the day as I potter around making it the space I've always dreamed of, and since then I've sold my big loom. I then ordered my new loom from Ashford, and it arrived within only a couple of days, and is now assembled ready for weaving. The display cabinet I blogged about last week, is in it's final position, and now has a cat bed on top. Rosie and Missy are now arguing who gets to sit in it each day.
I also ordered an occasional chair to replace the big couch I used to do crafting on, but it isn't due to arrive for another month. Once that is here, my craft room makeover is complete. It was a longer process than it initially started out as being, but I'm really happy now with this space. It makes me happy to go to work and to craft, and it is a really relaxing place, with great views, and plenty of natural light.
And if you're wondering how hubby's Lego project is going, well it turns out that he didn't check the size of the piano vs the chicane the piano would have to go around in order to get into his home office, and the piano didn't fit, no matter what we tried. We ended up moving the piano into the lounge, and then rearranging the couches after that, and then moving our treadmill into his home office to make enough space. But what is done is done, and he's now happily unboxing all his Lego in half of his work office, and organizing it to his heart's content.
The one thing that we did take away from all this, is that our 1980s home looks better when it's been repainted to a more neutral light colour. Most of our home is currently in shades of brown and maroon, with many feature walls, and it feels dark and gloomy inside. We are already planning on painting more rooms this year, but are currently taking a break until autumn. During this renovation my garden has been neglected alot, and needs lots of love between now and the colder months.
Have a wonderful day.
Julie-Ann
Want to discuss my post? Feel free to chat with me on Instagram or Mastodon.
Carrot Forest Sampler Cross Stitch Project Framing
Hello friends,
Last year I finished the Carrot Forest Sampler cross stitch project from Owl Forest Embroidery (if you want to see more information about this project, please check out the original blog post here), and one of my tasks over the Christmas holiday break was to finally get around to framing it, and then getting it up on the wall in my craft room.
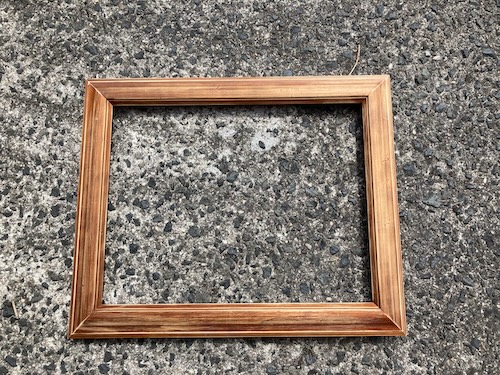
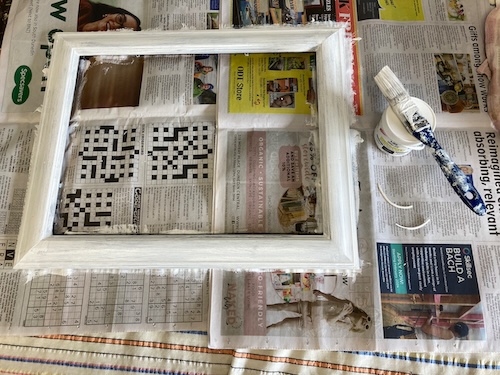
The size of the project was a little weird, so it took me a couple of months to track down a frame that would fit it. I ended up finding an old wooden picture frame at one of our local second hand stores, but it wasn't in a colour that I wanted. So the first task was to sand the picture frame down, and then paint it using some white chalk-based paint.
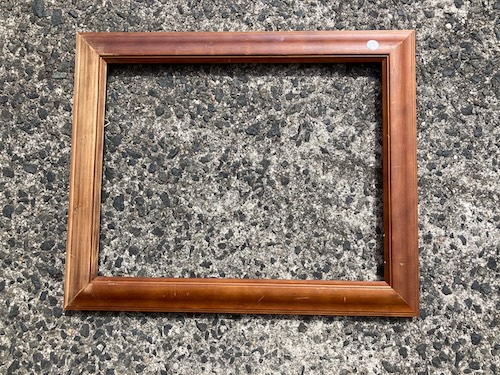
After a quick sand down, it was time to paint the frame with an undercoat. I unfortunately, however, chose an undercoat that took 5 hours of drying and curing, so I had to wait until the next day before I could paint it with two coats of the white chalk paint.
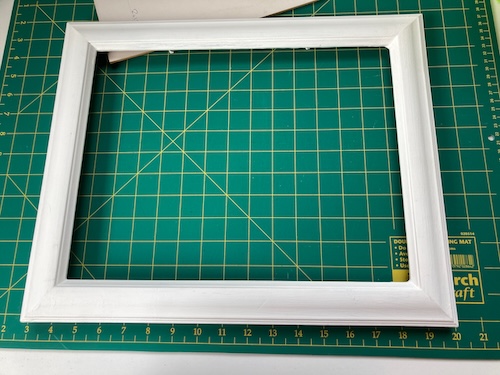
And finally when the paint was dried and cured, it was time to frame my cross stitch project using my pretty newly painted frame. I used the same framing method that I used for the Christmas Cross Stitch project last year, and you can find the information to do that here.

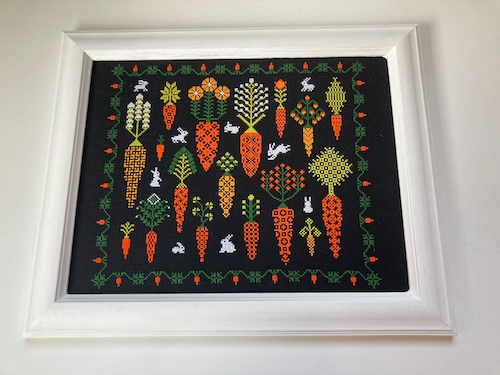
And now that it's done, I'm really happy with the finished project. The carrots in the Carrot Forest Sampler really pop against the black aida and the white picture frame, and the white rabbits make a cute feature.
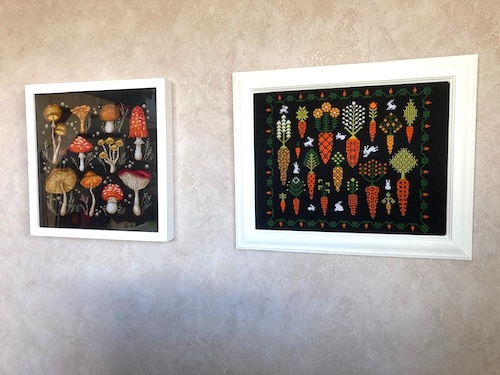
And now my Carrot Cross Stitch Sampler hangs on the wall beside my beloved Mushroom Sampler by CutePatternsByMaria on Etsy. One day I'll share with you about my Mushroom Sampler, as it really is a beautiful project to work on, and to have on your wall afterward.
The next couple of weeks are busy for me, as I am in the middle of renovating my craft room (and moving my office into it when finished), painting our woodshed before autumn, and my parents will be staying with us when my dad goes into hospital for knee replacement surgery next week. I hope to keep to weekly blog posts, but if that doesn't happen, I will get back to it as soon as possible.
Have a wonderful day.
Julie-Ann
Want to discuss my post? Feel free to chat with me on Instagram or Mastodon.
A Secondhand Treasure
Hello friends,
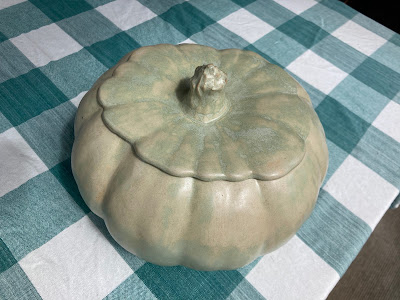
I've wanted a Le Creuset pumpkin casserole dish for a couple of years.
They are completely adorable, and are totally in line with my Cottagecore aesthetic, but I could never justify paying that much one for one, let alone the many I dreamed of having, just so I could decorate our dining room in autumn. So for the longest time my wish to own one has been in vain...
Until yesterday...when I was out shopping for my mother's birthday present, and I spotted something in a nearby secondhand hospice shop. Sitting all alone on the bottom shelf of the kitchen section, was a ceramic ware pumpkin.
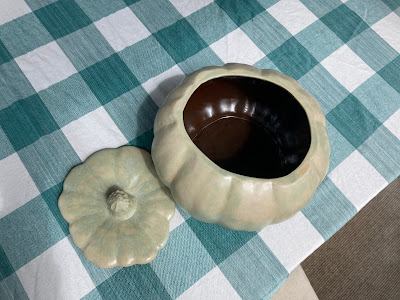
I picked it up straight away, terrified that someone else would spot this treasure, and take it away from me. It was love at first sight. And before you could even blink, I was up at the counter paying a grand total of NZ$6 for the joy of taking my pumpkin home.
It didn't matter that there was a slight crack in the bottom, it was perfect just the way it was. When I arrived home and proudly showed hubby my prize, he just shook his head, probably very happy I no longer have a Le Creuset pumpkin casserole dish in my sights.
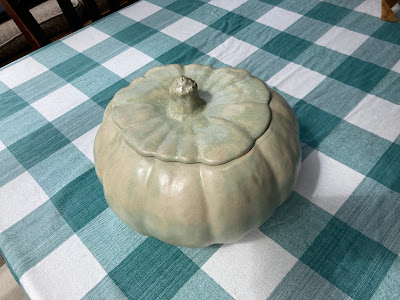
For now it sits pride of place on our dining table, and it makes me smile every time I walk past it.
Have a wonderful day.
Julie-Ann
Want to discuss my post? Feel free to chat with me on Instagram or Mastodon.
Social Media


Archives