

Dehydrating Apples For Snacks
Hello friends,
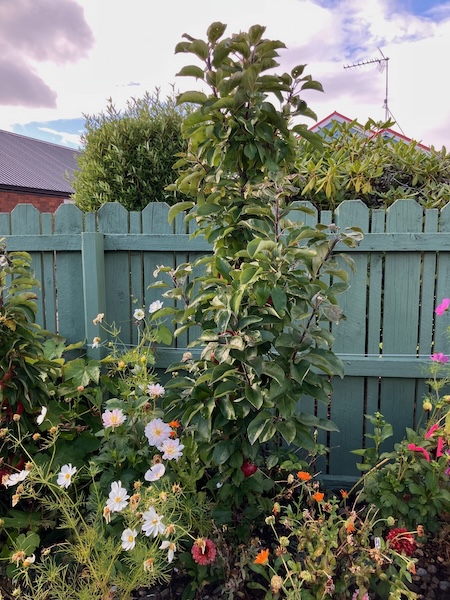
My parents dropped by our home one day in early March, and brought with them a 10 L bucket full of golden delicious apples off their tree for us. As it's also currently apple harvesting season in our garden, I added them to our growing pile of homegrown apples, and started thinking about what to do with them all.
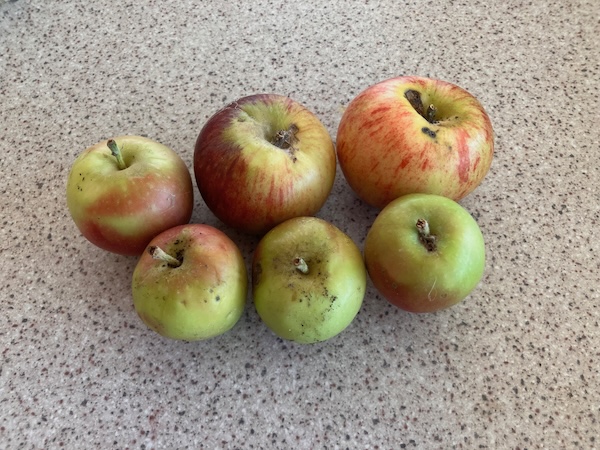
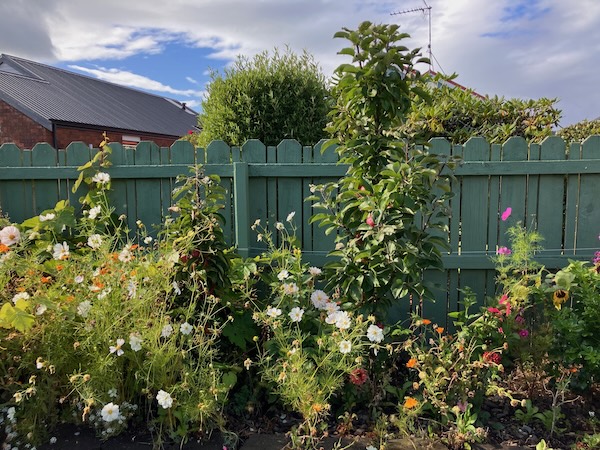
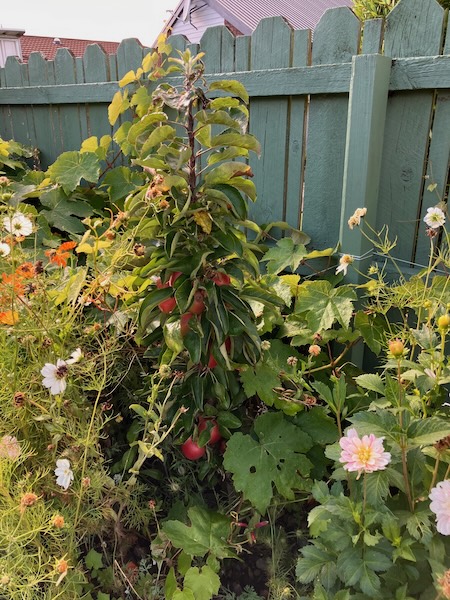
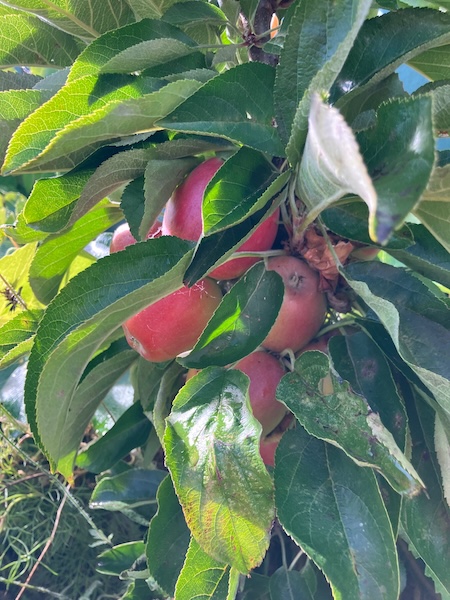
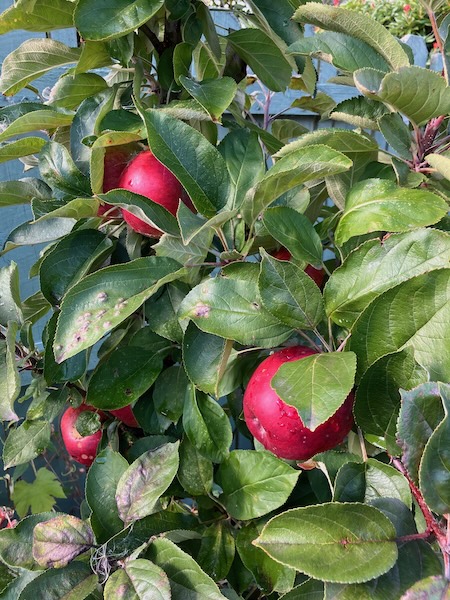
Our apples trees are the varieties Ballerina Waltz, and Ballerina Flamenco, highly compact, columnar apple trees ideal for small spaces. These apple varieties are bred to be no more than 40 cm wide, and up to 4 metres tall, with all the branches being completely covered in apples in autumn, making them perfect for urban gardens, and also for hedges. I really do recommend Ballerina apple trees if you don't have the space for fully grown apple trees, and they come in different varieties, so you can pick which apple types you'll be harvesting and eating.
Ballerina Waltz is a crisp and juicy variety with a slight tang, suitable for eating fresh, dehydrating, and cooking.
Ballerina Flamenco are eating apples, which also make a lovely apple jelly.
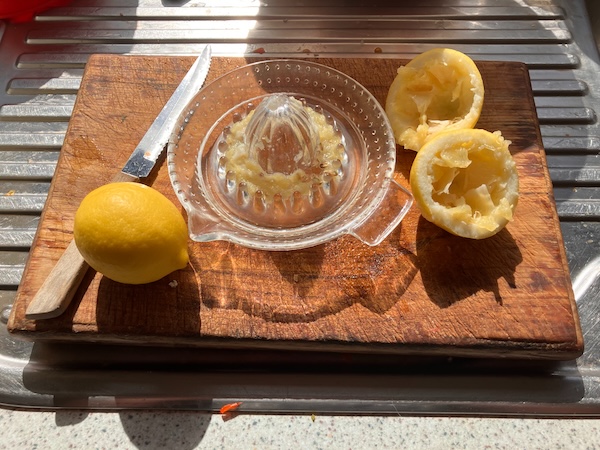
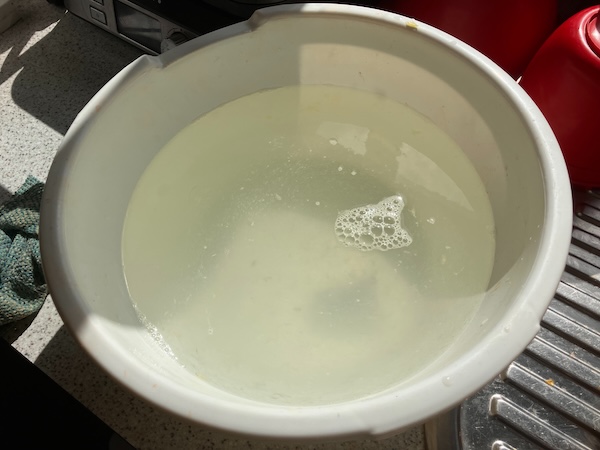
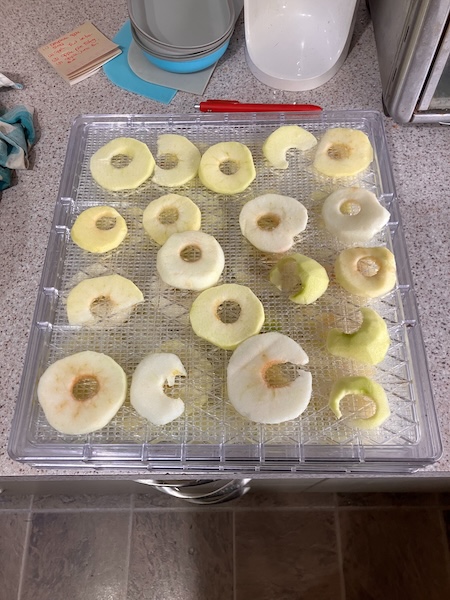
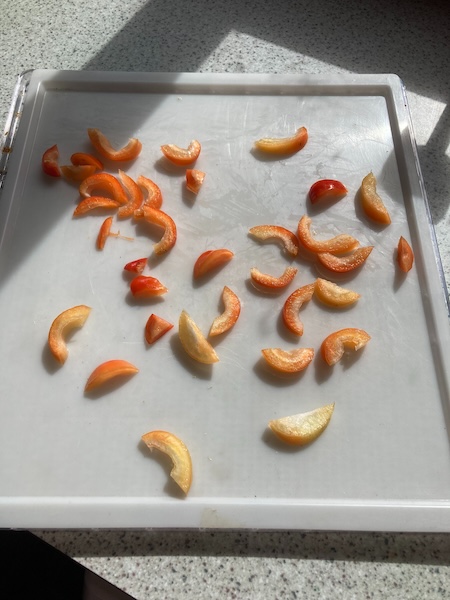
After some thought I wrote a small list of apple making possibilities, and got to work, first of all making dehydrated apples for snacks. I filled a bowl with water, and added the juice of a couple of lemons (from our lemon tree), to stop the apples from turning brown while I processed them.
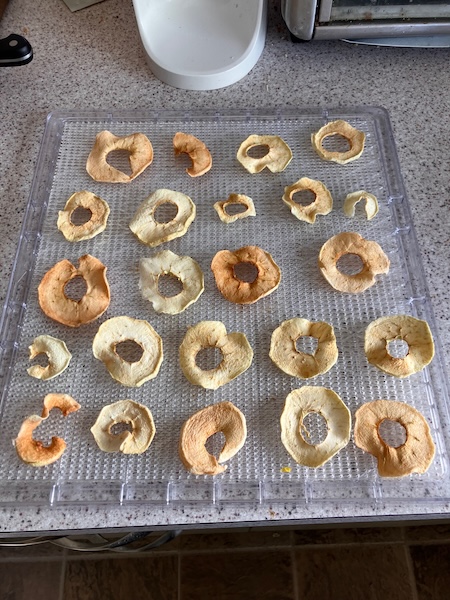
Once the some of the apples were all cut and soaked in lemon juice water, they were patted dry before placing on dehydrator trays. They were put in our dehydrator and dried at 60˚C for 5 hours, with them being flipped over halfway through.
The dried apple slices were then tested for dryness, before being stored in a plastic container.
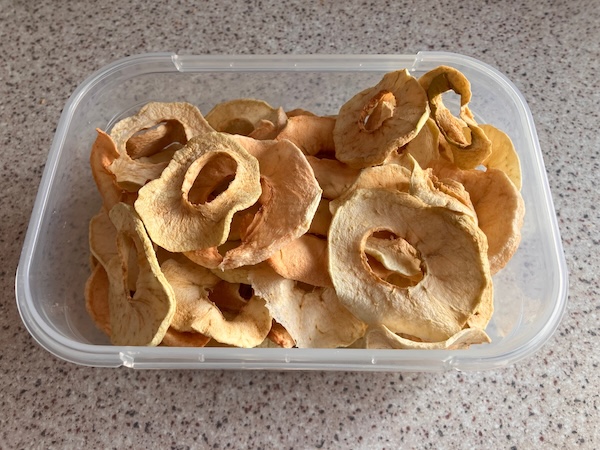
Dehydrated apples are great snacks, whether at home, or for when you're going on a walk and you need a little pick me up. The three different types of apples I dried all taste very different, with the Golden Delicious apples being super sweet, the Flamenco apples being nicely balanced between sweet and tart, and the Waltz apples being quite tart. It makes for a nice mix, and it's a pleasant surprise as the apples are eaten.
Unfortunately we didn't use up all the apples sitting in the 10L bucket, so hubby made a huge batch of apple pie filling with some cinnamon, and I've stored it away in our chest freezer to use over the coming autumn and winter months.
Have a wonderful day
Julie-Ann
Want to discuss my post? Feel free to chat with me on Instagram or Mastodon or Bluesky, and now also Facebook.
Dehydrating Citrus Rind for Making Citrus Peel
Hello friends,
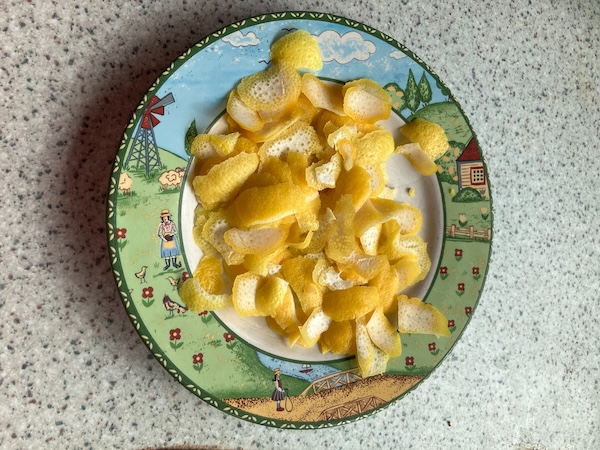
It's Christmas Cake making season again, so it's once again time to dehydrate our own citrus rinds for making citrus peel.
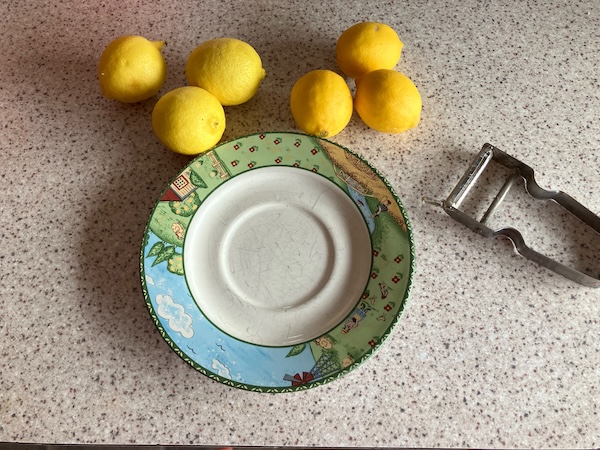
The process is very easy, all you need to do is to use your potato peeler to take off thin layers of citrus rind (I used lemons and limes from our trees), and then pop them into a dehydrator.
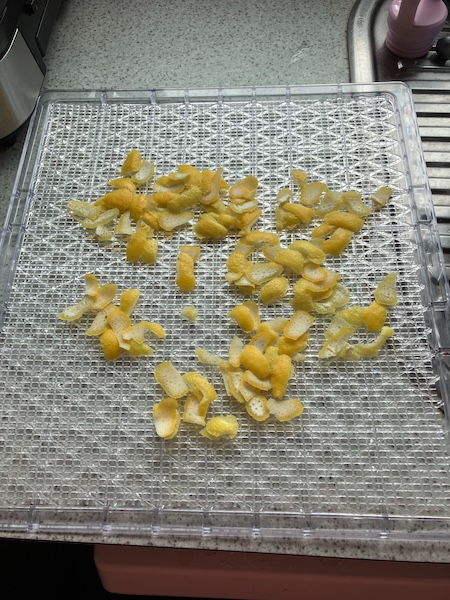
Luckily our dehydrator has a citrus peel calculator on the top, so I set the dehydrator to 55˚C and dried the rind for 4 hours.

When the rind was very dry, and snapped when bent in half, the citrus peel was ready to store.
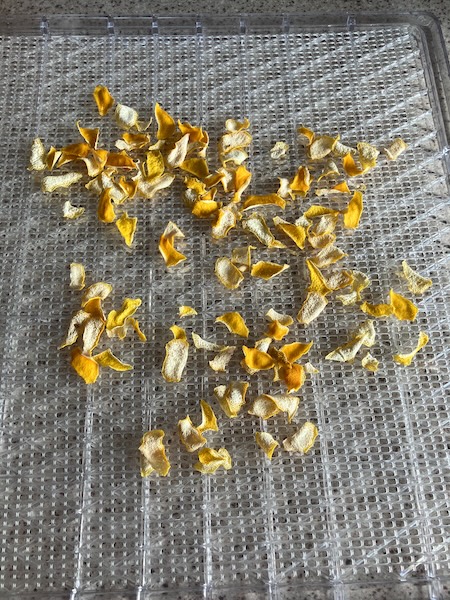
Hubby made my Grandad Bob's Christmas Cake last weekend, and added the citrus peel to the recipe. I can't wait to try the cake out this Christmas, but you can too if you follow the recipe I posted in a blog post from last year.
Have a wonderful day
Julie-Ann
Want to discuss my post? Feel free to chat with me on Instagram or Mastodon or Bluesky.
Harvesting and Drying Alma Paprika
Hello friends,
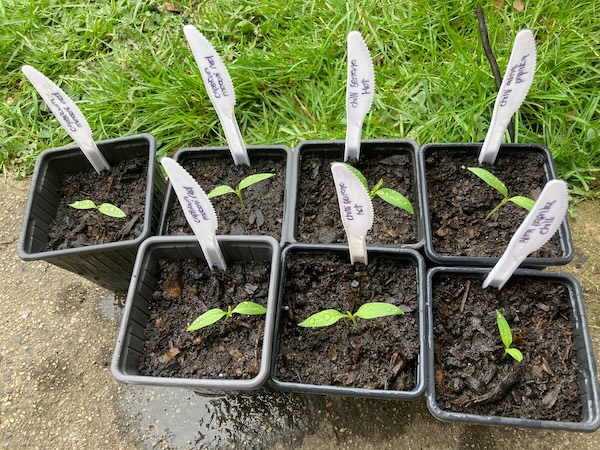
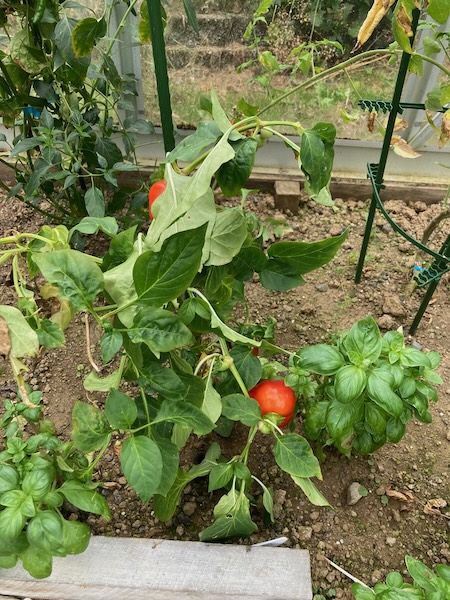
This is our second year growing alma paprika plants. It's really satisfying to sow them as little tiny seeds, see them grow up into seedlings, and then onto big pepper plants with red peppers that you can dry into mild paprika.
The process for growing alma paprika plants is pretty much the same as any other capsicums or chillies. The seeds need to be sown in late winter, at the same time as tomatoes, and they need consistent steady heat in order to germinate. At that time of the year we have them sitting in the dining room where we have the fire going each day. Within a couple of weeks they germinate, and slowly over a couple of months they grow into seedlings which need to be potted on.
I move the alma paprika seedlings into the glasshouse in early October, and once it gets to Labour weekend, it's time to plant them into the ground in the glasshouse. Over the next few months they get bigger, and need staking, and at around Christmas they begin to flower. The rounded alma paprika fruits begin to grow, and then it's a wait over late summer and early autumn for the growing fruits to begin to change colour to a bright red hue.
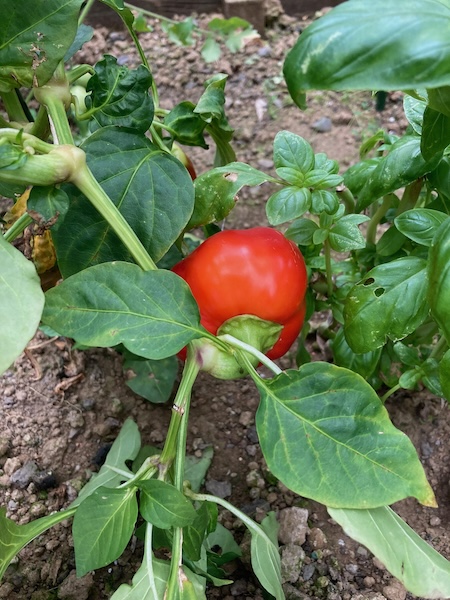
Once the alma paprika fruit has turned red, it's finally time to pick them. I cut them off the plant using a pair of secateurs, and then take them into the kitchen to begin processing them.
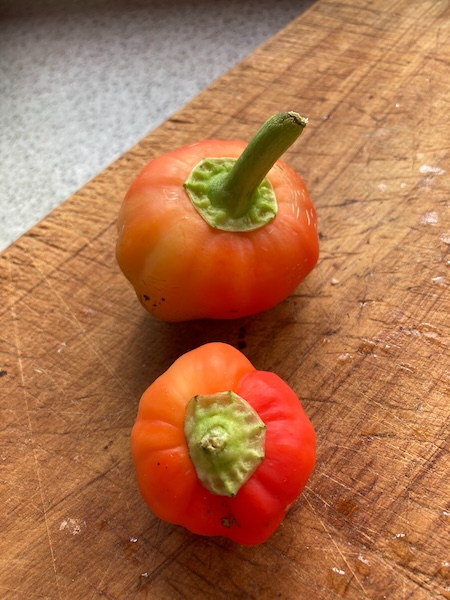
After chopping them in half, cutting off the stalks, and removing all the seeds, I slice the alma paprika fruit into thin slices and lay them out on a tray.
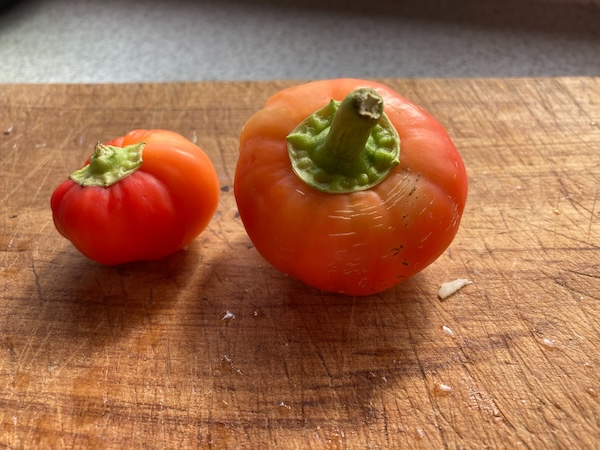
Then they go straight into the dehydrator at 35˚C, and I dry them until the slices are bone dry and brittle, ready for turning into paprika powder.
After a quick whizz in our spice grinder, the paprika powder is ready to use in cooking. The spice is tasty and mild, and works great in a number of dishes. The whole process is really easy, and satisfying, so it's now yet another yearly thing for me to do in the garden and kitchen.
Do you have any yearly tasks you enjoy? There's great satisfaction in accomplishing them when it means you have tasty food over the cold winter season.
Have a wonderful day
Julie-Ann
Want to discuss my post? Feel free to chat with me on Instagram or Mastodon or Bluesky.
My 2023 Garlic Harvest
Hello friends,
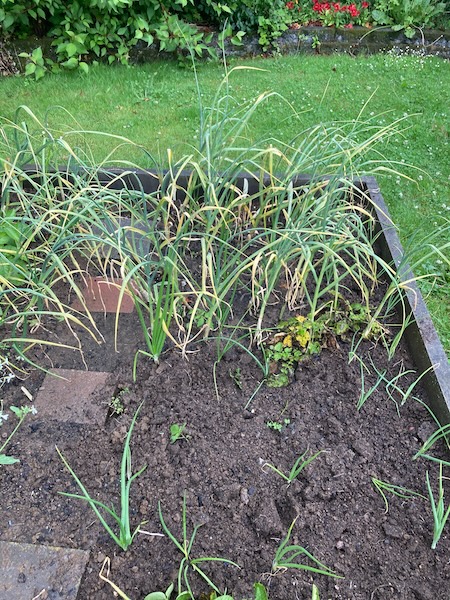
According to one of last year's blog posts, I sowed my garlic bulbs for this season on Friday the 2nd of June 2023. Apparently, at that time I planted 60 Printanor bulbs, and in my naive state back then, claimed that we hadn't had any problem with garlic rust in all the years since we returned to Dunedin, so I wasn't worried about it happening at all.
Well it turns out I was really wrong about this. Normally, the humidity in Dunedin in spring usually isn't too bad, but unfortunately in mid-December 2023 the tell tale signs of garlic rust began appearing on my garlic plants after a period of rainy, humid days. I was devastated to say the least, but it was only a few weeks until the garlic harvest, so I prayed for lots of dry and sunny weather, and hoped my garlic plants had already formed decent bulbs while I waited impatiently for harvest day.
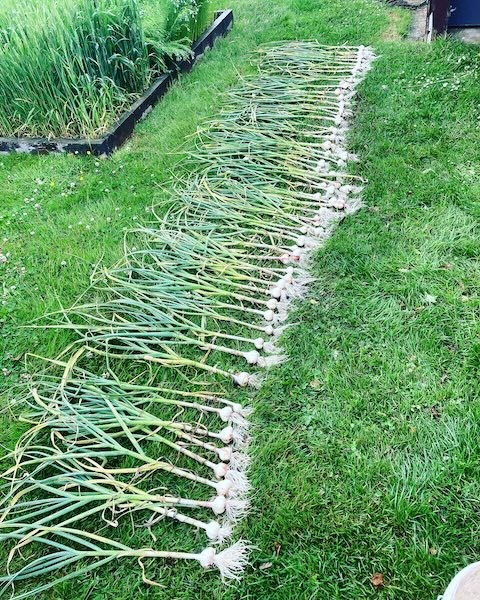
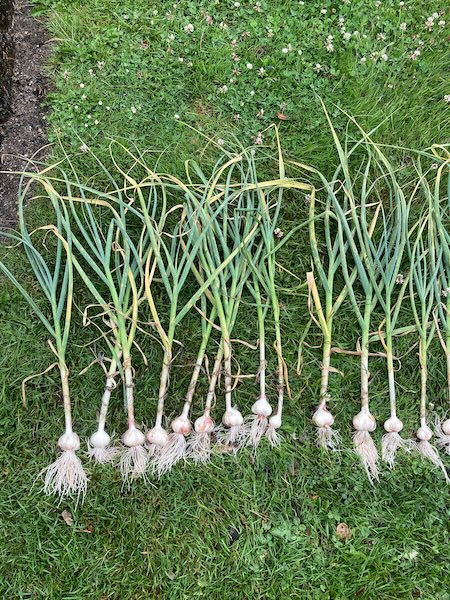
A couple of days after Christmas, my garlic plants were ready to harvest. It was a gray, drizzly day, but hubby and I got to work, and began lifting all the garlic bulbs. It wasn't the biggest garlic bulb haul in the world, but it was good enough for us. I had been hoping for lots of large bulbs, so I could swap some of our harvest for other things like apples and pears etc in autumn, but due to their smallish size, we ended up only with enough to last us for the year.

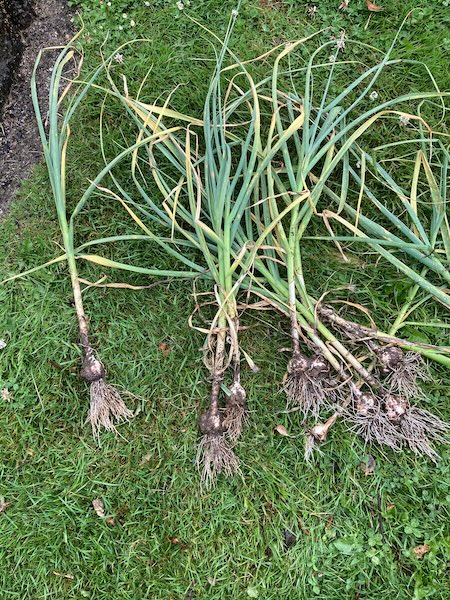
After a quick spray with water to clean off all the dirt, we made the decision to harvest the garlic then and there. Garlic plants with rust don't tend to keep very long while stored dry and whole, so we harvested the garlic bulbs and froze the cloves in our chest freezer. When we cook with garlic we just use the cloves, or we dehydrate the garlic to get flakes and powder.
The thing about growing underground vegetable crops is that you're not entirely sure what the harvest will be like until you dig them up. It's really just a case of making do with what you get, and then planning accordingly. If gardening life was predictable all the time, it would probably be boring...but I still would've loved to have a bigger harvest. So instead, I'll just have to buy autumnal fruit the normal way, at the supermarket.
Have a wonderful day
Julie-Ann
Want to discuss my post? Feel free to chat with me on Instagram or Mastodon or Bluesky.
Social Media


Archives