

Herb Garden and Patio Tidy Up
Hello friends,
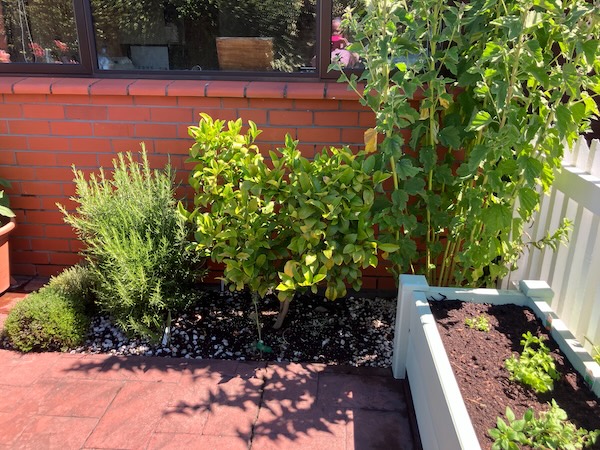
Our herb garden and patio were looking a little weary over the summer, and the plants in the herb garden bed had well and truly bolted and gone to seed, so it was time to give the herb garden and patio a tidy up.
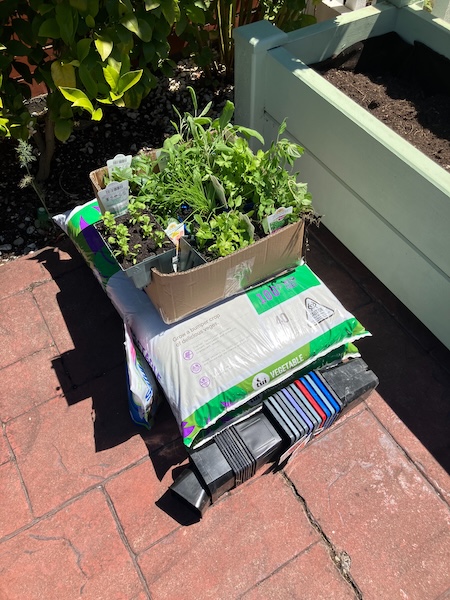
After pulling out all the weary looking plants from the herb garden bed, it was time to head off to the local garden centre. I bought a couple of replacement bags of potting mix, and a range of herb plants that we regularly use.
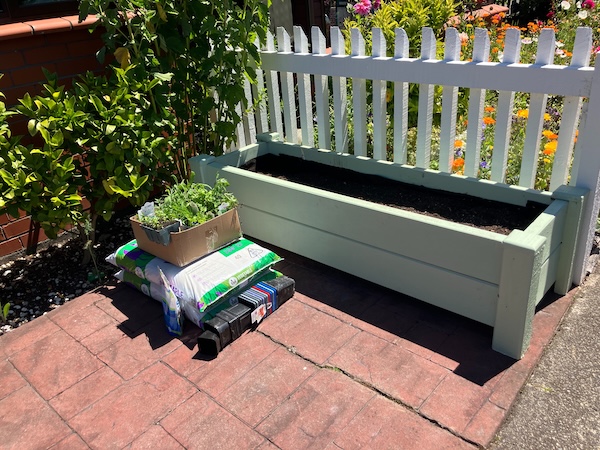
After topping up the potting mix, and watering it in, it was time to place out all the new herb plants.
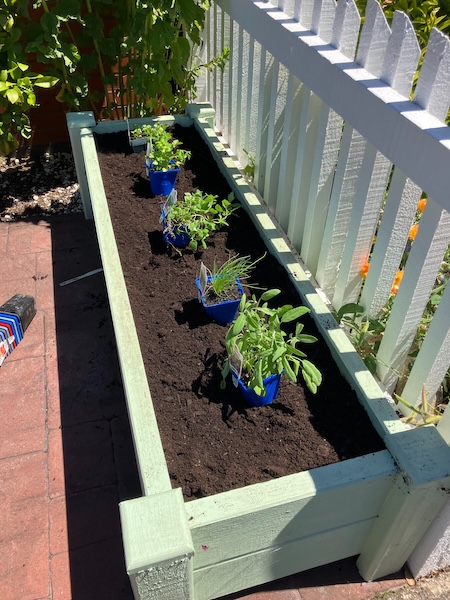
I bought coriander, chives, oregano, sage and a parcel plant. I thought the parcel plant was Italian parsley when I bought it, but when I got home I realised I'd bought a new to me herb plant. According to research I had to do "Parcel tastes like a combination of parsley and celery. It is sometimes known as Chinese celery, wild celery or leaf celery. It is often used in salads but can be used in just about any dish."
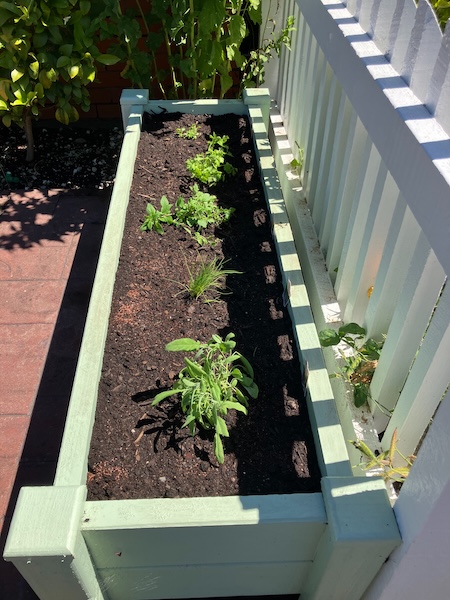
Luckily the parcel plant will work with our cooking style, so it's a welcome addition to our herb garden.
I then weeded the rest of the patio as well. While I was tidying things up in the herb and patio area, I also fertilised our citrus bushes.
Once all that was done, I gave the patio and herb garden a decent watering after the hot and sunny weather we've been having recently.
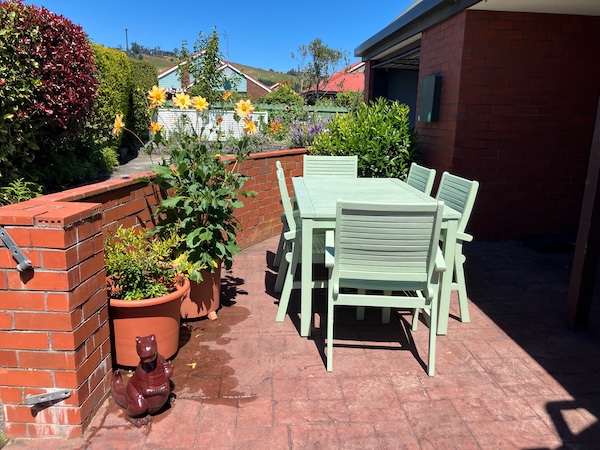
It was really good to tidy up that area of the garden, and it'll be fine now until late autumn. It's now a great place to sit in the sun and enjoy on hot sunny summer days.
Have a wonderful day
Julie-Ann
Want to discuss my post? Feel free to chat with me on Instagram or Mastodon or Bluesky.
Dehydrating Citrus Rind for Making Citrus Peel
Hello friends,
It's Christmas Cake making season again, so it's once again time to dehydrate our own citrus rinds for making citrus peel.
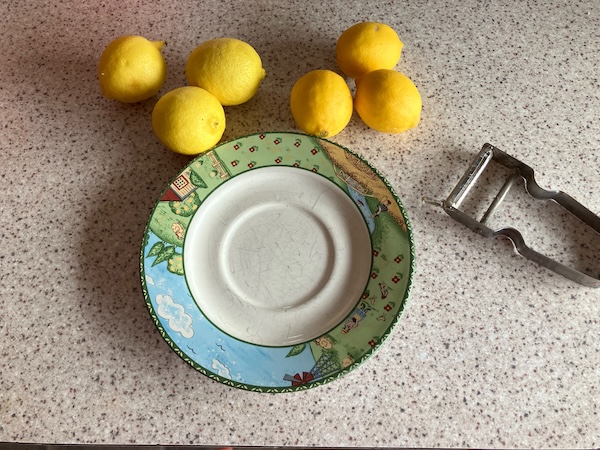
The process is very easy, all you need to do is to use your potato peeler to take off thin layers of citrus rind (I used lemons and limes from our trees), and then pop them into a dehydrator.
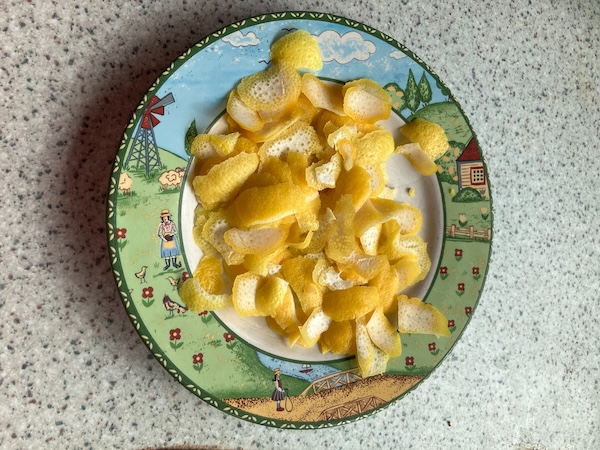
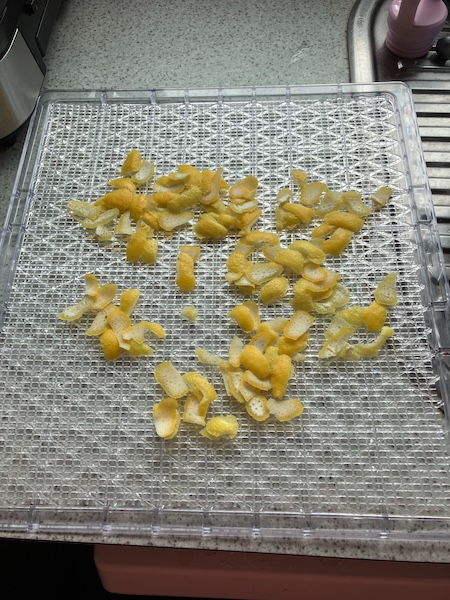
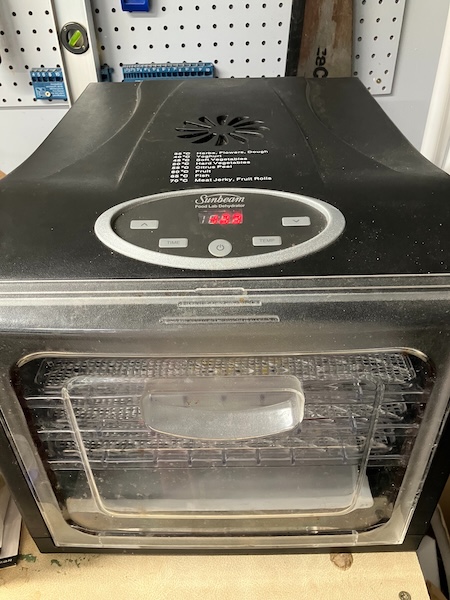
Luckily our dehydrator has a citrus peel calculator on the top, so I set the dehydrator to 55˚C and dried the rind for 4 hours.
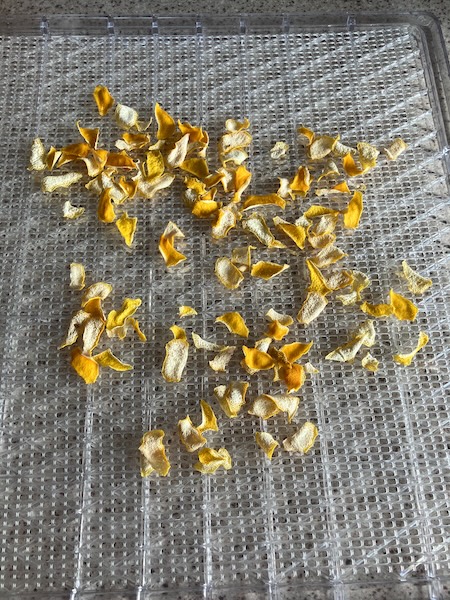
When the rind was very dry, and snapped when bent in half, the citrus peel was ready to store.
Hubby made my Grandad Bob's Christmas Cake last weekend, and added the citrus peel to the recipe. I can't wait to try the cake out this Christmas, but you can too if you follow the recipe I posted in a blog post from last year.
Have a wonderful day
Julie-Ann
Want to discuss my post? Feel free to chat with me on Instagram or Mastodon or Bluesky.
Making Lime Syrup With A Glut of Limes
Hello friends,
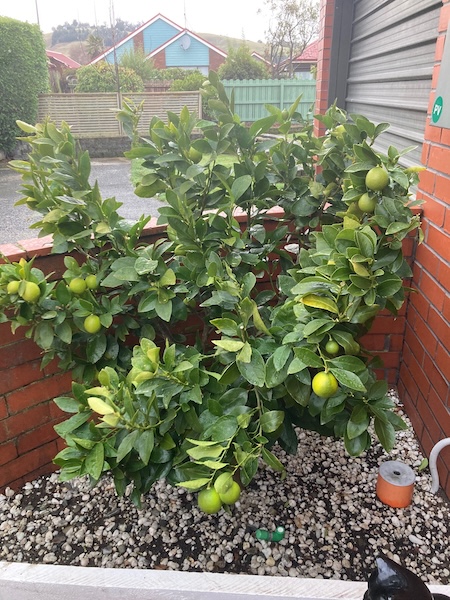
As it's now winter, it's peak citrus fruit season for our lemon and lime bushes. The lime fruit ripened on the bush first, so we've been using them in various baking and cooking recipes for the last couple of months (wherever citrus is needed), and I've even been giving away limes to anyone who comes to visit us...
But even after doing all that, we still have too many limes sitting on our kitchen window sill and also on the bush, so I searched the internet for ideas for what to do with all the limes.
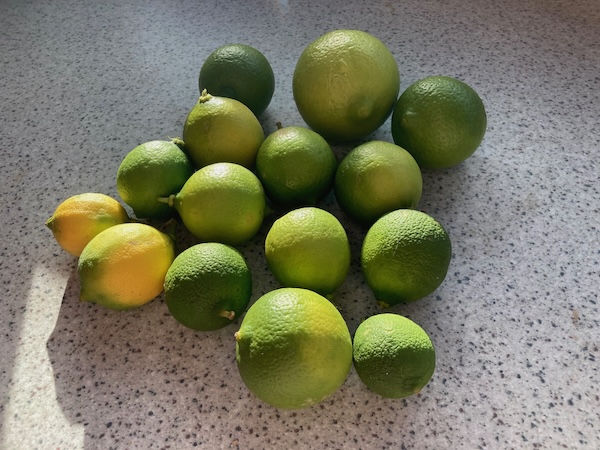
After searching for a while, I settled on making some simple lime syrup. It uses up a lot of limes, and it means I have homegrown syrup for hot and cold drinks, and also for using in baking recipes.
Simple Lime Syrup
Ingredients
1/2 Cup of Fresh Lime Juice
Zest of Those Limes
1 + 1/2 Cups of Water
1 Cup of Sugar
1/2 Teaspoon of Citric Acid (citric acid makes the lime syrup flavor more intense)
Recipe
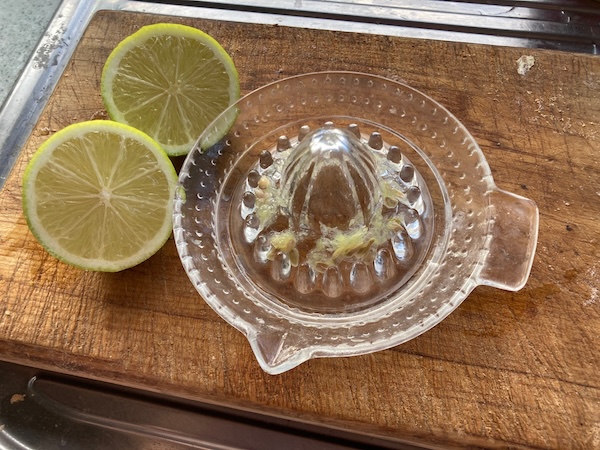
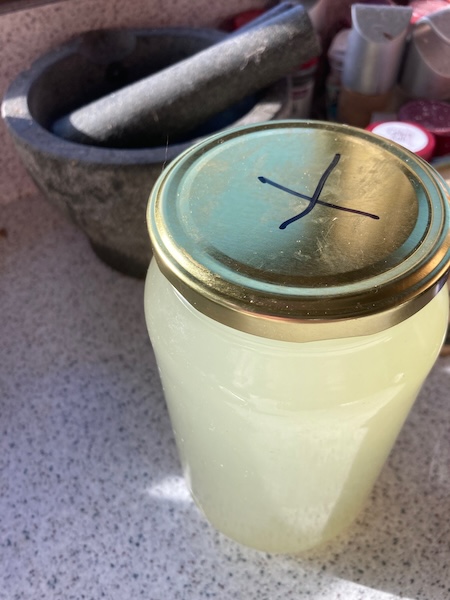
(1) Zest limes one by one before you juice them, aiming to have 1/2 a cup of lime juice, plus the zest from them at the end. This step is not exact, depending on how much juice is in the limes. As I had a lot of limes, I just kept juicing them until I had enough juice and zest. It's always easiest to zest the limes first before cutting them in half and zesting them.
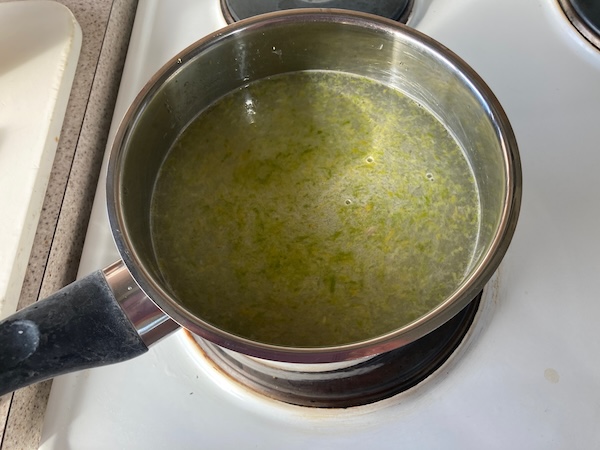
(2) To a pot, add 1 + 1/2 cups of water and heat to a simmer, add the sugar and citric acid, and mix until the sugar is completely dissolved. Add in the lime zest and juice, and cover the pot, and simmer for 15 minutes.
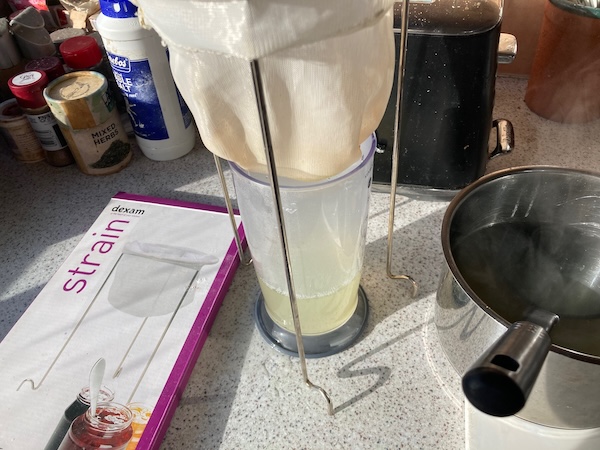
(3) Remove the syrup from the heat and allow it cool. When the syrup is cool enough to handle safely, strain the lime syrup to remove the zest and any stray lime pieces. I used a dexam strainer that I got from Moore Wilsons when we lived in Wellington. (The dexam strainer is very useful for many cooking, bottling, juicing, and jam making projects, as the strainer is super fine.)
(4) Collect the lime syrup in a container, and store it in the fridge, where it will last for up to a month.
You can also use this recipe to make a simple syrup with other citrus fruit like lemons and mandarins and oranges. I've found that the lime syrup is great for making a hot citrus drink, similar to making a hot lemon, and you can add honey to it as well. It's quite refreshing and warm on a cold frosty day.
Have a wonderful day
Julie-Ann
Want to discuss my post? Feel free to chat with me on Instagram or Mastodon or Bluesky.
Tomato, Capsicum, and Lime Soup Recipe
Hello friends,
Happy winter solstice, soon the days will become much lighter again!
We're heading into the coldest time of the year, so I thought I'd share with you my favorite soup recipe, which is Tomato, Capsicum, and Lime soup. The ingredient list is pretty small, and most years I've grown my own tomatoes, lime, garlic, onion, and chilli for the recipe. I've had a bad run of growing my own capsicums, so I buy frozen capsicums from Frozen Direct for the recipe, as it's much cheaper and it comes pre-chopped.

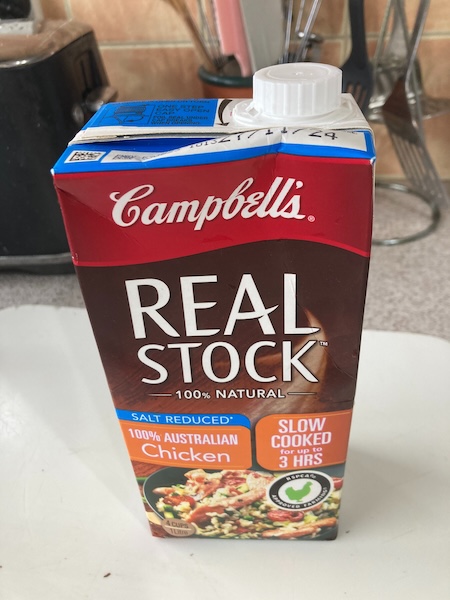
In this recipe you can choose whichever stock you want, we usually use a salt reduced chicken stock, or if you want a vegetarian option, go for a vegetable stock.
Tomato, Capsicum, and Lime Soup
Ingredients
1 tablespoon Olive Oil
1 large Onion
1 clove of Crushed Garlic
1L Chicken Stock (Vegetable stock works great also)
4 Red Capsicums deseeded and chopped, OR
600 grams frozen Red Capsicums
1 small red Chilli or ½ teaspoon Chilli powder (this is approx, it depends on what heat level you like)
3 tins of tinned 400 gram tomatoes OR
one 2L ice cream container of frozen homegrown tomatoes
1 Tablespoon of tomato puree (This is purely optional. It depends on how tasty the tomatoes are in the recipe. My advice is to do the recipe up to step 4 without the tomato puree, and do a taste test, and if it’s not tomatoey enough, then try adding tomato puree by the tablespoon)
1 Lime – Juice + Zest
Salt and Pepper to taste
Recipe
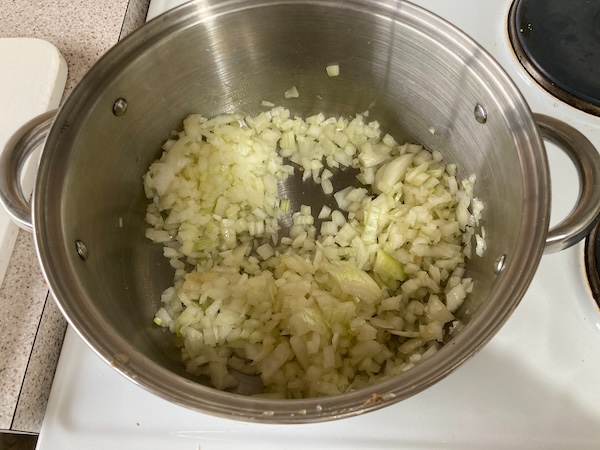
(1) Cook chopped onion and garlic gently in olive oil in a covered pot for approximately 5 minutes until softened, stirring occasionally.
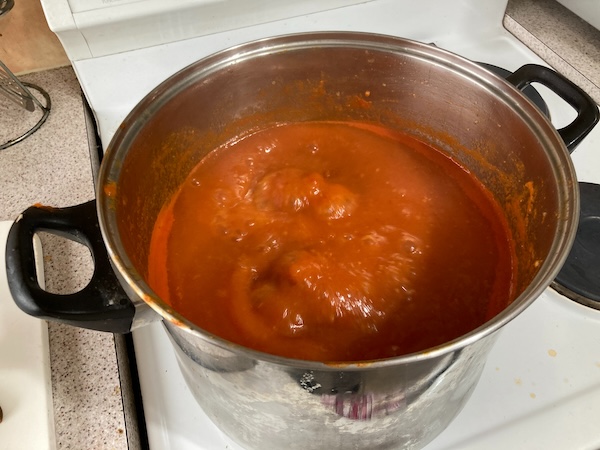
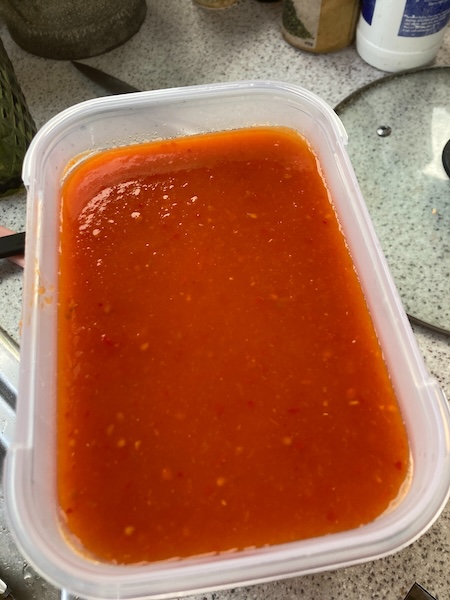
(2) Stir in chopped capsicum, chilli, tomatoes, and chicken stock. Bring to the boil and simmer for 20 minutes.

(3) Puree the mixture with a stick blender until smooth.
(4) Do a taste test once the soup is at a smooth consistency, to see if tomato puree needs to be added. Add the juice and zest of the lime.

(5) Simmer for 10 minutes, and then do a taste test to see if salt and pepper is needed. Add salt and pepper and simmer for 5 more minutes.
(6) Enjoy the soup straight away, or freeze if you have any excess. This recipe gives approximately 4 - 6 serves depending on how big your soup bowl is.
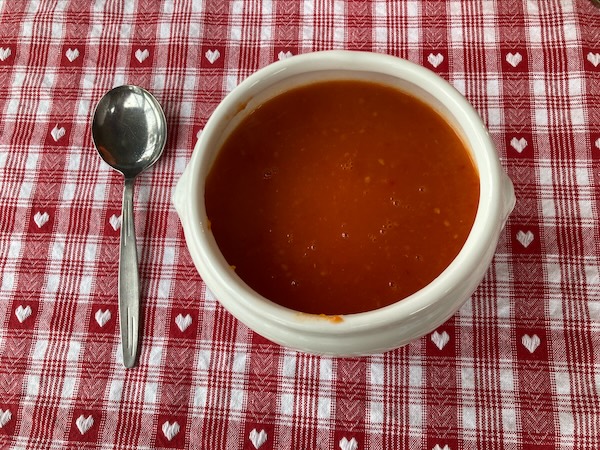
This soup recipe, is my favorite of all time, and I look forward to eating it each autumn and winter. We usually have it with toasted ciabatta and a sprinkling of Parmesan cheese, but it is wonderful just on it's own. I usually also make a double batch, so that we have plenty of this soup over winter whenever I have a hankering for it. I hope you give this wonderful soup a go, and please let me know what you think of the recipe...
Have a wonderful day
Julie-Ann
Want to discuss my post? Feel free to chat with me on Instagram
or Mastodon or Bluesky.
Social Media


Archives