

2025/2026 Dahlia Breeding Season Results
Hello friends,
Today I thought I'd share with you the results of the 2025/2026 dahlia breeding season.
I grew a total of 55 dahlias from seed, or as seedlings, and at the end of season only 14 dahlia seedlings remain. The number of dahlias I've kept is unusually high, and this is a result of me growing some of Floret's Petite dahlia seedlings, which I bought from Emerden last spring. They were unusually populated with promising dahlia seedlings, and this in my opinion makes buying these expensive Floret seedlings completely worth it.
To keep a track of all my seedling dahlias during the season I employed a dual system, first of all a dahlia seedling spreadsheet, and also a physical note book with a page per seedling, noting down when it flowered, what type of dahlia it was, colouring, and photos showing each dahlia in flower.


The majority of dahlia seedlings that flowered were single dahlia types, and most of those dahlias were the colour yellow. This makes sense because the single dahlia type, and the colour yellow, are both dominant in dahlia genetics according to the book "Dahlia Breeding for the Farmer-Florist and the Home Gardener". Thirty eight of the fifty five dahlia seedlings were single types, equaling a total of 69% single dahlias in my breeding experiment. Twenty seven of the fifty five dahlia seedlings had yellow flowers, or they had yellow colouring in their flowers. Both single type dahlias, and dahlias with yellow flowers, are not what I'm looking for in a dahlia in general, as they are very common, and not really interesting to me.
This dahlia seedling, SR5, is a typical yellow single dahlia flower. I don't consider it interesting at all, even though the bees love these flowers. I don't have enough space in my small garden to justify growing them every year.

And now for all the amazing dahlia seedlings I grew this last summer.
First up we have Keith Hammett Beeline II #4, a dahlia seedling from a Beeline II seed packet I bought from the dahlia breeder Dr Keith Hammett. Dr Keith Hammett doesn't have the space to grow every single seed in his breeding program, so he sells seeds packets occasionally. This dahlia is a single dahlia, but the pink to yellow ombre colour shift is just spectacular against its dark green leaves. This dahlia, KHBII #4, is very similar to Dr Keith Hammett's Mystic Sparkler dahlia, which I own and love in my garden. However, this flower is much larger, and I prefer this seedling dahlia's petal shape more, so it makes it worth keeping this dahlia for next year to see how it fares.

Next up is another Dr Keith Hammett dahlia seedling, NZ Gardener #1, which is grown from a seed packet given away by the NZ Gardener magazine. This is a yellow decorative dahlia, with great symmetry in its petals. Even though this is a yellow dahlia, I haven't seen many pure lemon decorative dahlias for sale in New Zealand, and this is the only decorative dahlia seedling I grew this year. It's worth growing for another year to see how it looks over time.

This next dahlia seedling is called Floret Bee's Choice #13 (FBC#13), AKA Pink Lemonade. This is a yellow, white, and pink anemone dahlia, with unusual domed inner anemone petals. I really love its delicate colours, and it's unusual anemone shape. This dahlia is quite pretty, and has a lot of potential. I'll be growing it for the next couple of years, to see how it develops as the tuber gets older.

The next dahlia is another Floret Bee's Choice seedling #15 (FBC#15). This is another anemone dahlia variety, and it is two toned, with pale lemon outer petals, and brighter yellow inner domed petals. I've called this one Daffodil Daze, as it reminds me of the fluffy double daffodil flowers I grow in my garden each spring.

This next seedling, SR#4, is another anemone dahlia. I'm not really sure what to think of it, but I love the purple colouring. I'm willing to grow it in my garden for another year to see if it improves.

This white collarette dahlia seedling is SR #13, which I've named Snow Dancer (named for the Snow Dancer wolf pack in Nalini Singh's Psy-Changeling book series). She's such a pretty white collarette dahlia, and since I have none growing in my garden, she will make a happy addition to my dahlia collection.

The following dahlia seedling is Floret Petite #2, a magenta on magenta collarette dahlia. This is a really pretty dahlia I bought as a seedling from Emerden Garden last spring. She reminds me a lot of the Cafe Au Lait Rose dahlia, and she also has a large flower head for a collarette dahlia. She's definitely a keeper for next year, and I've collected seed from her to see what dahlia types I get from her.

This next dahlia seedling is Floret Petite #3, which is another anemone dahlia with great potential. New flowers are a very pretty smoky peach colour, and she fades to a apricot colour as the flowers age. FP#3 is definitely another keeper, and I can't wait to see how she performs next summer.


Next up is Floret Petite #4 a stunning lemon and magenta streaked collarette dahlia with white frilly petals inside. She is a stunner in the garden, and very much appreciated by those noticing her. This dahlia probably has the most potential of all the dahlia seedlings I've grown this year. I can't wait to see her flowering again next summer. I haven't chosen a name for her yet...

Floret Petite #5 is another collarette seedling dahlia, and has pointed lemon petals, and curly white inner petals. She was growing in a bad spot in the garden, and didn't get a lot of sun, so I don't think she's grown to her full potential this year. I'm going to grow her in a better place next year, and see how she fares.

And next is Floret Petite #6, my favorite of all the dahlia seedlings I grew this past year. She is a very unusual anemone dahlia, with the outer petals colour shifting in an ombre pattern from dark to light pink, and the inner anemone petals doing the same, but with gold tips. What is also interesting is her 3D shape which is very pronounced, making her look like she's wearing a poodle skirt. She is just stunning and looks nothing like any other dahlia I've ever seen. Her colouring shifts as the flowers age.


I have also kept dahlia seedling Floret Petite #8 until next year. Unfortunately Floret Petite #6 grew beside FP#8 and completely overshadowed the dahlia seedling. Because of this, the dahlia seedling stayed quite small, and it also didn't flower this year. Due to the prevalence of great Floret Petite dahlia seedlings, my plan is to grow it for another season, to see if it has potential.
And finally we have two unknown dahlia seedlings, Unknown 2 and Unknown 4, which popped up in the back garden over summer. Their parent plant I think is Dahlia Protegee, which grows nearby them, and I think when you see the comparison photos you'll agree with me.
First up is the suspected parent plant, Dahlia Protegee, which is a Keith Hammett bred dahlia. She is an ombré magenta to salmon pink single dahlia with dark leaves. This dahlia is an absolute bee magnet all summer long.

And this is Unknown #2 dahlia seedling. She has green leaves, her petals are rounded, and her petal colouring is a deep pink ombré fading out to a baby pink outer. There are also dark pink streaks throughout her petals. When this dahlia flower ages, the light pink fades to a white shade which is really pretty.

And this is Unknown 4 dahlia seedling. She has fewer petals, green leaves, but has more of a pure pink ombré effect. There are also streaks of darker pink running through the leaves. She is also very pretty.

As you can see from these photos, they do indeed look like dahlia Protogee's daughters. I'm happy to keep these dahlias for another growing season to see how they look and change over the growing season.
Overall my dahlia breeding season was very successful. At the start of the season my hope was to grow 2 - 3 dahlia seedlings which were promising enough to keep for another season, but having 14 is a bonus. All I have to do now is store them successfully over winter, and then grow them again next spring to see how they fare. In the mean time we've already had 4 frosts, and my dahlias have all died back, and winter is fast approaching...
Have a wonderful day
Julie-Ann
Want to discuss my post? Feel free to chat with me on Instagram or Mastodon or Bluesky, and now also Facebook.
Ranunculus And Peonies Flowering
Hello friends,
Today I wanted to share with you some of the ranunculus and peony plants that flowered in the garden this November, bringing such wonderful colour into the garden after the daffodil and tulip flowers finished, but before the dahlias started flowering this summer.
First up are the ranunculus varieties that I grew from seed last autumn. I bought a bunch of imported seeds from Buds & Bloom, including the varieties French Amandine Purple Jean, Italian Rosa Chairo, Italian Rosa, Italian Pastello 1, Italian Pastello 2, and Italian Bianco Sfumato.
Ranunculus corms are almost impossible to import into New Zealand due to strict biosecurity laws, but seed stocks are much easier to get into the country, which is what Buds & Bloom did last summer this year. Ranunculus plants from seeds are pretty tricky to grow, but I managed to get some germinating in autumn, and then grew them up over the winter, before planting them into the ground very early this spring. It didn't take them very long to grow and begin flowering, and here are a few that I photographed.
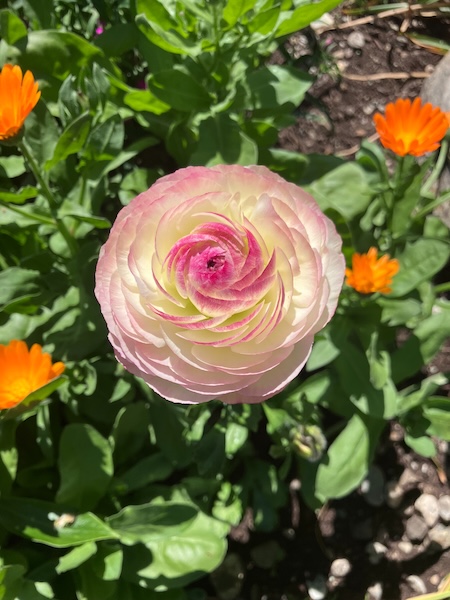
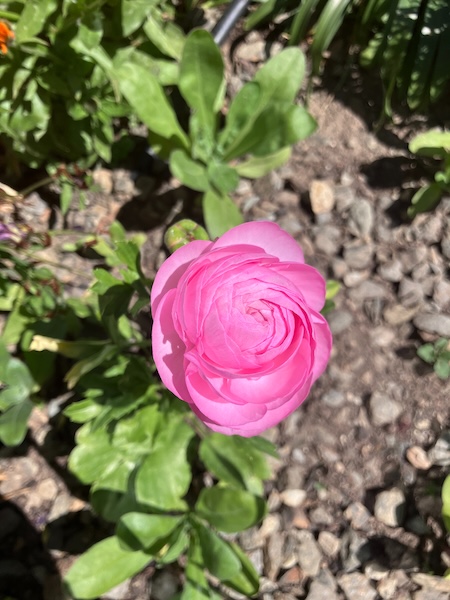
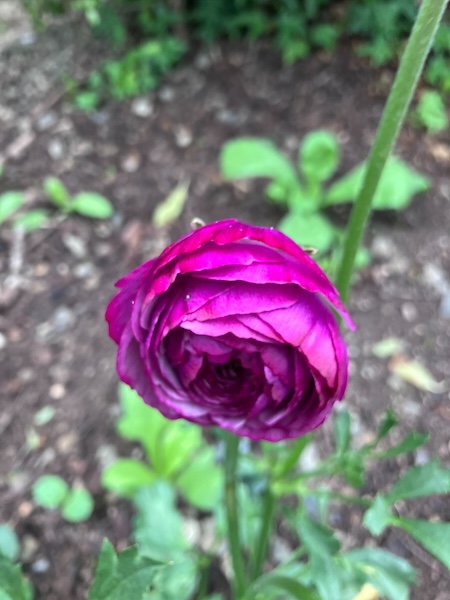
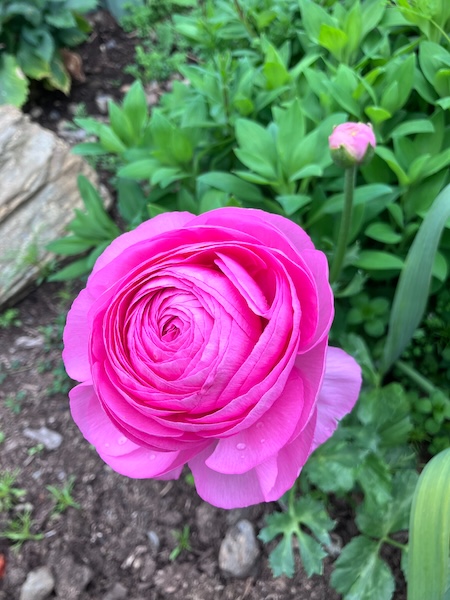
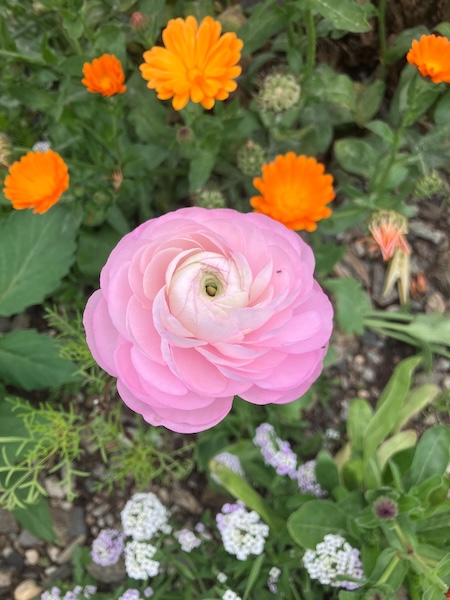
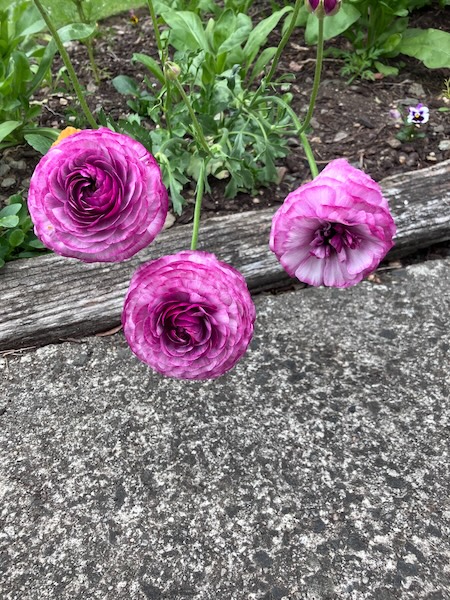
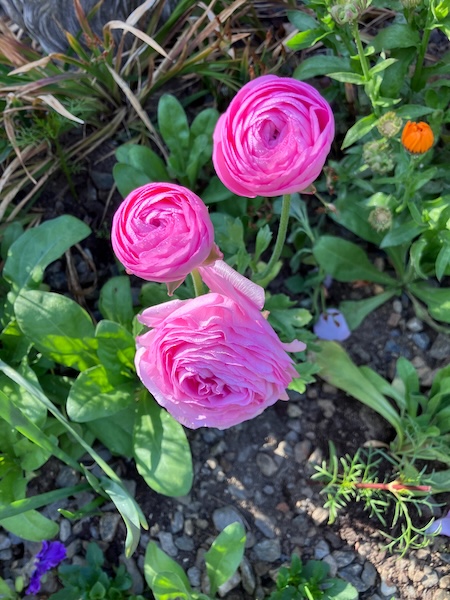
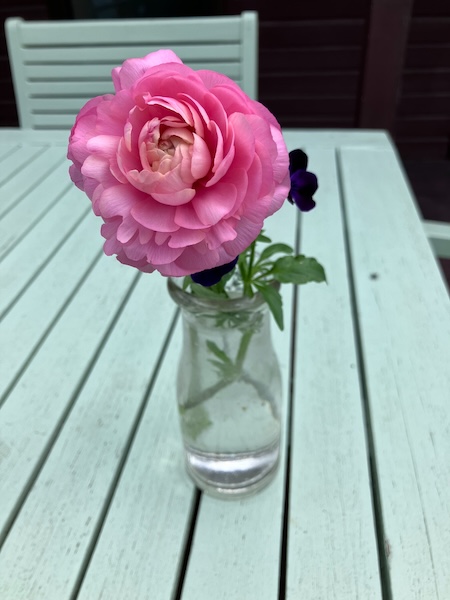
The range of colours from the imported ranunculus varieties was just stunning, with lots of pastel marshmallow like colours, and the flowers themselves were just very soft and squishy, perfect for cutting and then putting into a vase to enjoy inside the home.
Flowering at the same time were all my unknown peony varieties. Most of them were already in the garden when we moved here in 2019, and a couple of others are peonies that I bought but then have moved a couple of times over the years, and now I can't remember any of their names...
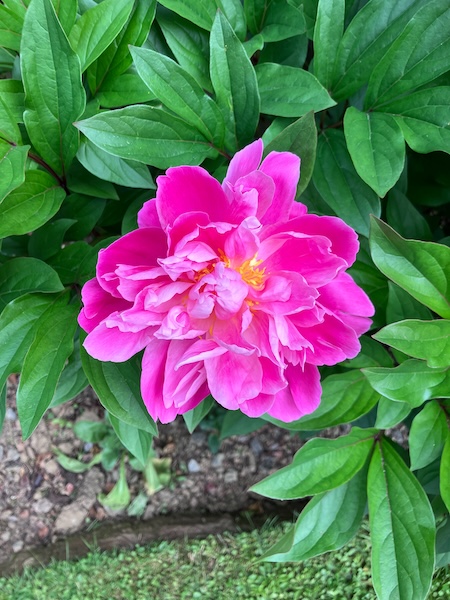
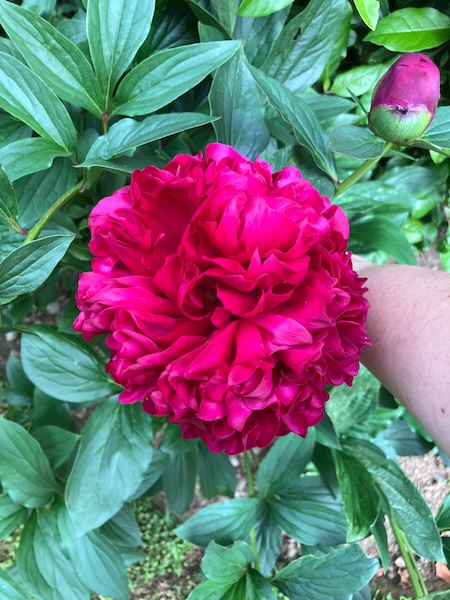
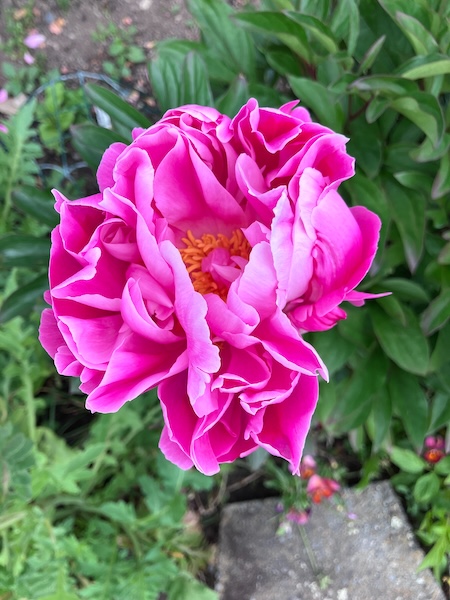
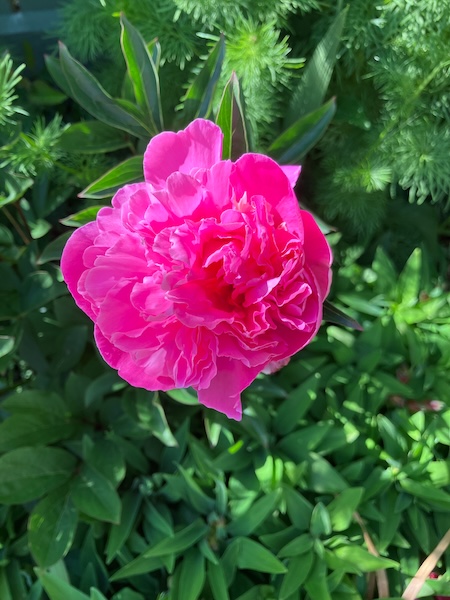
I leave them to flower in the garden rather than bringing them inside our home because hubby and my allergies are too severe to tolerate them, and also we have two very bitey indoor cats (Missy and Rosie) who would love to eat them if the blooms were brought inside.
I also have three new peonies growing this year, Duchesse de Nemours, Dr Alexander Fleming, and Sarah Bernhardt, but it will be a few years before they will be flowering and putting on a show in the garden. I can't wait to see them bud and bloom in a couple of years time...
Have a wonderful day
Julie-Ann
Want to discuss my post? Feel free to chat with me on Instagram or Mastodon or Bluesky, and now also Facebook.
Planting Out All The Garden Seedlings
Hello friends,
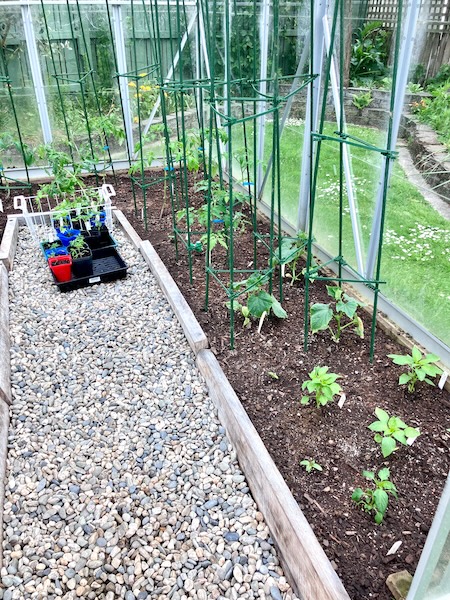
The last couple of weeks have been very busy in the garden, with the weather now being warm enough to plant all the seedlings, plants, and dahlias in pots, out into the garden. This was super important, as the glasshouse was completely packed with plants, and my tomato, cucumber, and chilli and capsicum seedlings really needed to get planted in their final positions in the glasshouse.

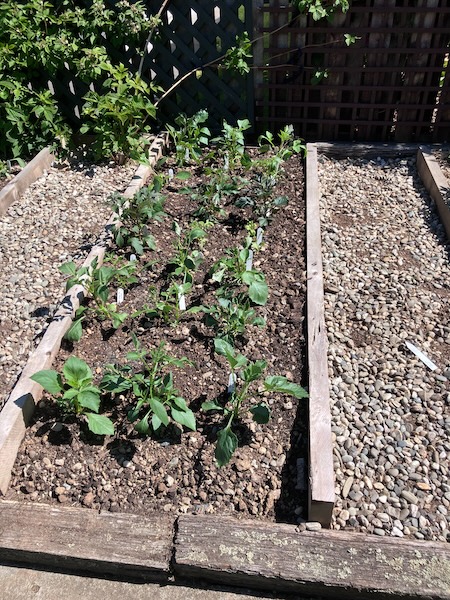
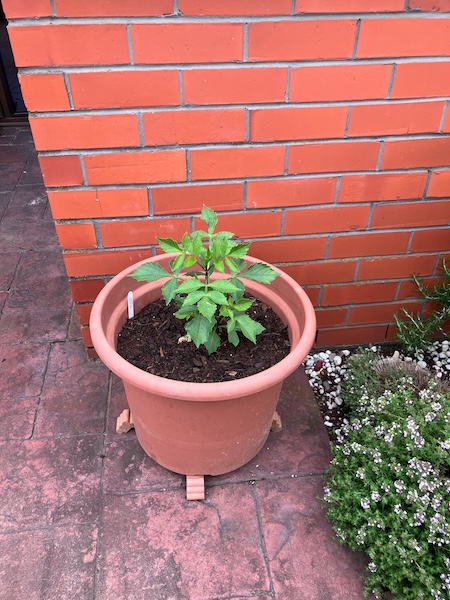
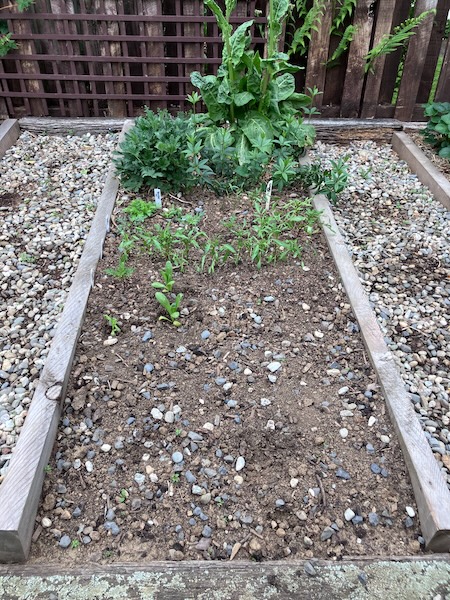
The first plants to go out into the garden were the dahlias I had in pots, and also all the dahlia seedlings I'd grown from seed, which I put into two of the new side garden beds.
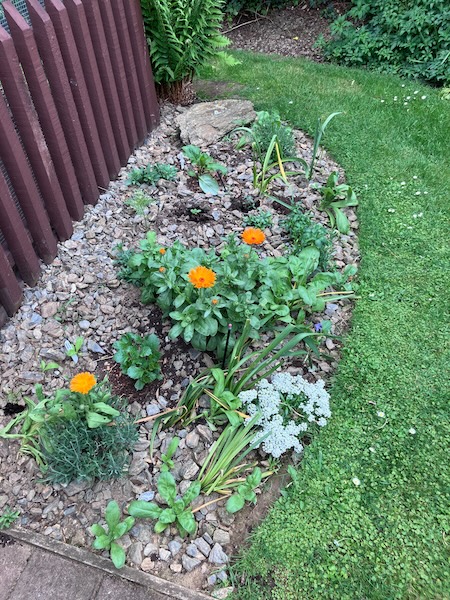
Next to plant out were all my natural dye plant seedlings into another new garden bed in the side garden, including tango cosmos, calendula, and Japanese indigo seedlings.
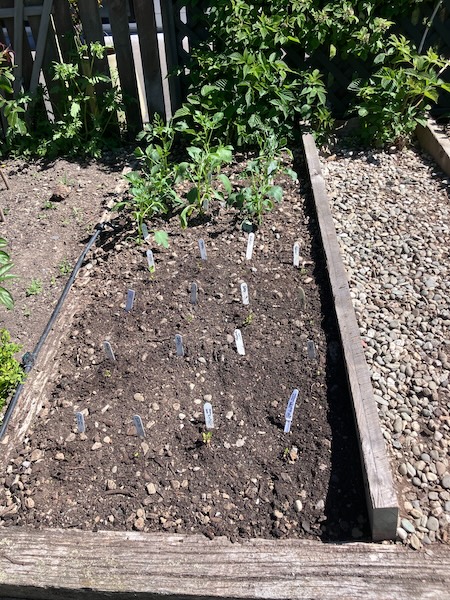
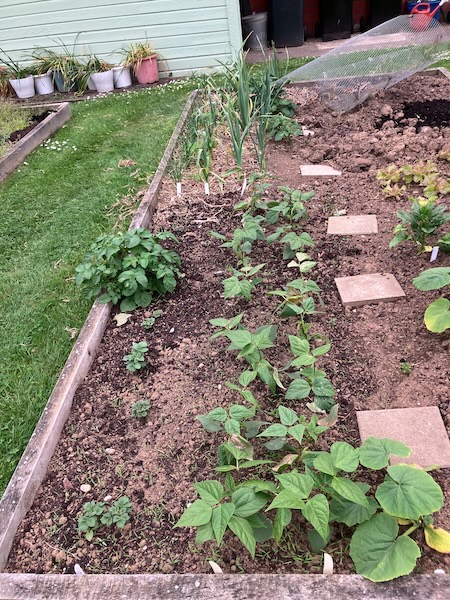
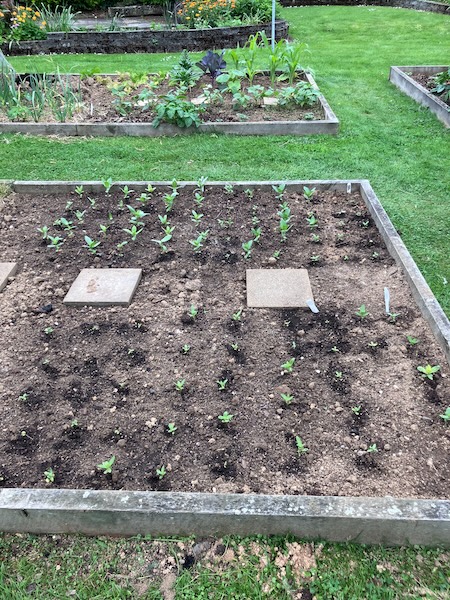
The vegetable garden beds also had to get weeded and dug over, so the corn, black turtle bean, lettuce, cabbage and bok choi seedlings could be planted into the garden.
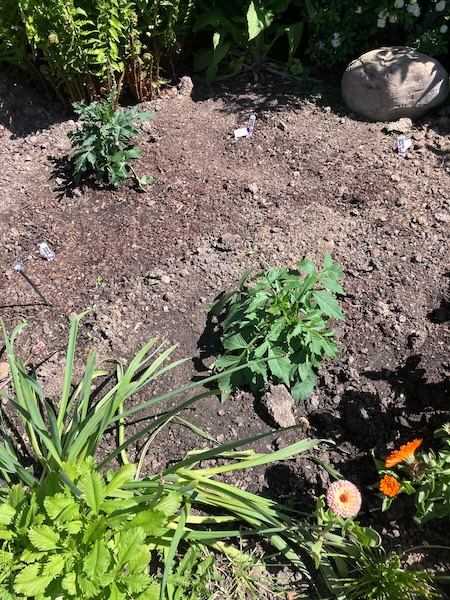
After that, it was time for all the flower seedlings including cosmos, calendula, and pansies, to be dotted around the garden areas to fill out
empty spaces I leave for annual plants. This took about a week as I was very enthusiastic in sowing seeds this spring.

The last of my Floret zinnia seedlings (Unicorn, Precious Metals, and Dawn Creek Blush) went into two spare vegetable garden beds so they can self-pollinate with each other in blocks this growing season, to give me a stash of Floret seeds of my own for the coming years. There is no guarantee that Floret seeds will be imported into the country again any time soon, and I wanted to keep some seed stocks of these varieties for my garden.
And finally once the glasshouse was all but empty it was time to add compost to the glasshouse, dig over the soil, and plant out all my tomatoes (Pomodoro, Juanne Flamme, Hera, Island Bay, Lebanese, Grosse Lisse), capsicum (Marconi Red, Candy Cane), chilli (Serrano), and cucumber (Mini Me, Crunchy, Medici) varieties, and erect their climbing frames. I had some leftover plants which were given to family members.
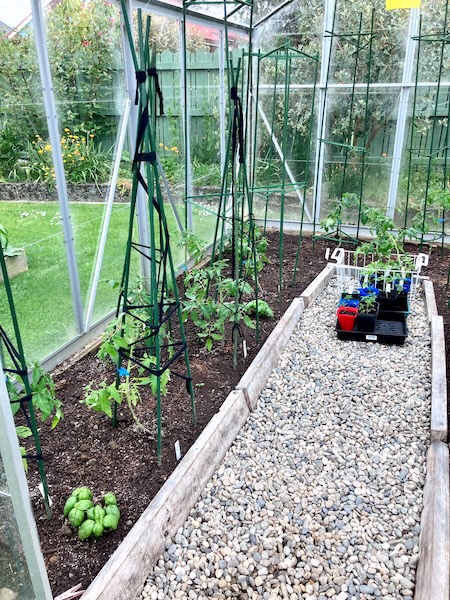
Once the bigger plants were in place, I planted out my basil plants (Genovese, Gustosa, Lettuce Leaf) into the empty spaces. With that all done I scattered fertiliser, added Saturaid to help with water retention, replaced the yellow sticky traps to catch plant pests, and gave the glass house a good watering.
There are two more vegetable garden beds to be weeded, have compost added, and dug over for planting, but they are for special projects that will be dealt with by the time you read this blog post.
It's been a lot of work to get to get my garden to this point, and I've been neglecting weeding the garden to do this, so that will be my next big gardening job leading into summer in a couple of weeks.
Have a wonderful day
Julie-Ann
Want to discuss my post? Feel free to chat with me on Instagram or Mastodon or Bluesky.
Dahlia Experiments 2025 - Growing Dahlia Seedlings
Hello friends,
As part of my dahlia growing experiments this year, one of my goals is to grow my own dahlia plants from seed. I have a stash of dahlia seed available, including the Bee's Choice dahlia variety from Floret in the USA (which I bought from Emerden last year), Beeline I and II dahlia seeds from the breeder Doctor Keith Hammett in New Zealand, dahlia seeds from Susie Ripley's garden in Dunedin, and also open pollinated seeds from my own garden.


At the end of August, once I was able to garden again after my second cataract surgery, I sowed my dahlia seeds into two covered seed trays, and sprinkled them with enough seed raising mix to cover them.


With them watered, and kept moist in the trays, the dahlia seeds stayed in our dining room in the warmth while they germinated. To my surprise, most of the dahlia seeds I planted germinated, at a rate of about 95%, which is way more dahlias than I expected to plant in my garden this year.


They grew nice and strong, and soon they were ready to transplant out into bigger pots with potting mix. They've been growing safe and sound in my glasshouse since then, growing bigger each week. My plan is to plant them in the garden after the last frost, but for now I have to figure out where I'm going to put 43 dahlia seedlings...

I can't wait to see what dahlia flowers appear from these seedlings over the summer. My plan is to be quite harsh with them, and I'll pull out any flowering plant that I'm not happy with, to give other dahlias room to grow. I'll give you updates as I go...
Have a wonderful day
Julie-Ann
Want to discuss my post? Feel free to chat with me on Instagram or Mastodon or Bluesky.
Social Media


Archives