

Milling and Baking Our Own Homegrown Bread
Hello friends,
After harvesting and processing the 2023/2024 season's wheat, we were ready to mill our grain, and then bake our own homegrown bread.


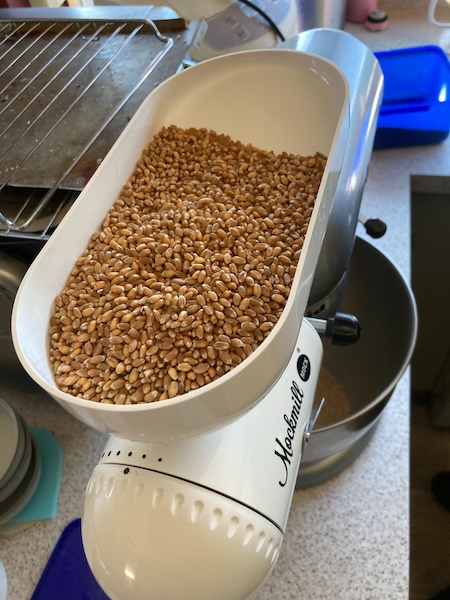
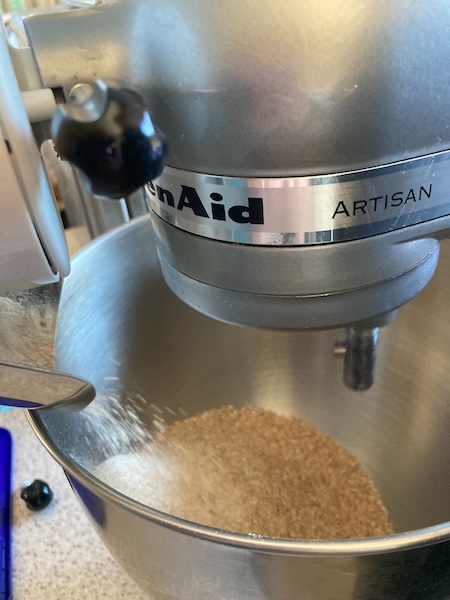
The first step was to mill the wheat grain using our Mockmill Stone Mill which attaches to our Kitchenaid stand mixer. You can find out more information about our Mockmill milling set up in last year's blog post.
It only took a few minutes to mill all of this year's grain into flour (and some of last year's leftover grain), in the stone mill using a fine milling setting.
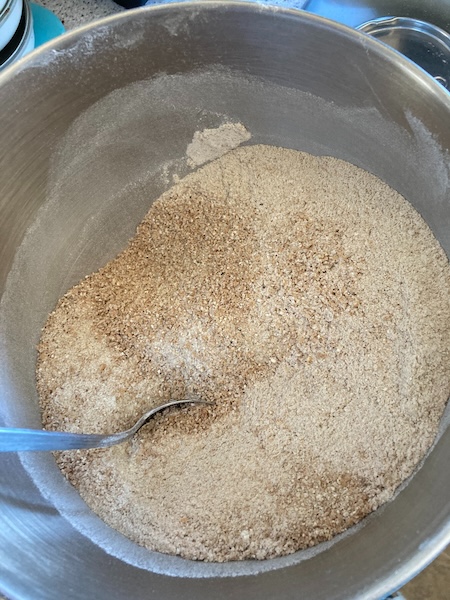
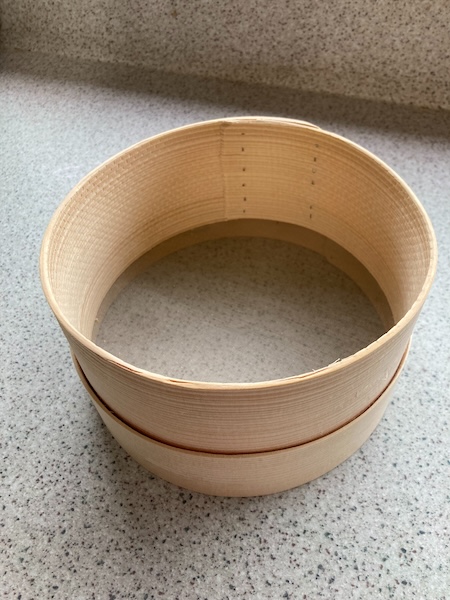
The next step was to separate the white flour from the majority of the wheatgerm and bran. Last year we used the sieve we have at home, but the sieve was too coarse, and most of the wheat germ and bran still got through. So this year we invested in a super fine manual flour sieve from Flour Power Mills. When sieving was completed we were left with a light brown super fine flour, which still contained some fine wheatgerm and bran. The coarser wheatgerm and bran is now stored away for other baking and cooking projects during the year.
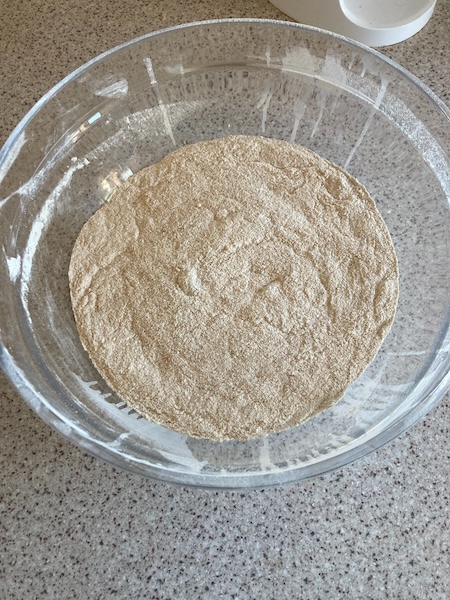
All that remained was to bake a loaf of bread. After milling we had 4 cups of flour, which we used in our standard wholegrain bread recipe.
Wholegrain Bread Recipe for use in a Bread Maker
Ingredients
1.25 cups of hot tap water
1 teaspoon of salt
1 tablespoon + 1 teaspoon of sugar
2 tablespoons of vegetable oil (canola or any other neutral seed oil)
1/3 cup of milk (can be from milk powder, but the liquid volume is important)
1/3-1/2 cup of 7-seed-mix, whole-grain, or other similar tasty grains (we get ours from Bin Inn)
3 cups of strong/bread flour (or in our case homegrown and milled flour)
2 teaspoons of supabake yeast (i.e. mixed yeast with bread improver)
Recipe
(1) Place in the baking tin in the order above, it is important to have:
* The grains *in* the liquid (to soak)
* The flour on top of the first 6 ingredients
* The yeast on top of the flour (so it's not in the water, or in contact with the salt or sugar until it starts mixing)
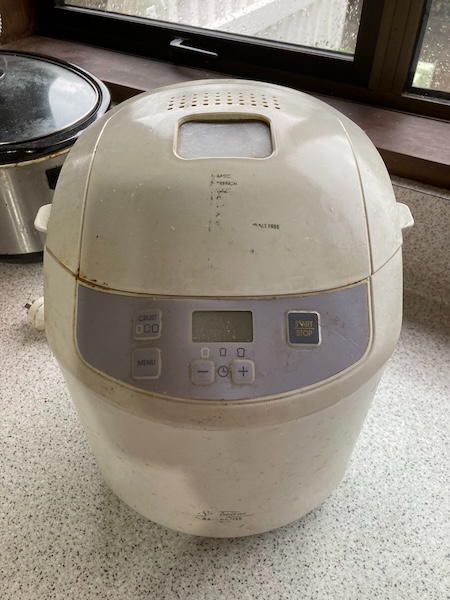
(2) Place the baking tin in the bread maker, and set the bread maker to the "wholegrain" program in your bread maker. Start baking your bread.
(3) We have a 10+year old Sunbeam bread maker, but we have reports this recipe works well in others. The bread maker should have a first period where it keeps the water warm to soak/soften the grains (which is why you do not want the yeast in the water, with warmth and sugar it'll activate far too soon).
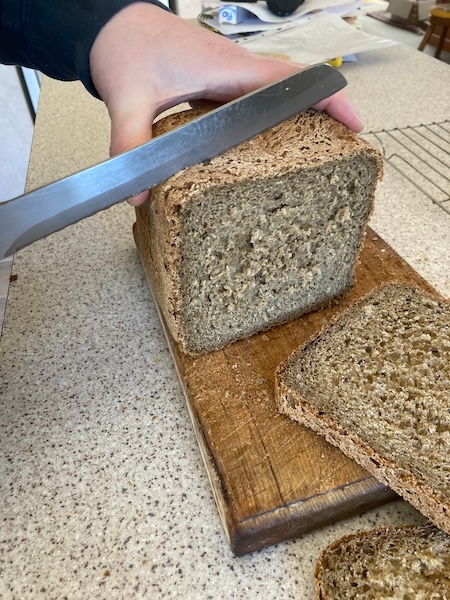
And two hours and twenty minutes later our homegrown bread was out of the bread maker. It wasn't quite as fluffy as commercially grown bread, but the bread had a wonderful nutty flavor which was great fresh, as well as toasted.
We've found that growing our own wheat, and then processing and milling our own flour is a very fulfilling thing to do. It's nice to see how processed food is made, and to appreciate the hard work that goes into making flour and bread.
Have a wonderful day
Julie-Ann
Want to discuss my post? Feel free to chat with me on Instagram or Mastodon or Bluesky.
This Year's Wheat Harvest and New Harvesting Methods
Hello friends,
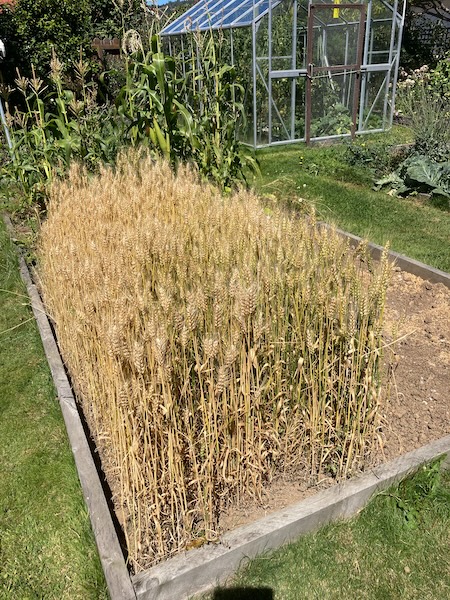
We grew wheat again in the 2023/2024 season with the hope to grow enough flour to make a loaf of homemade bread. We planted out our wheat seeds back in November 2023, and had a great harvest in February 2024 this year. If you want to learn more about growing wheat at home you can read it in this blog post.
With the wheat harvested, I dried it in readiness for processing. This year I wanted to try some new processing methods, to see if they would be more efficient than last year's methods. The first new method was to try removing the wheat heads from the stalks using a garden chipper/shredder. You can see footage on Youtube of this happening here.
Luckily we had a garden shredder in our garage, so we got to work. It didn't take very long at all to harvest the wheat heads from the stalks. The wheat heads fell into the hopper below, and the stalks were dug back into the garden bed from where they came from. I had hoped that the garden chipper would break open the wheat heads, but unfortunately they were still mostly intact afterward.

The next step was to thresh the wheat. Last year we just bashed the wheat heads with a piece of wood, but it was a lot of work. But I found this video on YouTube recently of someone threshing wheat with a flail.
Eager to try this method out, I bought two broom handles from Mitre 10 (broom handles are much cheaper than dowel), two metal eyes, and a length of rope. Once I got home I sawed off the ends of the two broom handles so that one handle was 1.5 m long, and the other 1 m long. I then tied them together with a length of rope.
Hubby got to work threshing the wheat heads on an old sheet. It turns out that the 1 m length of flail that was hitting the wheat heads was too long, so we cut it down to 75 cm. Another problem was that the wheat heads were flying off in every direction when hit, so we wrapped the wheat heads up into the sheet like a burrito, to keep them all in one place. After a couple of minutes of threshing using this method, it was completed. We separated the bigger pieces of plant material by hand, and then used a large sieve to further remove the medium-sized pieces of plant material.
When we thresh the wheat again next year I think we will alter the flail, and use leather strips to connect the two broom handles. The rope had a tendency to come undone, and the short piece of broom handle doing the threshing would fly off. I would also love to invest in a seed saving screen from Crafty Gatherer NZ, but it's pretty pricey.
After that, all that remained was the wheat berries and the chaff. The next step was winnowing. After watching the videos above, we saw that most people used small fans to separate the wheat from the chaff. Luckily it was now autumn, and most places were selling off fans very cheaply. Hubby took a trip to our local Mitre 10, and purchased a fan at a decent price.
He set up the fan, and got to work winnowing. The videos above suggested working a slow speed for the first pass, to remove dust, and then work your way up to faster speeds to get rid of bigger material. With the help of the fan we got the winnowing done a period of less than five minutes. With a constant breeze, it made the job so much easier.
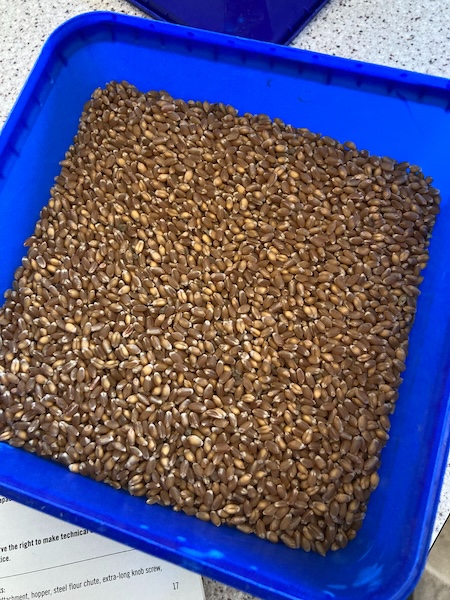
With the winnowing done, the processing of the wheat was complete. Overall, these new wheat processing methods saved us a lot of time, and it also made the process so much easier. We'll be using this method again next year when we grow our own wheat. In a future blog I will be showing the wheat milling process, and also our recipe for making bread in a bread maker.
Have a wonderful day
Julie-Ann
Want to discuss my post? Feel free to chat with me on Instagram or Mastodon or Bluesky.
Social Media


Archives