

Predicting Frosts At Home
Hello friends,
This week I thought I'd share with you how I predict frosts at home using weather resources for New Zealand which are available on the internet.
More often that not, thanks to us being in an inland valley, the weather forecast for Dunedin doesn't apply to Mosgiel, and yet the Mosgiel regional forecast is meant for areas further inland than us. Over the years I've used a bunch of different weather forecasts and also my gut feeling to know when to put frost cloths on my citrus and other frost sensitive plants.
The usual frost set up for us goes something like this: In autumn, winter, and spring, a southerly front/storm comes in from the south west from out over the southern Pacific Ocean. It brings with it either rain/snow, wind, and cold temperatures. After the southerly blows through, the wind dies down, and the sky clears, usually mid afternoon/early evening, then it cools overnight and then we get a frost (or a number of frosts) in the days following. Our frosts can get down to around -6˚C in the middle of winter, but in autumn and spring they can hover just around 0˚C.
Because this set up is pretty predictable, I've come to get a gut feeling about frosts in our local inland valley. So in the late afternoon after a southerly storm when I tend to get a feeling that it'll freeze, that's when I turn to my top three weather forecasting methods.
First up I go to Metservice's website:

On the today forecast in the Dunedin Regional Forecast the -4˚C predicted isn't for "today" but rather than the next morning, on Monday. It's all a bit confusing but it's the best way that it works for me, and the temperature is approximately right. I then look at the "Monday" forecast to see if it says calm winds and frost. In autumn and spring, this forecast tends to be incorrect in predicting frosts.
The second forecast I check is Weather Watch's frost risk forecast. The blue and purple sections on the map show the medium and high risks areas for frosts for the coming days. You can also look at their minimum temperature map to see the temperature bands.


From my observations, Weather Watch's frost predictions are the most accurate. Basically if frost risk map shows blue (or just on the edge of blue), we will get a frost. I trust this frost predictor rather then the other two that I use.
And finally the last frost predictor I use is Rural Weather's forecasts. Just go to rural weather, enter which area of the country you are in, and it'll show you rain, wind, temperatures, fog/cloud, and frost predictions for the coming days.


Their frost trend graph is still in beta, but it is good for predicting frosts. The dark red sections means most likely to have a frost, and the pink is a slight risk of frost. It also shows you what times the frosts might occur. This is my second favorite frost forecast.
With all three of these forecasts in mind, and with my gut feeling telling me there will be a frost, it's time to pull out my frost cloth. My citrus plants and my wasabi plant are sprayed with liquid frost cloth, which protects them down to around -3˚C (depending on how much rain there has been recently). And I also put frost cloth on top of them as double protection, because sometimes, if the plant is still actively growing, the tips of the leaves and flowers may not have been sprayed by the liquid frost cloth. This method works down to around -6˚C, which is usually the coldest frosts we get. If the frost is predicted to be lower than -5˚C, then I just chuck more and more frost cloth on the plants until they are cocooned.
In this case, we did indeed get a frost, which got down to -2.4˚C, which is warmer than the predicted -4˚C by Metservice, but colder than the predicted temperature for Dunedin. It was well and truly worth spending the time putting the frost cloth on my beloved citrus and wasabi plants overnight.


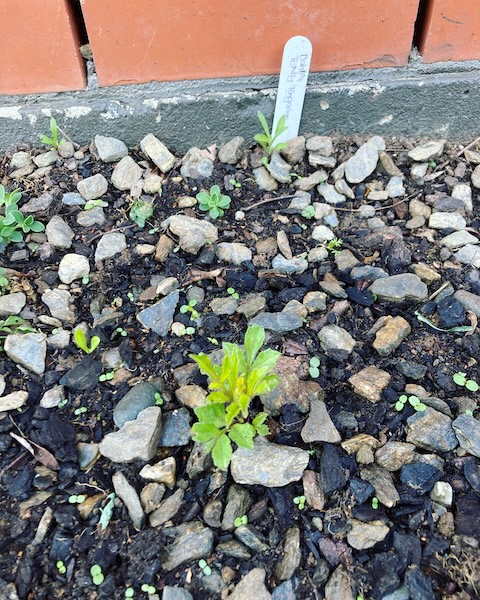
And so, as you can see that my frost prediction method for home is a good setup, and it works for me most of the time. It's much more tricky to predict frosts in late spring though, and we are now getting frosts up until the first week of November, which is a huge risk for my newly emerged dahlia plants. And considering that I have over 50 dahlia plants in my garden, I do not have enough frost cloth and buckets to protect all my plants that late in spring. And that's when I raid the linen cupboard, and use all my spare sheets and blankets as frost protection. As climate change continues to evolve in the coming years, I think our late spring frosts will only get worse.
Have a wonderful day
Julie-Ann
Want to discuss my post? Feel free to chat with me on Instagram or Mastodon or Bluesky, and now also Facebook.
A Week of Extreme Weather In October
Hello friends,
October is usually a tumultuous month for us here in Dunedin, with the weather swinging in extremes from hot north westerly gales, to cold southerly fronts, including the threat of possible snow and frost, and this October was definitely no different from previous years regarding this.
In the third week of October we were warned of a spring north westerly wind storm approaching, and the resulting weather watches and orange wind warnings from Metservice had me worried.

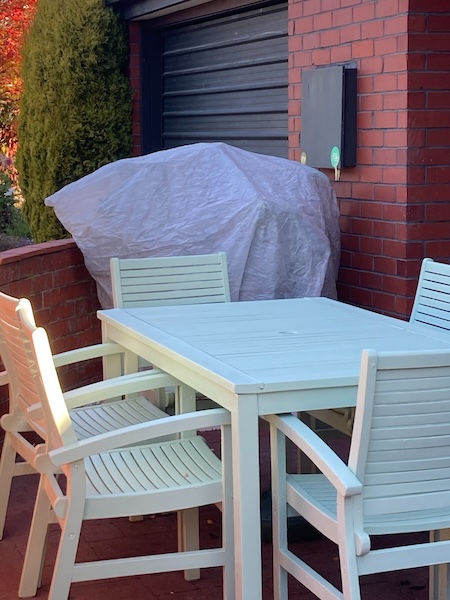
In preparing for the north westerly wind storm, it first meant picking up anything outside that could go airborne, including my frost protection buckets (I lost one in the wind, but I eventually found it days later), taking down our bird feeders, moving our patio furniture to a more protected spot, putting our wheelie bins into the woodshed, and tying the glasshouse doors shut as they face the North West.


I also took the precaution of moving my most precious plants out of the glasshouse and into the garage for extra protection. I just couldn't risk losing our tomato plants, and dahlias in pots due to something unforeseen happening, like our glasshouse blowing away.
The big north westerly wind storm itself was frightening, and our house shook and shuddered for hours, first with the North Westerly gales, and then the Southerly front behind it, which took out our grid power for 8 hours. Luckily, we have solar panels on our roof, and a solar battery in our garage, and this system kept our house powered during the blackout (our battery has a storm watch function, and as soon as Metservice sent out the orange wind warning, the system began charging the battery to 100%). We are now very glad we invested in a solar system a couple of years ago.


All around Dunedin mature trees were blown over, trampolines went flying, fences were blown over, and the roofs of houses were lifted off. Many people in the lower South Island lost power for hours, and some for days, and even weeks.
Unfortunately, there were two casualties in my garden from the north westerly wind storm. My Avalanche camellia in the backyard garden snapped off at its base, killing the plant. It was only a year old, and didn't have a thick trunk yet, and it looks like it bent over in the wind until it just snapped. The only good thing about this happening is that it has given me one extra spot to plant a dahlia in this summer, but I am sad that I lost a beloved plant...
And the second casualty, was that my quince tree lost two north west facing tree limbs. They snapped partially off, so I had to trim them back to the nearest healthy branch on the tree. My quince tree is only 3 years old, so it won't suffer from losing a couple of young tree limbs. Thankfully the quince fruit forming on the tree didn't fall off during the storm.


With the north westerly wind storm over, it was time to clean up the garden of plant debris, reinstate our garden furniture to the patio, return the bird feeders to their rightful places, and transfer my precious plants sheltering in our garage back to the glasshouse.
The weekend after the north westerly wind storm was Labour Weekend, the traditional time to plant everything out in the vegetable and main gardens, but I was wary of doing this because Metservice forecast a cold southerly system occurring, with the potential of snow to low levels, and a frost afterward. I refused to risk planting out all my plants into the garden that weekend, only to have to frost cloth them for nights afterward.
So instead of spending the entire Labour weekend out in the garden planting out everything, my plants stayed safely inside the glasshouse where it was definitely warmer than outside, and I watched as the cold weather arrived...
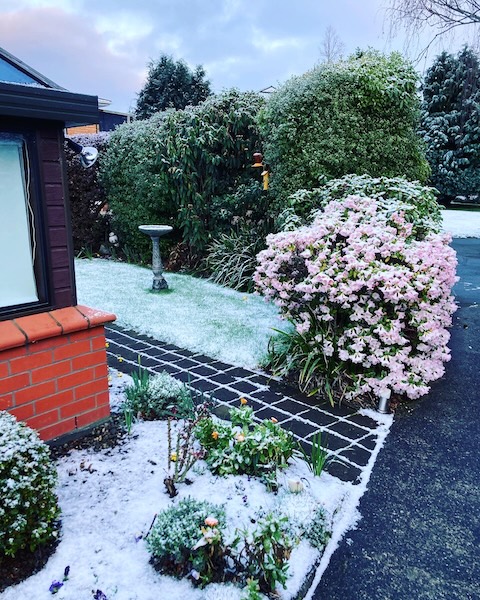
And thank goodness I listened to the Metservice forecast, because the predicted low level snow fell, and settled to about 200 m above sea level in the hills surrounding us, and our temperature dropped to 1.1˚C overnight.


The dahlias growing outside were protected by their frost protection buckets, and all the plants in the glasshouse was protected by a number of layers of frost cloth. After a couple of days the weather warmed up back to early November temperatures, and it was time to plant stuff out in the garden, but it adds to my growing evidence that late October/early November is a risk to my Labour weekend gardening plans.
Have a wonderful day
Julie-Ann
Want to discuss my post? Feel free to chat with me on Instagram or Mastodon or Bluesky.
How To Keep My Outdoor Dahlias Alive During Spring Frosts
Hello friends,
We're at the time of the year when the days are getting longer and warmer, and my dahlias in the ground are starting to wake up and poke their heads above ground. This is a good thing, but it is also very stressful because spring weather in Dunedin can be quite fickle.
It used to be that you could plant temperature sensitive crops of all types in Dunedin at Labour weekend, which is in the third weekend of October. But for the last three years we either have had a snowfall in the last week of October, or we have a very late frost in the first week of November. As this is a death sentence for any dahlia growing in the garden, I've had to come up with a frost protection method which will work for all my dahlia plants.
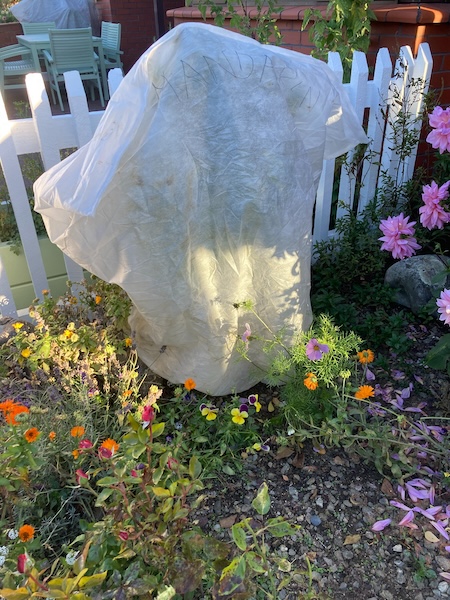
Over the last couple of years I've tried frost clothing my dahlias, but this method is prone to the wind blowing the frost cloth off overnight before the frost at dawn. So I've had to resort to a more brute force method of protecting my dahlias. After many trials, I finally settled on using a lot of small, cheap buckets, placing them on top of the dahlias on risky nights, and holding them in place with a spare piece of firewood.
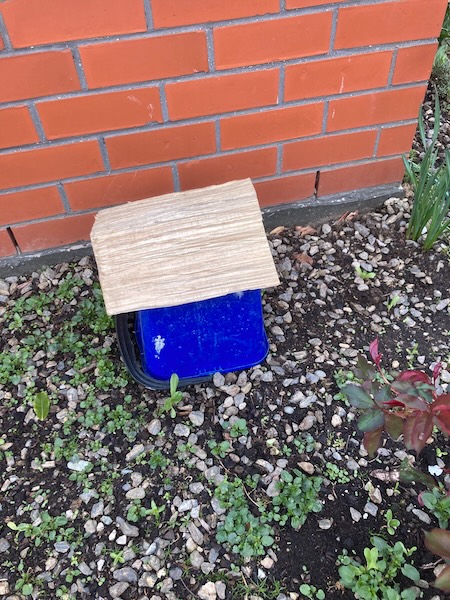
It's not a very pretty method, but it does the trick. It does take a lot of work though, going around each night putting buckets on dahlias, and then the next morning removing them when the temperature rises. Larger buckets are needed to protect the dahlias as they get bigger. Then there is the problem of running out of buckets if too many dahlias are above ground, and I'm not proud to admit this, but that's when I resort to raiding the kitchen cupboards for ice cream containers and mixing bowls...
I used to go around with a wheel barrow collecting up all the buckets and firewood each day, and then redepositing them each night, but now I've gotten lazy, and leave them sitting beside each dahlia all the time for easier distribution. It may make the garden ugly looking for about a month, but I can totally live with that.
The whole process is a giant pain in the ass, but it's completely worth it in summer when my garden is filled with flowering dahlias.
Have a wonderful day
Julie-Ann
Want to discuss my post? Feel free to chat with me on Instagram or Mastodon or Bluesky.
Making Citrus Frost Cloth Covers
Hello friends,
After buying a frost cloth cover from one of our local garden centres back in May, I wanted to make bigger versions for my three citrus plants before winter arrived.

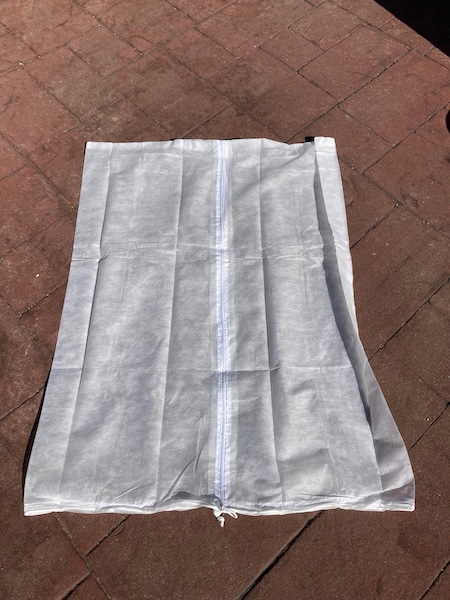
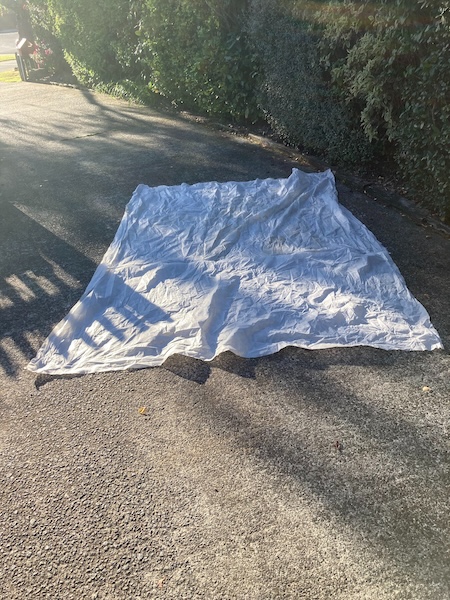
Luckily I had some very thick frost cloth in storage from last year, so I tracked it down and then got to work. The frost cloth was 2 metres wide and many metres long, so I used the width of the frost cloth as the height for each frost cover. I wrapped the frost cloth length around each citrus plant, added extra space for wiggle room to fit it over the citrus plants, and then marked it out on the frost cloth. I decided that adding a zip was just extra work, and more expensive, so I didn't bother with it.
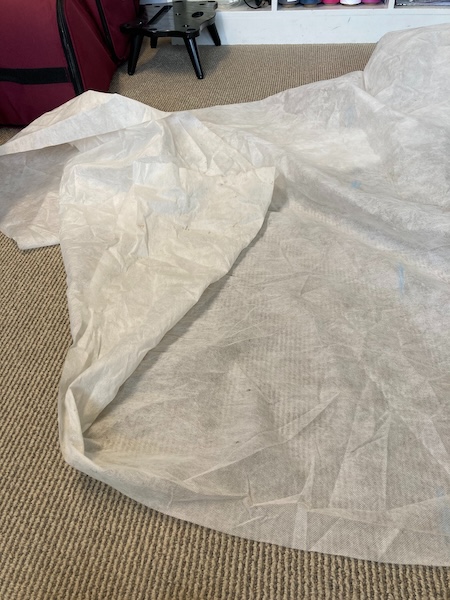
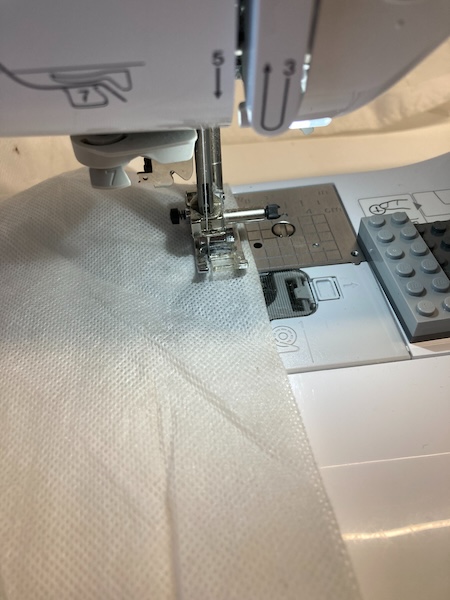
Once I had measured each plant, I went up to my craft room and cut off a length of frost cloth for each frost cloth cover. I then folded each section of frost cloth width wise, so that the width of the frost cloth formed the sides of the frost cover. The length of frost cloth that was folded in half then formed the top and bottom of the frost cover. With this done, I sowed along the top and the side of the frost cover. The bottom of the frost cover was left open for making the casing for the pull string, and to pull over the citrus plants when the frost cover was finished. I used a normal straight stitch on the sewing machine, and made sure the ends were well tacked down.
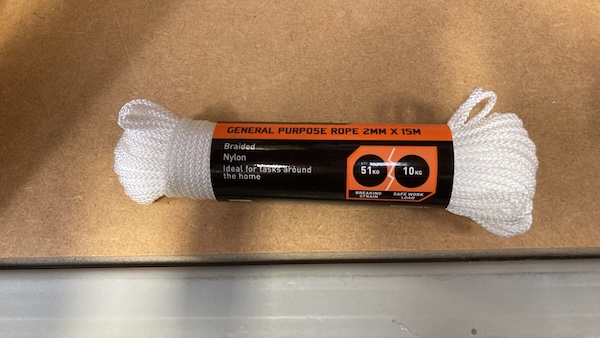
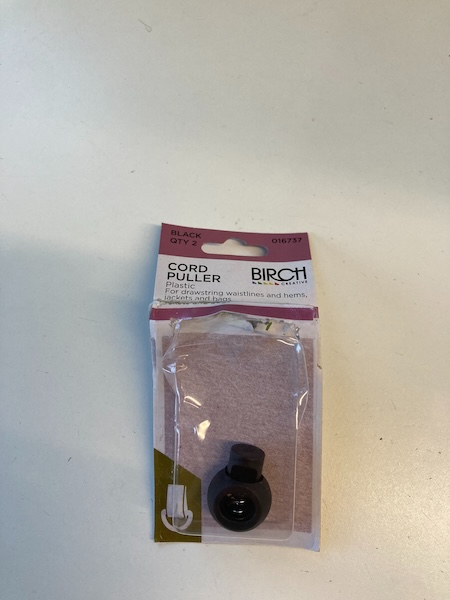
The next step was to sew a casing in the bottom of the frost cover, leaving a small opening so I could insert some nylon rope in a circle around the bottom. I purchased some general purpose nylon rope from Mitre 10, and some cord pullers from Spotlight.
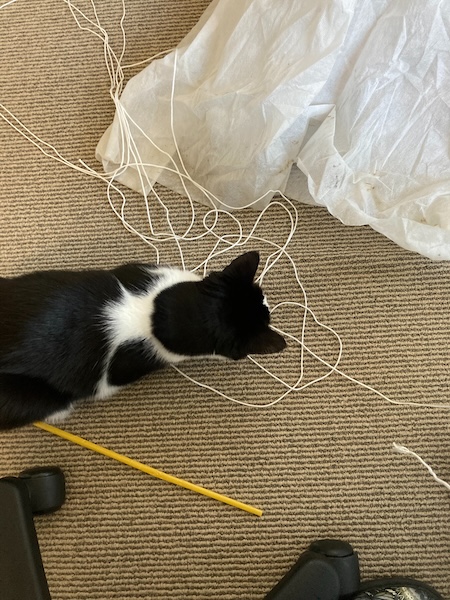
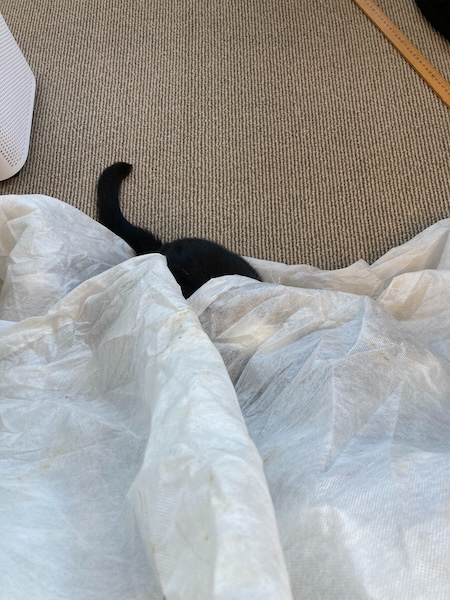
After sewing the casing, it was time to unwind the general purpose rope, and insert it into the casing. This was when Rosie cat came to assist me, and she helped me add the rope and the cord pullers to all three citrus frost covers.
After making sure the cord pullers all worked, and tying the ends of the rope tight together, the frost covers were ready. After trying on each frost cover to the corresponding citrus plant, I labelled each one with a permanent marker.
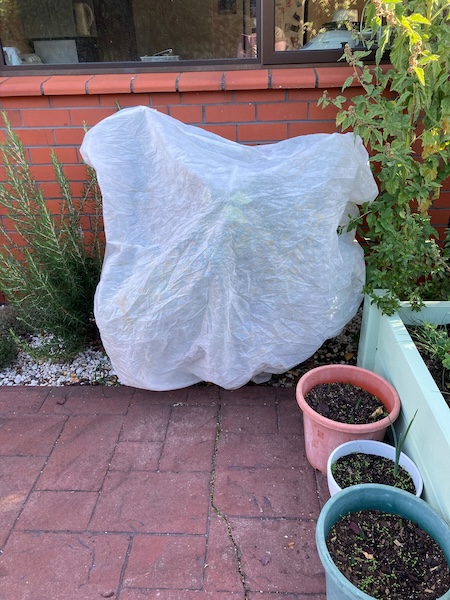
It's now winter, and we've had multiple frosts now. The frost covers have been such an asset to have, as they are so easy to pull on and off. It's really been so much easier to protect my precious citrus plants from frost and snow. And to make the frost covers myself, it was just a crafty bonus.
Have a wonderful day
Julie-Ann
Want to discuss my post? Feel free to chat with me on Instagram or Mastodon or Bluesky.
Social Media


Archives