

White Daffodil Project : Planting My Collection
Hello friends,
I've become completely obsessed with white daffodils, also known as white narcissus, and it all began with a single observation.
While taking the Floret Flower Farm Workshop last summer, I came across a comment from Erin Benzakein during the daffodil section of the course. She explained that at her flower farm, traditional yellow daffodils didn't sell nearly as well as the white varieties. She suggested that white daffodils have an elegance that appeals to many people. They are also so much harder to find than the traditional yellow varieties, making them feel a little more unusual and distinctive.

The more I thought about her observations, the more I realised I agreed with her. I already had a few white daffodil varieties growing in my garden, but I'd never really paid much attention to them. Once I started researching the different varieties available in New Zealand, I discovered an incredible diversity of flower forms, colours, and fragrances. Before long, I wanted to see whether my own experience with white daffodils would support Erin's observations, and that curiosity soon grew into a project of its own.

I've included some photos of white daffodils already growing in my garden. I no longer remember the names of these varieties, but they've given me a starting point for what I hope will become a much larger collection over the coming years.

When spring bulb pre-orders opened on the NZ Bulbs and Bulbs Direct websites this past summer, I bought the following white narcissus varieties for my garden:
- Annalise
- Bridal Crown
- Cheerfulness
- Earlicheer
- Ice Follies
- Mint Julep
- Pure White
- Thalia
- Watch Up
Together they represent a mix of single and double flowers, pure white and cream-toned varieties, a range of sizes, and varying flowering forms. I'm looking forward to watching them grow over the coming months, observing their characteristics, and discovering which ones become my favourites.
With the daffodils chosen and delivered to my doorstep, it was finally time to plant them. Wanting to compare the different varieties side by side as they emerged and flowered, I planted them together in one of the empty dahlia seedling beds in early winter (yes, I was a little late!).


I planted the bulbs according to their mature height, with the tallest varieties at the back of the bed and the shortest at the front. My trusty bulb planter made quick work of digging the planting holes before each bulb was safely tucked into place.


It's now been about a month since I planted the daffodil bulbs, and some of the varieties have already begun emerging through the soil. It's always exciting to see those first green shoots appear, knowing the flowers won't be too far behind.

I'm looking forward to discovering the unique character of each white daffodil variety, seeing how they perform in my garden, and finding out whether my own experience supports Erin's observations as my white daffodil project unfolds over this gardening season.
Have a wonderful day
Julie-Ann
If you'd like to continue the conversation, you can find me on Instagram, Mastodon, Bluesky, and Facebook.
I'd love to hear if you grow white daffodils, or if you have a favourite variety that I should add to my collection in the future.
Digging Up, Dividing, and Storing My Seedling Dahlias
Hello friends,
With winter fast approaching, it was finally time to dig up the seedling dahlias from my dahlia breeding project. Back in spring, I planted them wherever I could squeeze them into the garden, but now that the growing season has come to an end, it was time to lift the tubers, divide them, and store them safely away over winter. The last thing I wanted was for any of my seedling dahlias to rot over winter. Each one is unique, so I was keen to lift and store them carefully to give them the best chance of growing again next season.
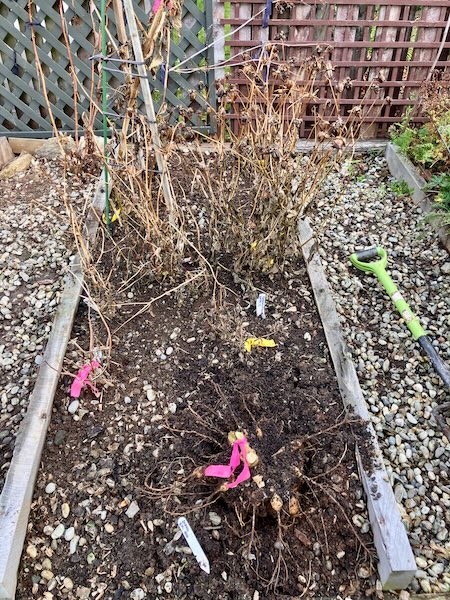
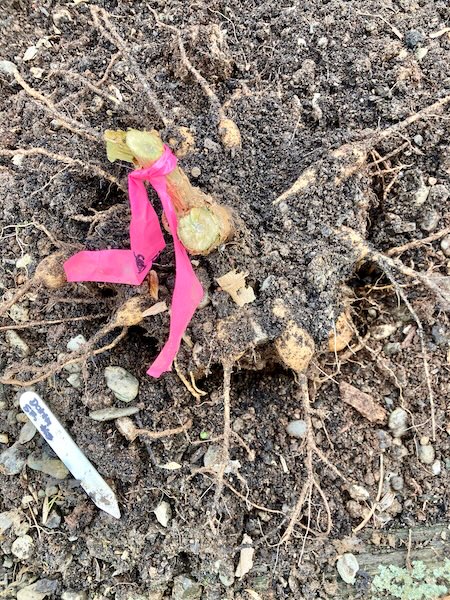
The first step was to get out my trusty garden fork and carefully lift each dahlia from the garden. To avoid damaging the tubers, I inserted the fork about 50 cm away from the base of the plant and gently levered the soil upwards. Working my way around the clump a little at a time, I gradually loosened the soil until the tubers lifted free.
Once each tuber had been lifted, I placed it into its own plastic tray along with two labels to ensure the different seedling dahlias didn't get mixed up. Having a backup label also gave me a little extra peace of mind in case one was accidentally lost during the cleaning and dividing process.
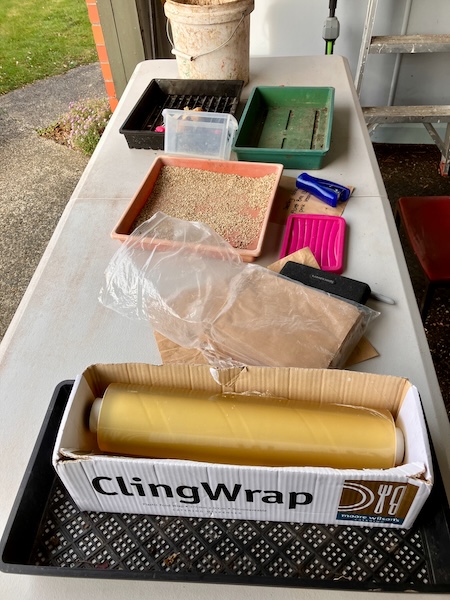
The next step was to wash the excess soil from the dahlia tubers. To keep the mess to a minimum, I placed each tuber into an empty garden bed and used the hose to gently wash away the soil. Once clean, the tubers were returned to their labelled trays and left to dry in the sun before the next stage of the process.
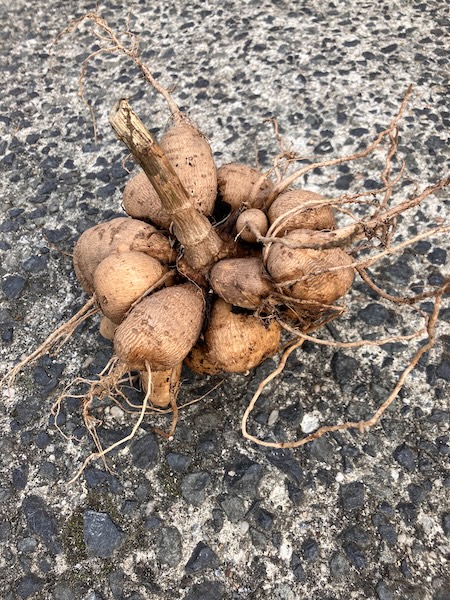
With the tubers dry, it was time to divide them. The first step was to remove the old mother tuber, along with the long, thin feeder roots attached to the new tubers. This made it much easier to see the individual tubers and identify where they could be carefully divided.
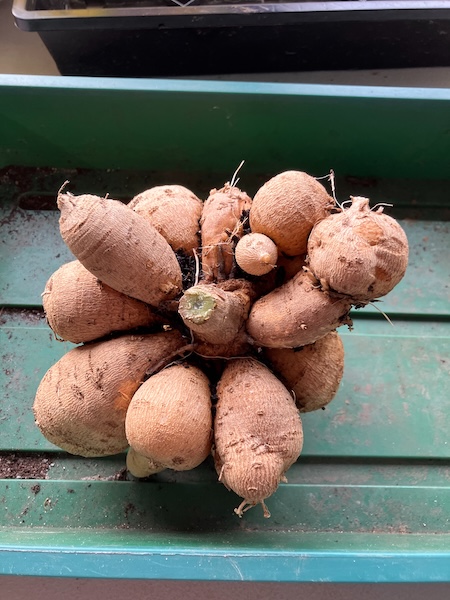
Using a combination of secateurs, scissors, and a few other garden tools, I carefully broke each clump into smaller, more manageable sections. From there, I looked for the dahlia eyes on the crown and divided each section into individual tubers, making sure each division had at least one healthy eye attached. Once divided, I left the tubers to dry overnight. This allows the freshly cut surfaces to callus over, helping to reduce the risk of rot during winter storage.
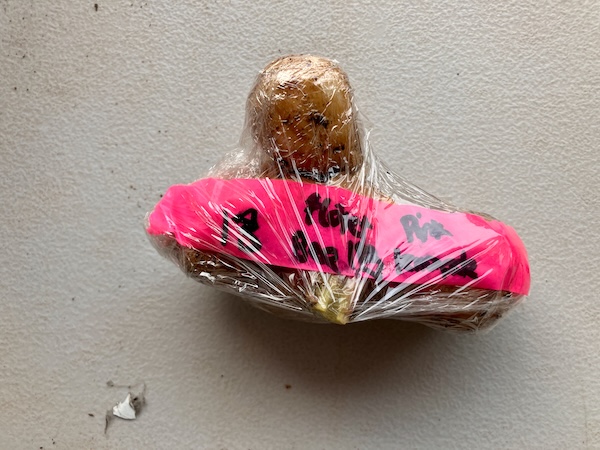
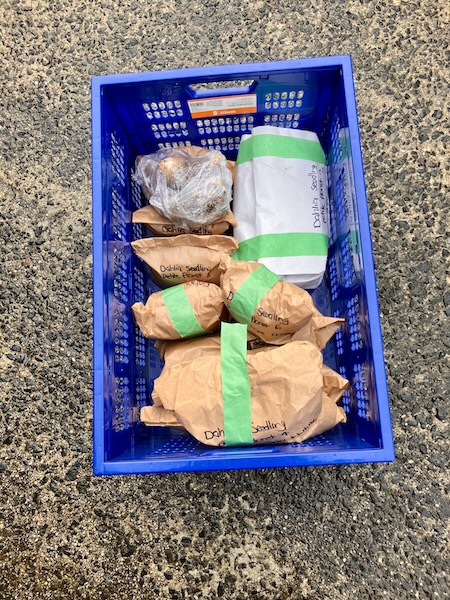
The following day, it was finally time to put the dahlia tubers away for winter. Each tuber division was labelled twice, with one label attached to the outside and a second placed inside as a backup, giving me peace of mind that none of the seedlings would lose their identity over the coming months. This year I decided to trial two different storage methods that I learnt during the Floret Flower Farm Flower Farming Workshop earlier this year. Some of the tubers were placed into paper bags filled with vermiculite, while others were individually wrapped in plastic wrap. I was curious to see how the two methods would compare after winter.
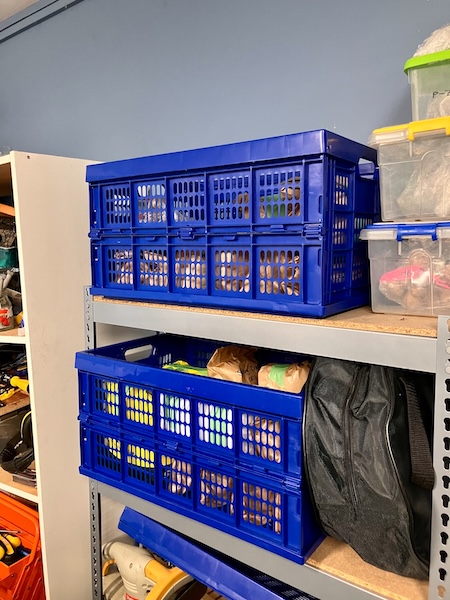
To give each method the best chance of success, I stored them in two different locations in our garage. We also have a temperature sensor in the garage, allowing me to keep an eye on the conditions over winter and make sure the tubers don't get too cold. It will be interesting to compare the results in spring and see which storage method worked best.
With the tubers now safely tucked away for winter, this year's dahlia breeding season has come to an end. Although it always feels a little strange lifting the plants just as they've finished growing, there's something exciting about knowing that each carefully labelled tuber holds the promise of next season's flowers.
Now all that's left to do is keep an eye on them over the coming months and wait for spring to arrive. I'm already looking forward to planting them out again and discovering how they perform in their second season.
Have a wonderful day,
Julie-Ann
The Sweet Pea Project: Sowing the Seeds for a New Gardening Year
Hello friends,
Although the garden may seem quiet in the middle of winter, now is the time when preparation for the next growing season begins. For me, July is peak sweet pea sowing season, and I always save this job for cold, rainy days when it's too wet to work outside. Sweet peas prefer germinating in cooler temperatures, so sowing them in winter gives them the best chance of producing armfuls of fragrant blooms in late spring and early summer.
Sweet peas have always been a favourite of mine ever since childhood, when my grandfather used to grow them in his back garden. Their fragrance would drift through the backyard during the warmer months, and ever since then I've dreamed of having a dedicated sweet pea patch of my very own.
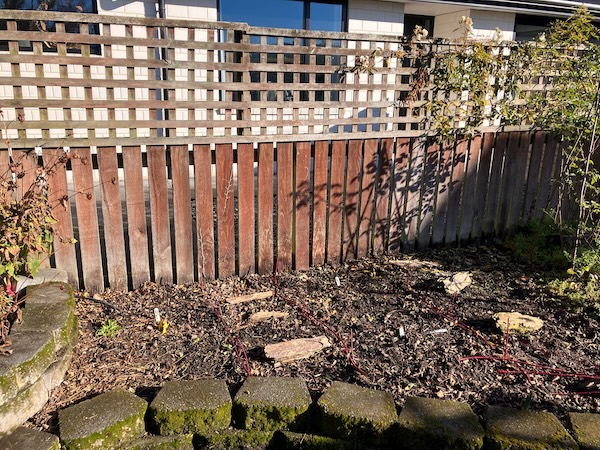
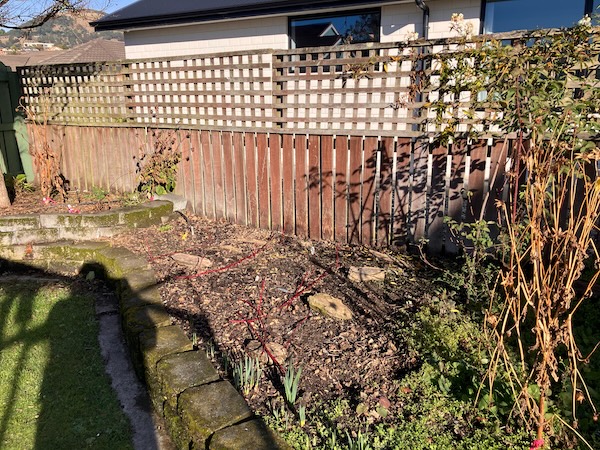
Until recently though, I simply didn't have the space in my garden to do this. That changed last summer when our old lilac tree finally succumbed to the damage it suffered during last year's big spring storm. Once the tree had been removed, a section of the backyard fence opened up to full sun from early morning until late afternoon, creating the perfect place for a sweet pea patch. With the space finally available, it seems like now is the perfect time to turn a long-held dream into a reality. So let's begin, and I'll show you the little patch of garden where this year's sweet pea project will take shape.
My sweet pea patch will run along the western side of our backyard, beside the boundary fence that used to sit in permanent shade beneath the old lilac tree. This section of fence line is approximately four metres long, providing plenty of room for this new project. My plan is to install metal mesh along the fence, and let the sweet peas scramble their way upward, hopefully filling the space with flowers and fragrance throughout spring and summer.
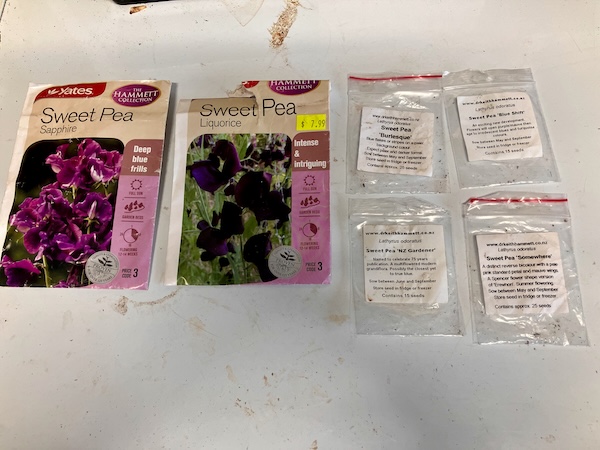
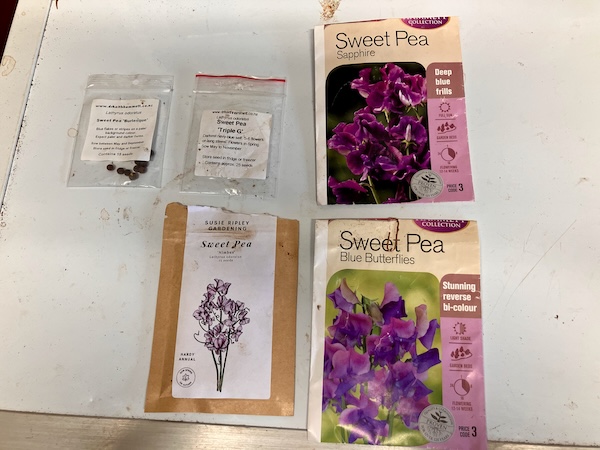
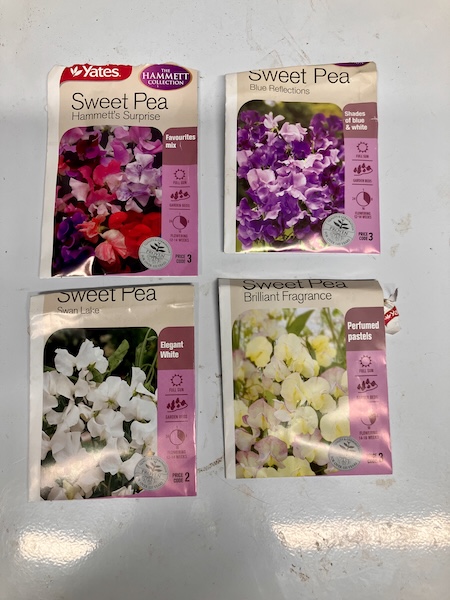
With the growing area planned, it was finally time to pull out my sweet pea seed collection, and decide which varieties to grow. Over the years I've accumulated a large collection of sweet pea seed, so narrowing down the choices was no easy task. In the end, I settled on a collection of mostly Keith Hammett varieties, along with a few other favourites, and some homegrown seed collected from my own garden, all selected for their beautiful colours and sweet fragrance.
The varieties I chose and sowed were:
- 23 × Hammett Blue Butterflies
- 15 × Hammett Blue Shift
- 10 × Hammett Blue Reflections
- 15 × Hammett Brilliant Fragrance
- 10 × Hammett Burlesque
- 15 × Hammett's Surprise
- 2 × Hammett Licorice
- 6 × Hammett NZ Gardener
- 10 × Hammett Somewhere
- 15 × Hammett Sapphire
- 9 × Hammett Triple G
- 10 × Hammett Turquoise Lagoon
- 25 × Homegrown seeds from my garden
- 10 × Nimbus
- 10 × Swan Lake
- 10 × Sweet Pea Original
In total, I sowed 195 sweet pea seeds, which should provide a beautiful mixture of blues, purples, smoky pinks, bi-colours, and wonderfully fragrant blooms over the coming spring and summer.
Although 195 sweet pea seeds may seem like a lot, some of the seed packets were older, and experience has taught me that not every seed will germinate. The seeds were sown into seed-raising mix that had been sieved to remove large stones and wood chips, before being placed into four 50-cell seed trays.
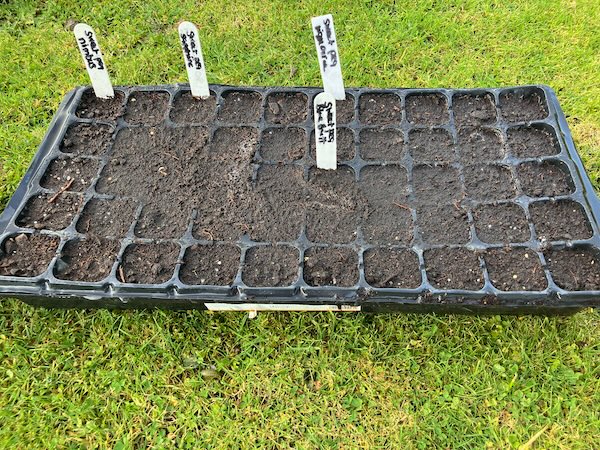
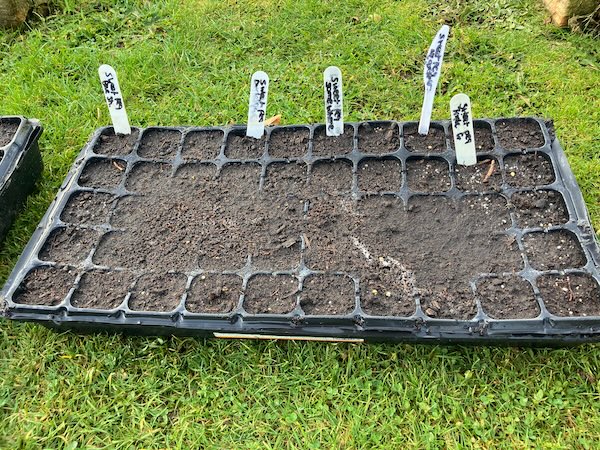
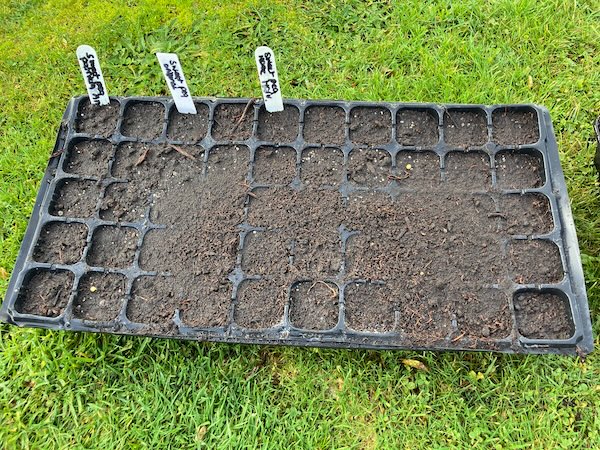
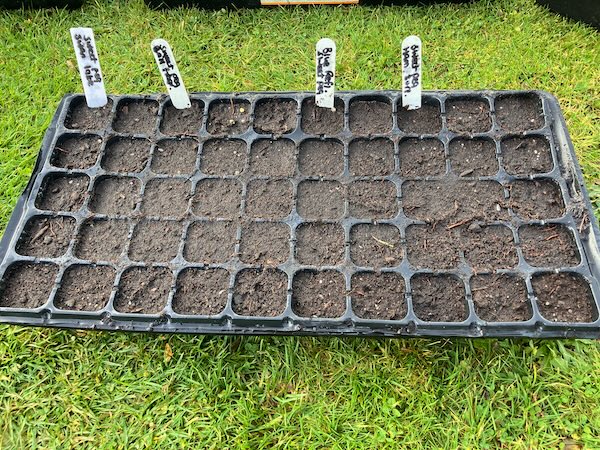
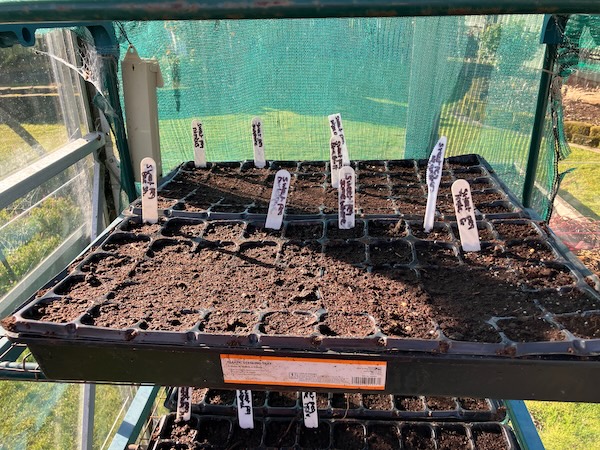
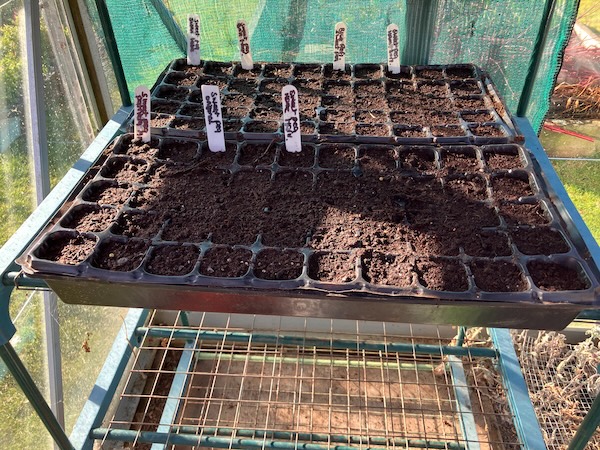
After sowing, the seed trays were watered well, and placed onto shelving in my glasshouse. The shelving is covered with some shade cloth, which helps protect the emerging seedlings from strong sunlight, and it also prevents them from drying out too quickly.
There is always something so hopeful about seed sowing. In the depths of winter, seeds are a reminder that spring is never too far away, and that every gardening year begins with the promise of new life.
For now, the sweet peas are sown, and the waiting begins...
Have a wonderful day
Julie-Ann
If you'd like to continue the conversation, you can find me on Instagram, Mastodon, Bluesky, and Facebook.
I'd love to hear what you're growing, making, or enjoying in your own garden.
Tour de Fleece 2026: Rediscovering My Fibre Stash
Hello friends,
And welcome back to my blog after a couple of weeks away. It was lovely to have a chance to rest and recharge while on holiday, but with July comes the start of another Tour de Fleece, and the opportunity to spend some time rediscovering my fibre stash, and enjoying some cosy spinning time while the weather is cold outside.
Now, I don't know about you, but I have quite a large fibre stash. Over the years since learning to spin, I've picked up fibre and fleeces from online shopping, in-person stores, craft events, and even from friends who kindly bring treasures home for me from fibre festivals. Somehow, fibre always seems to find its way into my stash, and despite my best efforts, it seems to accumulate much faster than I can spin it into yarn.
With all this in mind, I decided that this year I wasn't going to buy any more fibre for Tour de Fleece 2026, but instead shop my stash. I opened the wardrobe in my craft room and began pulling out boxes and containers until I found one filled with fibre, ready to be rediscovered.
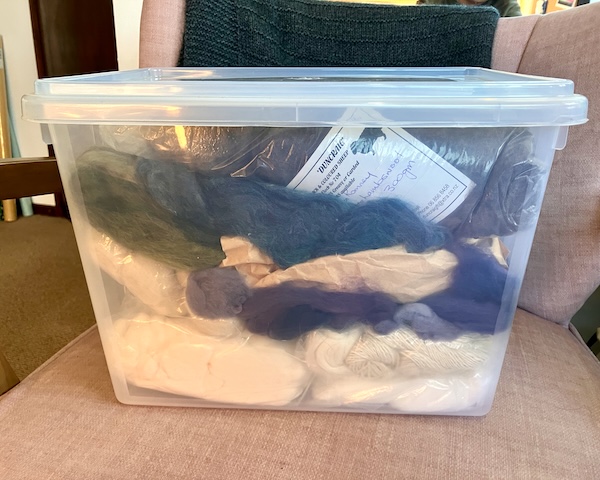
After spending some time sorting through the box, and exploring the fibre within, I finally settled on a plan for Tour de Fleece 2026. These are the fibres I've chosen to spin during this year's Tour.
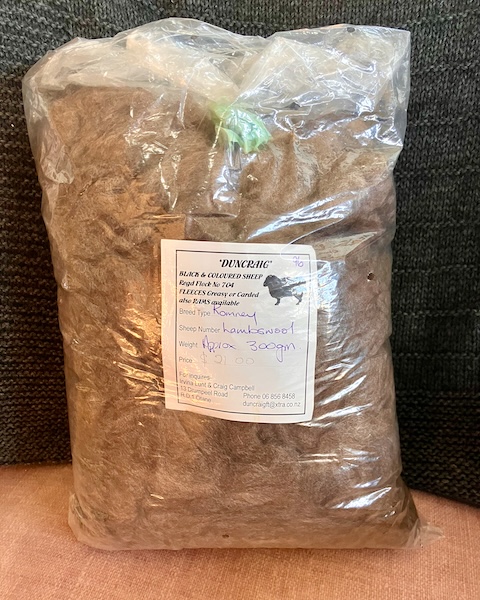
This first project is 300 g of natural brown Romney lambswool from Duncraig. I originally bought it as an unwashed fleece, and at some point over the years I washed it and carded it into batts on my Ashford wide drum carder. It's been sitting patiently in my stash for a couple of years, and Tour de Fleece seems like the perfect opportunity to finally spin it into yarn.
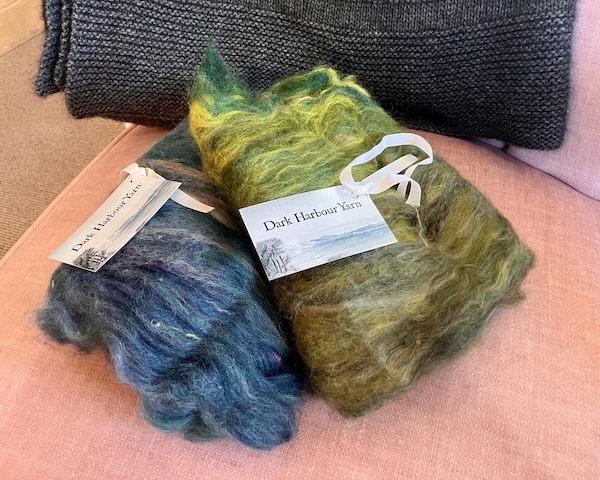
Next up are two batts from Dark Harbour Yarn in the colourways Big-Eared Woolly and Wrinkle-Lipped Free-Tailed. These batts are made up of Corriedale, Merino, silk noil, and Tencel, and I couldn't resist bringing them home with me from Unwind 2026 back in March.
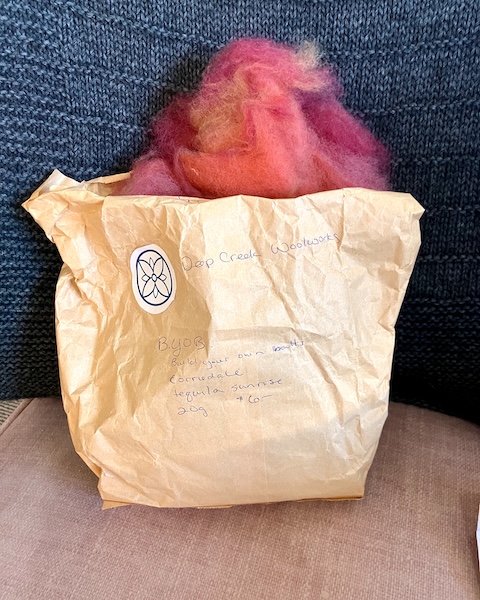
Also making an appearance this year is a Corriedale batt called Tequila Sunrise from Deep Creek Woolworks. I picked this batt up at Unwind 2026 in March as well, and its warm, vibrant colours were simply too beautiful to leave sitting in the stash any longer.
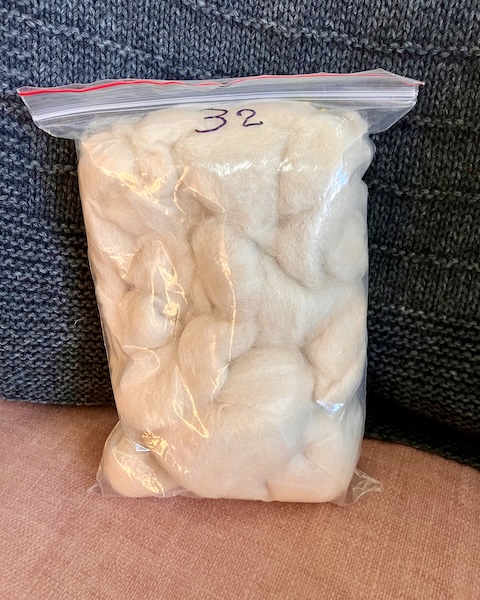
Tucked away at the bottom of the box was an unknown amount of a 50/50 Merino and alpaca blend left over from a previous project. Back when I lived in Wellington, one of my husband's workmates gave me some raw alpaca fleece. After washing the fleece, I blended it with 50% Merino fibre and carded it together on my drum carder. I then dyed the fibre in aurora-inspired colours and handspun it into yarn for a Southern Skies shawl. This small amount of fibre is what remained after the project was finished.
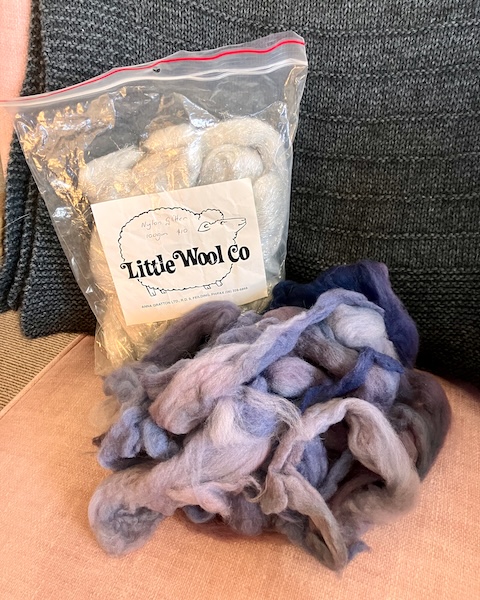
And finally, I unearthed various odds and ends of Merino fibre in shades of purple that I dyed many years ago, along with a bag of silver Angelina sparkle fibre. Thinking the two might work well together, I pulled out my drum carder and blended them into a sparkly purple batt. I have no idea what this fibre will eventually become, but I suspect it will be something fun.
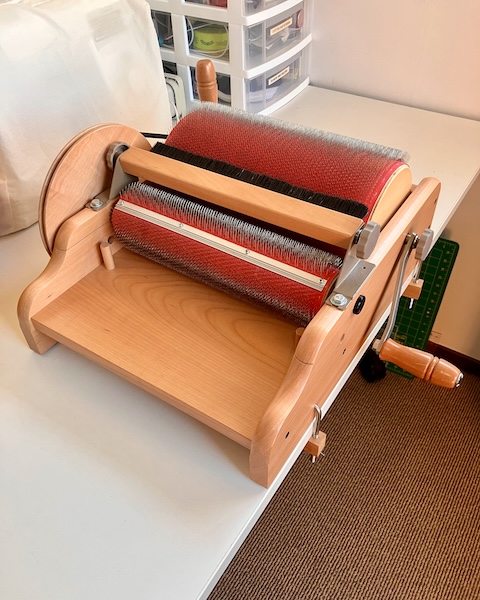
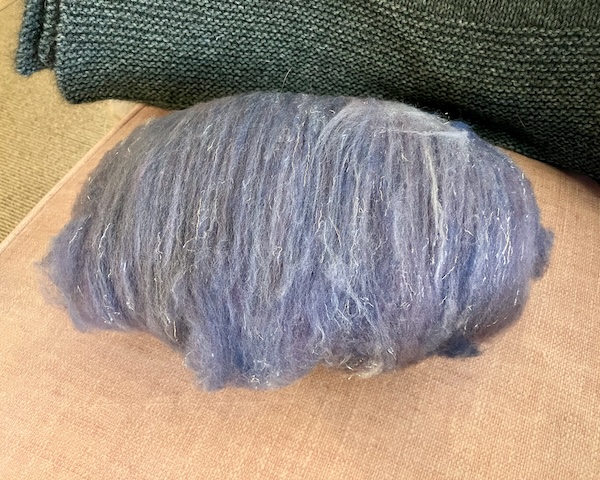
I dusted off my camera and filmed the process of blending this sparkly purple batt together. There's something rather satisfying about watching colourful fibres transform into a finished batt, so if you'd like to see the process, you can watch the short video below.
So, with my Tour de Fleece fibre choices finally made, all that remains is to sit down at the spinning wheel and begin. There is something rather satisfying about rediscovering forgotten treasures hidden away in my stash, and giving them their turn to become yarn.
I'm looking forward to many cosy hours of spinning over the coming weeks, and I'm excited to see what these fibres become along the way. Whether I manage to spin everything or not, I know I'll enjoy the journey.
Have a wonderful day,
Julie-Ann
If you'd like to continue the conversation, you can find me on Instagram, Mastodon, Bluesky, and Facebook.
I'd love to hear what you're spinning, making, or creating this winter.
Social Media


Archives