

My Floret Zinnias This Past Summer
Hello friends,
Last spring I sowed all the remaining Floret Zinnia seeds I had in storage, which I had bought from Emerden in 2024. The Floret Previous Metals, Dawn Creek Blush, and Unicorn zinnia varieties were sown into seed raising mix, grown on until they had two sets of true leaves, and then they were potted up into bigger containers with potting mix until I was sure the risk of frost was over.
I planted them in two vegetable garden beds close together, so that I could easily save seed for my own personal stash for the coming years.

And then it was time to wait for them to flower. Due to our horrible summer, which wasn't really a summer, my zinnia plants didn't begin to start flowering until late January, but they were well worth the wait. I had hundreds of flowers in such gorgeous colours ranging from cream, pinks, and orange, all the way to bright red. The range of zinnia flower types flowering varied from singles, to cactus shapes, all the way through to frilly doubles.

Dawns Creek Blush flowers varied from dusky pinks, to pinks, and to purples.


Precious Metals gave me lots of metallics in shades of orange, pinks and purples, and there was even ombré colouring in some of the flowers.


And finally, the Floret Unicorn variety gave me florescent bright pinks and orange and red flowers, with a lot of double flowers amongst them.


I was so happy with my zinnia patch, and I wasn't the only one. Bees and butterflies swarmed over my zinnias all summer and autumn long, and that made it just it that much better in my opinion.


I shared my Floret zinnias on social media, and soon found myself becoming a very small scale flower farmer, as I provided buckets of zinnias to a local flower farmer florist. I very much enjoyed going out into my garden on summer mornings to fill up buckets of zinnias to send away to their new homes.


Unfortunately though thanks to the terrible summer we had, all too soon I had to start seed saving by letting the blooming flowers set seed and turn brown. I managed to save seed from a lot of mature flowers, before the looming threat of a decent frost forced me to save as many older flowers (but not quite mature flowers) in mid-April.

On the 22nd of April we had our first proper frost, and all my lovely zinnias sparkled in the cold autumn sunrise as frost coated them all. By the afternoon the zinnia plants had all turned brown and died.


And so the zinnia season for 2025/2026 has come to an end. I have 5 trays of zinnia flower heads to process over the winter, so I can harvest the seed and store it away until next spring. I am very much looking forward to seeing which zinnia flowers bloom next summer. Zinnias are known to have complex and highly plastic genomes, and have transposons, aka jumping genes, which can lead to unstable genetics, so who knows what I'll end up with. But I'm excited to find out...
Have a wonderful day
Julie-Ann
Want to discuss my post? Feel free to chat with me on Instagram or Mastodon or Bluesky, and now also Facebook.
Flower Farming This Summer
Hello friends,
One day while I was doom scrolling on Instagram, I came across a reel from a local flower farmer, searching for local flower growers to sell their excess flowers to her for her floristry business. Since I was at the time in the middle of completing Floret Flower Farm's online Flower Farming Workshop, I thought this was a good opportunity to do some practical work for the workshop, by harvesting my flowers and foliage and selling them.


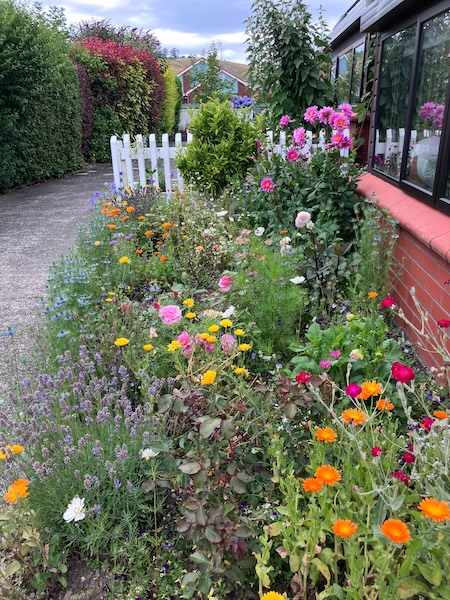
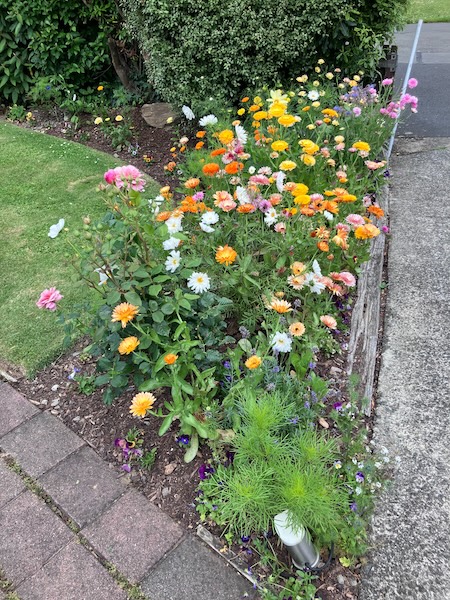
In summer my home garden is full of many flowers including varieties of dahlia, hydrangea, zinnia, scabiosa, cosmos, calendula, as well as many other precious goodies including my grown from seed dahlias. Most of these flowering plants are used in the floral industry for selling as cut flowers, and also many of these plant varieties that I grow do not travel very well over long distances, meaning that local florists need to find local growers to provide them for their floral work.


I contacted the flower farmer, and within a few days she came to my home to look at my garden, and also to pick her first bucket of flowers. She was impressed with my flower varieties, and especially my dahlias and Floret zinnia plants, and she quickly got to work photographing the flowers, and also harvesting them for use in her floristry business.
One of her favorite dahlias to harvest was a Floret Petite seedling dahlia of mine, which is currently named FP6, and it is an unusual anemone dahlia in shades of pink, red and yellow. I'm very happy with this dahlia, and intend to grow this as a second year seedling dahlia next year.

It wasn't long before she contacted me again, with the intention to buy more flowers from me, which I was very happy to do. This time she taught me how to harvest all the various flowers in the garden, so in the future I could harvest flowers for her myself.


This came in handy the next week which was Valentines Day week, the busiest time in a florist's year. For the first time I harvested all the flowers and foliage by myself, and I really enjoyed the process, harvesting the flowers that usually just flowered in my garden, and then processed them ready for her to pick them up.

I had so much fun harvesting zinnias, dahlias, hydrangea, and also filler flowers like calendula, cosmos and coreopsis. I also picked foliage plants like rosemary and dogwood for her. When she came to pick up all the flowers up after they'd been harvested, she asked to pick some more, as she planned to make over 100 bouquets for Valentines Day. By the time she left, my garden had provided her six buckets of flowers and foliage, and I was so pleased to have the experience under my belt.


From here on out, she is happy to buy flowers from me whenever she has the need for flowers, and I'm willing to sell them to her. I'm very pleased with this arrangement because it's a way for me to do some flower farming without committing myself to owning a full on flower farm, and all the commitments that come with it, but it also means that any income I receive from this means I can invest it into more plants for my garden, and most likely more dahlia varieties...
Have a wonderful day
Julie-Ann
Want to discuss my post? Feel free to chat with me on Instagram or Mastodon or Bluesky, and now also Facebook.
Pressing Flowers and Leaves This Summer.
Hello friends,
This summer I undertook the process of pressing my own flowers and leaves, with the intention to arrange them in specimen frames.
For years I've seen this done on Instagram and also Pinterest, and I wanted the opportunity to try this myself. I already own a flower press thanks to my husband making me one back in the days when I was pressing and drying leaves and flowers for my New Zealand Certificate in Horticulture, and I've kept the flower press all these years just in case I needed it once again.
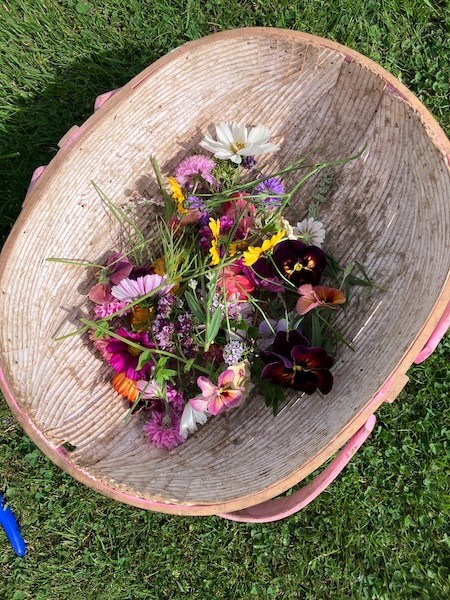
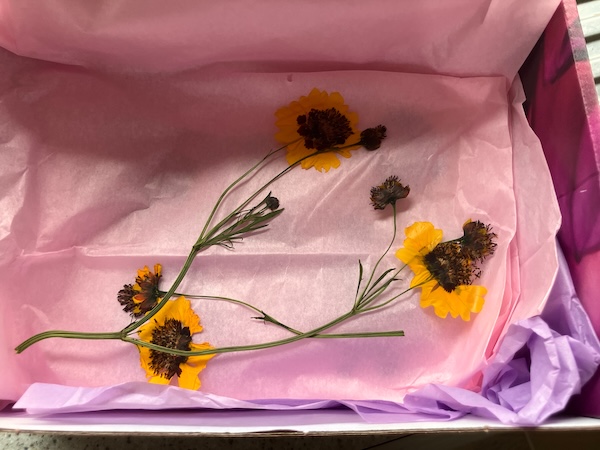
So over the summer I wandered around the garden every now and then, picking out flowers and leaves that appealed to me, and then set up my flower press for pressing them.
My flower press is made out of plywood which is sealed with polyurethane, and measures 20 cm wide by 30 cm deep and 10 cm tall, and has 7 sections to press flowers. The flower press is held in place with screws, washers, and wing nuts to apply even pressure over the plywood sheets.

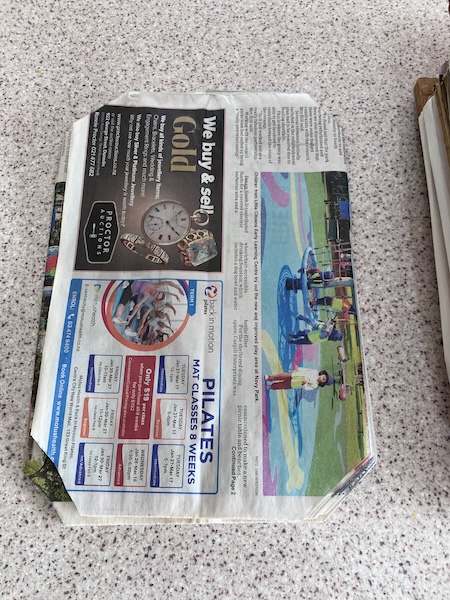
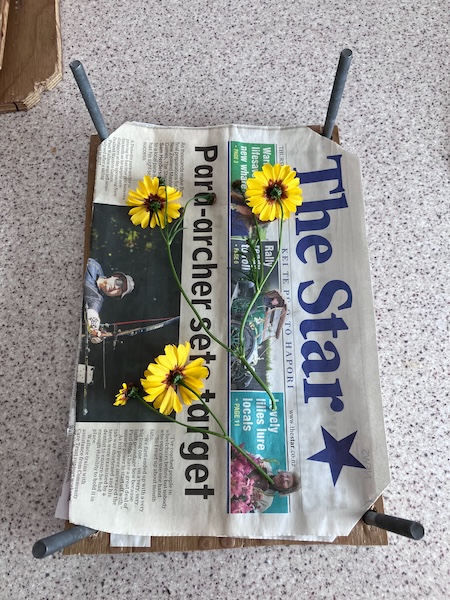
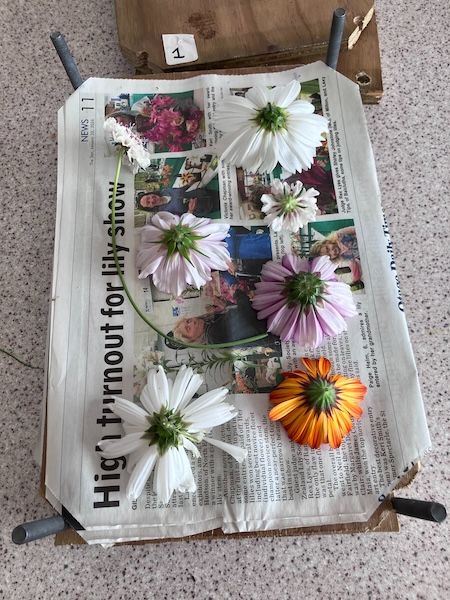
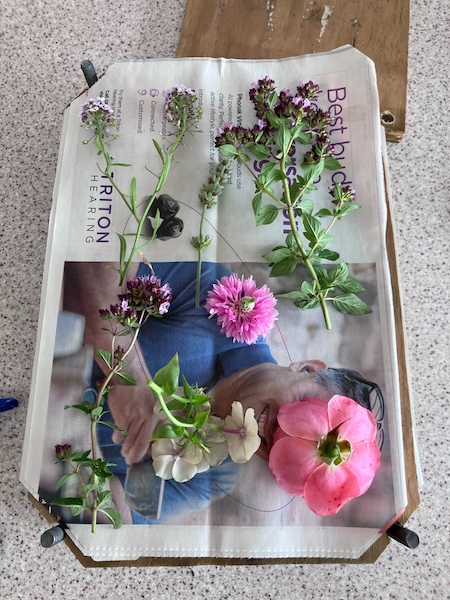
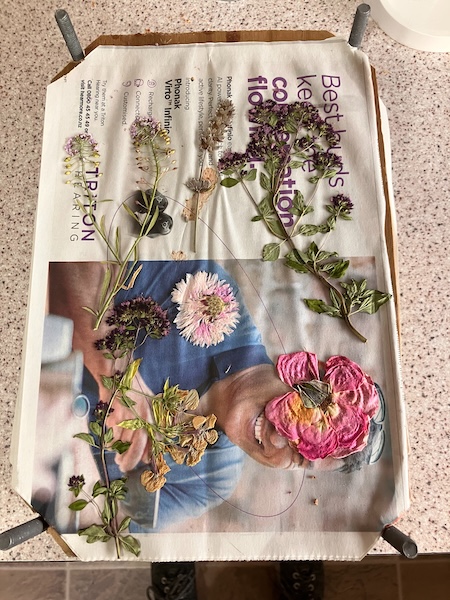
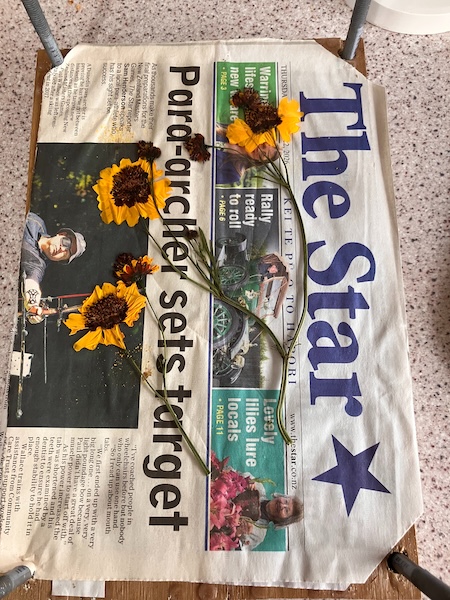
I cut up a large number of newspaper pages to fit the flower press, and got to work laying out the flowers in the sections.
I separated out the flowers and leaves into groups based on what flower and leaf type they were, and also how deep they were, so that similar depth flowers and leaves were pressed together in the same section.
Once the flowers and leaves were separated out, I placed them face down on two pieces of newspaper, making sure the flowers and leaves weren't touching. Two sheets of newspaper were placed on top, and then a plywood board was placed above them to form the next section.
Once all the sections were filled, I placed the last plywood layer on top, and then tightened the screws using the washers and wing nuts to begin pressing the flowers. With all the wing nuts screwed down evenly with the same pressure, the flower press was left in our dry garage for up to two weeks to press and dry the flowers.
When the flower press was finally opened, it was time to remove the flowers and leaves from the paper layers. It can be a little tricky to remove the flowers and leaves without breaking them, but the best method I've found is to pry the paper away from the flowers and leaves (instead of prying the flowers and leaves away from the paper). For more tricky specimens, I used a pair of fine and flat tweezers to slide between the paper and flowers to break the seal.
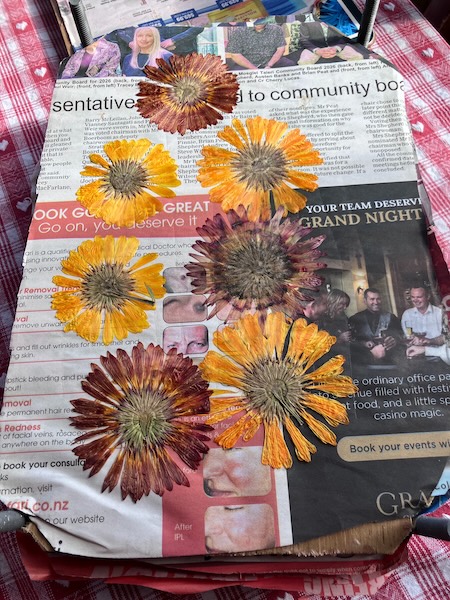
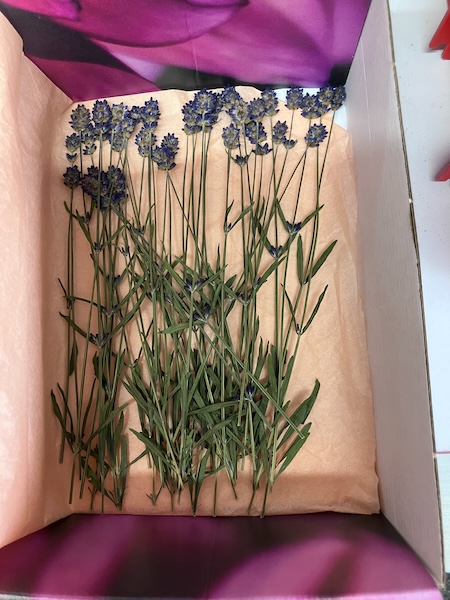
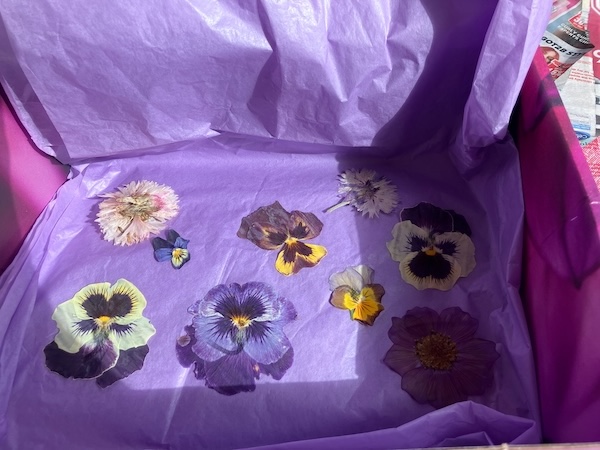
With the flowers and leaves released from the newspaper, I threw out or recycled the used paper, as sometimes the paper can develop a fungal infection from drying plants, or the paper becomes uneven afterward, making it unsuitable for pressing again. The resulting pressed flowers were laid flat in between tissue paper layers in a cardboard box for storage.
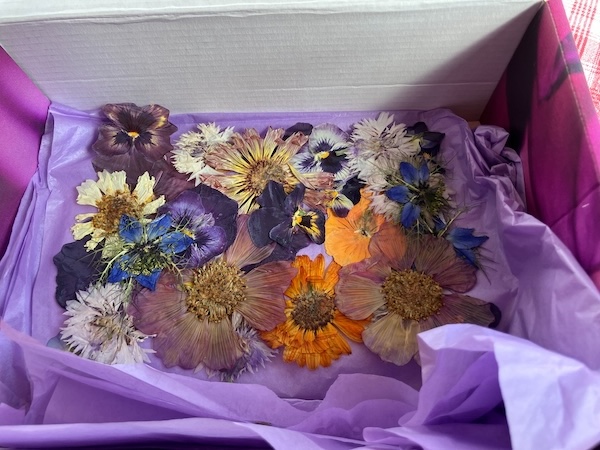
My plan for now is to continue collecting and pressing flowers and leaves, and later on in the year I will begin crafting my specimen frames...
Have a wonderful day
Julie-Ann
Want to discuss my post? Feel free to chat with me on Instagram or Mastodon or Bluesky, and now also Facebook.
New Roses Flowering In The Garden
Hello friends,
And welcome to the last blog post of the year. Today I thought I'd share with you the new rose bush varieties flowering in the garden at the moment, that I've been waiting impatiently to flower ever since I planted them last winter (and even early this month in one case...).
First up we have my new 'Cuppa Tea' floribunda rose bred in New Zealand by Bob Matthews, from his popular for picking rose 'Cappuccino'.
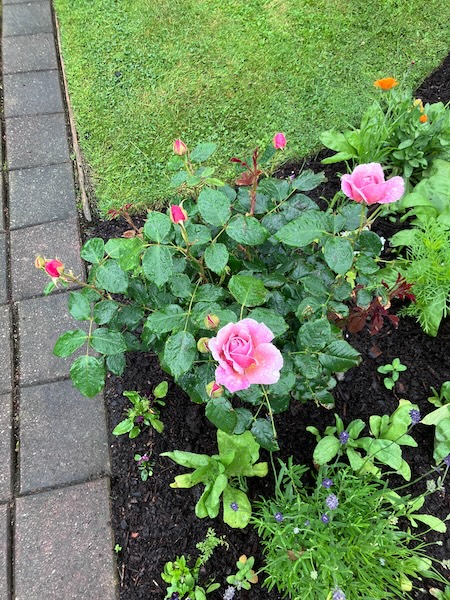
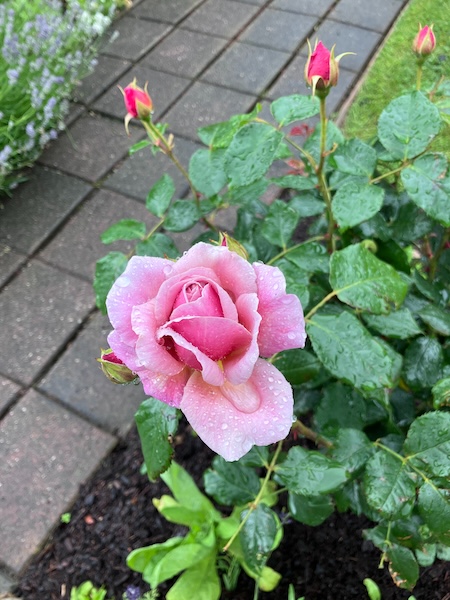
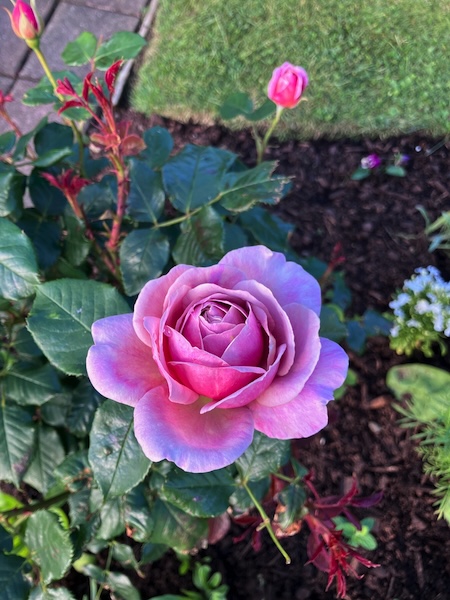
I'm so pleased to have purchased this new rose variety this past winter, the muted pink/purple/bronze shading is just so stunning, and is unlike any other rose colour I've ever seen. I can't wait for her to be covered in flowers all throughout the summer.
Next up we have my new climbing rose Azubis. This is the second Azubis rose bush that I have bought this year, the original one was wind blasted during the big North Westerly storm we had in October, and then it slowly died over the weeks afterward, no matter how hard I tried to save it. Luckily, the garden center I purchased it from had one Azubis bush remaining in late October, so I picked it up and planted it straight away into a more sheltered part of the garden. Azubis is a beautiful climber, producing large lilac blue blooms with a huge fragrance.
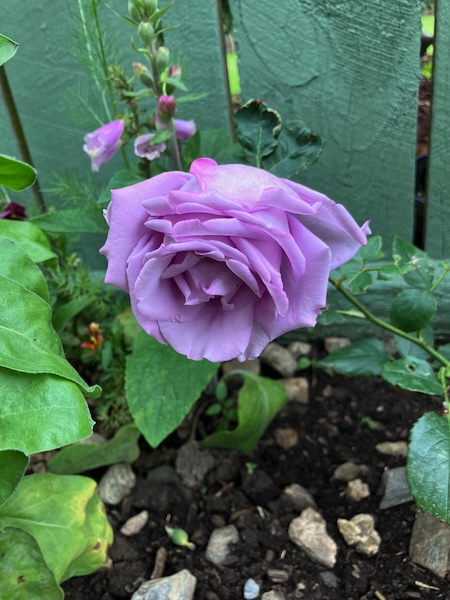
My Azubis rose bush may be very small at the moment, but she has already flowered once, and her single lilac bloom is huge and smells like heaven. I can't wait for her to grow up and cover our back garden fence in years to come.
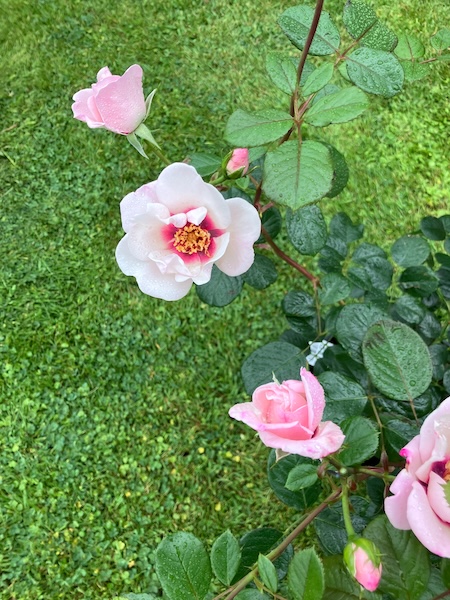
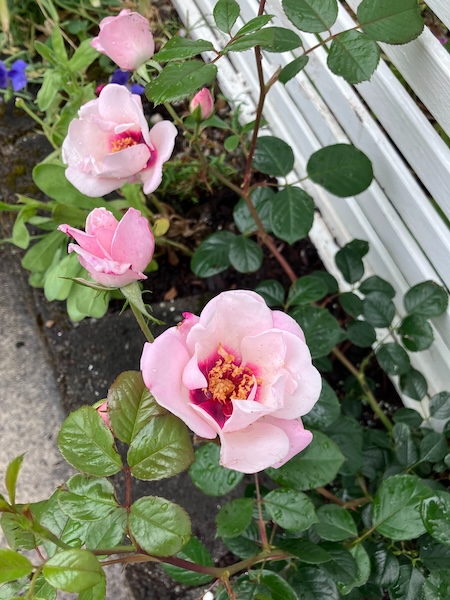
And finally we have my newest rose, Chawton Cottage, another climbing rose, bred in England by Harkness Roses, and named for Jane Austen’s House which is now a museum. Chawton Cottage has sensational pearl pink blooms with a distinctive raspberry purple eye. These unique flower clusters are delicately fragrant and fantastic for picking.
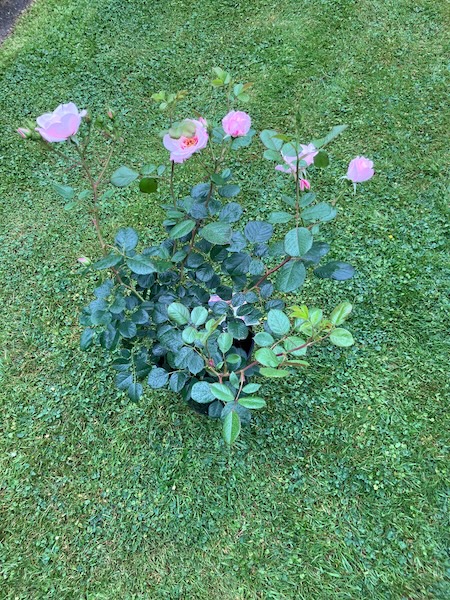
I was walking through our local Mitre 10 when Chawton Cottage caught my eye. She was flowering with multiple blooms in early December. Her unusual single flowers with a pearl pink outer flower and a deep raspberry inner, was just stunning, and bees swarmed around her. Before you could blink an eye, I had Chawton Cottage in my arms, and handed over my debit card to the cashier.
I bought her home and wandered around the garden with her until I found the perfect spot for her, up against our trellis fence at the end of the driveway.
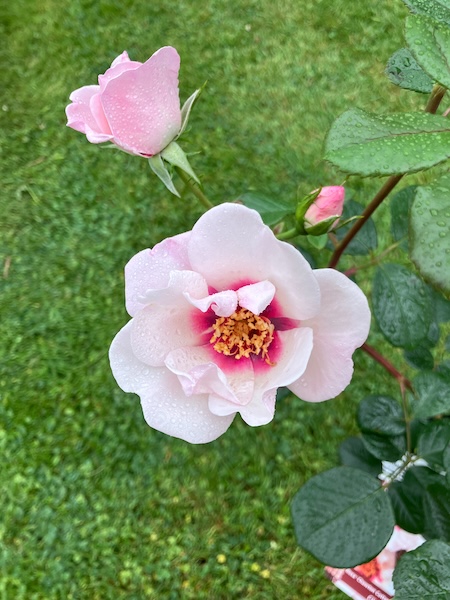
I had to do some pruning to get her to fit up against the trellis, and over the coming years I will trail her along and up the fence line to produce a wall of flowers at the end of the driveway.
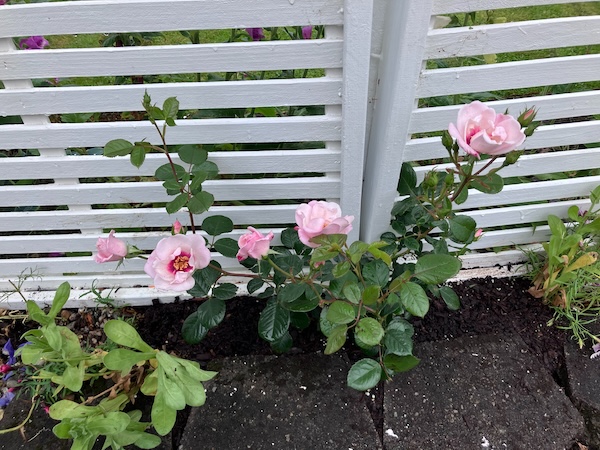

She just looks so pretty in pearl pink and green and raspberry up against the trellis, adding a lot of joy to a space that has been difficult to garden in over the years.
I hope you enjoyed a look at my new flowering rose varieties from this year. And I hope you have a wonderful Christmas and New Year period, and I'll see you again soon in January 2026...
Have a wonderful day
Julie-Ann
Want to discuss my post? Feel free to chat with me on Instagram or Mastodon or Bluesky, and now also Facebook.
Social Media


Archives