

Gathering Acorns Cross Stitch Project
Hello friends,
I had an autumn cross stitch start and a finish!
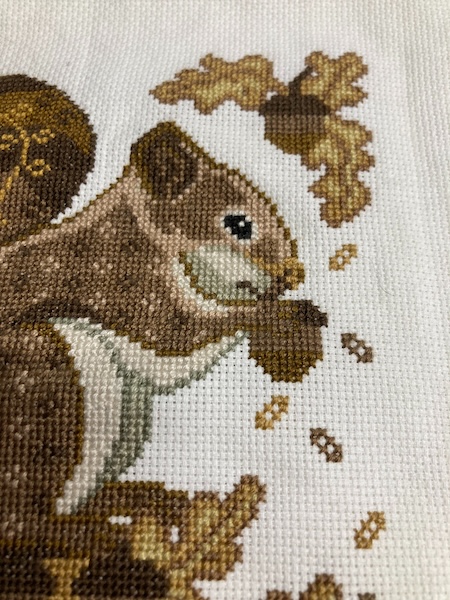
After completing the Tonight We Ride cross stitch project in early autumn, I pulled out the Gathering Acorns cross stitch pattern from Cottage Garden Samplings, which I've had in storage for a while. I decided to use a fat quarter of 18 count Aida in the colour Antique White from Stitch NZ I also had lying around. Stitch NZ are my favorite cross stitch supplier in NZ, as they have a large range of fabric in many sizes. I also bought Gentle Arts Sampler Thread in the colour of Maple Syrup from them, which was the main background colour for the squirrel. The rest of the thread colours used in the project were DMC that I had in stash.
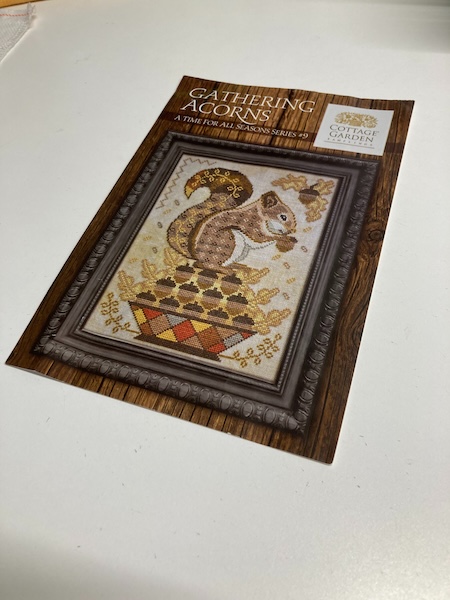
The stitch count for the project was only 100 stitches wide by 130 stitches tall, so it didn't take very long at all to stitch up 2x1. I started in the middle, which was in the lower part of the squirrel, and worked my way out. I managed to finish stitching Gathering Acorns a couple of days before winter started on the 1st of June.

I really love the autumnal colours of the squirrel and the pie dish, and the pattern was very easy to follow.


I'm really happy with how the project looks, and I hope to frame it soon, along with the Tonight We Ride project. In the mean time I'm moved onto a winter cross stitch project, which is a Dimensions Gold Collection kit called Aurora Cabin. I had previously started this a couple of years ago, and I like to pull it out of storage each winter to work on it.
Hubby and I will be on holiday next week, so there won't be a blog post out. I'll see you all in July.
Have a wonderful day
Julie-Ann
Want to discuss my post? Feel free to chat with me on Instagram or Mastodon or Bluesky.
Tomato, Capsicum, and Lime Soup Recipe
Hello friends,
Happy winter solstice, soon the days will become much lighter again!
We're heading into the coldest time of the year, so I thought I'd share with you my favorite soup recipe, which is Tomato, Capsicum, and Lime soup. The ingredient list is pretty small, and most years I've grown my own tomatoes, lime, garlic, onion, and chilli for the recipe. I've had a bad run of growing my own capsicums, so I buy frozen capsicums from Frozen Direct for the recipe, as it's much cheaper and it comes pre-chopped.

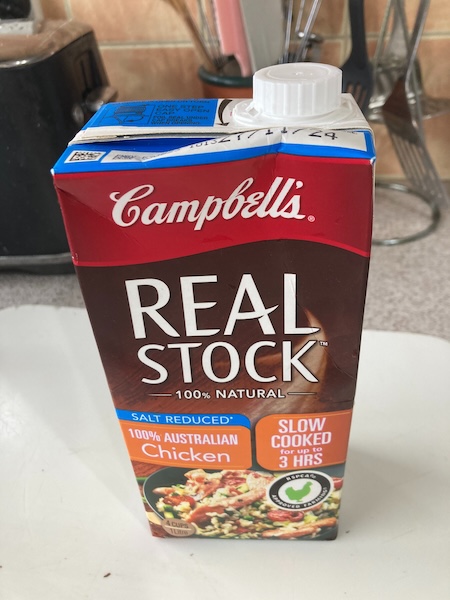
In this recipe you can choose whichever stock you want, we usually use a salt reduced chicken stock, or if you want a vegetarian option, go for a vegetable stock.
Tomato, Capsicum, and Lime Soup
Ingredients
1 tablespoon Olive Oil
1 large Onion
1 clove of Crushed Garlic
1L Chicken Stock (Vegetable stock works great also)
4 Red Capsicums deseeded and chopped, OR
600 grams frozen Red Capsicums
1 small red Chilli or ½ teaspoon Chilli powder (this is approx, it depends on what heat level you like)
3 tins of tinned 400 gram tomatoes OR
one 2L ice cream container of frozen homegrown tomatoes
1 Tablespoon of tomato puree (This is purely optional. It depends on how tasty the tomatoes are in the recipe. My advice is to do the recipe up to step 4 without the tomato puree, and do a taste test, and if it’s not tomatoey enough, then try adding tomato puree by the tablespoon)
1 Lime – Juice + Zest
Salt and Pepper to taste
Recipe
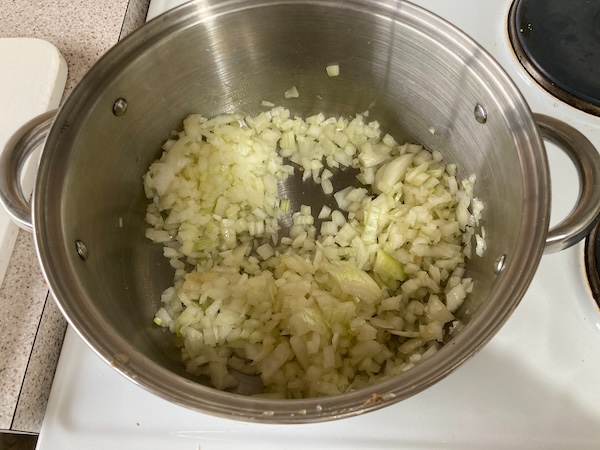
(1) Cook chopped onion and garlic gently in olive oil in a covered pot for approximately 5 minutes until softened, stirring occasionally.
(2) Stir in chopped capsicum, chilli, tomatoes, and chicken stock. Bring to the boil and simmer for 20 minutes.

(3) Puree the mixture with a stick blender until smooth.
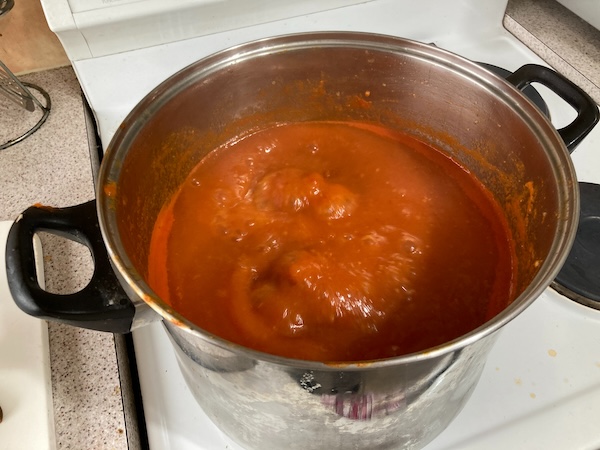
(4) Do a taste test once the soup is at a smooth consistency, to see if tomato puree needs to be added. Add the juice and zest of the lime.

(5) Simmer for 10 minutes, and then do a taste test to see if salt and pepper is needed. Add salt and pepper and simmer for 5 more minutes.
(6) Enjoy the soup straight away, or freeze if you have any excess. This recipe gives approximately 4 - 6 serves depending on how big your soup bowl is.
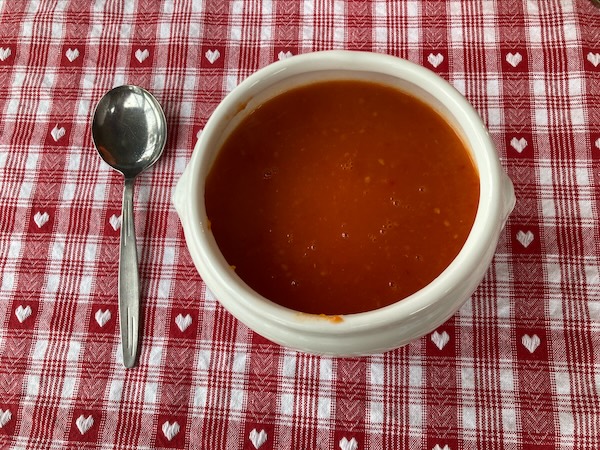
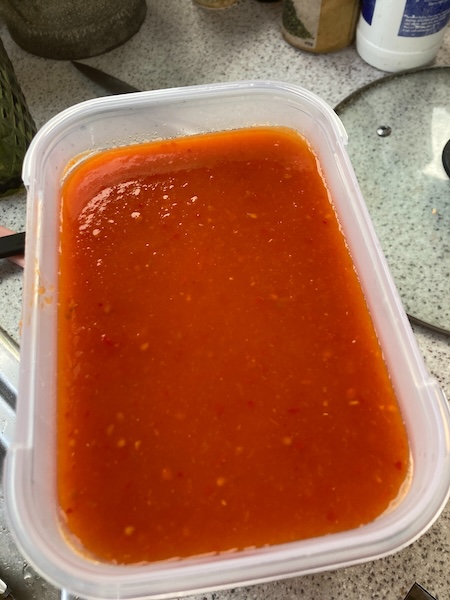
This soup recipe, is my favorite of all time, and I look forward to eating it each autumn and winter. We usually have it with toasted ciabatta and a sprinkling of Parmesan cheese, but it is wonderful just on it's own. I usually also make a double batch, so that we have plenty of this soup over winter whenever I have a hankering for it. I hope you give this wonderful soup a go, and please let me know what you think of the recipe...
Have a wonderful day
Julie-Ann
Want to discuss my post? Feel free to chat with me on Instagram
or Mastodon or Bluesky.
Making Citrus Frost Cloth Covers
Hello friends,
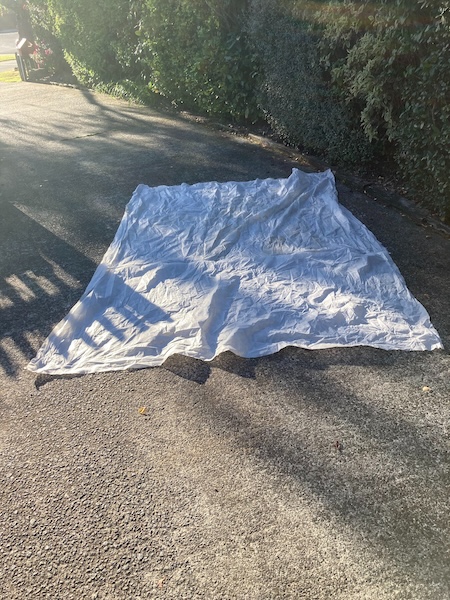
After buying a frost cloth cover from one of our local garden centres back in May, I wanted to make bigger versions for my three citrus plants before winter arrived.

Luckily I had some very thick frost cloth in storage from last year, so I tracked it down and then got to work. The frost cloth was 2 metres wide and many metres long, so I used the width of the frost cloth as the height for each frost cover. I wrapped the frost cloth length around each citrus plant, added extra space for wiggle room to fit it over the citrus plants, and then marked it out on the frost cloth. I decided that adding a zip was just extra work, and more expensive, so I didn't bother with it.
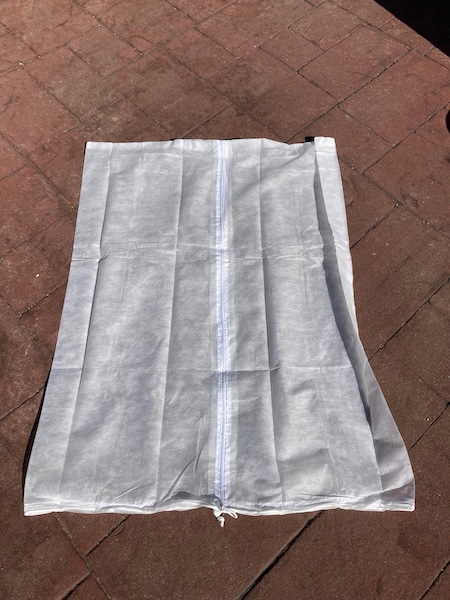
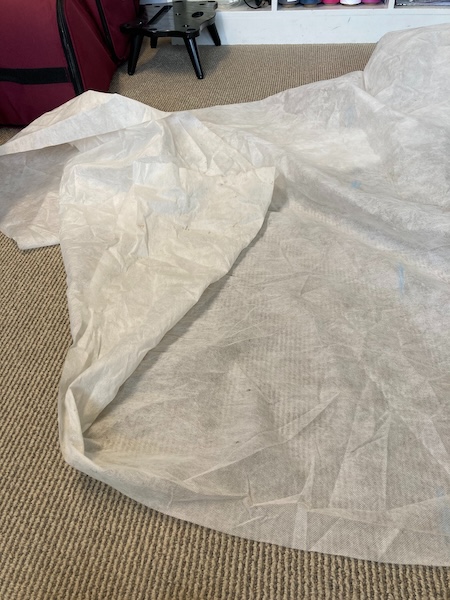
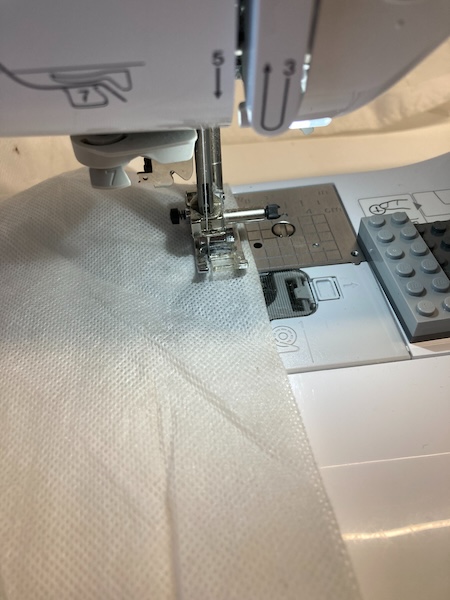
Once I had measured each plant, I went up to my craft room and cut off a length of frost cloth for each frost cloth cover. I then folded each section of frost cloth width wise, so that the width of the frost cloth formed the sides of the frost cover. The length of frost cloth that was folded in half then formed the top and bottom of the frost cover. With this done, I sowed along the top and the side of the frost cover. The bottom of the frost cover was left open for making the casing for the pull string, and to pull over the citrus plants when the frost cover was finished. I used a normal straight stitch on the sewing machine, and made sure the ends were well tacked down.
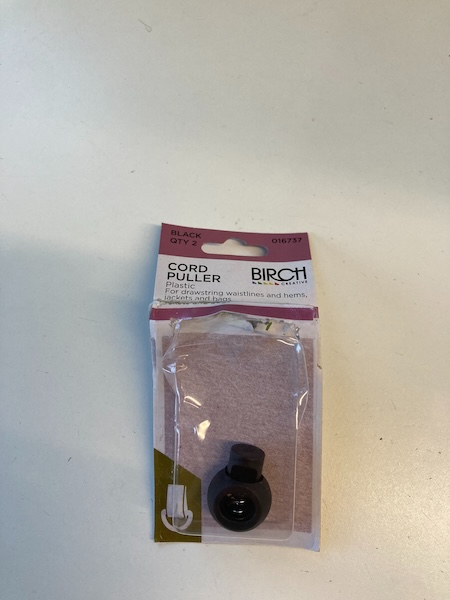
The next step was to sew a casing in the bottom of the frost cover, leaving a small opening so I could insert some nylon rope in a circle around the bottom. I purchased some general purpose nylon rope from Mitre 10, and some cord pullers from Spotlight.
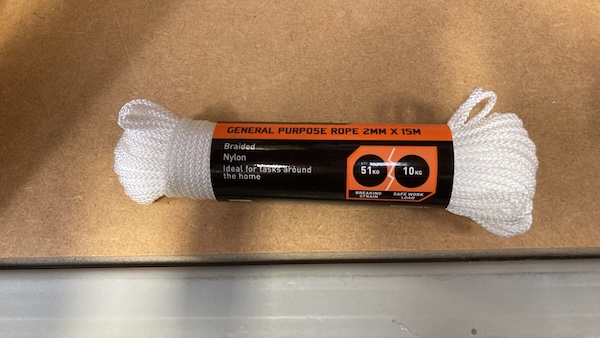
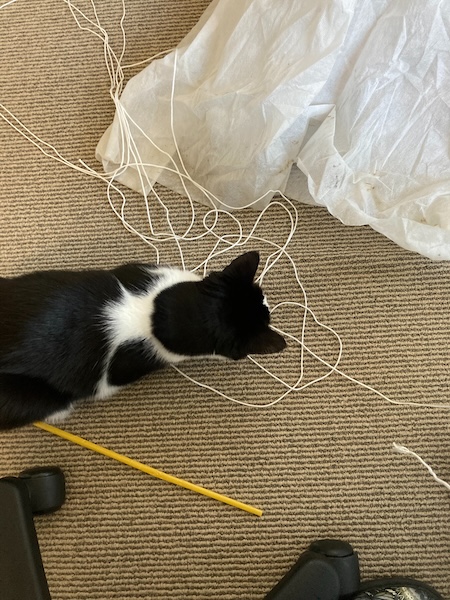
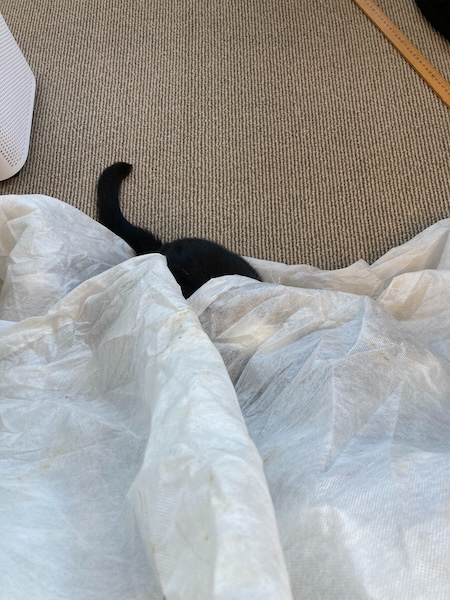
After sewing the casing, it was time to unwind the general purpose rope, and insert it into the casing. This was when Rosie cat came to assist me, and she helped me add the rope and the cord pullers to all three citrus frost covers.
After making sure the cord pullers all worked, and tying the ends of the rope tight together, the frost covers were ready. After trying on each frost cover to the corresponding citrus plant, I labelled each one with a permanent marker.
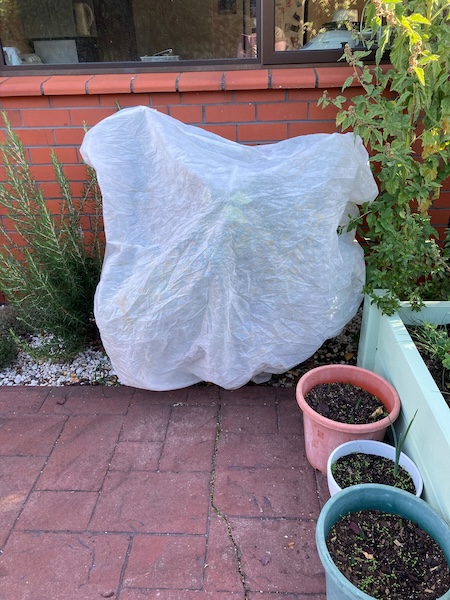
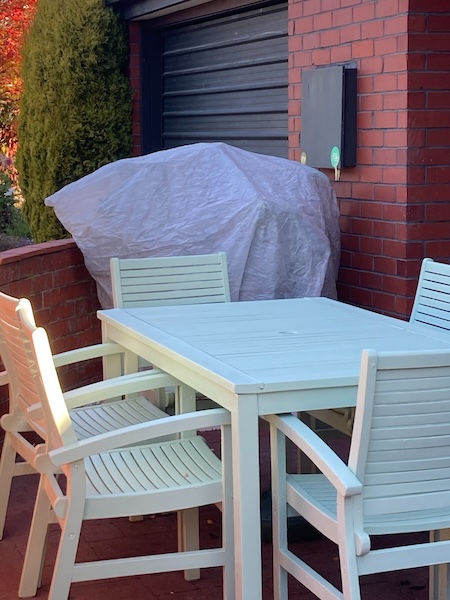
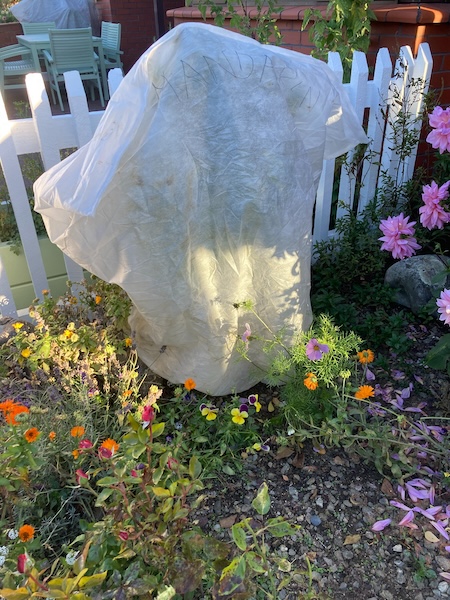
It's now winter, and we've had multiple frosts now. The frost covers have been such an asset to have, as they are so easy to pull on and off. It's really been so much easier to protect my precious citrus plants from frost and snow. And to make the frost covers myself, it was just a crafty bonus.
Have a wonderful day
Julie-Ann
Want to discuss my post? Feel free to chat with me on Instagram or Mastodon or Bluesky.
Milling and Baking Our Own Homegrown Bread
Hello friends,
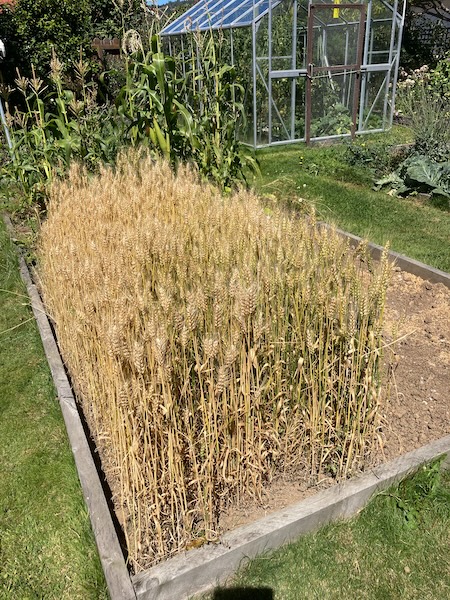
After harvesting and processing the 2023/2024 season's wheat, we were ready to mill our grain, and then bake our own homegrown bread.
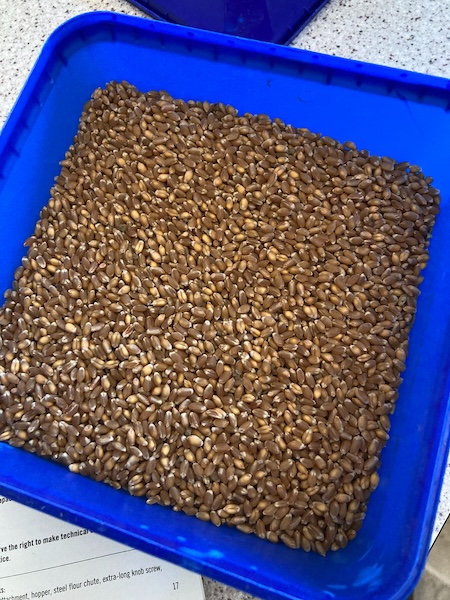
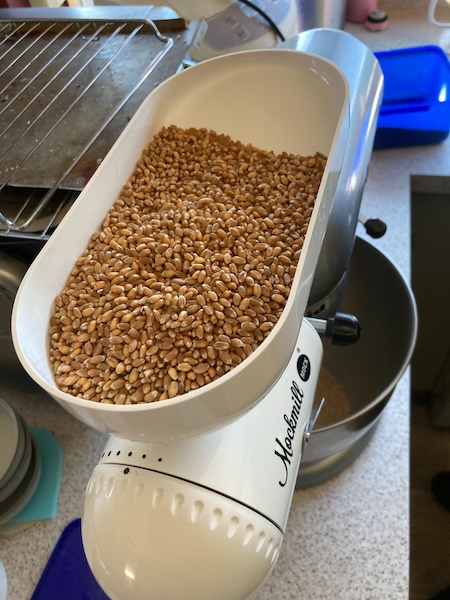
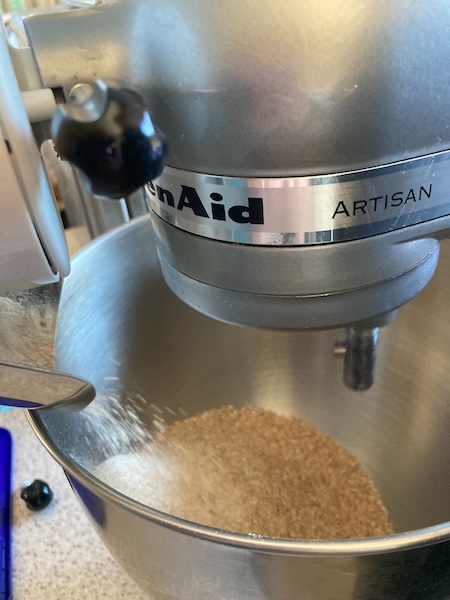
The first step was to mill the wheat grain using our Mockmill Stone Mill which attaches to our Kitchenaid stand mixer. You can find out more information about our Mockmill milling set up in last year's blog post.
It only took a few minutes to mill all of this year's grain into flour (and some of last year's leftover grain), in the stone mill using a fine milling setting.
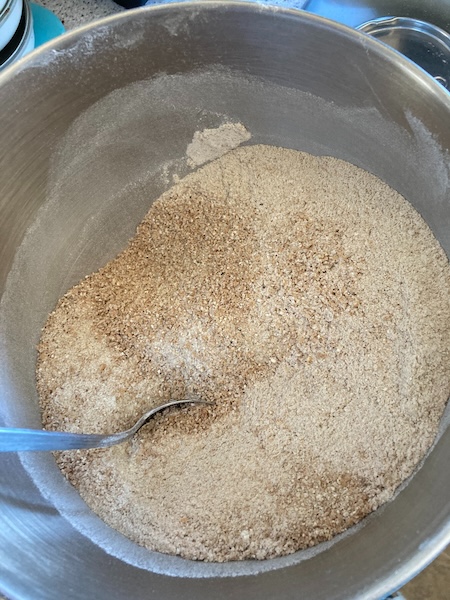
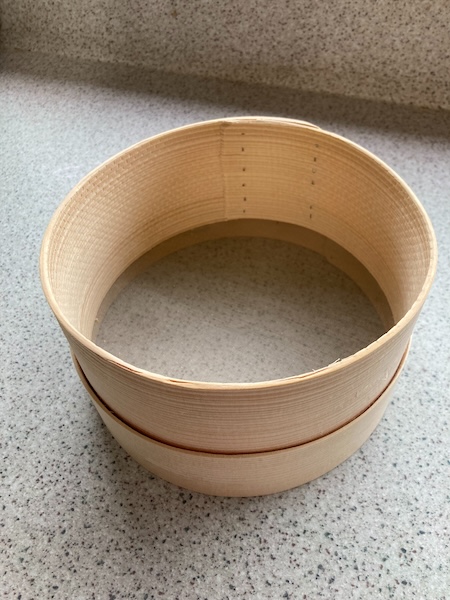
The next step was to separate the white flour from the majority of the wheatgerm and bran. Last year we used the sieve we have at home, but the sieve was too coarse, and most of the wheat germ and bran still got through. So this year we invested in a super fine manual flour sieve from Flour Power Mills. When sieving was completed we were left with a light brown super fine flour, which still contained some fine wheatgerm and bran. The coarser wheatgerm and bran is now stored away for other baking and cooking projects during the year.
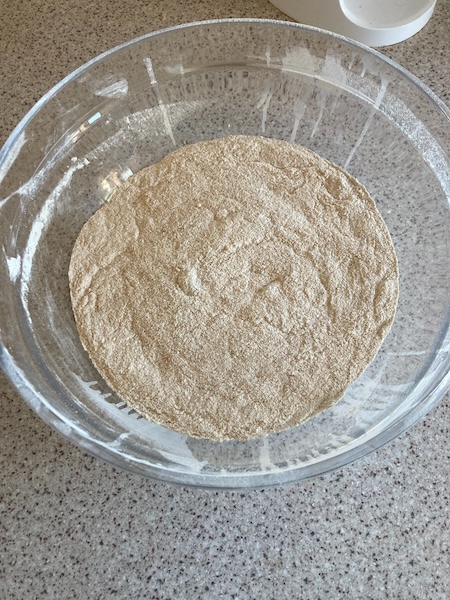
All that remained was to bake a loaf of bread. After milling we had 4 cups of flour, which we used in our standard wholegrain bread recipe.
Wholegrain Bread Recipe for use in a Bread Maker
Ingredients
1.25 cups of hot tap water
1 teaspoon of salt
1 tablespoon + 1 teaspoon of sugar
2 tablespoons of vegetable oil (canola or any other neutral seed oil)
1/3 cup of milk (can be from milk powder, but the liquid volume is important)
1/3-1/2 cup of 7-seed-mix, whole-grain, or other similar tasty grains (we get ours from Bin Inn)
3 cups of strong/bread flour (or in our case homegrown and milled flour)
2 teaspoons of supabake yeast (i.e. mixed yeast with bread improver)
Recipe
(1) Place in the baking tin in the order above, it is important to have:
* The grains *in* the liquid (to soak)
* The flour on top of the first 6 ingredients
* The yeast on top of the flour (so it's not in the water, or in contact with the salt or sugar until it starts mixing)
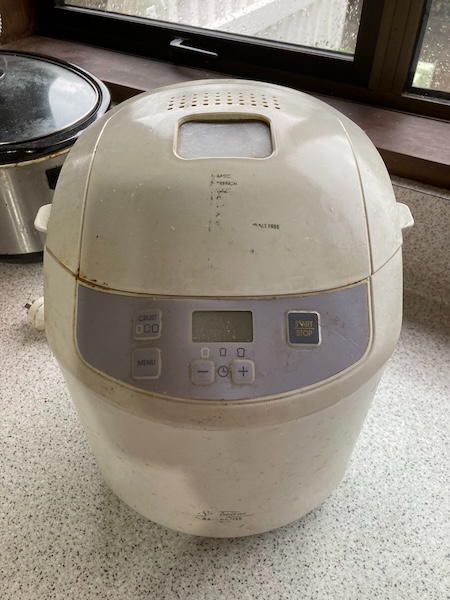
(2) Place the baking tin in the bread maker, and set the bread maker to the "wholegrain" program in your bread maker. Start baking your bread.
(3) We have a 10+year old Sunbeam bread maker, but we have reports this recipe works well in others. The bread maker should have a first period where it keeps the water warm to soak/soften the grains (which is why you do not want the yeast in the water, with warmth and sugar it'll activate far too soon).
And two hours and twenty minutes later our homegrown bread was out of the bread maker. It wasn't quite as fluffy as commercially grown bread, but the bread had a wonderful nutty flavor which was great fresh, as well as toasted.
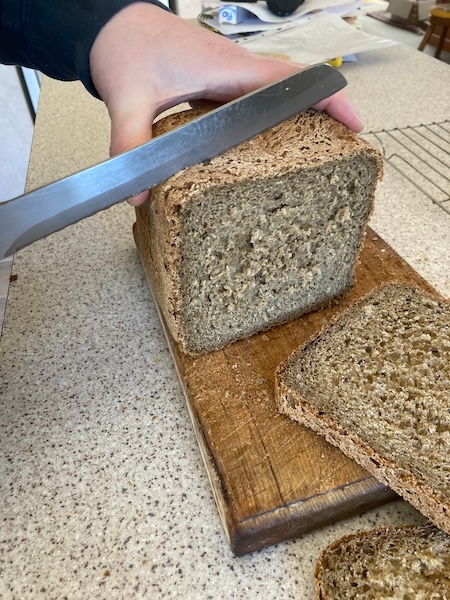
We've found that growing our own wheat, and then processing and milling our own flour is a very fulfilling thing to do. It's nice to see how processed food is made, and to appreciate the hard work that goes into making flour and bread.
Have a wonderful day
Julie-Ann
Want to discuss my post? Feel free to chat with me on Instagram or Mastodon or Bluesky.
Social Media


Archives