

Tomato Seed Saving In Late Summer
Hello friends,
Late summer and early autumn is the perfect time of the year for seed saving in your garden. One of my favorite plants to save seed from are tomato plants. After a number of years of finding the perfect tomato varieties for us to grow, I like to save these seeds, as they have become acclimated to our growing conditions.
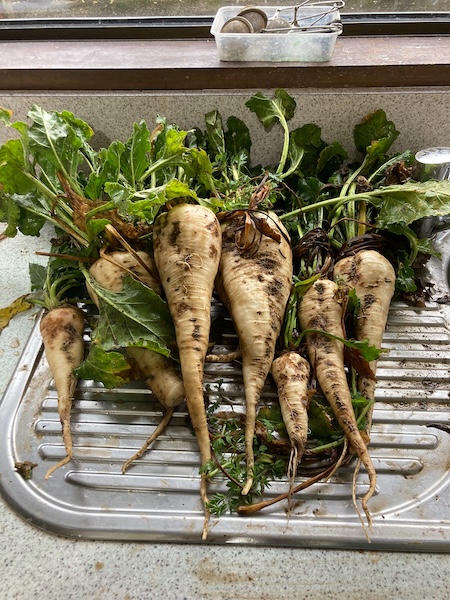
Each year I harvest the most squishy and ripe Pomodoro, Juanne Flamme, Hera, Grosse Lisse, Italian Island Bay, and Lebanese tomatoes off the vine, and then I bring them into the kitchen to process. My best advice for doing this is to label each tomato with a sharpie as you take each tomato variety off the vine, as otherwise, I promise you, you will forget which tomato variety is which...

The next step is to squish each tomato over a kitchen sieve to catch all the seeds, and then scoop out any seeds which are still attached to the tomato flesh. Once all the tomato seeds are in the sieve, wash them with water to remove the protective gel coating. Using your fingertips to pry the seeds from the gel coating really helps a lot with this step.
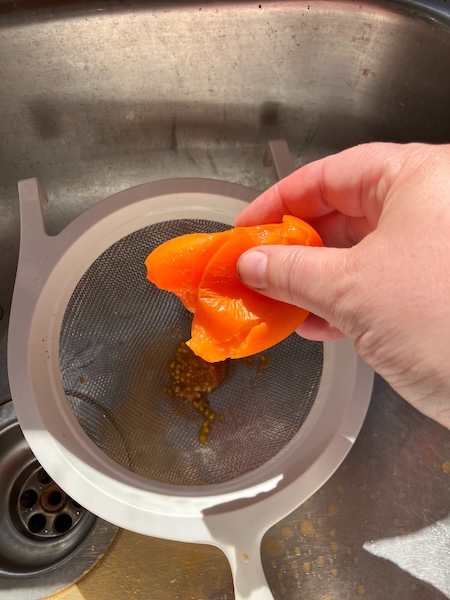
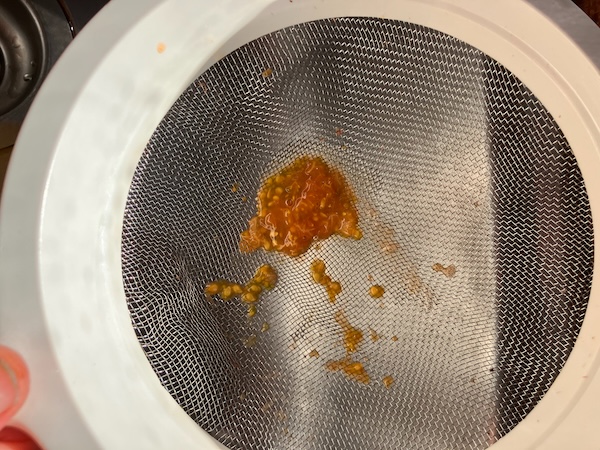
Once the seeds are as clean as they can be, hit the sieve containing the seeds onto a paper towel which is labeled with the seed variety. Spread the seeds out onto the paper towel and leave them to dry overnight.
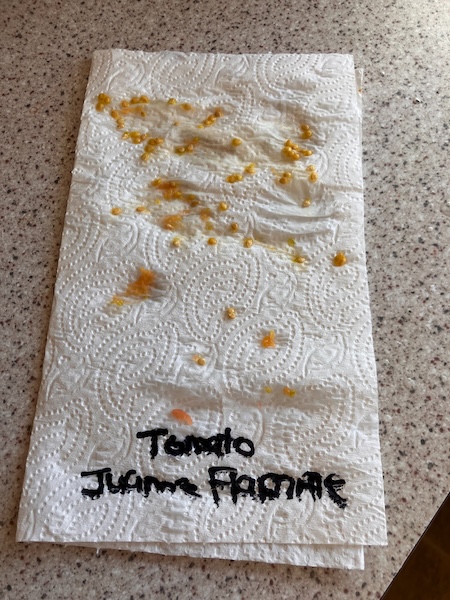
The next day peel the dried seeds off the paper towel and pop them into a paper seed envelope (or whatever system you normally use). Store them over autumn and winter until it's time to sow seed once again.

Seed saving really is a great way to not only save money while gardening, but also to grow plants which are acclimated to your growing conditions.
Have a wonderful day
Julie-Ann
Want to discuss my post? Feel free to chat with me on Instagram or Mastodon or Bluesky, and now also Facebook.
Planting Out All The Garden Seedlings
Hello friends,
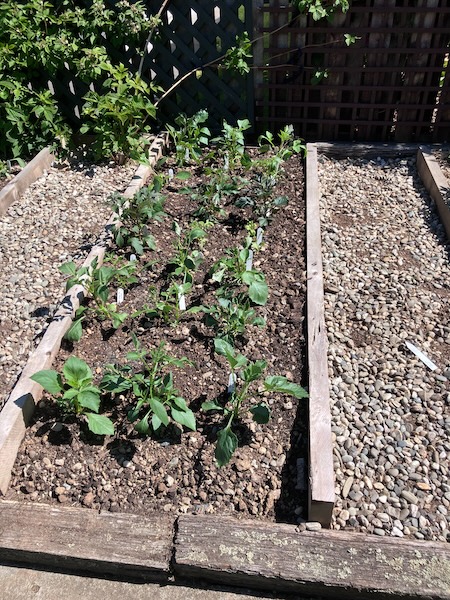
The last couple of weeks have been very busy in the garden, with the weather now being warm enough to plant all the seedlings, plants, and dahlias in pots, out into the garden. This was super important, as the glasshouse was completely packed with plants, and my tomato, cucumber, and chilli and capsicum seedlings really needed to get planted in their final positions in the glasshouse.

The first plants to go out into the garden were the dahlias I had in pots, and also all the dahlia seedlings I'd grown from seed, which I put into two of the new side garden beds.
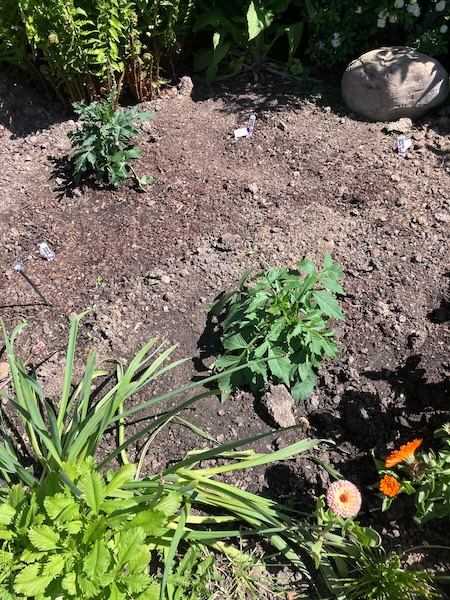
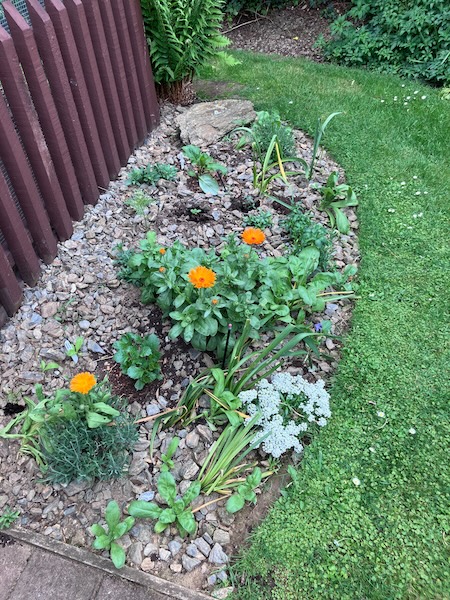
Next to plant out were all my natural dye plant seedlings into another new garden bed in the side garden, including tango cosmos, calendula, and Japanese indigo seedlings.
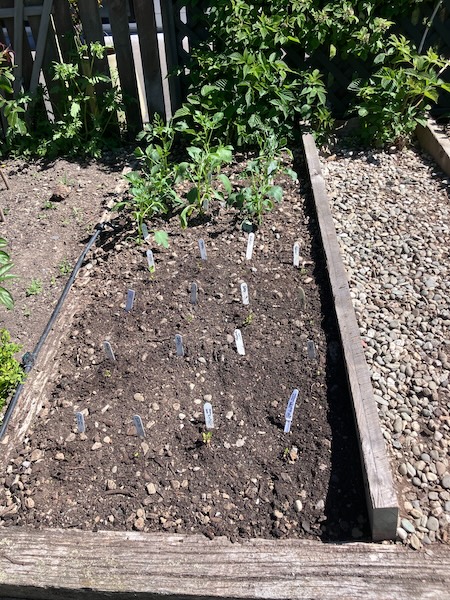
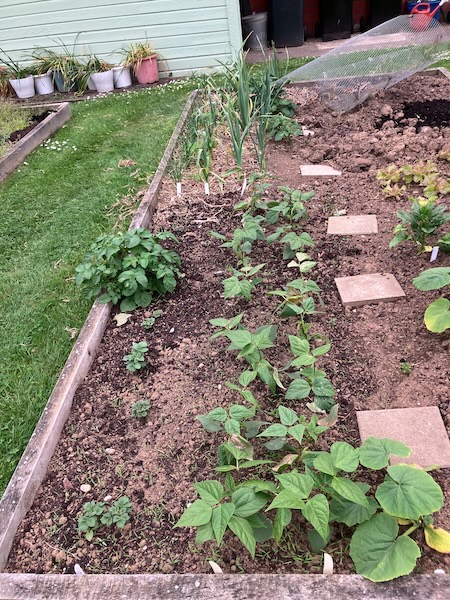
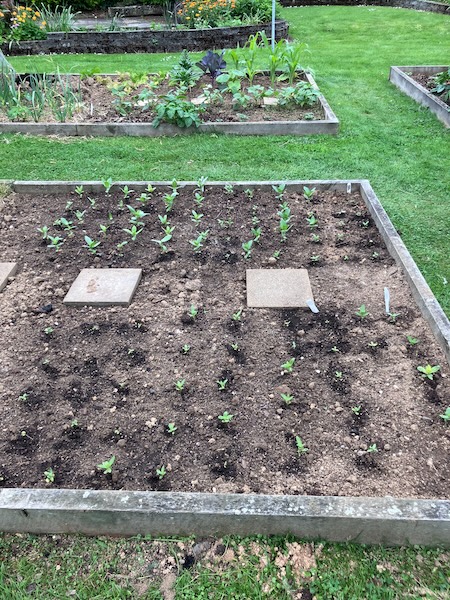
The vegetable garden beds also had to get weeded and dug over, so the corn, black turtle bean, lettuce, cabbage and bok choi seedlings could be planted into the garden.
After that, it was time for all the flower seedlings including cosmos, calendula, and pansies, to be dotted around the garden areas to fill out
empty spaces I leave for annual plants. This took about a week as I was very enthusiastic in sowing seeds this spring.

The last of my Floret zinnia seedlings (Unicorn, Precious Metals, and Dawn Creek Blush) went into two spare vegetable garden beds so they can self-pollinate with each other in blocks this growing season, to give me a stash of Floret seeds of my own for the coming years. There is no guarantee that Floret seeds will be imported into the country again any time soon, and I wanted to keep some seed stocks of these varieties for my garden.
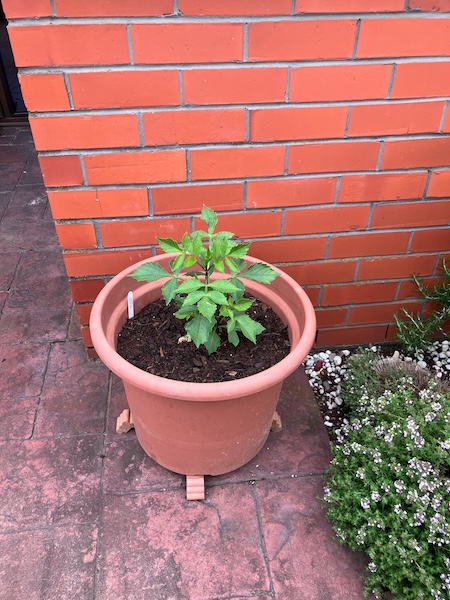
And finally once the glasshouse was all but empty it was time to add compost to the glasshouse, dig over the soil, and plant out all my tomatoes (Pomodoro, Juanne Flamme, Hera, Island Bay, Lebanese, Grosse Lisse), capsicum (Marconi Red, Candy Cane), chilli (Serrano), and cucumber (Mini Me, Crunchy, Medici) varieties, and erect their climbing frames. I had some leftover plants which were given to family members.
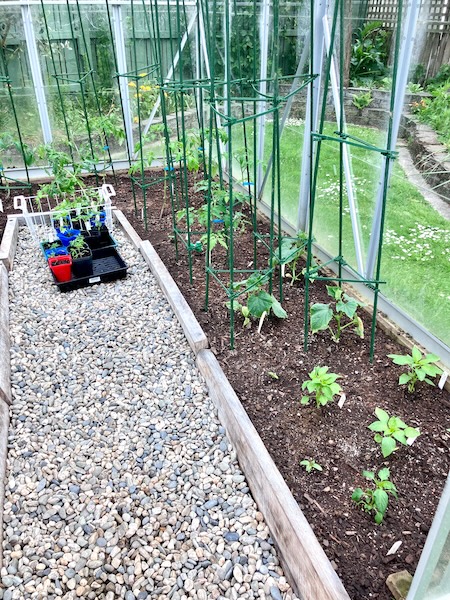
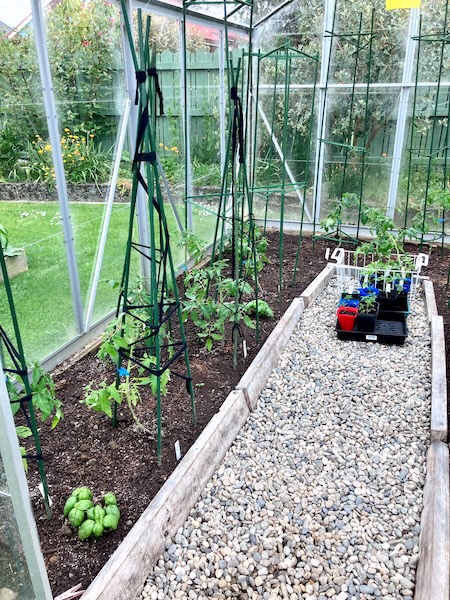
Once the bigger plants were in place, I planted out my basil plants (Genovese, Gustosa, Lettuce Leaf) into the empty spaces. With that all done I scattered fertiliser, added Saturaid to help with water retention, replaced the yellow sticky traps to catch plant pests, and gave the glass house a good watering.
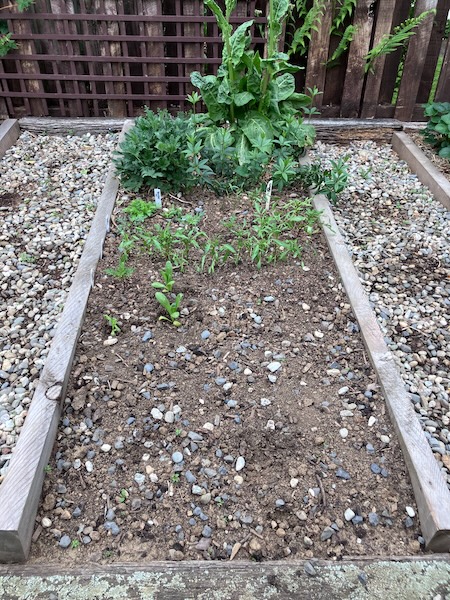
There are two more vegetable garden beds to be weeded, have compost added, and dug over for planting, but they are for special projects that will be dealt with by the time you read this blog post.
It's been a lot of work to get to get my garden to this point, and I've been neglecting weeding the garden to do this, so that will be my next big gardening job leading into summer in a couple of weeks.
Have a wonderful day
Julie-Ann
Want to discuss my post? Feel free to chat with me on Instagram or Mastodon or Bluesky.
King Seeds And Egmont Seeds Seed Haul
Hello friends,
Over the course of this winter I bought seeds from both Kings Seeds and Egmont Seeds, for growing vegetables, herbs, and flowers in the garden this growing season.
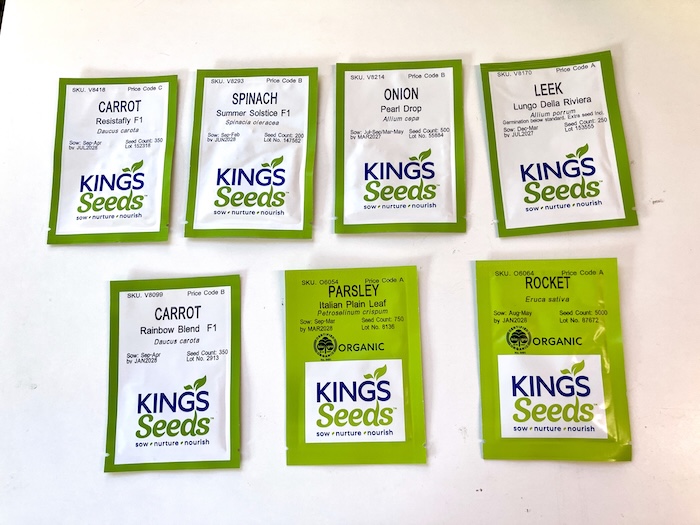
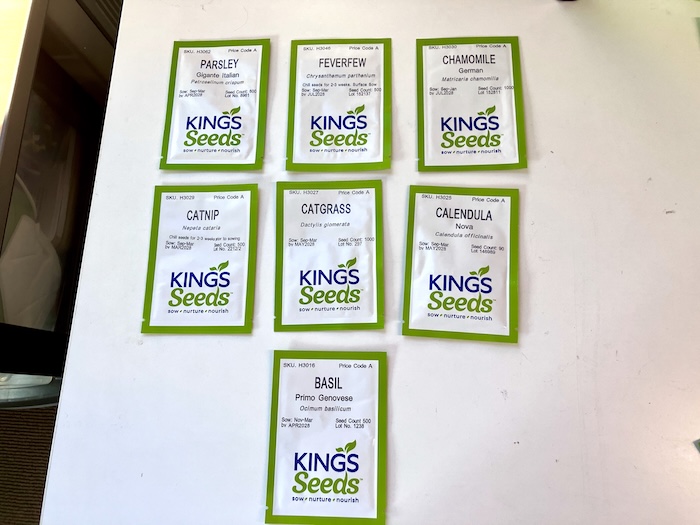
First up are the seeds from Kings Seeds, where I bought carrot, spinach, onion, and rocket vegetable seeds for the vegetable garden this spring. I also got a bunch of herb seed varieties including, parsley, feverfew, chamomile, catnip, catgrass, calendula, and basil seeds. I also bought a few flower seeds including zinnia, cosmos, yarrow, and dwarf lupin.

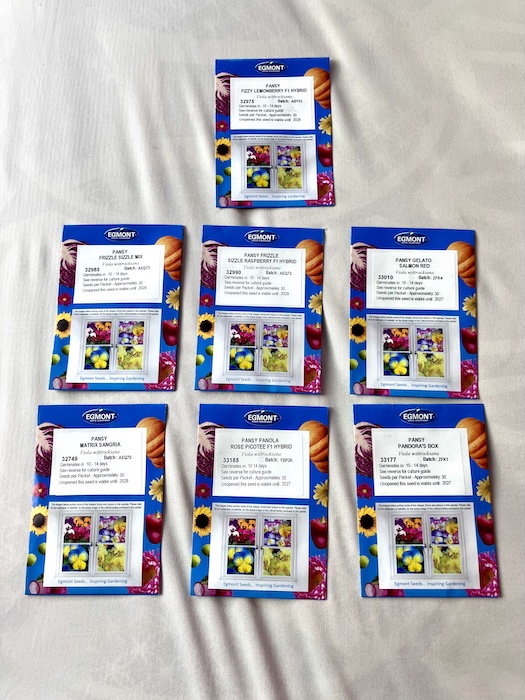
From Egmont Seeds I bought a pile of seeds including cucumber, capsicum, chickpea, stevia, thyme, and lavender, along with a bunch of new pansy varieties after I fell victim to the pansy mania hitting the world at present. Egmont seeds have a great range of pansy seeds available, with lots of varieties with frills and pretty colours that I haven't seen before.


I can't wait to see the plants that grow from all these seeds in the coming spring and summer, and then the harvests and flowers I will get from them...
Have a wonderful day
Julie-Ann
Want to discuss my post? Feel free to chat with me on Instagram or Mastodon or Bluesky.
Harvesting My Own Sugar Beet Seeds
Hello friends,
Back in the Winter of 2024 I was perusing the Kings Seeds website looking for seed packets to buy for the upcoming spring season. One of the packets I was looking to purchase was Sugar Beet seeds, which Kings Seeds had supplied for many years. As you may have seen in my blog, I grow Sugar Beet plants as a source of my own sugar. You can read all about my Sugar Beet extraction method in this blog post from 2023.
Except there wasn't any Sugar Beet seed packets available on their website. So I contacted Kings Seeds and asked them if they were going to be selling Sugar Beet seeds that year, and they told me they were no longer going to be stocking them. I had a little panic, but then went online to see if anyone else in New Zealand was selling Sugar Beet seeds for the home gardener. Unfortunately, I wasn't able to find any Sugar Beet seed suppliers, and all of the big commercial seed companies were only selling fodder beet for farmers.
So now I was panicking big time. All I had left was one packet of Sugar Beet seeds, and it was only half full. The expiry date had run out as well, and Sugar Beet are biennial, which meant that seed harvesting from any plants was two years away.
Determined not to give up, in Spring I direct sowed all the Sugar Beet seeds I had left, and impatiently waited for them to germinate. I managed to get a small number of seedlings dotted around the vegetable garden, with each plant growing under slightly different conditions, with the hope that some of the plants would survive the two year wait to collect my own Sugar Beet seeds.
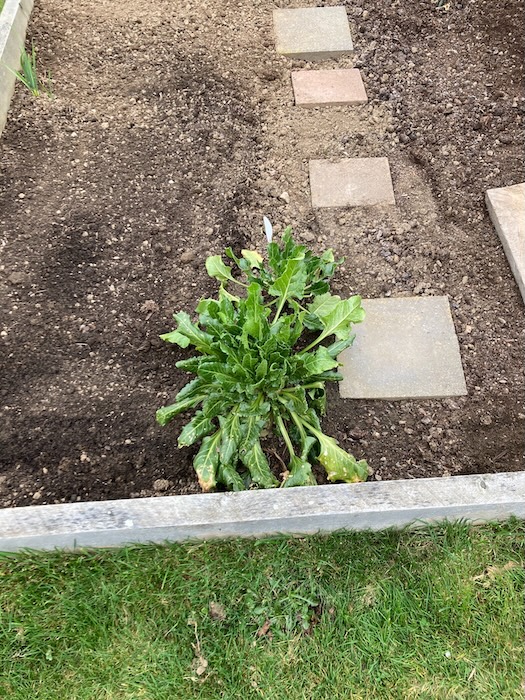
A number of Sugar Beet plants managed to survive the first growing season, including a very cold winter with -6˚C frosts, and then started growing again in their second year. The Sugar Beet plants began bolting over summer, and started flowering in February of 2025. By this time the plants were very tall, about 1.5 m high, and were prone to toppling over in the wind. A number of plant supports were erected to keep the plants upright until the Sugar Beet seeds were ready to be harvested.
In late March 2025 it was finally time to start harvesting the Sugar Beet seeds, and I made the decision to harvest them by hand, picking off each of the seeds one by one as they became brown. This long and drawn out period of harvesting the seeds took around two months, and then once they were nice and dry, I stored them away over this winter.
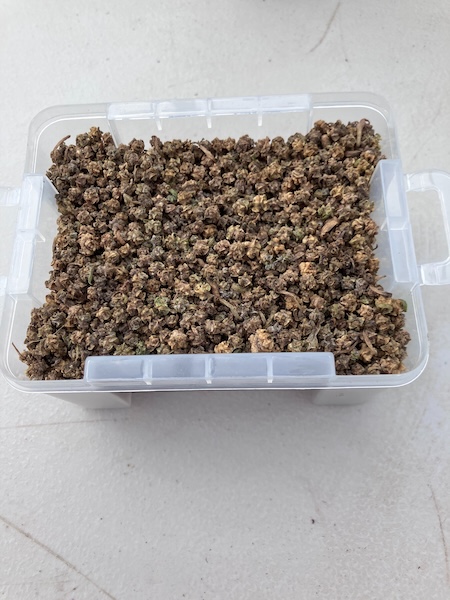
Now I have my own Sugar Beet seeds to use year by year to make my own sugar, and to collect my own seed in Autumn, whenever I need to. And I'm also pleased to say that I have enough Sugar Beet seeds at the moment to sell my excess to other home gardeners through my small business Hearth & Oak. If you are interested in buying some of my Sugar Beet seeds so you can grow your own Sugar Beet, and then collect your own Sugar Beet seeds in the years to come, please follow this Sugar Beet seed packet link to my Felt Store.
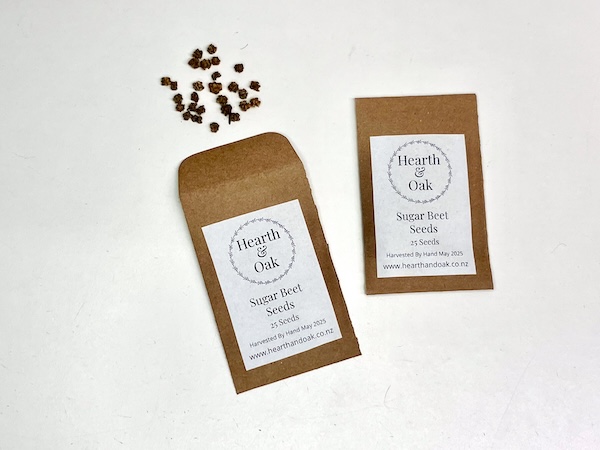
I had not intended to use this blog commercially to sell anything through my small business Hearth & Oak, but the thought of home gardeners in New Zealand not having access to Sugar Beet seeds and plants in the coming years, was too much to bear. Rare and interesting seed varieties in New Zealand deserve to be saved, and this is my attempt at doing this for Sugar Beet at least. I hope that if you do buy some of my seeds, my blog posts on Sugar Beet will help you grow your own plants, and then collect seeds, so that you can grow Sugar Beet every year.
Have a wonderful day
Julie-Ann
Want to discuss my post? Feel free to chat with me on Instagram or Mastodon or Bluesky.
Social Media


Archives