
Sowing Seed Potatoes
Hello friends,
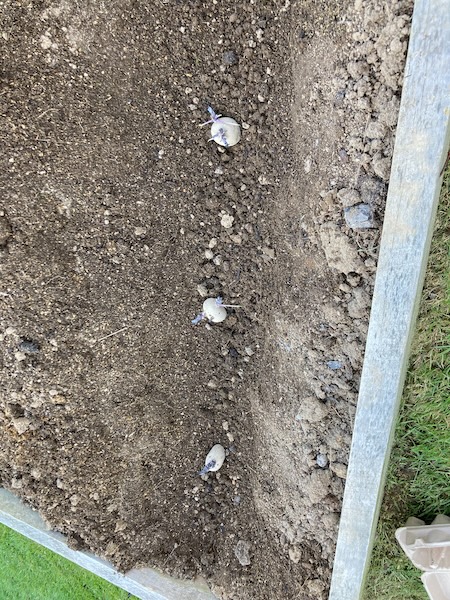
I've recently sown two of our potato varieties into the vegetable garden. At this time of the year I plant Rocket and Jersey Benne potato varieties, and that way we'll have new potatoes ready for Christmas day eating.
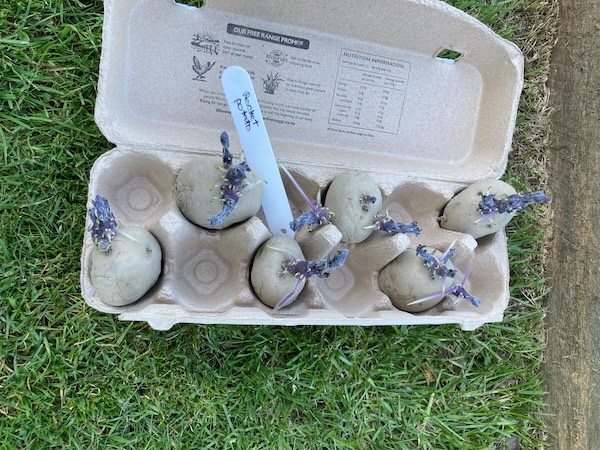
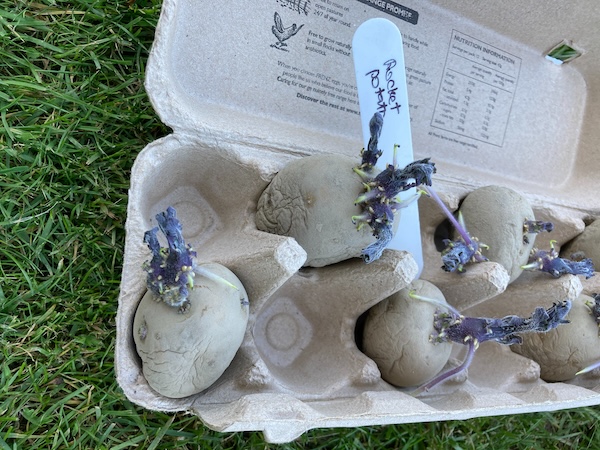
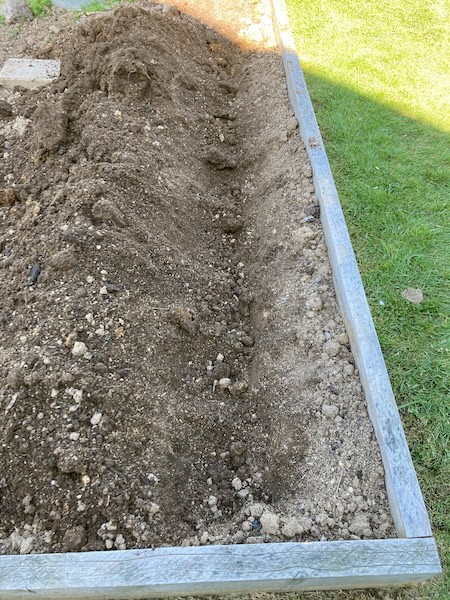
I dug two deep trenches side by side, with the Rocket on the right,and the Jersey Benne on the left. This way the Rocket and Jersey Benny potatoes both get good light, and don't fight for sunlight. Rocket potatoes only need 60 days before they're ready to harvest, and they grow quite fast. Jersey Benne on the other hand require 60 - 90 days before they are ready to harvest.
In a couple of week's I'll plant the rest of my potato varieties into the garden, Ilam Hardy and Haylo. They have longer days until harvest, and will be ready to be dug up in January. We use these varieties for roast potatoes, and for making gnocchi.
Have a wonderful day
Julie-Ann
Want to discuss my post? Feel free to chat with me on Instagram or Mastodon or Bluesky.
Early Spring Vegetable Garden Update
Hello friends,
I just wanted to update you on what's been happening in the vegetable garden over winter.
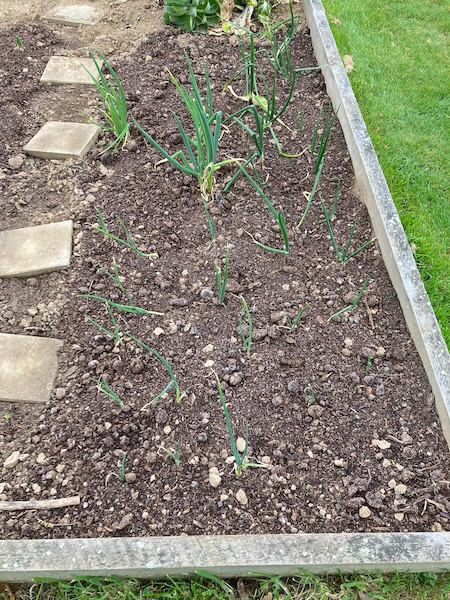
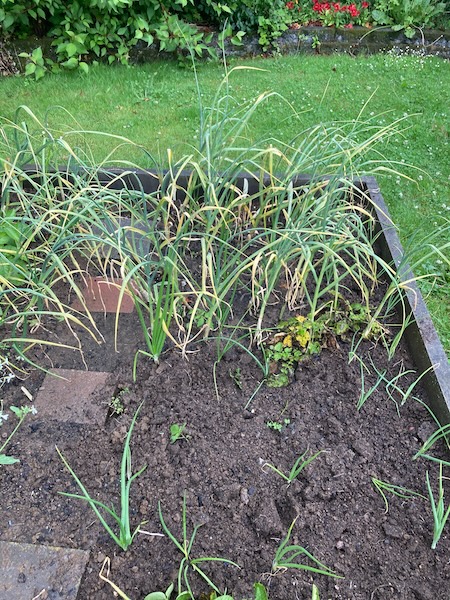
The garlic I planted in late autumn has been growing well, and I even got a couple of surprise garlic plants after we forgot to harvest some bulbs last summer.
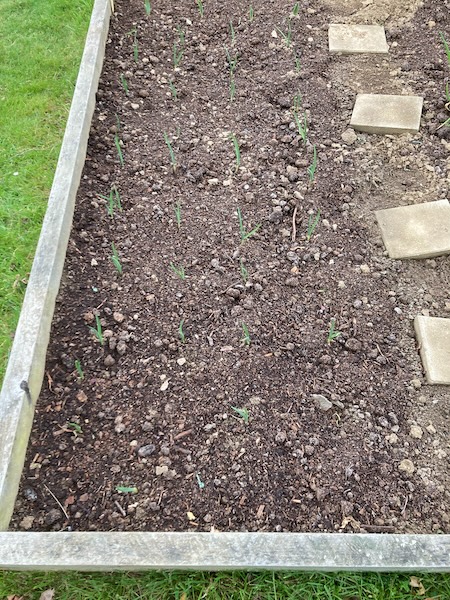
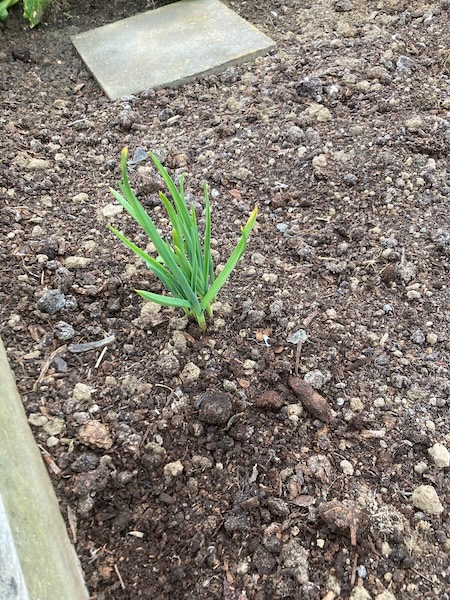

The onions and spring onions have also been growing well, and I've been harvesting our spring onions as we need to use them in recipes.
The sugar beet plants I'm growing to harvest for seed are also growing well, and I hope they'll soon send up flower buds.

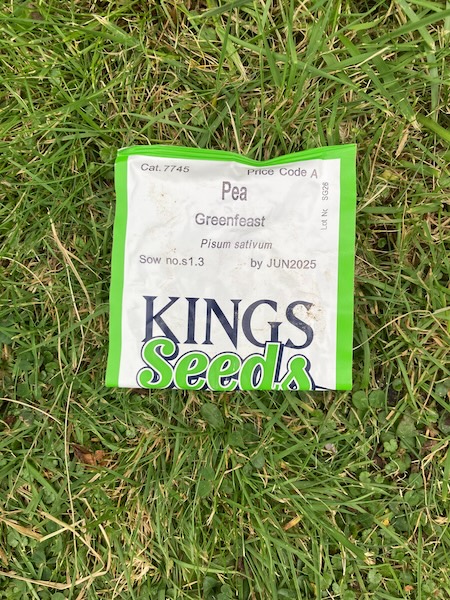
And finally, I sowed peas seeds direct a couple of weeks ago as well. And as a bonus I finally have a use for the old wooden trellis I took down off the woodshed last autumn while we were painting it.
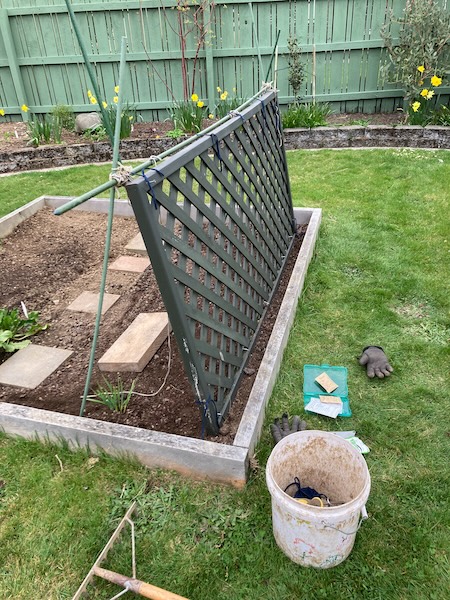
The next thing to direct plant into the ground is our seed potato varieties, but first I need to prep the garden bed they're going into.
Have a wonderful day
Julie-Ann
Want to discuss my post? Feel free to chat with me on Instagram or Mastodon or Bluesky
Tomato, Capsicum, and Lime Soup Recipe
Hello friends,
Happy winter solstice, soon the days will become much lighter again!
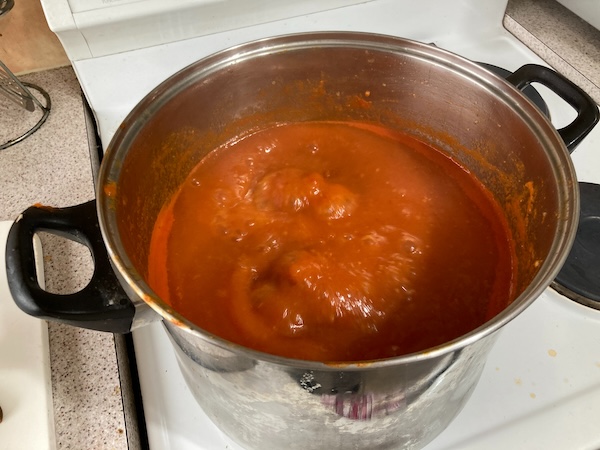
We're heading into the coldest time of the year, so I thought I'd share with you my favorite soup recipe, which is Tomato, Capsicum, and Lime soup. The ingredient list is pretty small, and most years I've grown my own tomatoes, lime, garlic, onion, and chilli for the recipe. I've had a bad run of growing my own capsicums, so I buy frozen capsicums from Frozen Direct for the recipe, as it's much cheaper and it comes pre-chopped.

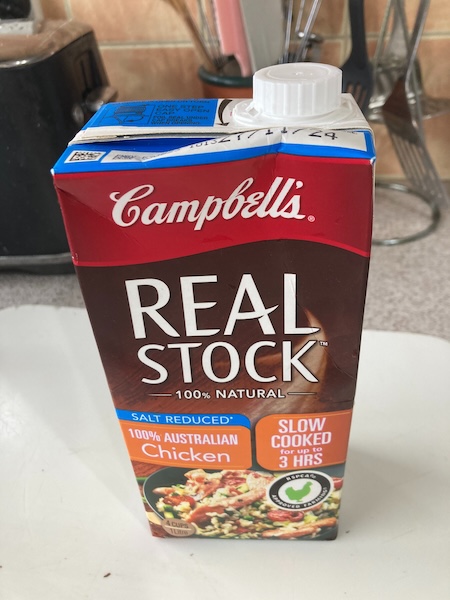
In this recipe you can choose whichever stock you want, we usually use a salt reduced chicken stock, or if you want a vegetarian option, go for a vegetable stock.
Tomato, Capsicum, and Lime Soup
Ingredients
1 tablespoon Olive Oil
1 large Onion
1 clove of Crushed Garlic
1L Chicken Stock (Vegetable stock works great also)
4 Red Capsicums deseeded and chopped, OR
600 grams frozen Red Capsicums
1 small red Chilli or ½ teaspoon Chilli powder (this is approx, it depends on what heat level you like)
3 tins of tinned 400 gram tomatoes OR
one 2L ice cream container of frozen homegrown tomatoes
1 Tablespoon of tomato puree (This is purely optional. It depends on how tasty the tomatoes are in the recipe. My advice is to do the recipe up to step 4 without the tomato puree, and do a taste test, and if it’s not tomatoey enough, then try adding tomato puree by the tablespoon)
1 Lime – Juice + Zest
Salt and Pepper to taste
Recipe
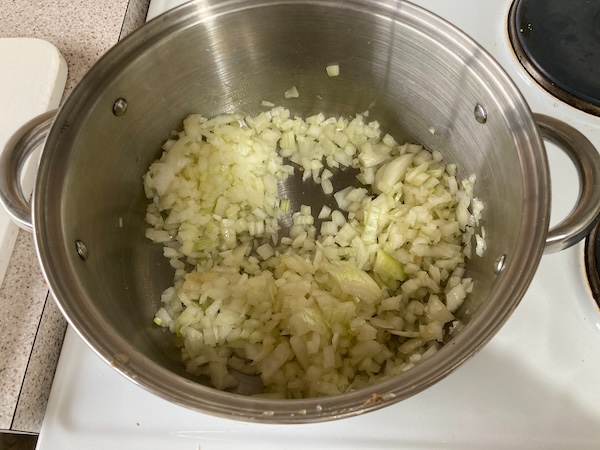
(1) Cook chopped onion and garlic gently in olive oil in a covered pot for approximately 5 minutes until softened, stirring occasionally.
(2) Stir in chopped capsicum, chilli, tomatoes, and chicken stock. Bring to the boil and simmer for 20 minutes.

(3) Puree the mixture with a stick blender until smooth.
(4) Do a taste test once the soup is at a smooth consistency, to see if tomato puree needs to be added. Add the juice and zest of the lime.

(5) Simmer for 10 minutes, and then do a taste test to see if salt and pepper is needed. Add salt and pepper and simmer for 5 more minutes.
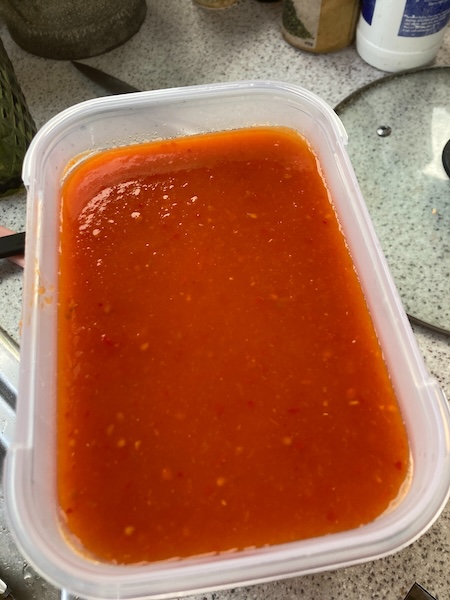
(6) Enjoy the soup straight away, or freeze if you have any excess. This recipe gives approximately 4 - 6 serves depending on how big your soup bowl is.
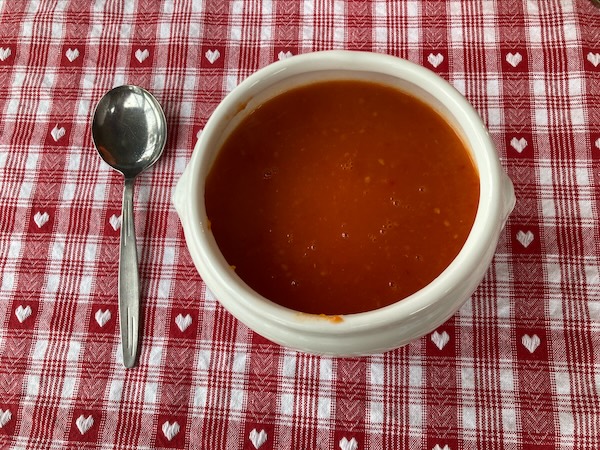
This soup recipe, is my favorite of all time, and I look forward to eating it each autumn and winter. We usually have it with toasted ciabatta and a sprinkling of Parmesan cheese, but it is wonderful just on it's own. I usually also make a double batch, so that we have plenty of this soup over winter whenever I have a hankering for it. I hope you give this wonderful soup a go, and please let me know what you think of the recipe...
Have a wonderful day
Julie-Ann
Want to discuss my post? Feel free to chat with me on Instagram
or Mastodon or Bluesky.
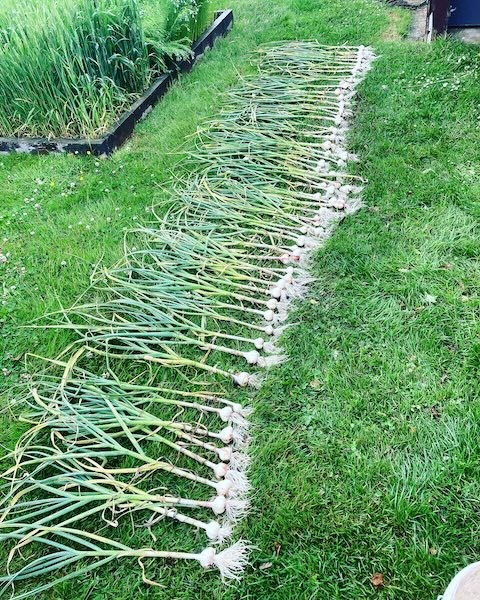
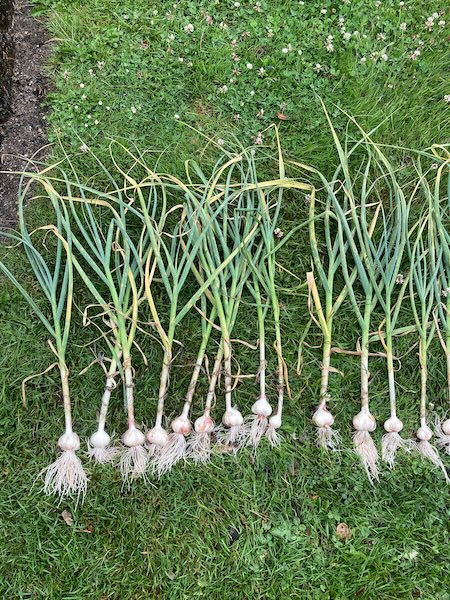
My 2023 Garlic Harvest
Hello friends,
According to one of last year's blog posts, I sowed my garlic bulbs for this season on Friday the 2nd of June 2023. Apparently, at that time I planted 60 Printanor bulbs, and in my naive state back then, claimed that we hadn't had any problem with garlic rust in all the years since we returned to Dunedin, so I wasn't worried about it happening at all.
Well it turns out I was really wrong about this. Normally, the humidity in Dunedin in spring usually isn't too bad, but unfortunately in mid-December 2023 the tell tale signs of garlic rust began appearing on my garlic plants after a period of rainy, humid days. I was devastated to say the least, but it was only a few weeks until the garlic harvest, so I prayed for lots of dry and sunny weather, and hoped my garlic plants had already formed decent bulbs while I waited impatiently for harvest day.
A couple of days after Christmas, my garlic plants were ready to harvest. It was a gray, drizzly day, but hubby and I got to work, and began lifting all the garlic bulbs. It wasn't the biggest garlic bulb haul in the world, but it was good enough for us. I had been hoping for lots of large bulbs, so I could swap some of our harvest for other things like apples and pears etc in autumn, but due to their smallish size, we ended up only with enough to last us for the year.

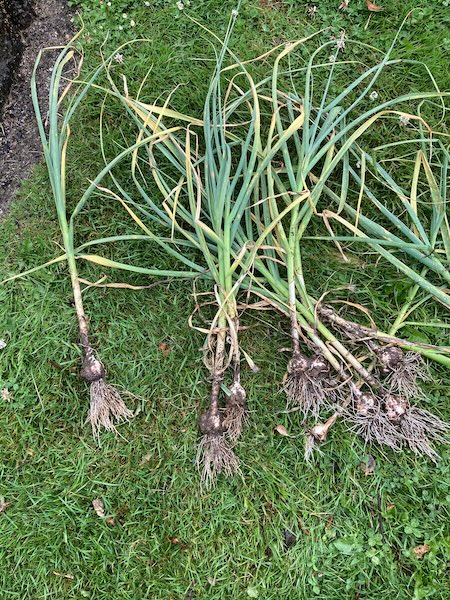
After a quick spray with water to clean off all the dirt, we made the decision to harvest the garlic then and there. Garlic plants with rust don't tend to keep very long while stored dry and whole, so we harvested the garlic bulbs and froze the cloves in our chest freezer. When we cook with garlic we just use the cloves, or we dehydrate the garlic to get flakes and powder.
The thing about growing underground vegetable crops is that you're not entirely sure what the harvest will be like until you dig them up. It's really just a case of making do with what you get, and then planning accordingly. If gardening life was predictable all the time, it would probably be boring...but I still would've loved to have a bigger harvest. So instead, I'll just have to buy autumnal fruit the normal way, at the supermarket.
Have a wonderful day
Julie-Ann
Want to discuss my post? Feel free to chat with me on Instagram or Mastodon or Bluesky.
The Vegetable Garden is Planted
Hello friends,
Over Labour Weekend in October hubby and I planted our vegetable garden for the summer.
My first task was to weed the garlic growing in the smallest vegetable garden bed, and then also sow onions, carrots, beetroot, radish, sugarbeet and carrot seeds as well.
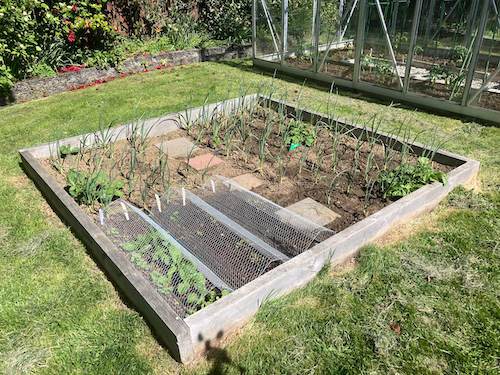
Hubby then dug over the two remaining large garden beds, and I added sheep pallet fertilizer for the soon to be growing plants.
For the next bed, which was already growing peas and potato plants by now, I added lettuce, rocket, black turtle beans, summer sprouting broccoli, and cabbage, that I had been growing in the glasshouse.
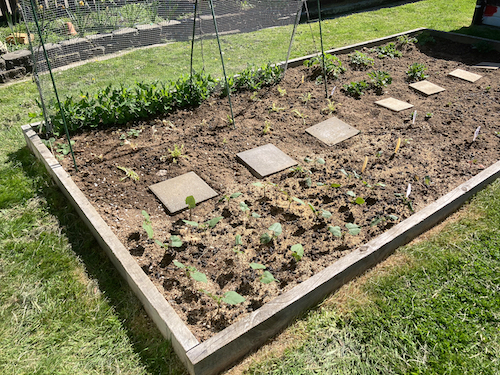
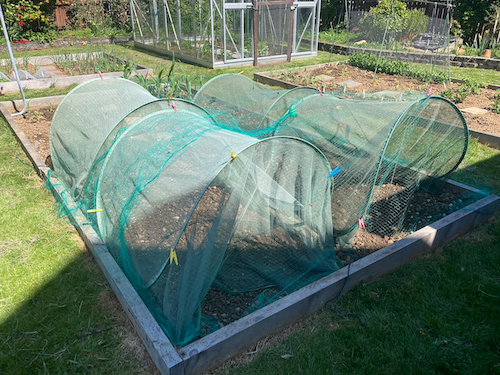
With the last large garden bed I planted maize, corn, and pumpkin plants in the top half. In the bottom half of the garden bed I sowed wheat and linen flax seeds, while hubby acted as a scarecrow to keep the birds off them, and then we double bird netted the seeds to protect them from the birds.

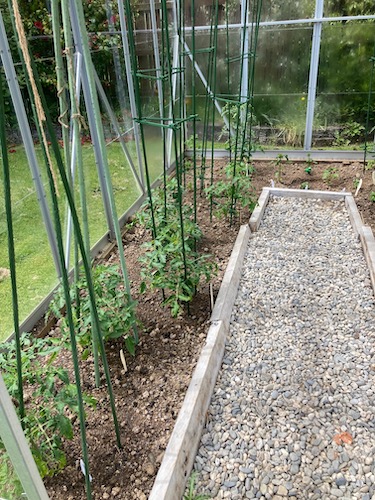
With most of the glasshouse now empty of plants, we emptied out the space, and hubby dug over the garden bed. After that there was just the task of fertilising the soil, and then planting cucumbers, basil, chillies, capsicum and many tomato plants. There was also the big task of setting up all the climbing frames for the growing plants.

It's been a few weeks now, and everything is growing nicely in the garden, despite low snow falling the week after we planted everything. I can't wait to feast on all our vegetables over the coming summer.
Have a wonderful day
Julie-Ann
Want to discuss my post? Feel free to chat with me on Instagram or Mastodon.
Social Media


Archives