
Sowing Ranunuculus Seeds
Hello friends,
Three weeks ago I finally got around to sowing the ranunculus seeds I bought from Bud & Bloom back in January. The seeds don't germinate in hot weather, so I had to wait until late March when we start to get cooler mornings.

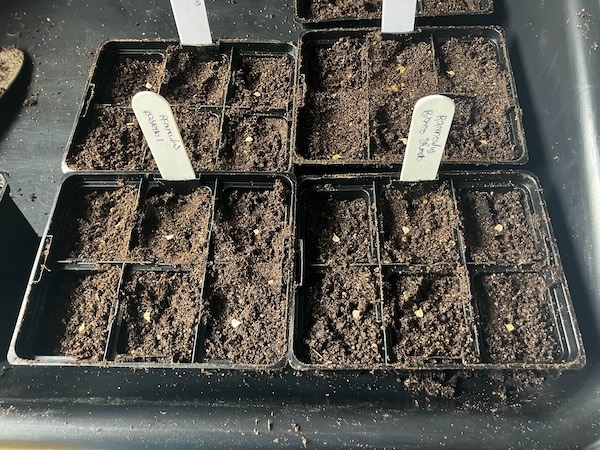
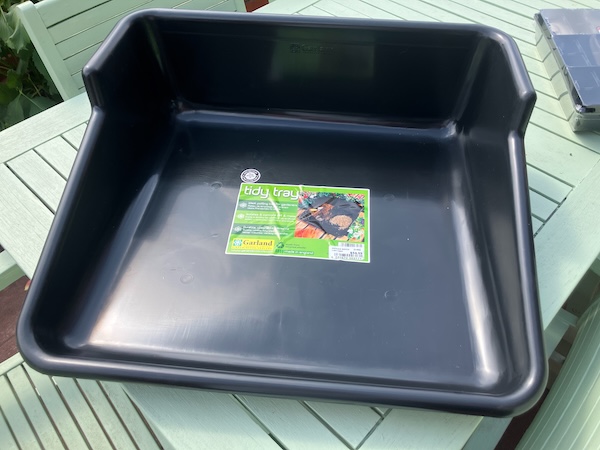
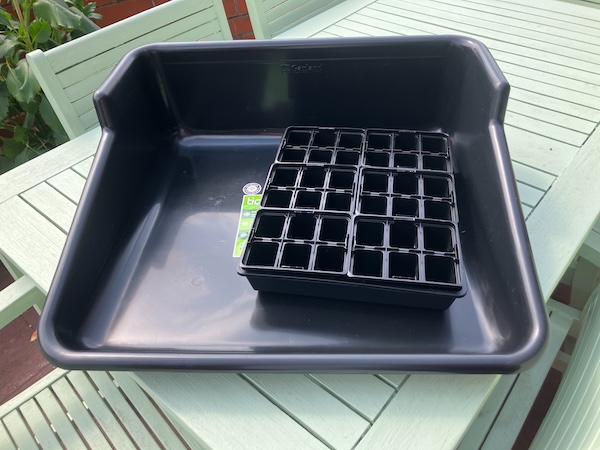
I pulled out my new seed sowing tray protector and got to work. I'm so pleased that I invested in buying it earlier this year, as it cuts down on mess big time, and it's so much easier to sow seeds.
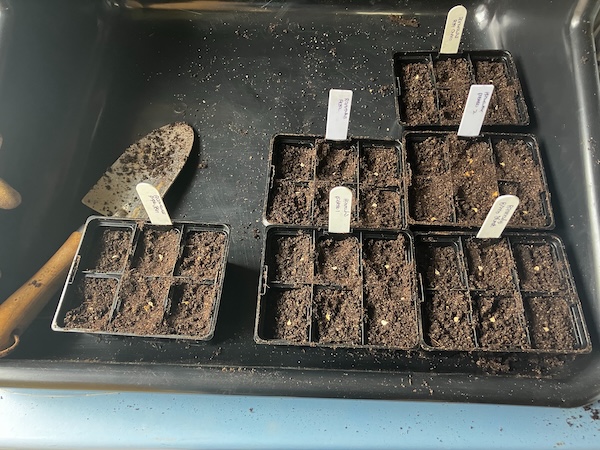
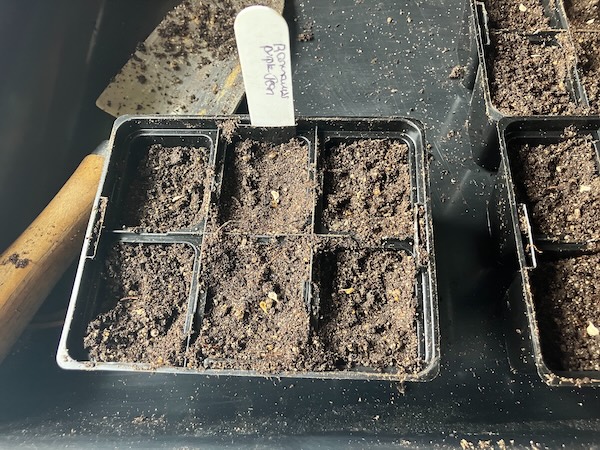
I sowed one seed per cell, and gently covered each ranunculus seed with vermiculite as suggested in the instructions that came with the seeds. I gave them a good watering and stored all the seed trays undercover in the woodshed where it is cool for most of the day.
Now came the patiently waiting part, as ranunculus are notoriously slow at germinating, usually taking 2 - 3 weeks to germinate. Each day I checked on the seed trays and kept the vermiculite damp.
Two weeks after seed sowing, a single ranunculus seedling popped it's head above the vermiculite, and then another and another over the next few weeks.
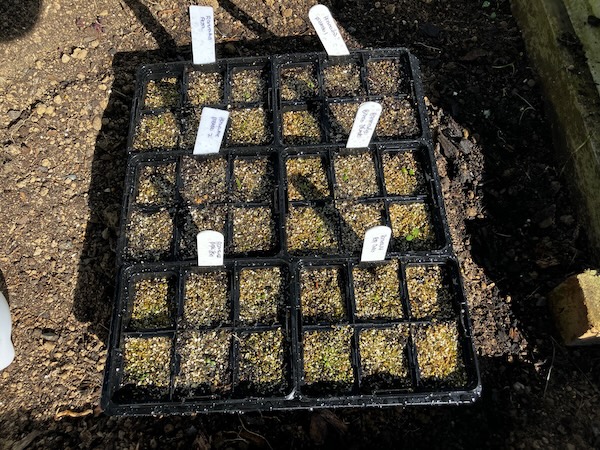
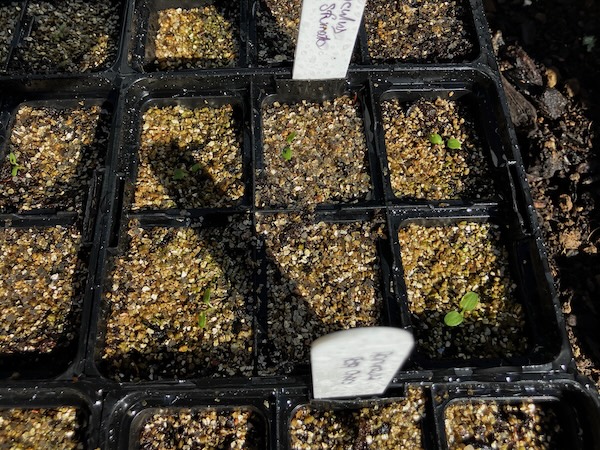
Quite a few seedlings have come up now, and they are slowly growing in their seed sowing cells. Over the coming weeks they'll grow their underground root systems, and then as the weather gets even cooler, the plants will grow more leaves. I can't want to see lots of ranunculus plants flowering in spring this year.
Have a wonderful day
Julie-Ann
Want to discuss my post? Feel free to chat with me on Instagram or Mastodon or Bluesky.
Ranunculus Seeds from Buds and Bloom, and a new Gardening Tool
Hello friends,
I was scrolling on Instagram recently, and came across a New Zealand flower seed business called Buds and Blooms Flower Farm. They were currently selling French and Italian ranunculus seeds in the most gorgeous colours. Before you could even say "shut up and take my money", I'd filled up my online cart and bought a bunch of ranunculus seeds for me to grow this March, for flowering next spring.
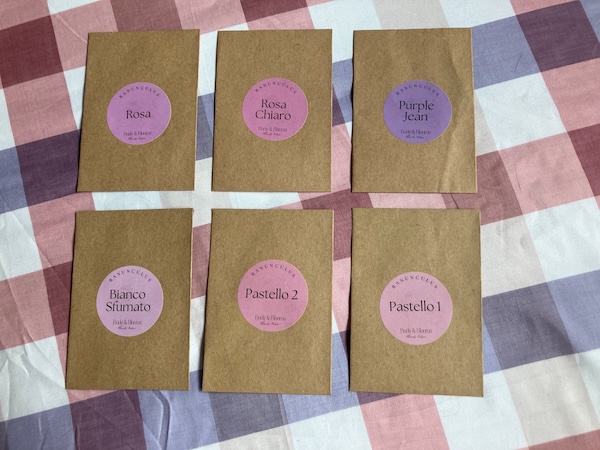
I bought the following ranunculus varieties:
* Bianco Sfumato, an Italian variety, "Shades of white, ivory and cream with a flush of pink. A fully double, luxuriant flower."
* Pastello 1, an Italian variety, "The perfect pastel mix of dreamy blush, pink, salmon and peach."
* Pastello 2, an Italian variety, "The perfect pastel mix of dreamy blush, pink, salmon and peach! This blend is heavier on the darker blush and salmon/peachy tones."
* Amandine Purple Jean, a French variety, "Gorgeous Mauve and purple blooms with a slight soft scent."
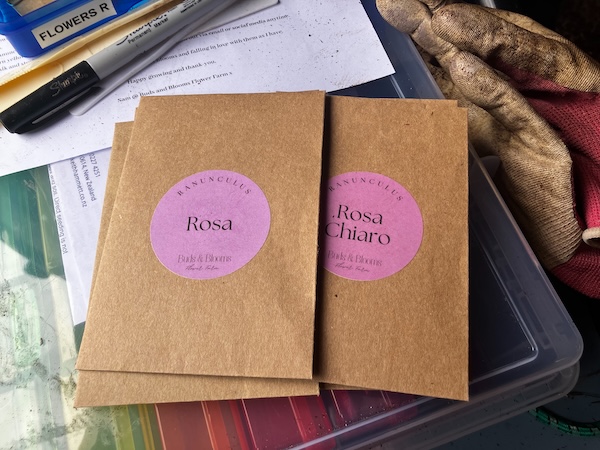
* Rosa, an Italian variety, "Rosa is one heck of a producer! Long, strong stems with the most perfect double pink bloom."
* Rosa Chiaro, an Italian variety, "Rosa Chiaro is a gorgeous, delicate Italian Ranunculus with it's pretty and delicate coloring. Long stems producing flowers in the most
perfect range of soft pinks."
I am very excited to start all these ranunculus varieties from seed this coming autumn, and then overwinter them in the glasshouse this winter, before planting them out in spring.
And as a bonus I get to use my newly purchased Potting Bench Tidy Tray for potting them out this autumn. I've wanted one for ages, but no one in New Zealand makes them. Occasionally, they're imported into the country from England, but they tend to get sold out very fast. Last month I managed to buy two at Nichol's Garden Center, and I gave one to my sister for her birthday, and kept one for me. No more messy seed sowing and potting mix everywhere!
Summer is coming to an end pretty quick, with the nights getting darker now earlier, and some of the deciduous tress in our neighbourhood are already starting slowly to change colour. It's sad to think that summer will be gone soon, but I'm now excited to be sowing seeds in March for the coming spring in September.
Have a wonderful day
Julie-Ann
Want to discuss my post? Feel free to chat with me on Instagram or Mastodon or Bluesky.
Floret Dahlia and Zinnia Sowing
Hello friends,
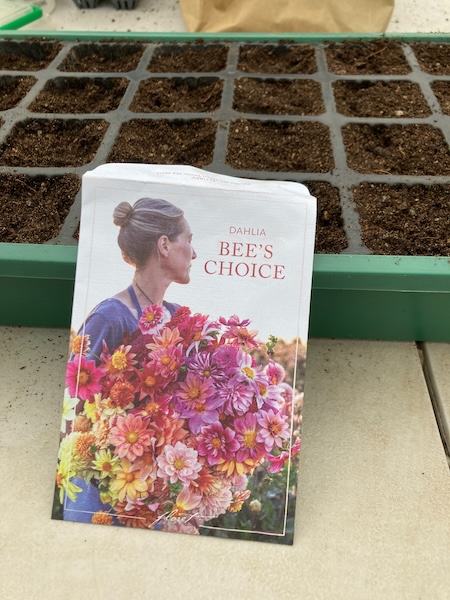
A couple of weeks ago I sowed my zinnia and dahlia seeds from Floret, that I purchased from Emerden in New Zealand. And yes, if you may have noticed, I ended up ordering a third zinnia variety from Floret, their Unicorn Mix.

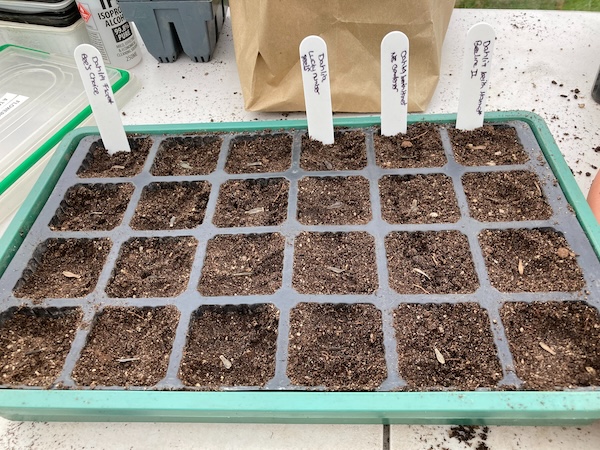
I sowed all the seeds in dome propagating trays, along with dahlia varieties including seeds from my favorite Lucky Number dahlia growing in my garden, and also two Keith Hammett dahlia varieties (NZ dahlia breeder), NZ Gardener mix (from the NZ gardener magazine), and also Dahlia Beeline II. I'm considering crossing the Keith Hammett and Floret dahlias to see if I can come up with a new amazing variety.
The seedlings all popped up super quick while living in our warm dining room, and within a couple of weeks they were ready to be potted on into bigger individual pots with potting mix. The seed sowing strike rate was higher than advertised on the packets, so I'm really happy with the investment.
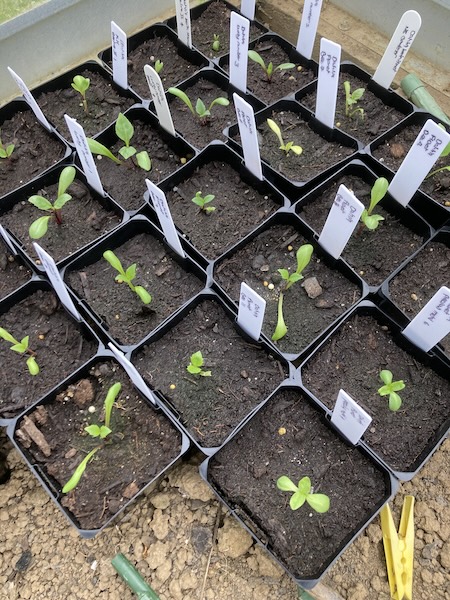
They're now safely growing in my glass house, and are covered in frost cloth each night for protection. I can't wait for when they get big enough to plant out in the garden.
Have a wonderful day
Julie-Ann
Want to discuss my post? Feel free to chat with me on Instagram or Mastodon or Bluesky.
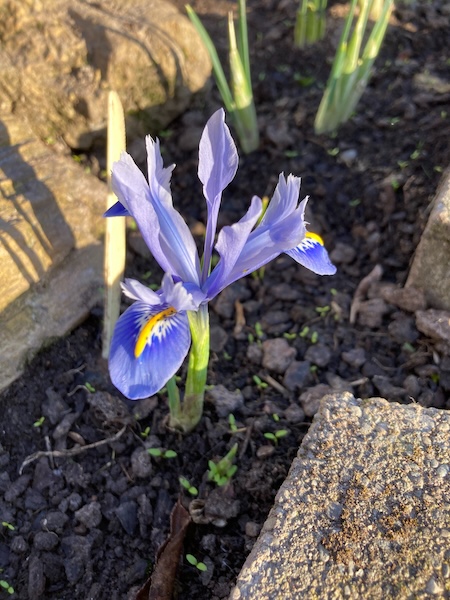
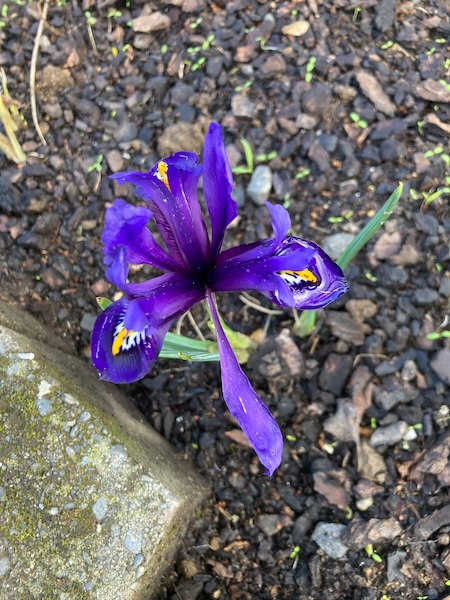
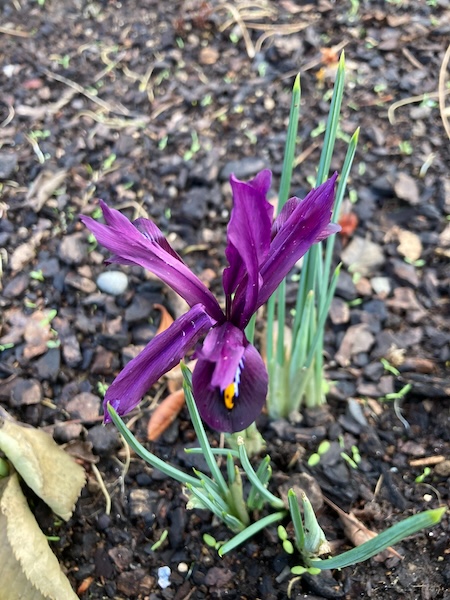
Signs of Spring 2024
Hello friends,
Spring is just around the corner, and my garden is showing many signs of spring. I'd thought I'd share with you some photos I've taken recently.
My miniature Irises have already put on a show with their beautiful, dainty flowers.
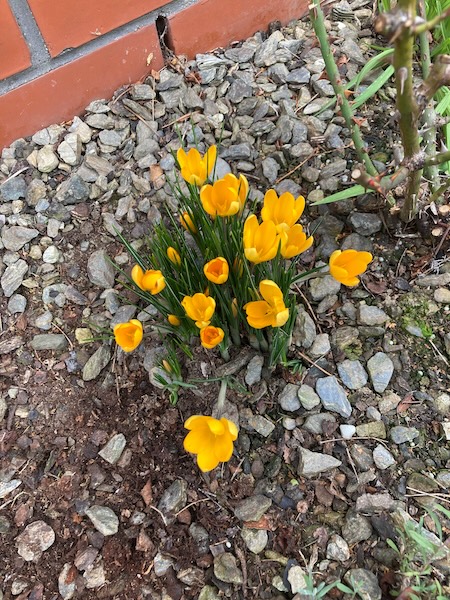
Crocuses have also been flowering.
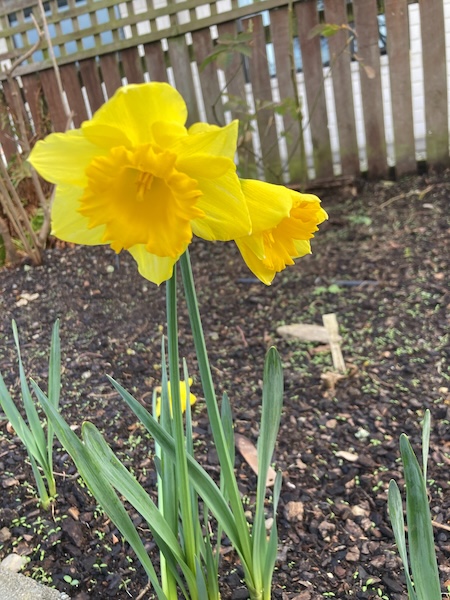
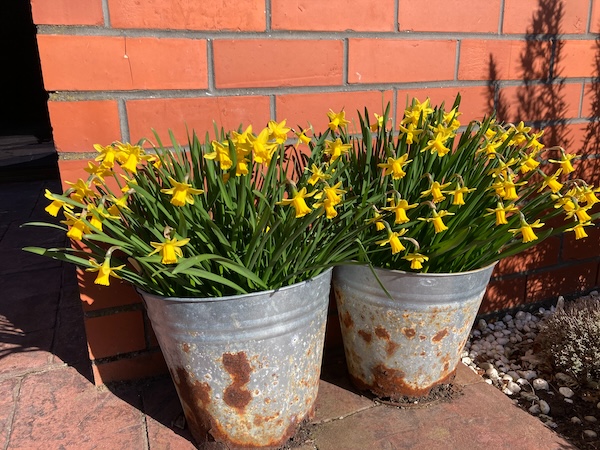
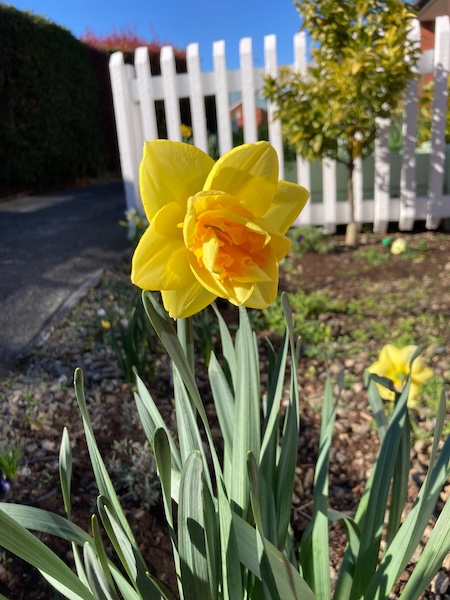
As are a lot of my daffodil varieties.
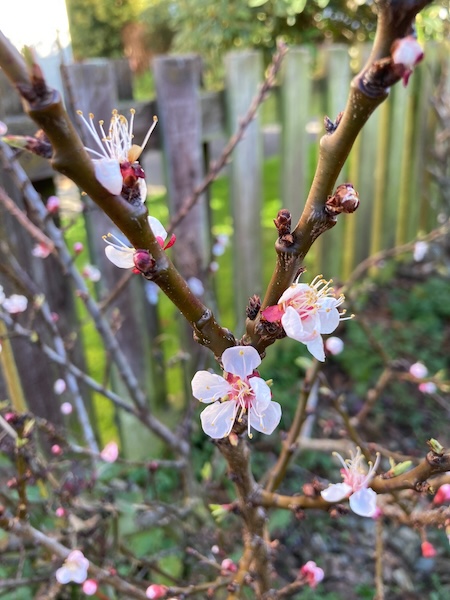
And finally, my deciduous shrubs and trees have started breaking their buds, and there's also blossom appearing on our fruit trees.

Spring is less than a week away, and I'm so excited for warmer and longer days. There's lots to do in the garden now, so it's time to get on with all the things, especially seed sowing.
Have a wonderful day
Julie-Ann
Want to discuss my post? Feel free to chat with me on Instagram or Mastodon or Bluesky
Floret Flower Farm and Other Seeds from Emerden Flowers
Hello friends,
I was doom scrolling on Instagram a couple of weeks ago, and came across a post by Emerden Flowers announcing they were collaborating with Floret Flower Farm in the USA, and they were bringing Floret and Dawn Creek Zinnias and Dahlias into New Zealand.
Before you could blink an eye, I had zoomed over to Emerden Flowers website, and excitedly perused the pre-order links to the Zinnias and Dahlia seed mixes. I've followed Floret Flower Farm for years, and even have a couple of their books. Their book "Discovering Dahlias" is my bible when it comes to Dahlias. I was so excited, even with the very high prices of the seed packets. Now was my chance to get some seeds, and I wasn't going to miss out. I still had money budgeted for our backyard garden project, and had no problem in justifying buying 3 seed packets to hubby, along with some other seed packets from Emerden Flowers I had been wanting.
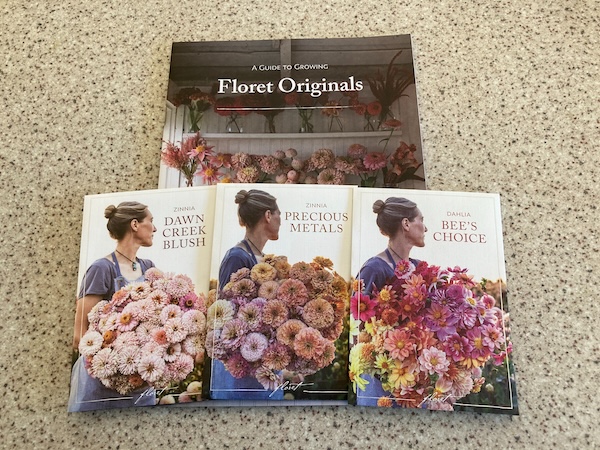
First up was choosing a Dahlia seed mix, I finally settled on choosing Floret Original Bee's Choice flower seed packet, as I want to encourage bees into my garden. Choosing two zinnia packets was more fraught with danger. After angsting over it for days leading up to when they went on sale, including spending way too much time on Instagram looking at people's photos of the various zinnia mixes, late on the Saturday night I chose Floret Original Precious Metals zinnias, and also Dawn Creek Blush zinnias, as they are colours that will fit in well in my backyard (as well as my front yard). I had also chosen a bunch of very cool Emerden flower seed packets, as some of them were on my list of plants to get for a while.
On the Sunday morning when the seed packets went on sale, I had all of the internet tabs open on the seeds I wanted, and I'd logged into Emerden Flowers website. In the minutes before 10 am I added all the Emerden Flowers into the web cart, and waited impatiently for 10 am. As soon as it hit 10 am, I reloaded the web pages for the Floret and Dawn Creek varieties I wanted, and added them to the cart. Once I was sure I got everything, I checked out, and bought it with my credit card.
It took a while before I got the confirmation email from Emerden Flowers, and then I started happy dancing.
Within a couple of days my precious seeds were delivered to my door, and it was time to fawn all over my pretty new seed packets.
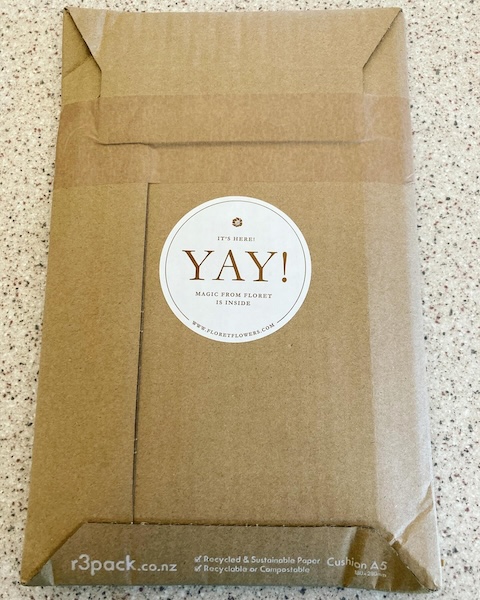
The packaging for the Floret Flower Farm part of the order was stunning, and I really loved the included growing guide.
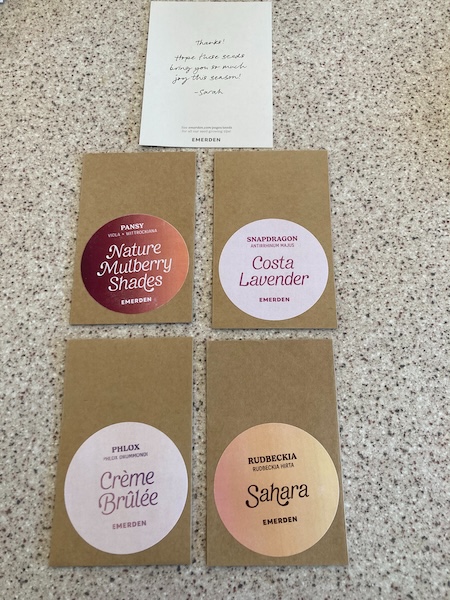
I also bought a range of Emerden flower seed varieties including pansy, larkspur, floxglove, sunflowers, cosmos, calendula, and echinacea.
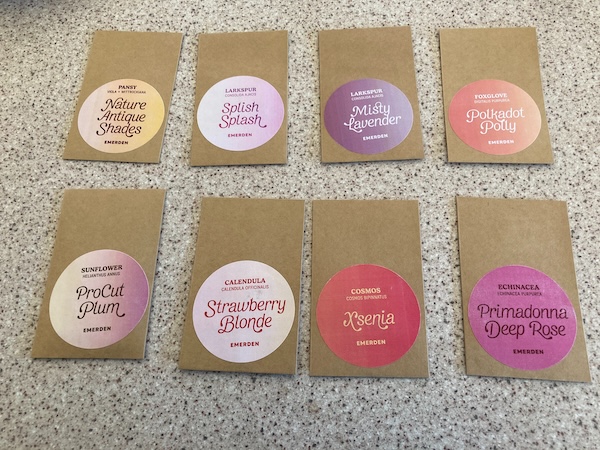
I am really excited to start planting these seeds in spring, which is less than a couple of weeks away now.
Have a wonderful day
Julie-Ann
Want to discuss my post? Feel free to chat with me on Instagram or Mastodon or Bluesky
Social Media


Archives