

Pressing Flowers and Leaves This Summer.
Hello friends,
This summer I undertook the process of pressing my own flowers and leaves, with the intention to arrange them in specimen frames.
For years I've seen this done on Instagram and also Pinterest, and I wanted the opportunity to try this myself. I already own a flower press thanks to my husband making me one back in the days when I was pressing and drying leaves and flowers for my New Zealand Certificate in Horticulture, and I've kept the flower press all these years just in case I needed it once again.
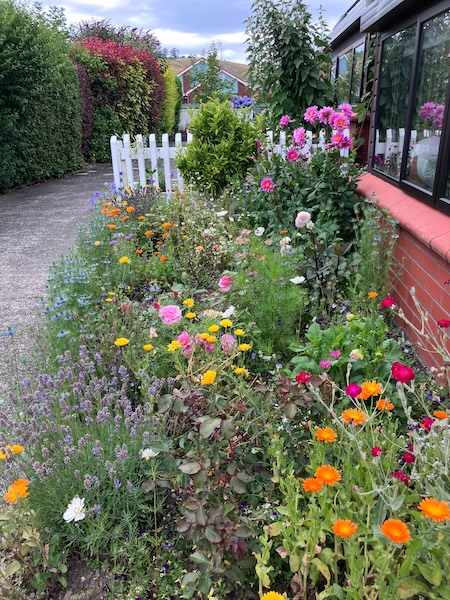
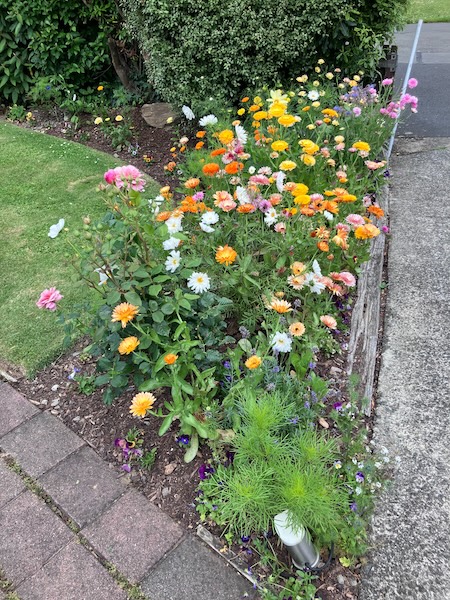
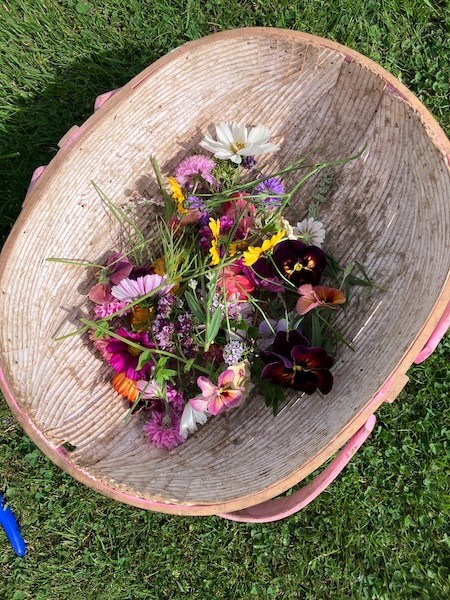
So over the summer I wandered around the garden every now and then, picking out flowers and leaves that appealed to me, and then set up my flower press for pressing them.
My flower press is made out of plywood which is sealed with polyurethane, and measures 20 cm wide by 30 cm deep and 10 cm tall, and has 7 sections to press flowers. The flower press is held in place with screws, washers, and wing nuts to apply even pressure over the plywood sheets.

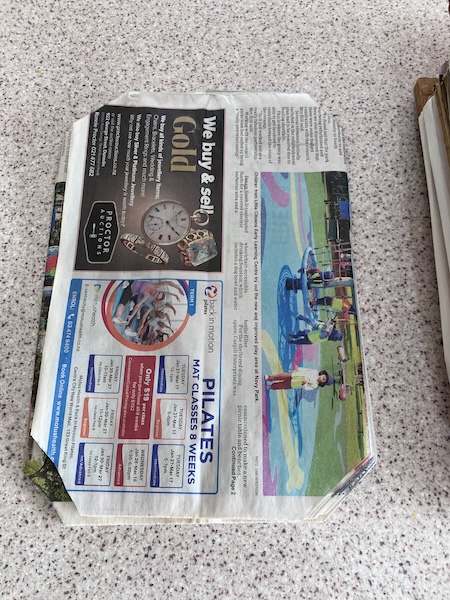
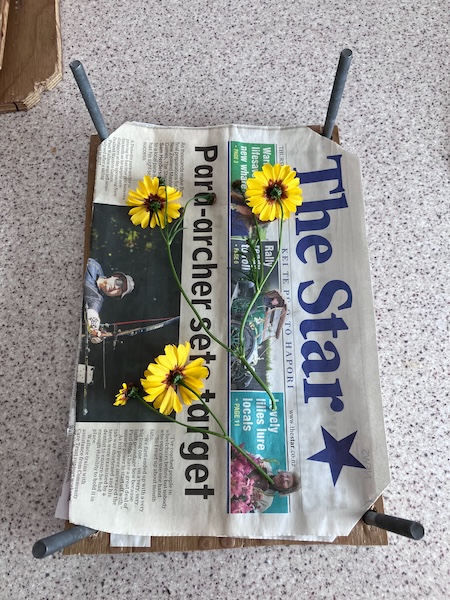
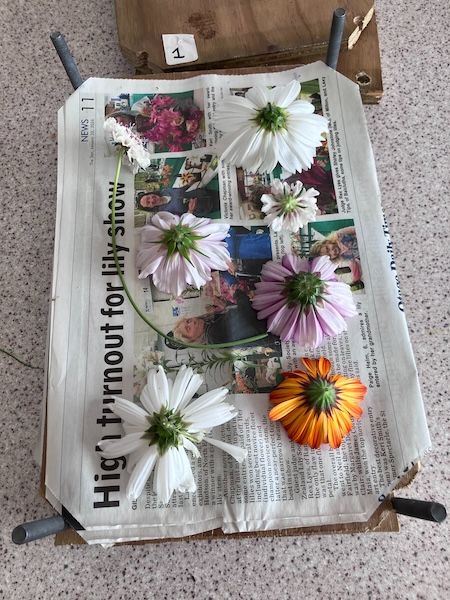
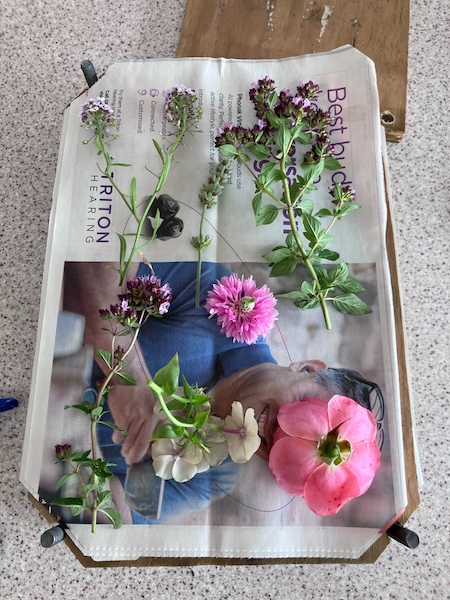
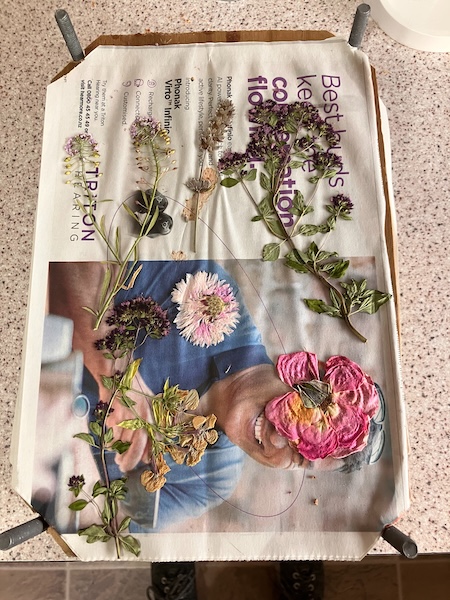
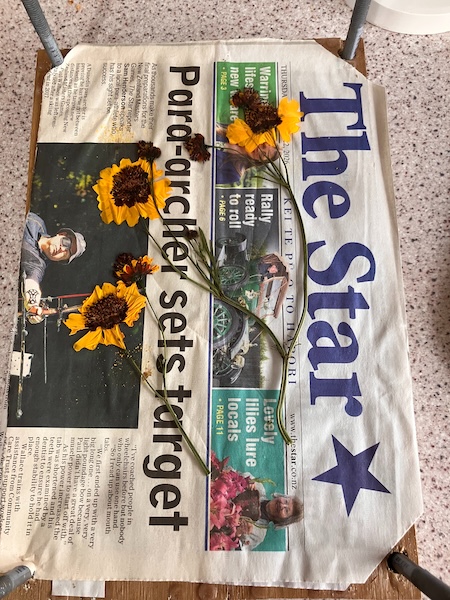
I cut up a large number of newspaper pages to fit the flower press, and got to work laying out the flowers in the sections.
I separated out the flowers and leaves into groups based on what flower and leaf type they were, and also how deep they were, so that similar depth flowers and leaves were pressed together in the same section.
Once the flowers and leaves were separated out, I placed them face down on two pieces of newspaper, making sure the flowers and leaves weren't touching. Two sheets of newspaper were placed on top, and then a plywood board was placed above them to form the next section.
Once all the sections were filled, I placed the last plywood layer on top, and then tightened the screws using the washers and wing nuts to begin pressing the flowers. With all the wing nuts screwed down evenly with the same pressure, the flower press was left in our dry garage for up to two weeks to press and dry the flowers.
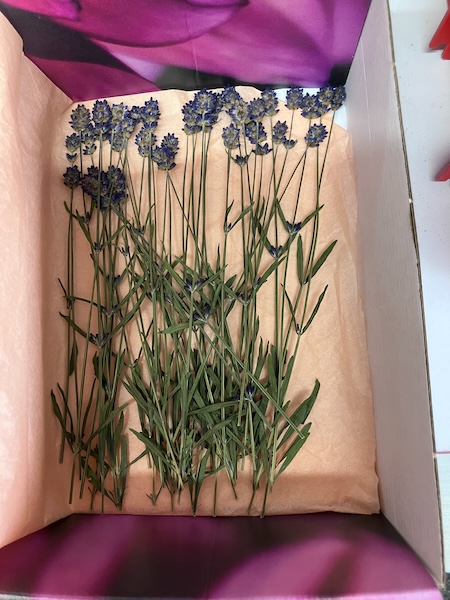
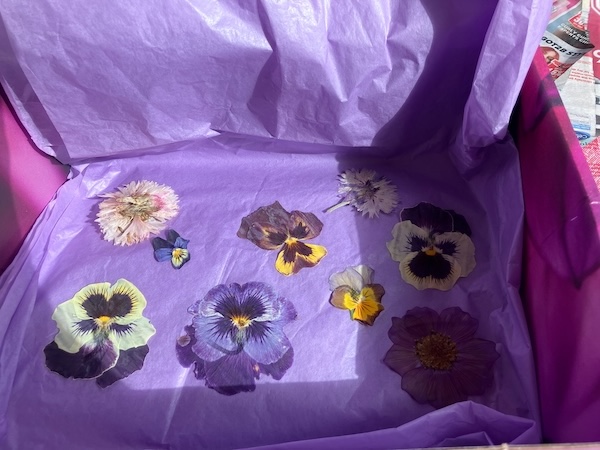
When the flower press was finally opened, it was time to remove the flowers and leaves from the paper layers. It can be a little tricky to remove the flowers and leaves without breaking them, but the best method I've found is to pry the paper away from the flowers and leaves (instead of prying the flowers and leaves away from the paper). For more tricky specimens, I used a pair of fine and flat tweezers to slide between the paper and flowers to break the seal.
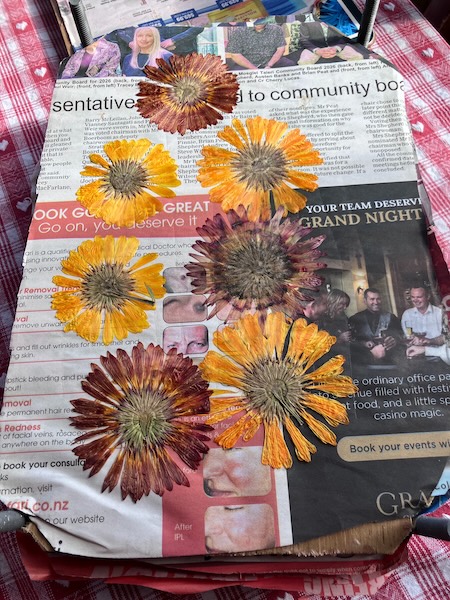
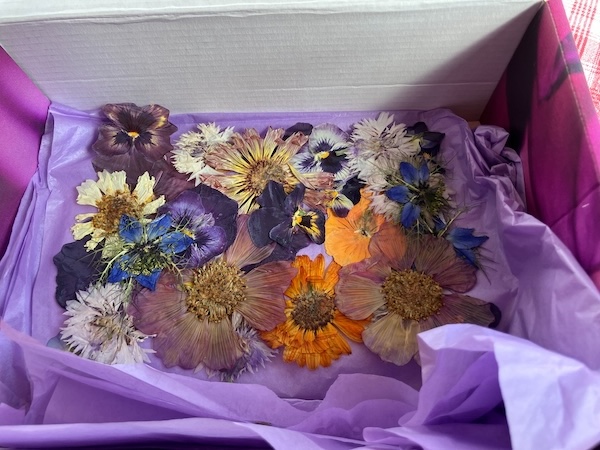
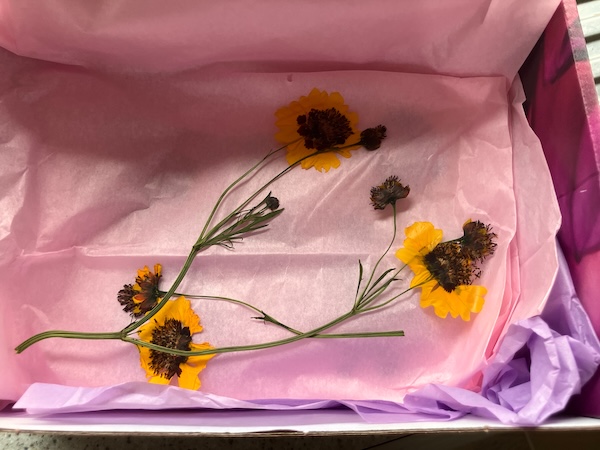
With the flowers and leaves released from the newspaper, I threw out or recycled the used paper, as sometimes the paper can develop a fungal infection from drying plants, or the paper becomes uneven afterward, making it unsuitable for pressing again. The resulting pressed flowers were laid flat in between tissue paper layers in a cardboard box for storage.
My plan for now is to continue collecting and pressing flowers and leaves, and later on in the year I will begin crafting my specimen frames...
Have a wonderful day
Julie-Ann
Want to discuss my post? Feel free to chat with me on Instagram or Mastodon or Bluesky, and now also Facebook.
Social Media


Archives