
Planting Japanese Indigo in My Natural Dye Garden
Hello friends,
With October in full swing, it was finally time to start getting seedlings into the ground. One of my first jobs was to squeeze my Japanese indigo seedlings into a small area of my natural dye garden. One of my plans for this growing season is to harvest more Japanese indigo leaves so I can experiment with natural dyeing over the summer.
The first job was to clear an area of the dye garden, pulling out a bunch of self-seeded calendula, coreopsis, and cosmos plants to make room for the indigo seedlings.
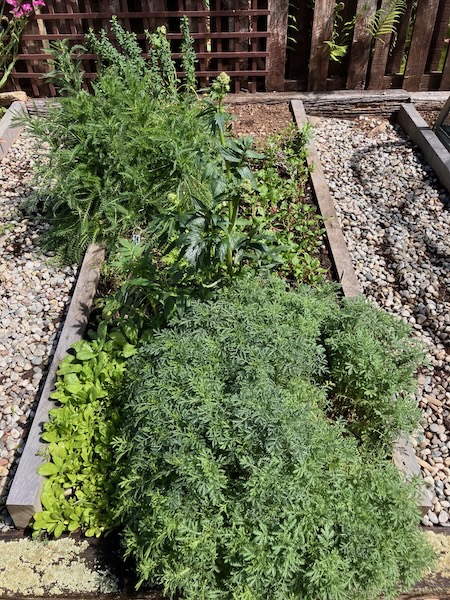
Once the ground was cleared, it was time to prepare the area for planting. With the weather being quite hot and dry lately, I wanted to give my Japanese indigo seedlings a good start. I sprinkled Tui Chicken and Sheep Pellets over the soil to add nutrients, along with some Saturaid to help the soil retain moisture around the plants' roots.
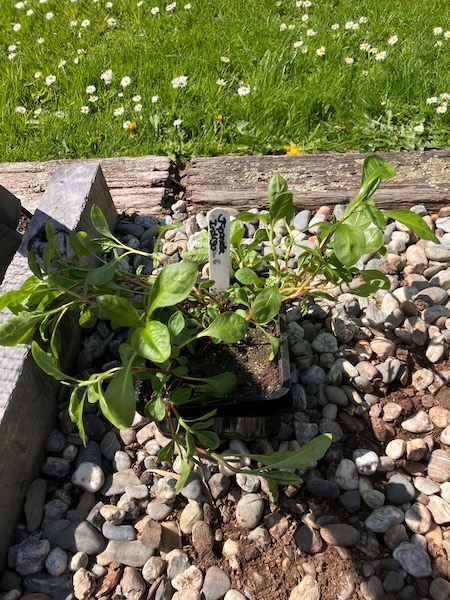
With the bed prepared, it was time to get my Japanese indigo seedlings into the ground. I gently separated them into individual seedlings and spaced them out across the prepared area. Once they were all in place, I gave them a good watering to help them settle into their new home.
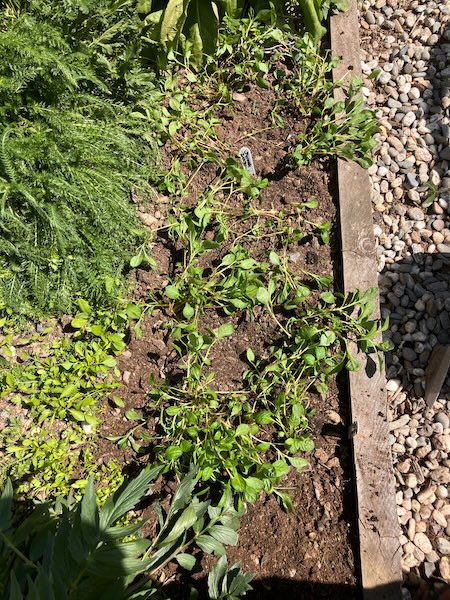
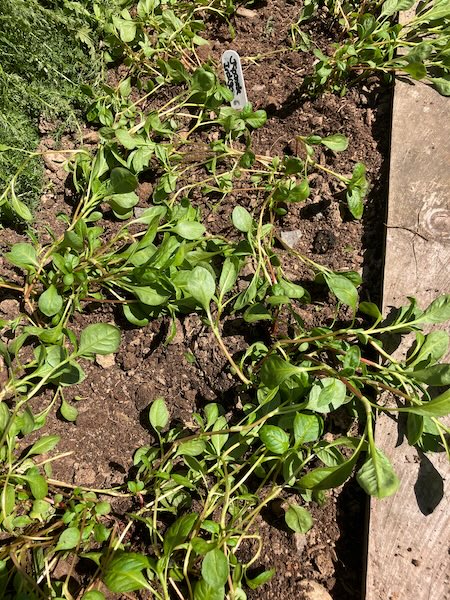
With the seedlings now in the ground, all that remains is to keep them well watered through spring and summer and let them grow. I'm looking forward to harvesting the leaves and trying out some Japanese indigo dyeing is summer.
Have a wonderful day,
Julie-Ann
If you'd like to continue the conversation, you can find me on Instagram, Mastodon, Bluesky, and Facebook.
Social Media



Archives