Carrot Forest Sampler Cross Stitch Project Framing
Hello friends,
Last year I finished the Carrot Forest Sampler cross stitch project from Owl Forest Embroidery (if you want to see more information about this project, please check out the original blog post here), and one of my tasks over the Christmas holiday break was to finally get around to framing it, and then getting it up on the wall in my craft room.
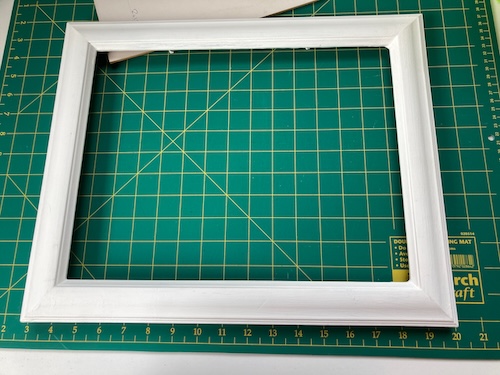
The size of the project was a little weird, so it took me a couple of months to track down a frame that would fit it. I ended up finding an old wooden picture frame at one of our local second hand stores, but it wasn't in a colour that I wanted. So the first task was to sand the picture frame down, and then paint it using some white chalk-based paint.
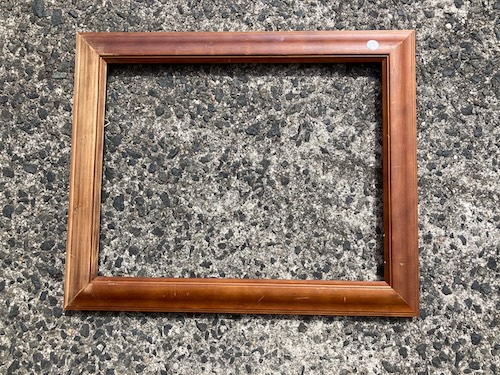
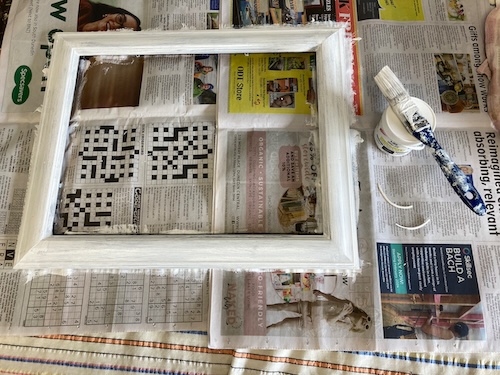
After a quick sand down, it was time to paint the frame with an undercoat. I unfortunately, however, chose an undercoat that took 5 hours of drying and curing, so I had to wait until the next day before I could paint it with two coats of the white chalk paint.
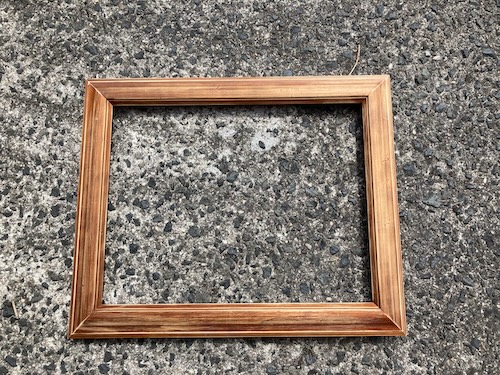
And finally when the paint was dried and cured, it was time to frame my cross stitch project using my pretty newly painted frame. I used the same framing method that I used for the Christmas Cross Stitch project last year, and you can find the information to do that here.
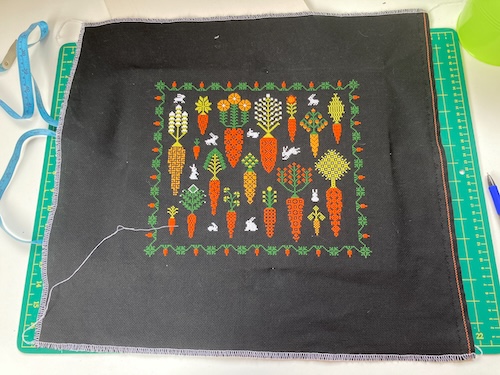
And now that it's done, I'm really happy with the finished project. The carrots in the Carrot Forest Sampler really pop against the black aida and the white picture frame, and the white rabbits make a cute feature.
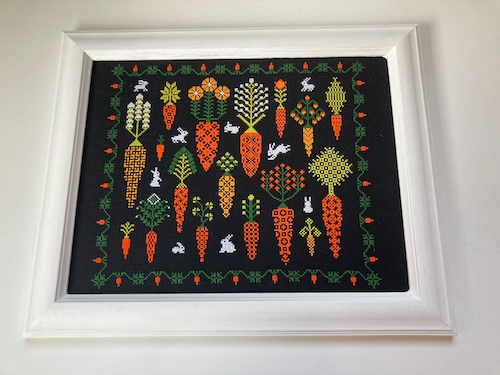
And now my Carrot Cross Stitch Sampler hangs on the wall beside my beloved Mushroom Sampler by CutePatternsByMaria on Etsy. One day I'll share with you about my Mushroom Sampler, as it really is a beautiful project to work on, and to have on your wall afterward.

The next couple of weeks are busy for me, as I am in the middle of renovating my craft room (and moving my office into it when finished), painting our woodshed before autumn, and my parents will be staying with us when my dad goes into hospital for knee replacement surgery next week. I hope to keep to weekly blog posts, but if that doesn't happen, I will get back to it as soon as possible.
Have a wonderful day.
Julie-Ann
Want to discuss my post? Feel free to chat with me on Instagram or Mastodon.
Carrot Forest Cross Stitch Project Finish
Hello friends,
While I was recovering from surgery back in March 2023, I spent the first couple of weeks resting either in bed, or on the couch. One of the benefits of it was it gave me plenty of time for crafting, and cross stitching in particular. I had started working on the Carrot Forest cross stitch pattern from Owl Forest Embroidery back in 2022, and I was already three quarters of the way through the project before my surgery.
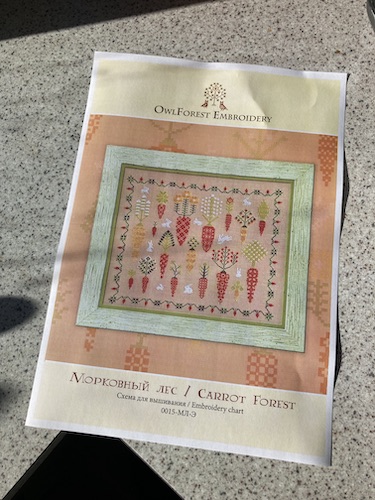
I love the aesthetic of Owl Forest Embroidery, and I had bought this pattern in early 2022 because the mix of uniquely patterned carrots and cute white rabbits was completely adorable. I made some changes to the pattern, for the background I used 16 count black Aida, and for the DMC colours for the carrots, I changed them to DMC608 and DMC741. I wanted a really stark contrast between the cross stitch pattern and the background, to give it a chalkboard effect that would match my mushroom sampler cross stitch I already had framed in my craft room.
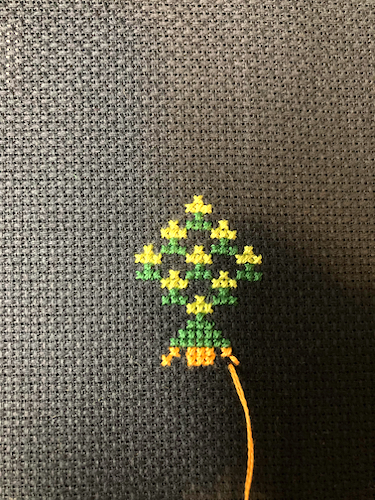
Cross stitching on black Aida is tricky in order to easily see the stitching holes. It's best to stitch it during the daytime with strong daylight, or at night with a white cloth underneath and a strong white light above. The other thing to take into account with stitching on black Aida is that it is possible to see the coloured DMC floss underneath the Aida if you're moving to a different section of the project. I made a point of not jumping sections between each carrot or rabbit, and I used the loop start method to start off each section so there would be no tails underneath.
I prefer a good drum-like tightness of my fabric while stitching, and moved my cross stitch project over to a Nurge square plastic hoop when I recently got one. I'm really happy with the even, tight tension of the fabric in the Nurge hoop, but at the same time it is really gentle on the stitches underneath. The other thing I like about the Nurge square hoops is that it gives you more room to work with, especially in the edges of projects.
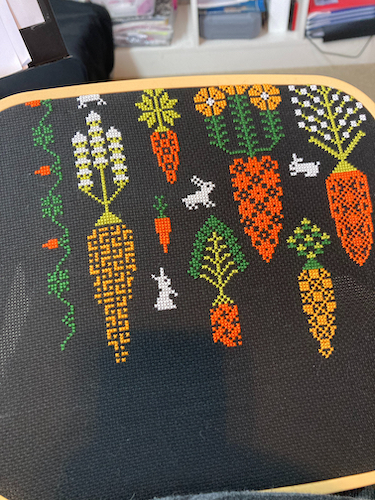
I had made decent progress in 2022, and my favorite part of stitching was watching the rabbits appear, surrounded by giant carrots. When I picked the project back up after surgery, only three carrots, and a small section of the border remained, and in about a week the project was finally finished.
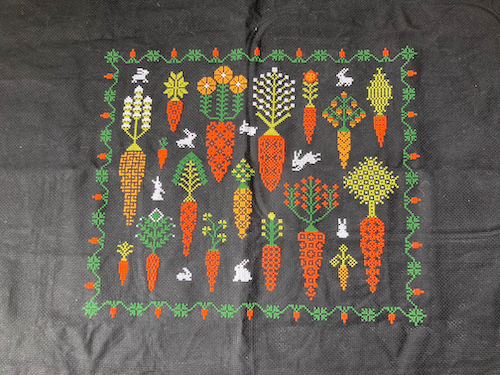
I'm really pleased with the my cross stitch overall, and I've since washed and ironed the project. The dimensions of the project are a little weird, so it's going to be a little tricky to find a frame which will fit it nicely. We have a bunch of old picture frames that were given to us, so I'll try there first, and if I have no luck I'll try checking out the local op shops to see if they have any that might do. My Mushroom cross stitch project is in a white frame, so if I don't have any luck finding a white frame, I think I'll paint whatever frame I do find to be the same colour.
Have a wonderful day
Julie-Ann
Want to discuss my post? Feel free to chat with me on Instagram or Mastodon.


