
Digging Up, Dividing, and Storing My Seedling Dahlias
Hello friends,
With winter fast approaching, it was finally time to dig up the seedling dahlias from my dahlia breeding project. Back in spring, I planted them wherever I could squeeze them into the garden, but now that the growing season has come to an end, it was time to lift the tubers, divide them, and store them safely away over winter. The last thing I wanted was for any of my seedling dahlias to rot over winter. Each one is unique, so I was keen to lift and store them carefully to give them the best chance of growing again next season.
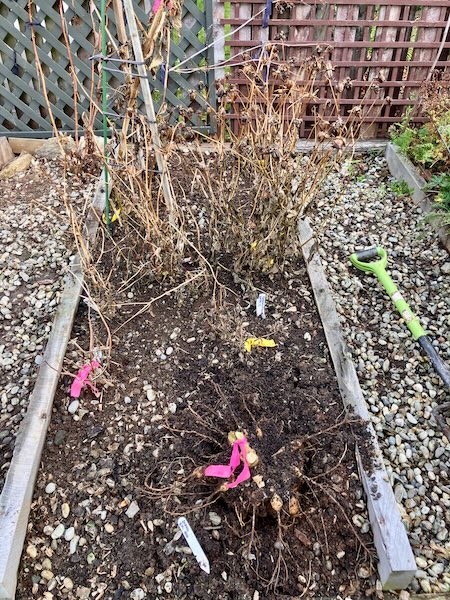
The first step was to get out my trusty garden fork and carefully lift each dahlia from the garden. To avoid damaging the tubers, I inserted the fork about 50 cm away from the base of the plant and gently levered the soil upwards. Working my way around the clump a little at a time, I gradually loosened the soil until the tubers lifted free.
Once each tuber had been lifted, I placed it into its own plastic tray along with two labels to ensure the different seedling dahlias didn't get mixed up. Having a backup label also gave me a little extra peace of mind in case one was accidentally lost during the cleaning and dividing process.
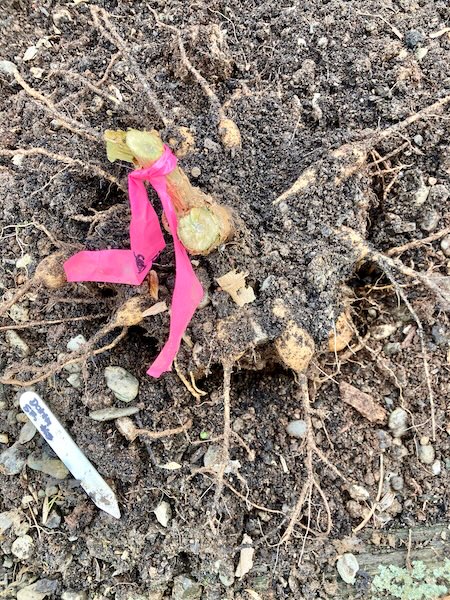
The next step was to wash the excess soil from the dahlia tubers. To keep the mess to a minimum, I placed each tuber into an empty garden bed and used the hose to gently wash away the soil. Once clean, the tubers were returned to their labelled trays and left to dry in the sun before the next stage of the process.
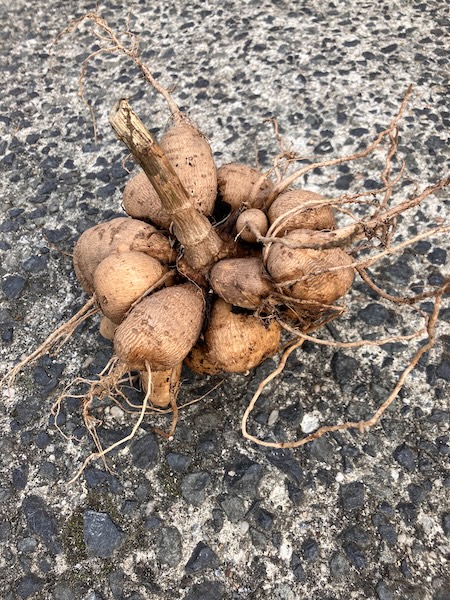
With the tubers dry, it was time to divide them. The first step was to remove the old mother tuber, along with the long, thin feeder roots attached to the new tubers. This made it much easier to see the individual tubers and identify where they could be carefully divided.
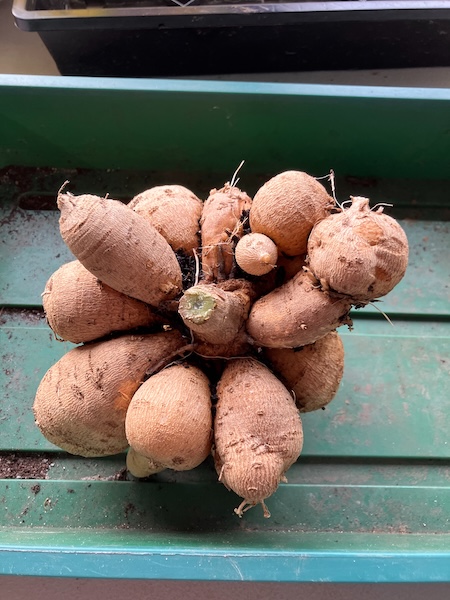
Using a combination of secateurs, scissors, and a few other garden tools, I carefully broke each clump into smaller, more manageable sections. From there, I looked for the dahlia eyes on the crown and divided each section into individual tubers, making sure each division had at least one healthy eye attached. Once divided, I left the tubers to dry overnight. This allows the freshly cut surfaces to callus over, helping to reduce the risk of rot during winter storage.
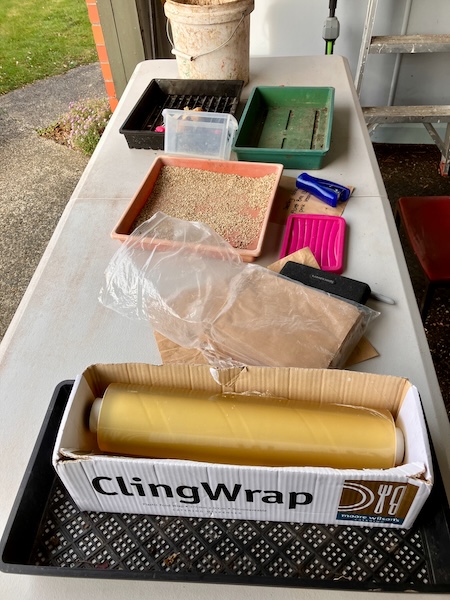
The following day, it was finally time to put the dahlia tubers away for winter. Each tuber division was labelled twice, with one label attached to the outside and a second placed inside as a backup, giving me peace of mind that none of the seedlings would lose their identity over the coming months. This year I decided to trial two different storage methods that I learnt during the Floret Flower Farm Flower Farming Workshop earlier this year. Some of the tubers were placed into paper bags filled with vermiculite, while others were individually wrapped in plastic wrap. I was curious to see how the two methods would compare after winter.
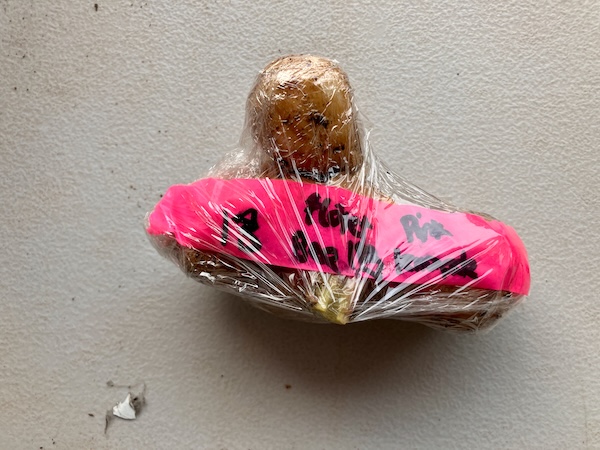
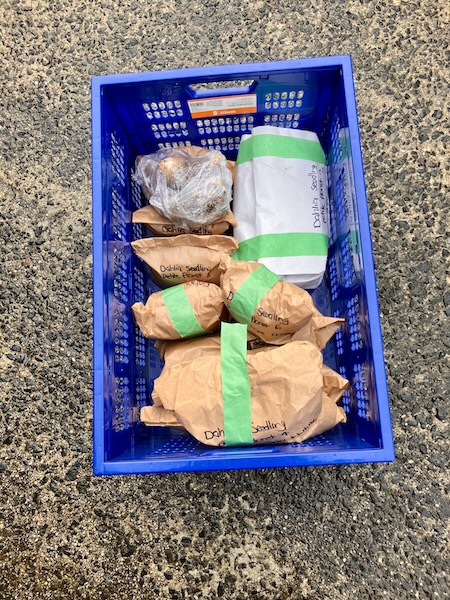
To give each method the best chance of success, I stored them in two different locations in our garage. We also have a temperature sensor in the garage, allowing me to keep an eye on the conditions over winter and make sure the tubers don't get too cold. It will be interesting to compare the results in spring and see which storage method worked best.
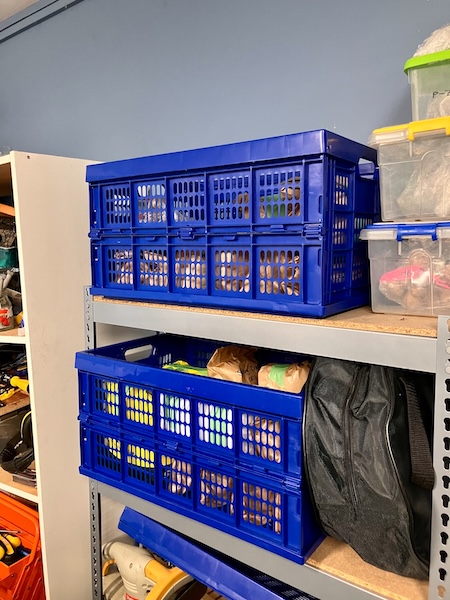
With the tubers now safely tucked away for winter, this year's dahlia breeding season has come to an end. Although it always feels a little strange lifting the plants just as they've finished growing, there's something exciting about knowing that each carefully labelled tuber holds the promise of next season's flowers.
Now all that's left to do is keep an eye on them over the coming months and wait for spring to arrive. I'm already looking forward to planting them out again and discovering how they perform in their second season.
Have a wonderful day,
Julie-Ann
Social Media



Archives