

The Sweet Pea Project: Sowing the Seeds for a New Gardening Year
Hello friends,
Although the garden may seem quiet in the middle of winter, now is the time when preparation for the next growing season begins. For me, July is peak sweet pea sowing season, and I always save this job for cold, rainy days when it's too wet to work outside. Sweet peas prefer germinating in cooler temperatures, so sowing them in winter gives them the best chance of producing armfuls of fragrant blooms in late spring and early summer.
Sweet peas have always been a favourite of mine ever since childhood, when my grandfather used to grow them in his back garden. Their fragrance would drift through the backyard during the warmer months, and ever since then I've dreamed of having a dedicated sweet pea patch of my very own.
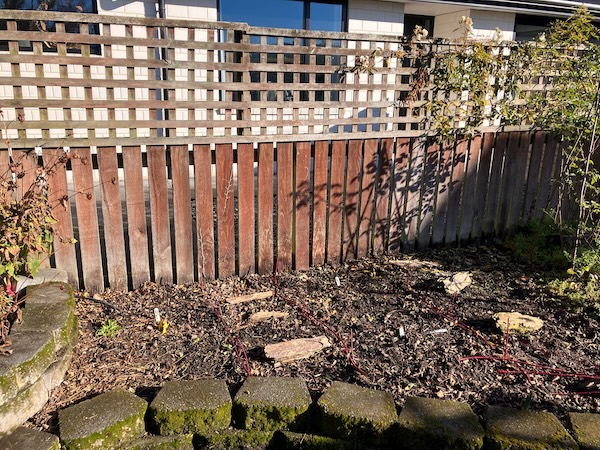
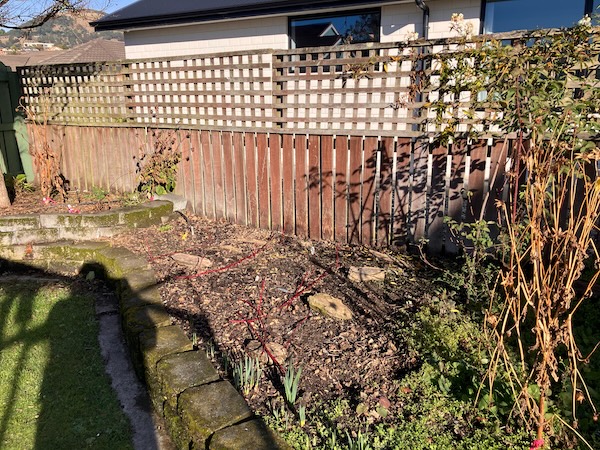
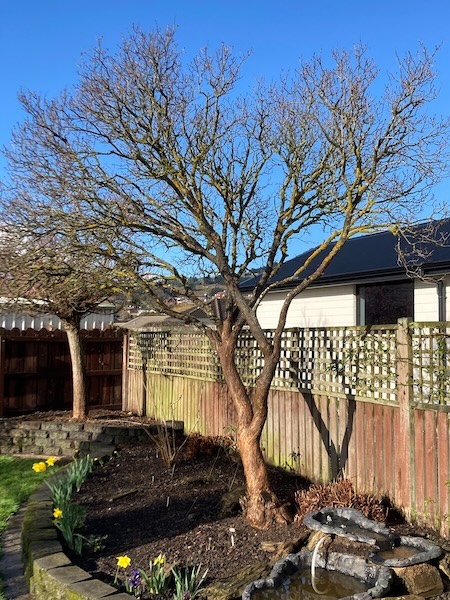
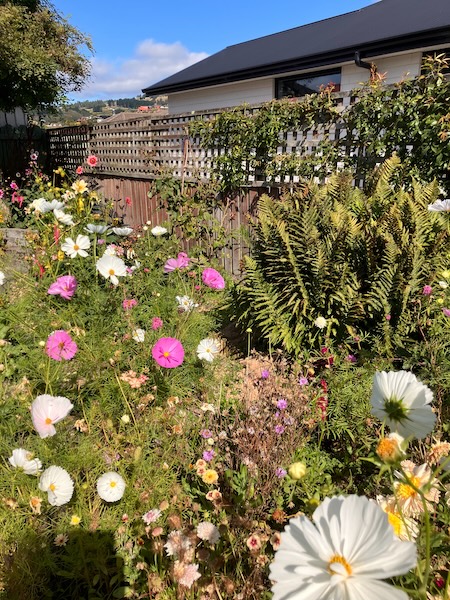
Until recently though, I simply didn't have the space in my garden to do this. That changed last summer when our old lilac tree finally succumbed to the damage it suffered during last year's big spring storm. Once the tree had been removed, a section of the backyard fence opened up to full sun from early morning until late afternoon, creating the perfect place for a sweet pea patch. With the space finally available, it seems like now is the perfect time to turn a long-held dream into a reality. So let's begin, and I'll show you the little patch of garden where this year's sweet pea project will take shape.
My sweet pea patch will run along the western side of our backyard, beside the boundary fence that used to sit in permanent shade beneath the old lilac tree. This section of fence line is approximately four metres long, providing plenty of room for this new project. My plan is to install metal mesh along the fence, and let the sweet peas scramble their way upward, hopefully filling the space with flowers and fragrance throughout spring and summer.
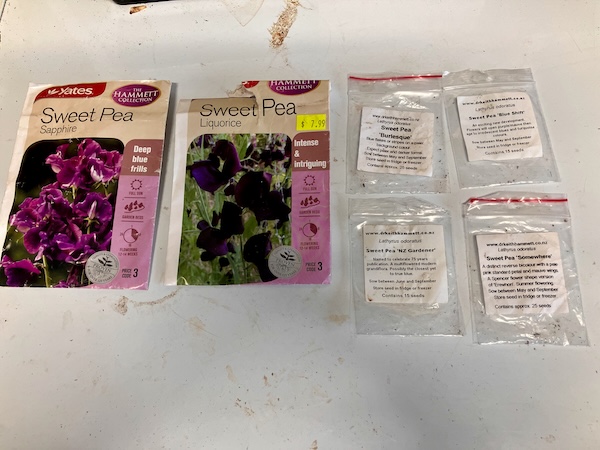
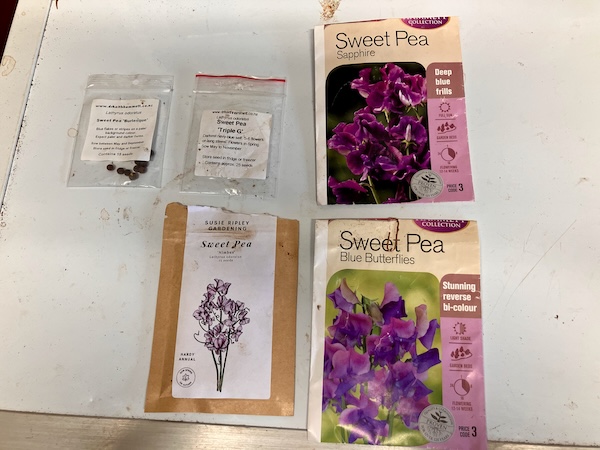
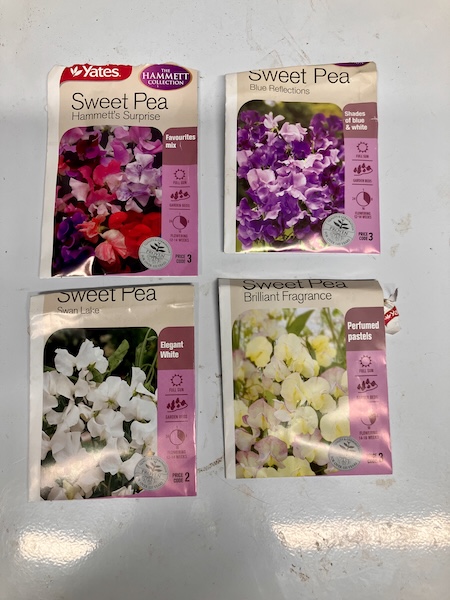
With the growing area planned, it was finally time to pull out my sweet pea seed collection, and decide which varieties to grow. Over the years I've accumulated a large collection of sweet pea seed, so narrowing down the choices was no easy task. In the end, I settled on a collection of mostly Keith Hammett varieties, along with a few other favourites, and some homegrown seed collected from my own garden, all selected for their beautiful colours and sweet fragrance.
The varieties I chose and sowed were:
- 23 × Hammett Blue Butterflies
- 15 × Hammett Blue Shift
- 10 × Hammett Blue Reflections
- 15 × Hammett Brilliant Fragrance
- 10 × Hammett Burlesque
- 15 × Hammett's Surprise
- 2 × Hammett Licorice
- 6 × Hammett NZ Gardener
- 10 × Hammett Somewhere
- 15 × Hammett Sapphire
- 9 × Hammett Triple G
- 10 × Hammett Turquoise Lagoon
- 25 × Homegrown seeds from my garden
- 10 × Nimbus
- 10 × Swan Lake
- 10 × Sweet Pea Original
In total, I sowed 195 sweet pea seeds, which should provide a beautiful mixture of blues, purples, smoky pinks, bi-colours, and wonderfully fragrant blooms over the coming spring and summer.
Although 195 sweet pea seeds may seem like a lot, some of the seed packets were older, and experience has taught me that not every seed will germinate. The seeds were sown into seed-raising mix that had been sieved to remove large stones and wood chips, before being placed into four 50-cell seed trays.
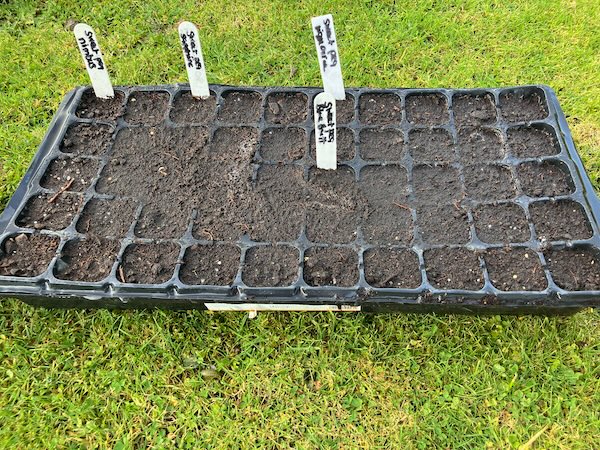
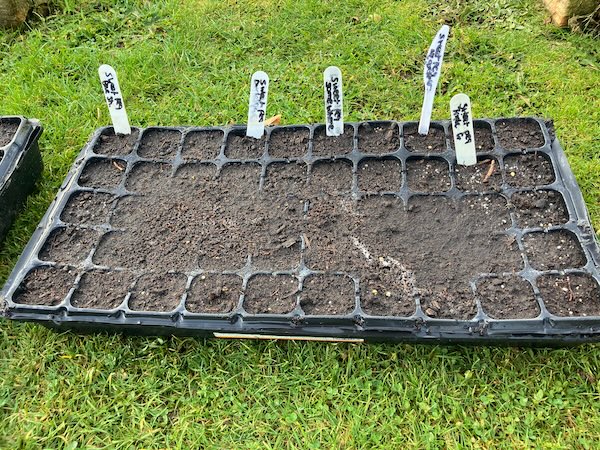
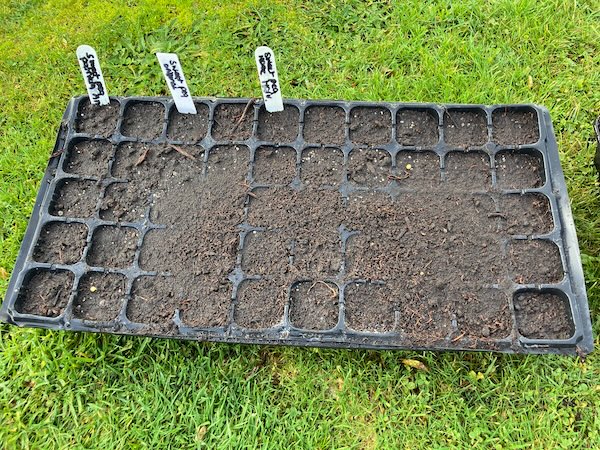
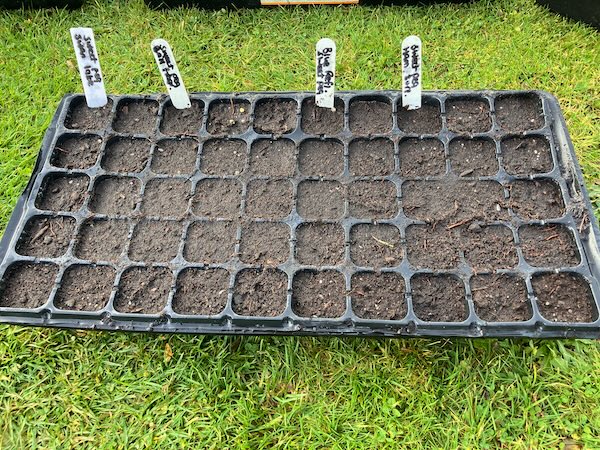
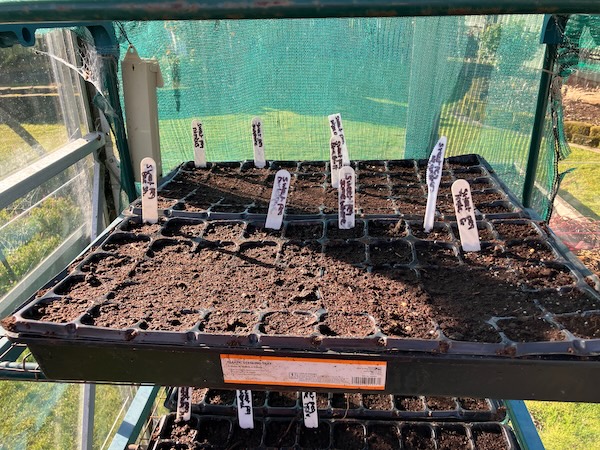
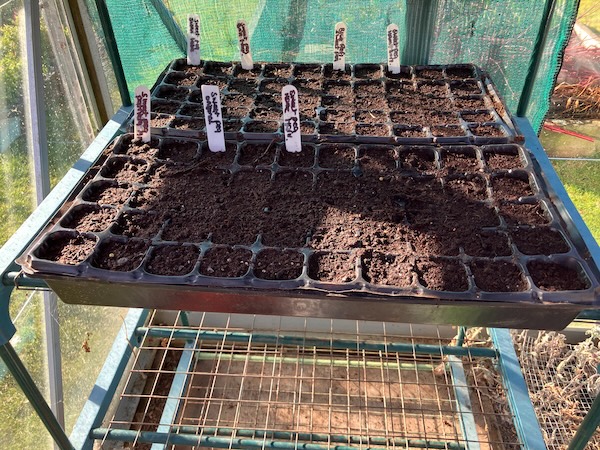
After sowing, the seed trays were watered well, and placed onto shelving in my glasshouse. The shelving is covered with some shade cloth, which helps protect the emerging seedlings from strong sunlight, and it also prevents them from drying out too quickly.
There is always something so hopeful about seed sowing. In the depths of winter, seeds are a reminder that spring is never too far away, and that every gardening year begins with the promise of new life.
For now, the sweet peas are sown, and the waiting begins...
Have a wonderful day
Julie-Ann
If you'd like to continue the conversation, you can find me on Instagram, Mastodon, Bluesky, and Facebook.
I'd love to hear what you're growing, making, or enjoying in your own garden.
My Floret Zinnias This Past Summer
Hello friends,
Last spring I sowed all the remaining Floret Zinnia seeds I had in storage, which I had bought from Emerden in 2024. The Floret Previous Metals, Dawn Creek Blush, and Unicorn zinnia varieties were sown into seed raising mix, grown on until they had two sets of true leaves, and then they were potted up into bigger containers with potting mix until I was sure the risk of frost was over.
I planted them in two vegetable garden beds close together, so that I could easily save seed for my own personal stash for the coming years.

And then it was time to wait for them to flower. Due to our horrible summer, which wasn't really a summer, my zinnia plants didn't begin to start flowering until late January, but they were well worth the wait. I had hundreds of flowers in such gorgeous colours ranging from cream, pinks, and orange, all the way to bright red. The range of zinnia flower types flowering varied from singles, to cactus shapes, all the way through to frilly doubles.

Dawns Creek Blush flowers varied from dusky pinks, to pinks, and to purples.


Precious Metals gave me lots of metallics in shades of orange, pinks and purples, and there was even ombré colouring in some of the flowers.


And finally, the Floret Unicorn variety gave me florescent bright pinks and orange and red flowers, with a lot of double flowers amongst them.


I was so happy with my zinnia patch, and I wasn't the only one. Bees and butterflies swarmed over my zinnias all summer and autumn long, and that made it just it that much better in my opinion.


I shared my Floret zinnias on social media, and soon found myself becoming a very small scale flower farmer, as I provided buckets of zinnias to a local flower farmer florist. I very much enjoyed going out into my garden on summer mornings to fill up buckets of zinnias to send away to their new homes.


Unfortunately though thanks to the terrible summer we had, all too soon I had to start seed saving by letting the blooming flowers set seed and turn brown. I managed to save seed from a lot of mature flowers, before the looming threat of a decent frost forced me to save as many older flowers (but not quite mature flowers) in mid-April.

On the 22nd of April we had our first proper frost, and all my lovely zinnias sparkled in the cold autumn sunrise as frost coated them all. By the afternoon the zinnia plants had all turned brown and died.


And so the zinnia season for 2025/2026 has come to an end. I have 5 trays of zinnia flower heads to process over the winter, so I can harvest the seed and store it away until next spring. I am very much looking forward to seeing which zinnia flowers bloom next summer. Zinnias are known to have complex and highly plastic genomes, and have transposons, aka jumping genes, which can lead to unstable genetics, so who knows what I'll end up with. But I'm excited to find out...
Have a wonderful day
Julie-Ann
Want to discuss my post? Feel free to chat with me on Instagram or Mastodon or Bluesky, and now also Facebook.
Crawford Road Autumn Seed Haul
Hello friends,
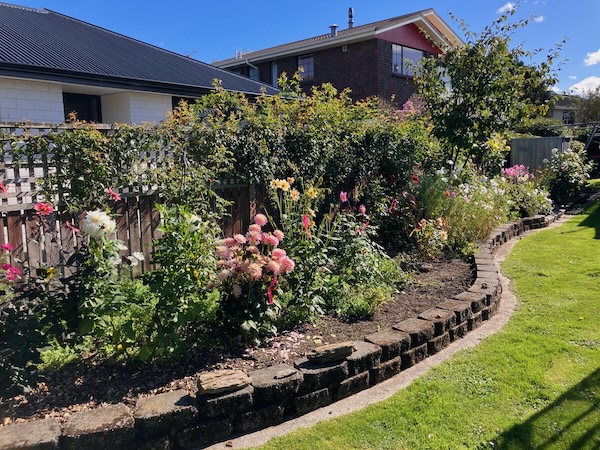
Last spring I grew from seed a large number of flowering plants, in order to fill my garden with colour throughout the growing season. Some of the plant species I grew and harvested are used as dried flowers, and include plants like Calendula, Love in the Mist, Statice, and Strawflowers.

I enjoyed going out into the garden to harvest these flowers, and spent some time drying them using both the hanging, and flat lay techniques.

I'm not quite sure what to do with all these dried flowers as yet, but for now they're safely stored away in cardboard boxes waiting for the coming colder months, when I will have time to craft with them.
After enjoying growing and harvesting these flowers, I wanted to prepare for next spring by buying some more dried flower seeds from Crawford Road, a New Zealand boutique seed company.

I purchased some new to me plant species, including Ammobium Winged Everlasting, Gomphrena QIS Pink, Gomphrena Raspberry Pink, Helipterum Pierrot White, Helipterum Red, and Persian Cress.

I also purchased Matricaria Magic Lime Green, Matricaria Vegmo Snowball, Verbena Bonariensis Vanity, and two zinnia seed varieties, Zinnia Jazzy Mix and Zinnia Persian Carpet. Zinnias are not only great as fresh cut flowers, but they also dry well, and they keep their colouring for months as long as they are stored properly.

And finally I bought some more Strawflower (Apricot Peach, Cranberry Rose, Creamy White, Purple Red, Silvery Rose) and Statice seed varieties (Forever Happy, Pale Blue, Pink Pokers, QIS Lavender, and QIS Rose).


All my new seeds are now entered into my seed database, and stored in my seed storage boxes.

My plan was to sow some of them this autumn, but life has been busy, so they will now have wait until spring. I'm looking forward to seeing all these new flower varieties next growing season.
Have a wonderful day
Julie-Ann
Want to discuss my post? Feel free to chat with me on Instagram or Mastodon or Bluesky, and now also Facebook.
Our Lilac Tree Died
Hello friends,
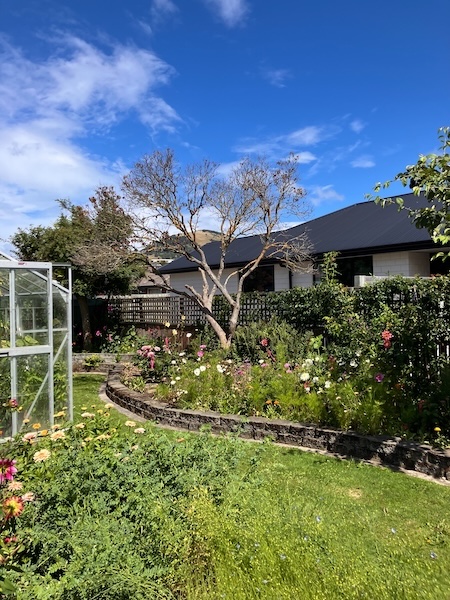
Our lilac tree stood in the right hand side of our backyard, a fully grown tree already when we moved into our home in 2019. Each year in spring it would bud out and produce leaves followed by stunning purple scented flowers, but unfortunately this past spring was its last.
In the third week of October in 2025, a large wind storm blew through the South Island of New Zealand, causing wind damage throughout Otago and Southland, and cutting off power to thousands. At the time I thought my only plant casualties were some limbs coming off my quince tree, and my Avalanche camellia bush being snapped off at its base, but unknown to us at the time, my lilac tree had been damaged as well.
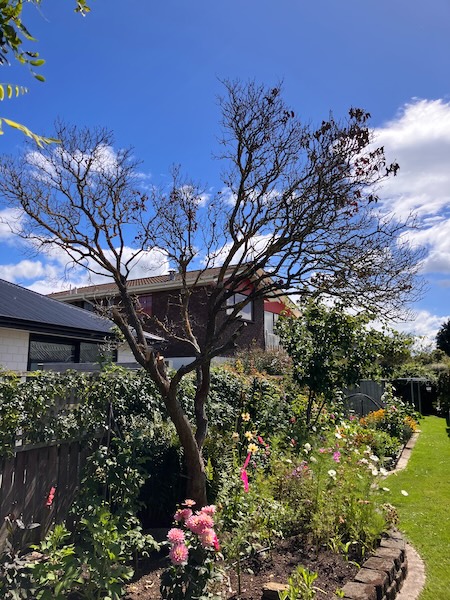
A week after the storm I'd noticed that our lilac tree hadn't burst its buds, and when I touched the buds they crumbled, having been turned brown and crispy by the wind storm. The tree had gotten wind blasted to the point that it was in serious trouble. We left it for a while to see if it would bounce back, and eventually a couple of leaf buds on the south side of the tree burst open, showing that at that time the tree was still alive (well only barely).
We left it over the summer to see if it would grow more leaf buds, but it didn't, and then around early February 2026 the few remaining leaves on the plant turned brown and fell off. After carefully checking multiple branches at points around the tree, and the suckers which usually came up from the base of the tree each summer, they were all dead and brown. I also checked with a few knowledgeable plant friends, and they also agreed that our lilac tree had died.
I was really upset over this, but also practical, because sometimes these things just happen. Nature gives and it takes away. The next weekend hubby got out our saw and began cutting down the tree limbs. Our first priority was to remove dead branches that could possibly hit the glasshouse or the fence, and then after that we cut the tree down to the ground. Hubby mulched what tree material he could with our wood chipper, and mulched around that area of the garden to help with weed suppression.
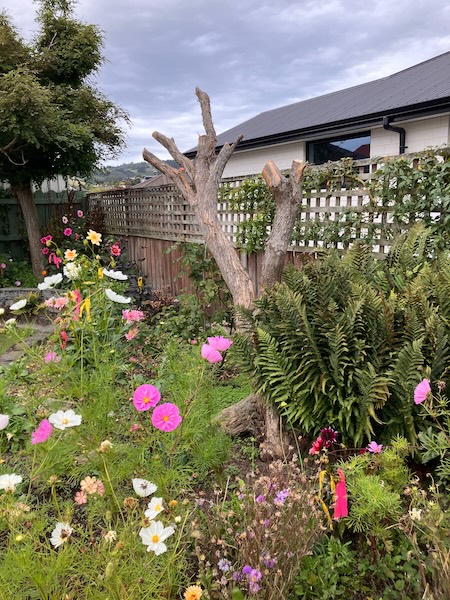
We also dug up the old fern plant beside the tree, as in the past a wasp nest had been buried in there, so I wanted to remove the plant to ensure it wouldn't happen again.
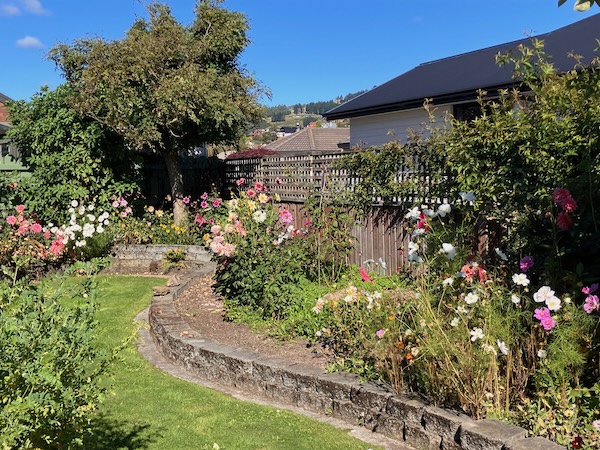
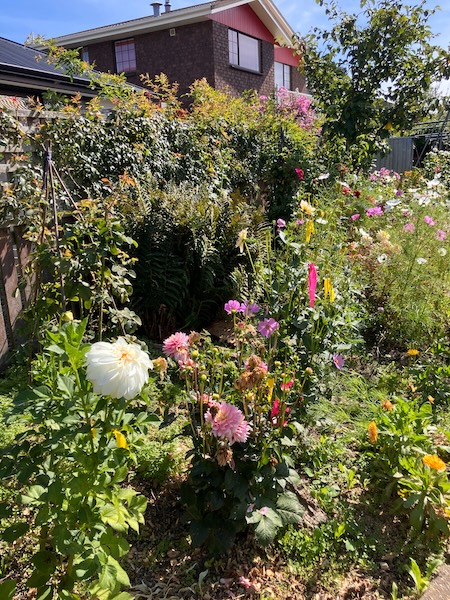
The resulting sunlight in this area of the garden after the tree had been taken down, is just amazing. There is now a lot more sun in the garden bed from early morning until early evening. Dahlia plants that had grown under the tree grew vigorously, and have even flowered.
At the moment in mid-autumn there are dahlias and damask roses still growing in this area. As soon as the first big autumn frost comes, and knocks back the dahlias growing there (after I've finished seed saving from them), I think I will rearrange this whole area of the garden, in preparation for the next growing season. And I already have some ideas on what I could do...
Have a wonderful day
Julie-Ann
Want to discuss my post? Feel free to chat with me on Instagram or Mastodon or Bluesky, and now also Facebook.
Social Media


Archives