
From A Lilac Tree to More Dahlias in the Backyard
Hello friends,
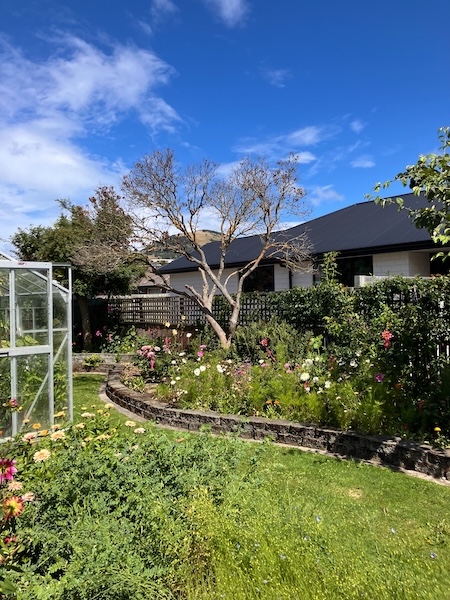
Over the winter months I've been busy in the back left-hand side of our garden, in the area where our lilac tree used to stand. After the tree died after the big spring storm last year, and once we'd taken it down, it gave me an opportunity to rethink and rearrange that side of the garden.
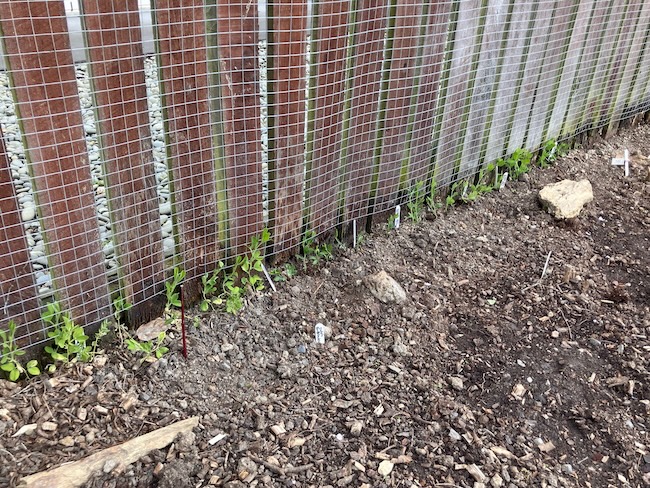
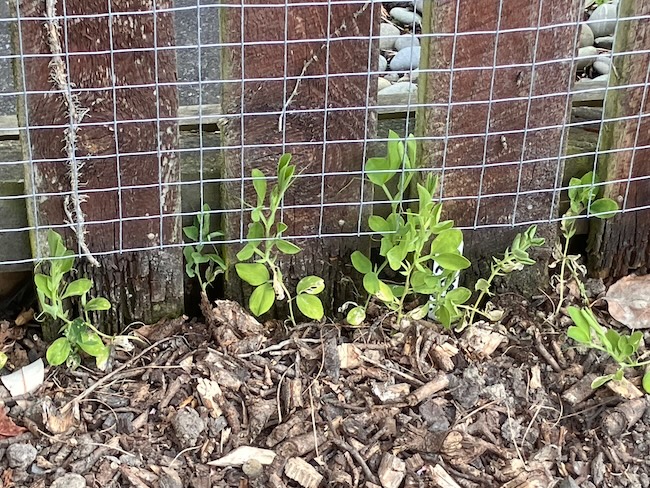
The first thing I did was set up some space along the fence line for growing sweet peas, which is already underway. The sweet peas are now growing happily up the wire netting.
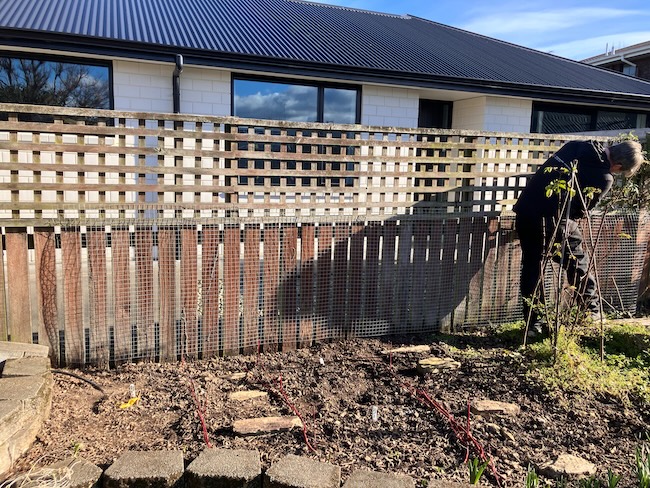
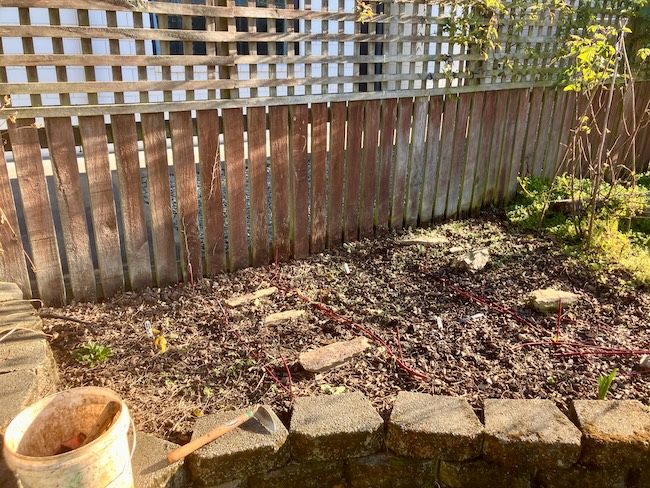
As for the rest of the space, there was now a large area that could fit many more dahlias than I currently had. I decided to lay it out in rows so I could fit in as many as possible. I've become obsessed with anemone and collarette dahlias recently, so I wanted to add more of these to my collection, and also include them in my fledgling breeding program.
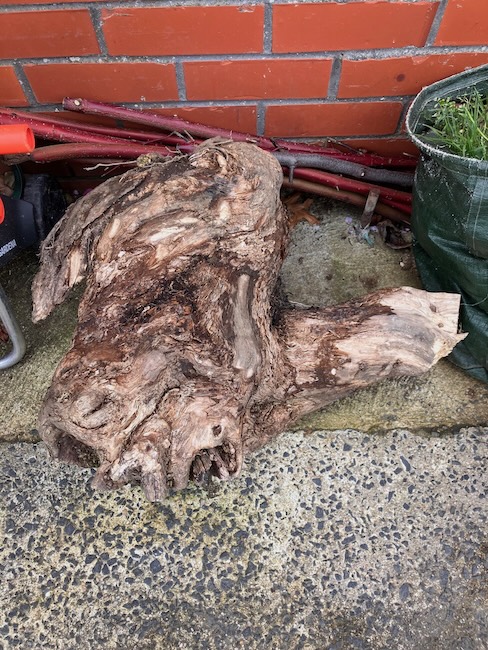
The first step was to dig out the lilac tree stump, and it turned out to be much easier than we'd expected. Hubby got the job done in less than half an hour, as the stump was completely rotten. I suspect this may have been the main reason why the lilac tree may have died in the first place...
The next step was to transplant my two damask rose bushes to the back fence line of our backyard. Last year, I had grown a dahlia between my dogwood and feijoa bushes, but it had struggled to survive in that position. Although the area gets sun for most of the day, the soil isn't in the best condition. My two damask roses (Duc De Cambridge and Isapahan), on the other hand, are very hardy, and don't mind what soil type they are in, so I thought they would be much better suited to the space, while also freeing up more room in my new dahlia area.
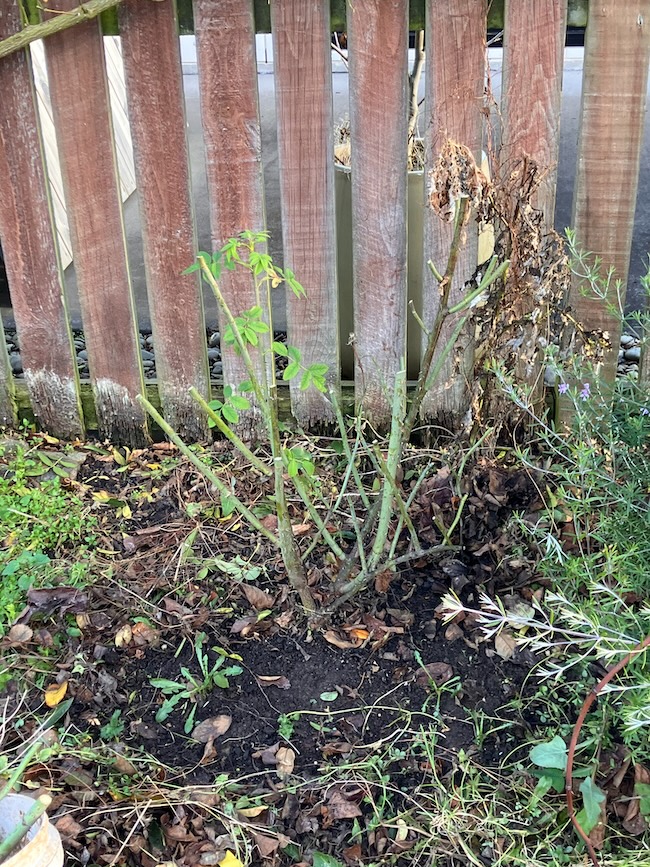
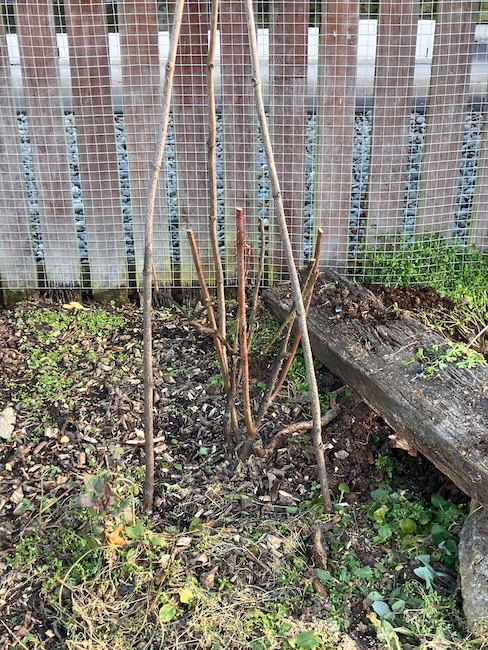
It didn't take very long to prune the damask roses back to a size more easier to transport, before carefully digging them up, while keeping as much of their root systems intact as possible. Then came the tricky part, walking them across the backyard without getting stabbed by their many sharp thorns. Once they had safely reached their new home, the roses were planted and watered in well. Now, in spring, they are very happily growing in their new position.
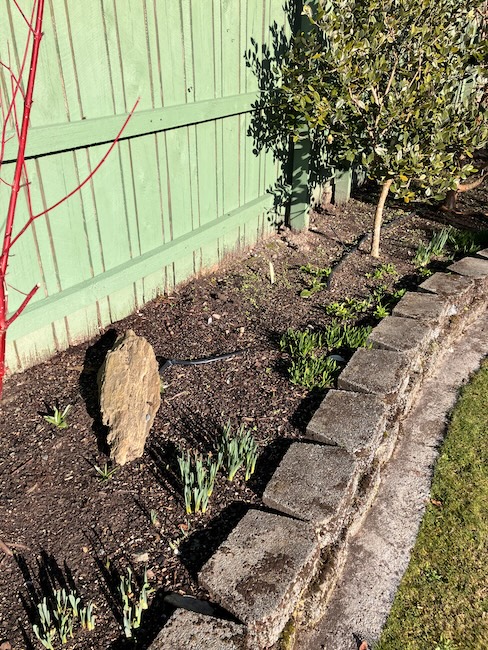
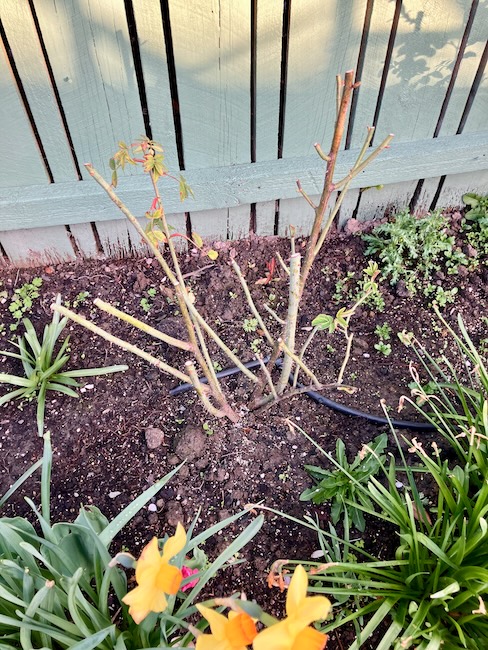
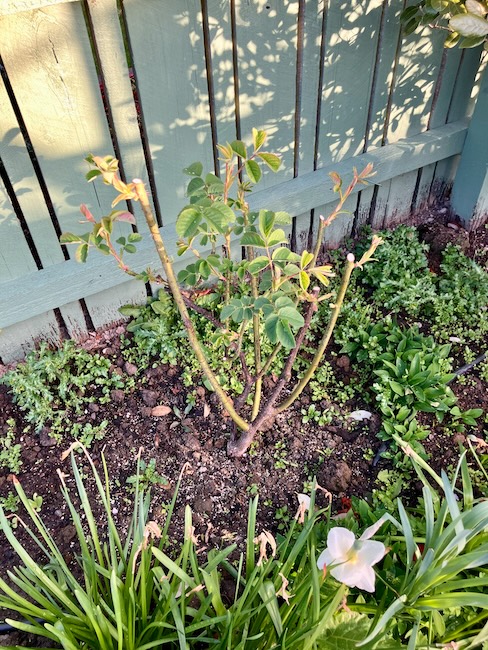
By now it was the middle of winter, and in between the frosts, rain, and a snow storm, it was time to tackle the dahlias that remained in the ground in this area. One by one, they were carefully dug up and transplanted into an empty vegetable garden bed nearby to overwinter while I prepared their new permanent home.
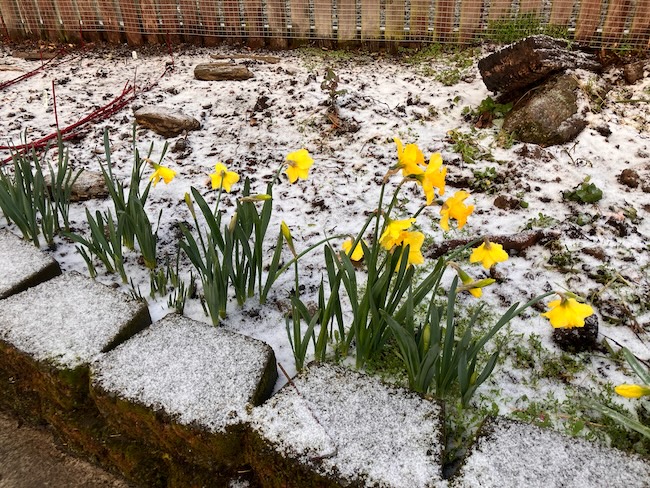
The task after this was a big one. Weeding the entire side of the garden took many weeks as I worked my way along the bed, laying out plant tags, and placing schist rocks to create paths between the rows where the dahlias would go. My plan was to plant the anemone and collarette dahlias two abreast, with the shortest varieties at the front and the tallest ones at the back.
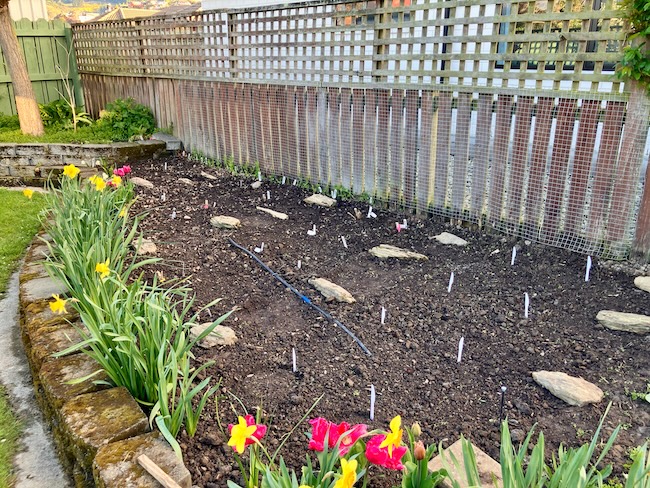
I'd really let this side of the garden go in late summer and autumn, and I was paying for it now, dealing with a large number of weeds. The weeding continued into spring, and I even had to go back over some of the areas I'd already cleared as new weeds began popping up.
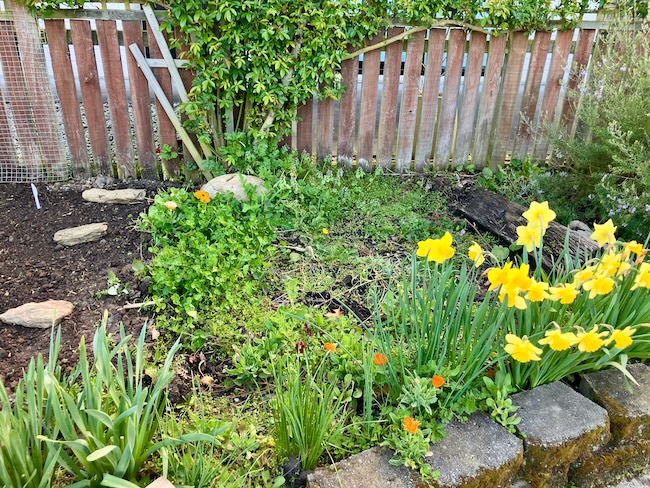
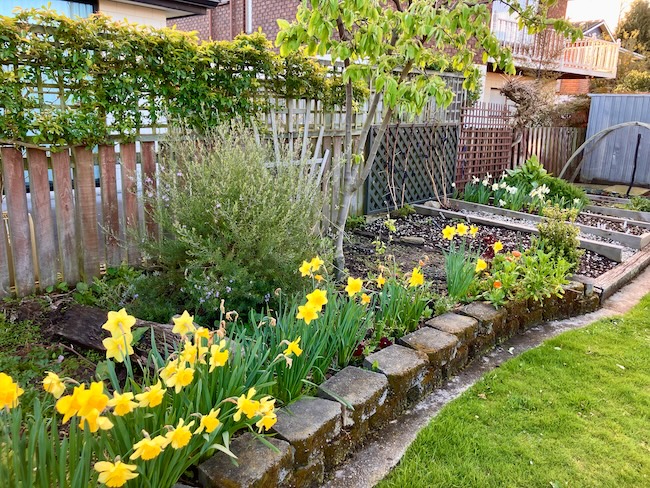
But finally, after many weeks of planning and weeding the space, my new dahlia bed is now ready. There's now a large, clear area waiting for all my anemone and collarette variety dahlias, along with a bunch of new ones. It has been a much bigger job than I expected, but I'm really pleased with how the space has come together.
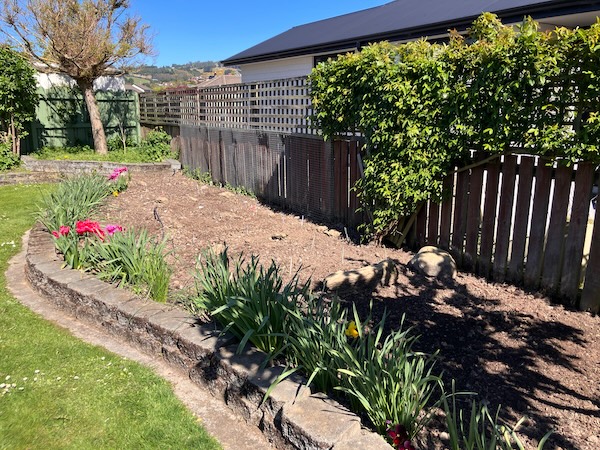
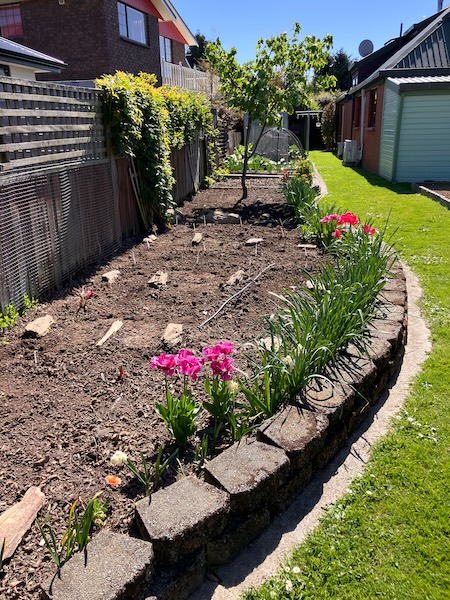
And my new dahlias have already arrived, and are in storage in our garage. I'm impatiently waiting to plant them, along with all my other anemone and collarette dahlia varieties. After all those months of planning and weeding, I'm looking forward to seeing this space finally filled with dahlias this summer.
Have a wonderful day,
Julie-Ann
If you'd like to continue the conversation, you can find me on Instagram, Mastodon, Bluesky, and Facebook.
Digging Up, Dividing, and Storing My Seedling Dahlias
Hello friends,
With winter fast approaching, it was finally time to dig up the seedling dahlias from my dahlia breeding project. Back in spring, I planted them wherever I could squeeze them into the garden, but now that the growing season has come to an end, it was time to lift the tubers, divide them, and store them safely away over winter. The last thing I wanted was for any of my seedling dahlias to rot over winter. Each one is unique, so I was keen to lift and store them carefully to give them the best chance of growing again next season.
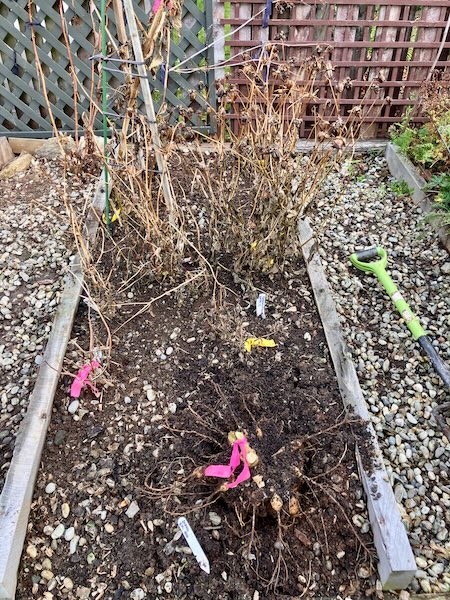
The first step was to get out my trusty garden fork and carefully lift each dahlia from the garden. To avoid damaging the tubers, I inserted the fork about 50 cm away from the base of the plant and gently levered the soil upwards. Working my way around the clump a little at a time, I gradually loosened the soil until the tubers lifted free.
Once each tuber had been lifted, I placed it into its own plastic tray along with two labels to ensure the different seedling dahlias didn't get mixed up. Having a backup label also gave me a little extra peace of mind in case one was accidentally lost during the cleaning and dividing process.
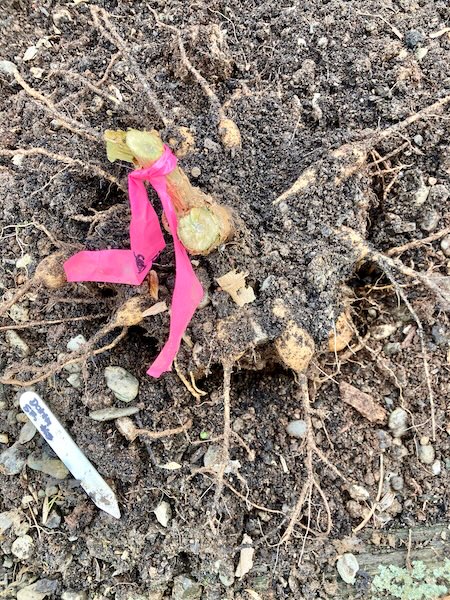
The next step was to wash the excess soil from the dahlia tubers. To keep the mess to a minimum, I placed each tuber into an empty garden bed and used the hose to gently wash away the soil. Once clean, the tubers were returned to their labelled trays and left to dry in the sun before the next stage of the process.
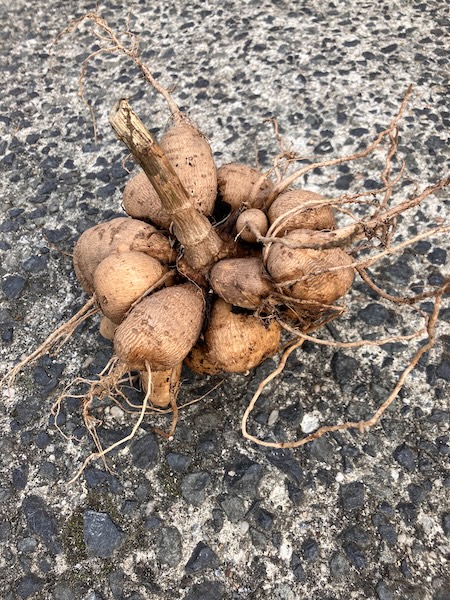
With the tubers dry, it was time to divide them. The first step was to remove the old mother tuber, along with the long, thin feeder roots attached to the new tubers. This made it much easier to see the individual tubers and identify where they could be carefully divided.
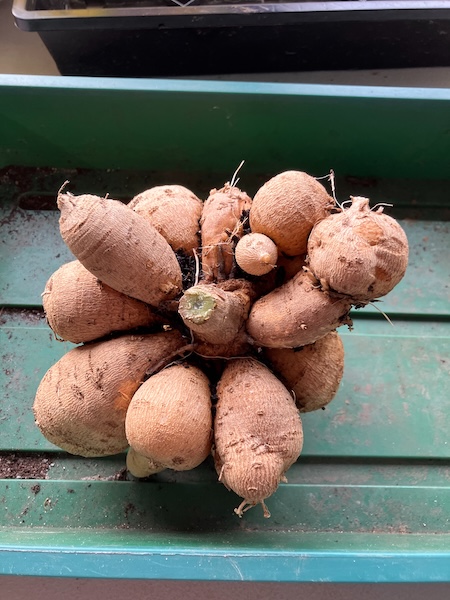
Using a combination of secateurs, scissors, and a few other garden tools, I carefully broke each clump into smaller, more manageable sections. From there, I looked for the dahlia eyes on the crown and divided each section into individual tubers, making sure each division had at least one healthy eye attached. Once divided, I left the tubers to dry overnight. This allows the freshly cut surfaces to callus over, helping to reduce the risk of rot during winter storage.
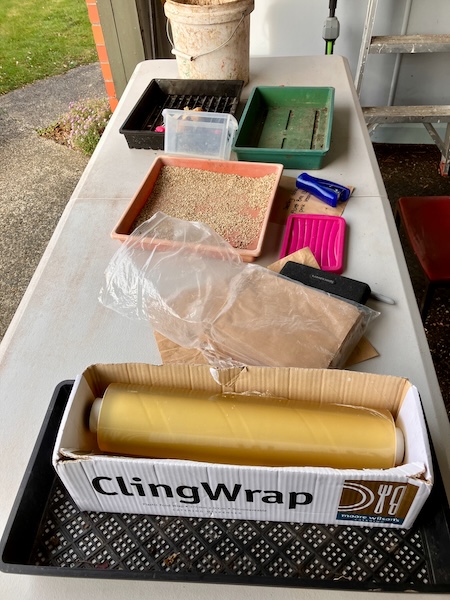
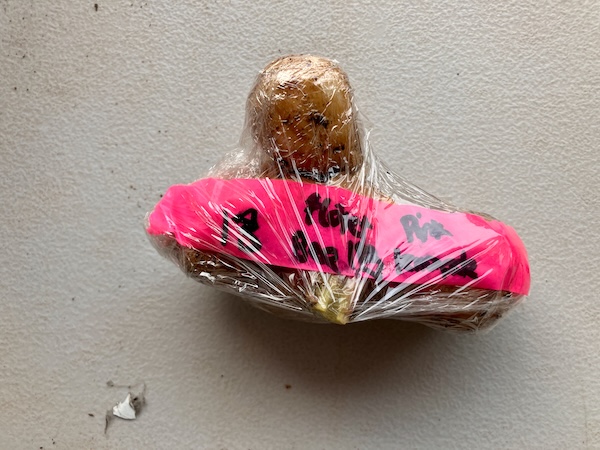
The following day, it was finally time to put the dahlia tubers away for winter. Each tuber division was labelled twice, with one label attached to the outside and a second placed inside as a backup, giving me peace of mind that none of the seedlings would lose their identity over the coming months. This year I decided to trial two different storage methods that I learnt during the Floret Flower Farm Flower Farming Workshop earlier this year. Some of the tubers were placed into paper bags filled with vermiculite, while others were individually wrapped in plastic wrap. I was curious to see how the two methods would compare after winter.
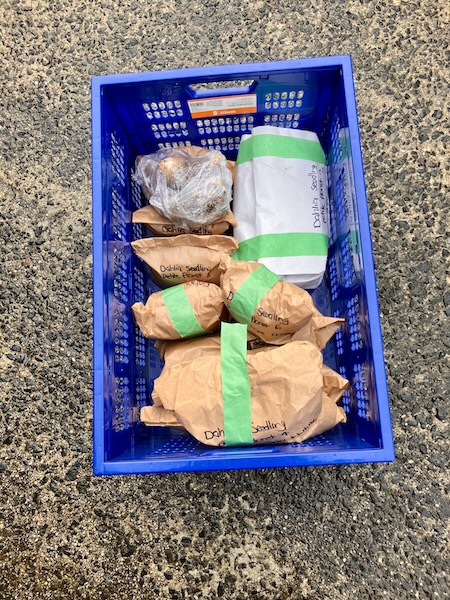
To give each method the best chance of success, I stored them in two different locations in our garage. We also have a temperature sensor in the garage, allowing me to keep an eye on the conditions over winter and make sure the tubers don't get too cold. It will be interesting to compare the results in spring and see which storage method worked best.
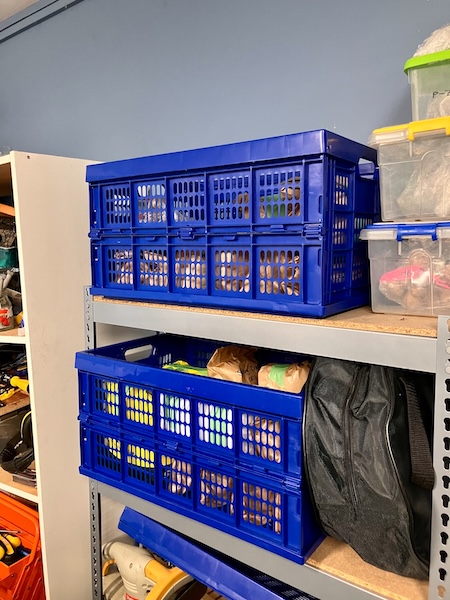
With the tubers now safely tucked away for winter, this year's dahlia breeding season has come to an end. Although it always feels a little strange lifting the plants just as they've finished growing, there's something exciting about knowing that each carefully labelled tuber holds the promise of next season's flowers.
Now all that's left to do is keep an eye on them over the coming months and wait for spring to arrive. I'm already looking forward to planting them out again and discovering how they perform in their second season.
Have a wonderful day,
Julie-Ann
Saving Dahlia and Zinnia Seeds for Next Season
Hello friends,
Over late summer and early autumn, I spent many happy hours collecting seeds from the dahlias in my garden, and from the Floret zinnia varieties growing in my zinnia patch.
This year, my focus was on saving seeds from as many collarette and anemone dahlias as possible, along with seeds from some of my favourite seedling dahlias from this season. There's always something hopeful about saving dahlia seeds. Unlike tubers, the seedlings won't grow true to their parents, and that's part of the magic. Every seed has the potential to produce something completely new, making each growing season full of anticipation and surprises.
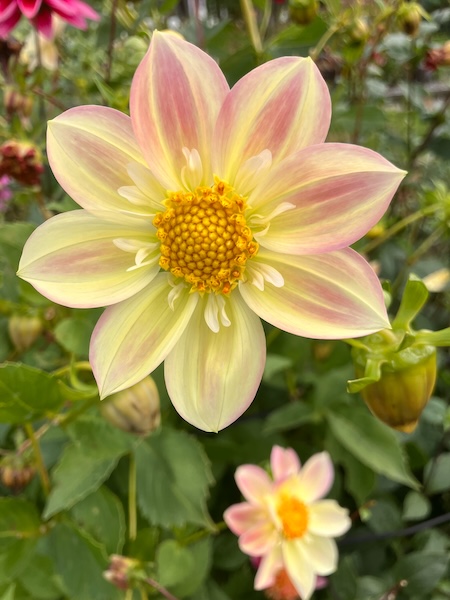
The process of saving dahlia seeds takes a little time and patience. Once a flower has finished and the petals have fallen, the waiting begins. Not every flower produces a good seed head, so I watch carefully for those that develop into plump, full seed heads.
Once I find one, I mark it with a piece of flagging tape and leave it on the plant to mature. Depending on the weather, this can take anywhere from a couple of weeks to a month. As the seed head ripens, it gradually turns a mid to dark brown colour, becomes dry and crunchy to the touch, and the outer sepals begin to pull back, revealing the inner parts of the seed head.
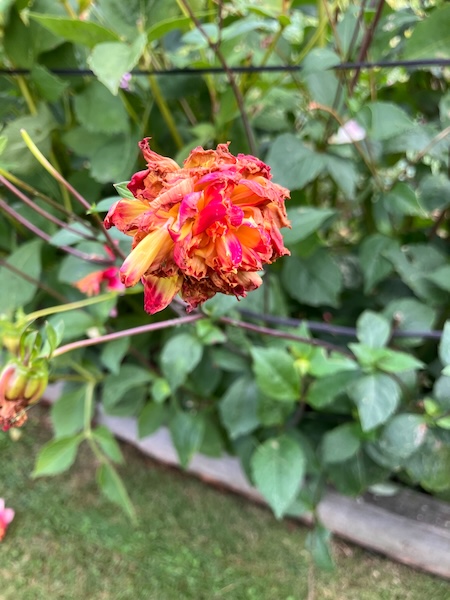
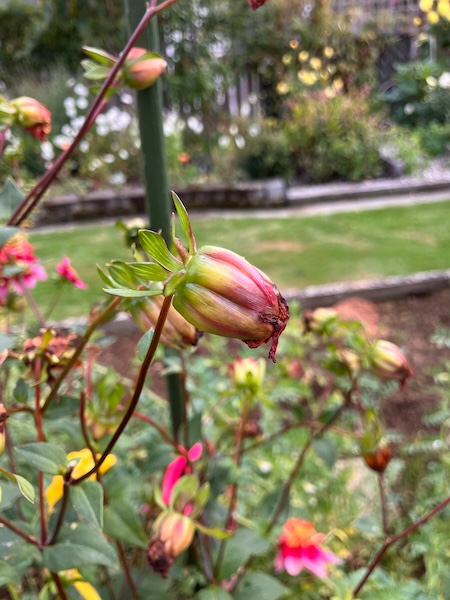
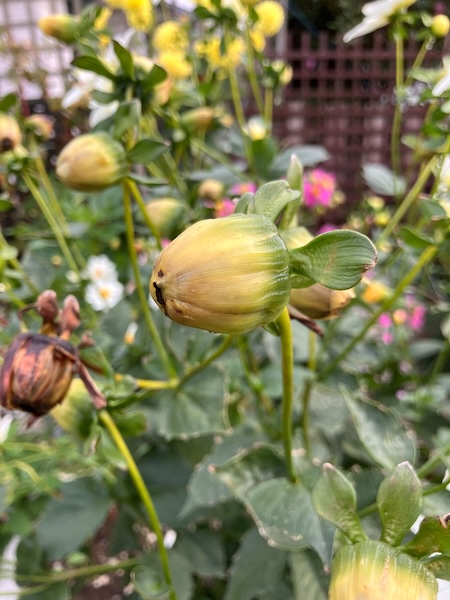
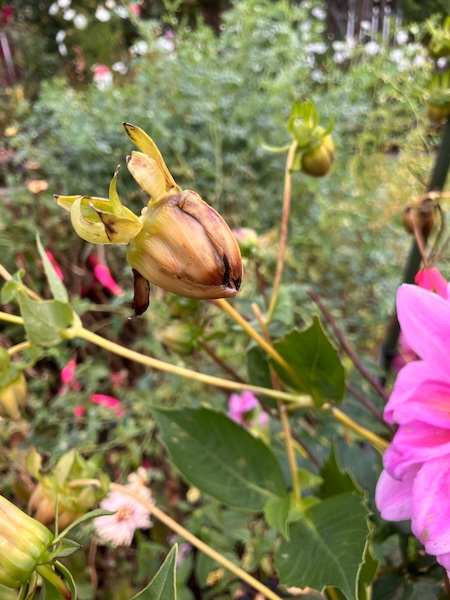
At this stage, I remove the seed heads from the dahlia plant and place them in an open container labelled with the variety name. I then gently break up the seed heads by hand to increase the airflow around the seeds. As the seed head falls apart, the dahlia seeds begin to separate from the chaff, and I leave everything together in the container to dry for a couple of weeks.
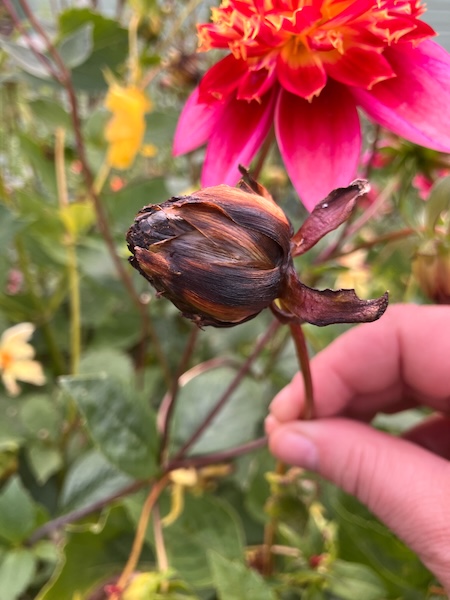
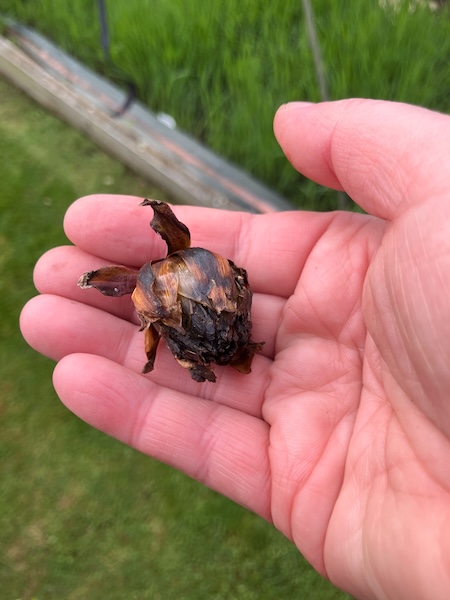
Once the seed heads are completely dry, it's time to separate the dahlia seeds from the chaff. Fortunately, the chaff is both larger and lighter than the seeds, which makes the job a little easier.
There are a number of ways to do this. One method is simply to shake the container, allowing the heavier seeds to settle to the bottom while the chaff sits on top. Another option is to winnow the crushed seed heads on a windy day, or in front of a fan. The heavier seeds drop into a waiting container, while the lighter chaff blows away. A third method is to use a soil sieve, which screens out the larger pieces of chaff while allowing the seeds to fall through.
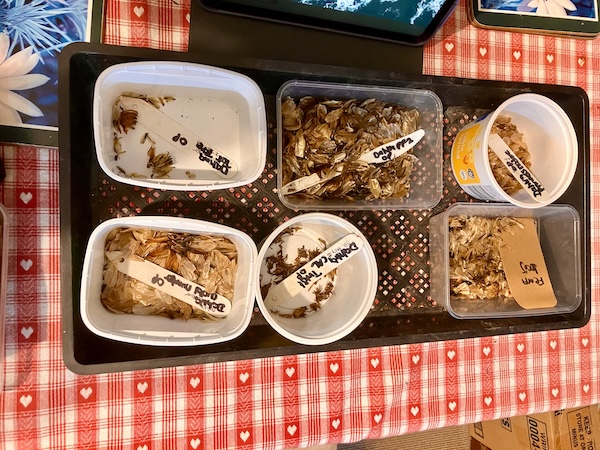
Most of the time I use the first method, as I've found that viable dahlia seeds can sometimes remain attached to the chaff. If I wasn't paying attention, it would be all too easy to throw away perfectly good seeds.
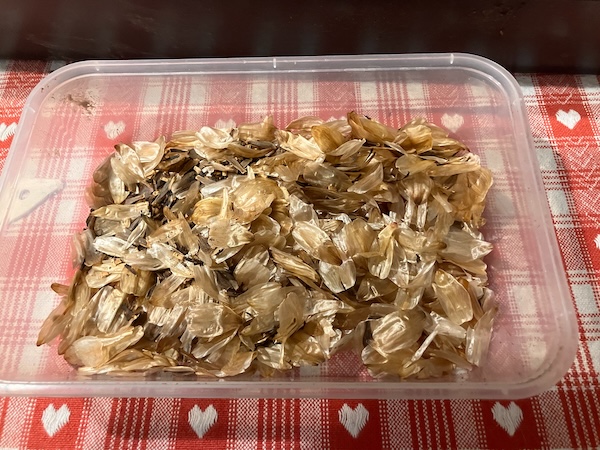
Before I begin, I make sure the seed heads are crushed up as much as possible. I then gently shake the container from side to side, allowing the heavier seeds to settle to the bottom while the chaff rises to the top. As I remove the chaff, I quickly check it for any viable seeds that are still attached and carefully pry them off by hand.
It takes a little extra time, but I'd rather spend a few extra minutes cleaning the seeds than accidentally lose some future potential favourite dahlia varieties.
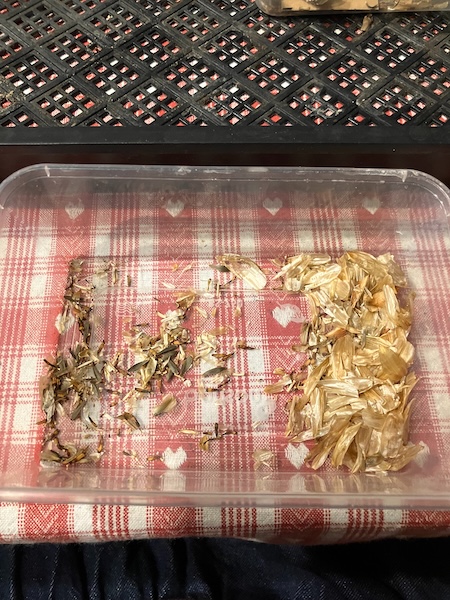
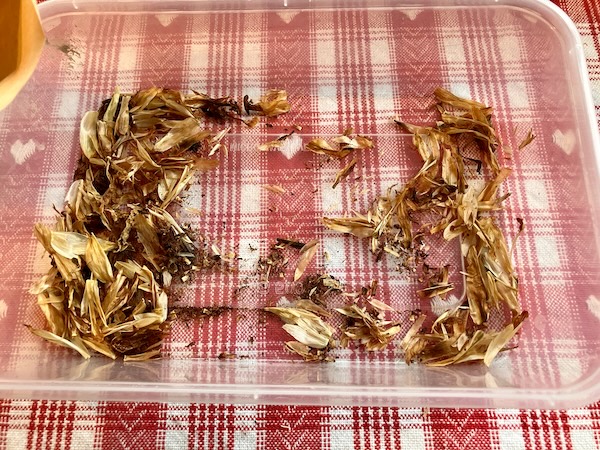
Once all of this is done, I pop the dahlia seeds into labelled paper seed envelopes. I like to include the dahlia variety, the flower type, whether the seed was open or closed pollinated, the pollen parent (if I know it), and the date the seed was collected.
With everything labelled and safely stored away, the seeds are tucked away until spring, when the whole process begins again. One of the things I love most about growing dahlias from seed is that each seed holds the possibility of something completely new, and I can't help but wonder what surprises next season will bring.
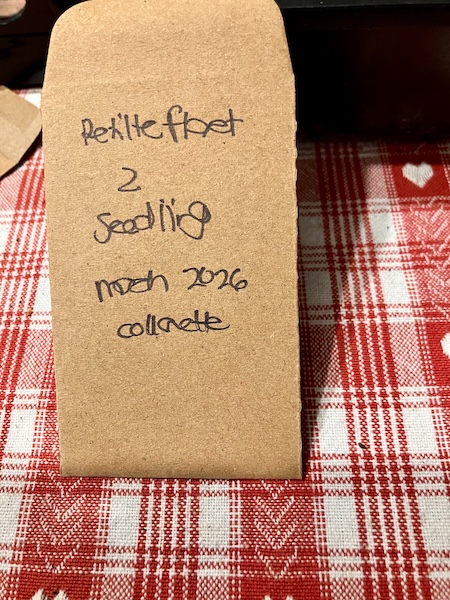
My approach with the Floret zinnias in my zinnia patch (Precious Metals, Unicorn and Blush) was a little different. Rather than selecting individual plants, my aim was simply to collect as many viable seeds as possible from across the patch.
Because Floret zinnia seeds were only available in New Zealand for one season in 2024, I have no way of purchasing more seed. If I want these beautiful varieties to remain part of my summer garden, seed saving is really my only option.
Thankfully, zinnias are generous plants, and with a little effort I hope to carry these favourites forward for many summers to come.
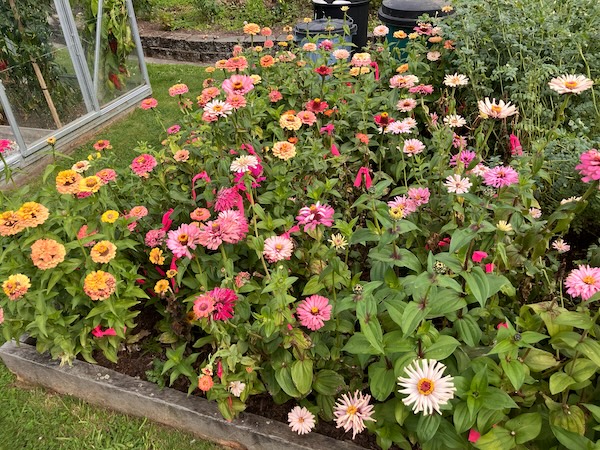
Last spring, I sowed all of the remaining Floret zinnia seeds I had in storage and grew them on through the season. By late January the first flowers were appearing, and I began saving seed in February.
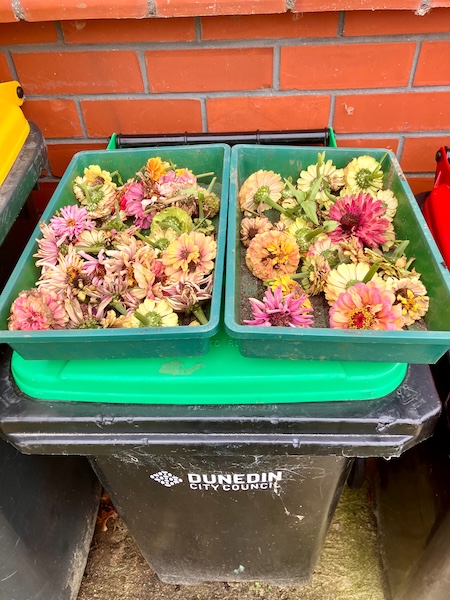
Fortunately, many of the plants set seed well, and before long I had collected trays of mature brown seed heads. Then, in April, just before our first decent frost, I harvested as many flower heads that had begun setting seed as possible, hoping that some of them would continue to mature and provide a few extra seeds as well.
With Floret zinnias no longer available, I was keen to make the most of every opportunity to save seed and carry these beautiful varieties forward into future summers.
The process for collecting zinnia seeds is pretty much the same as with the dahlia seeds. I allow the seed heads to dry out completely before gently crushing them by hand. The seeds naturally fall to the bottom, and I use the same shaking method to separate them from the chaff.
One of the interesting things about zinnias is that they produce two different types of seeds. Seeds from the ray flowers are larger and rounder in shape, while the seeds from the disk flowers are much smaller and narrower. Some growers believe that the larger ray flower seeds are self-pollinated, while the smaller disk flower seeds are more open-pollinated, producing different flowers in the next generation. I haven't found any definitive evidence for this, though.
As I've collected both seed types, it would be easy enough to grow them separately and see what happens. Perhaps that's a future Crafty Gardener project waiting to happen...but that's a story for another growing season.
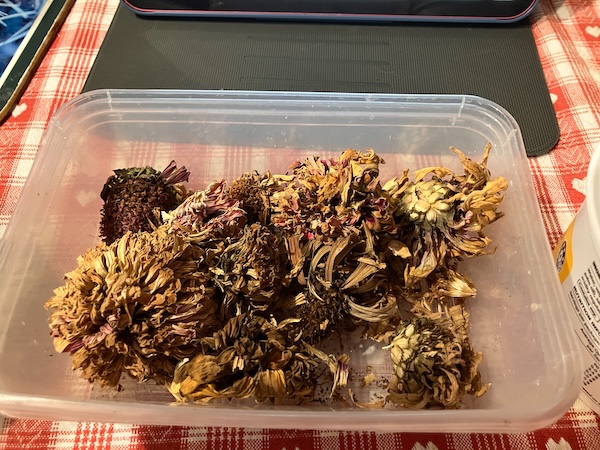
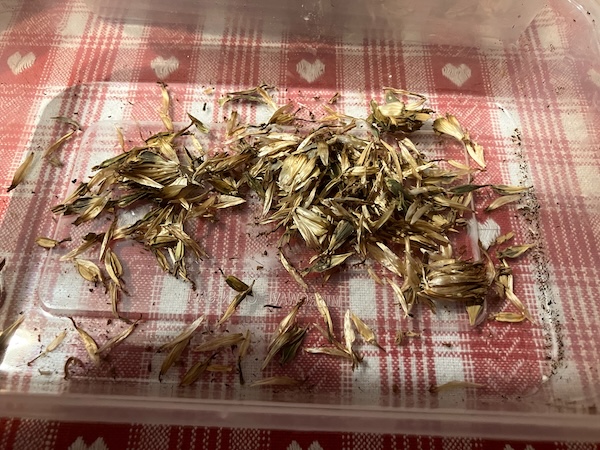
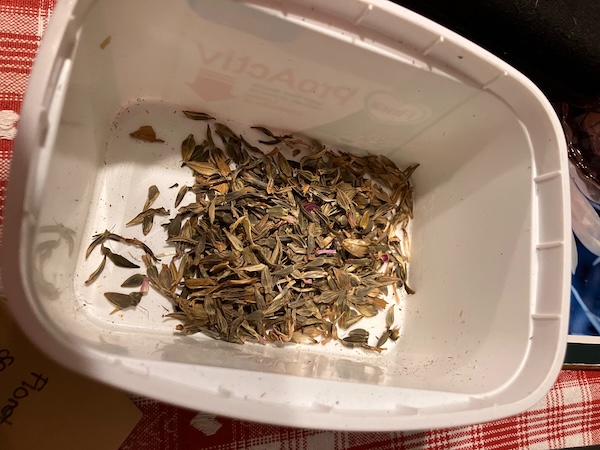
Overall, I managed to harvest over half a margarine container full of Floret zinnia seeds. They are now safely stored away, waiting patiently for spring and another season in the garden.
Both dahlia and zinnia seed saving have taken up a lot of my time throughout autumn and now into early winter, but I have many seed packets safely stored away ready for sowing in spring.
Winter has arrived, and although it is often thought of as a quieter time in the garden, I know there is still much to do. There is tidying and weeding to tackle, dahlia tubers to dig up, and a new back garden project waiting in the wings.
This will be my last blog post for the next fortnight. My husband and I have a medieval-themed wedding to attend (which means we finally get to wear our new cloaks!), and afterwards we're taking a short holiday to relax after a busy growing season.
So, until then, I'll wish you all a happy winter solstice. I'll see you again in July, at the beginning of a new gardening year, and the start of another season of stories.
Have a wonderful day
Julie-Ann
Want to discuss my post? Feel free to chat with me on Instagram or Mastodon or Bluesky, and now also Facebook.
My Favorite Dahlia Varieties Of This Past Summer
Hello friends,
Today I thought I'd share with you my ten favorite named dahlia varieties of the 2025/2026 growing season. This list is in no particular order, but no doubt you'll probably see a pattern emerging...
First up we have the Polka variety, which is an anemone dahlia with white and cranberry outer leaves, and golden fluffy inner leaves. Honesty, she is probably my new favorite dahlia of all time. Her colouring is just so unusual and happy, that she'll always have a space in my garden.

Number two is my second favorite new dahlia variety of all time, Bumble Rumble, a collarette dahlia with bright pink and white and gold flowers. She's a stunner in the garden with her frilly petals, and the bumble bees do indeed rumble over her all summer long.

Dahlia variety number three is Misses Amy, another anemone dahlia, with cranberry and light pink colouring. She has a huge pincushion top which makes her another favorite of bees and butterflies in our garden.

The next variety, Mambo, is another stunning anemone dahlia in my garden. She has magenta and red and peachy toned flowers, and her inner anemone petals are very unusual, as they lie flat with serrated gold tips.

Dahlia variety number five is Dream Seeker, a collarette dahlia bred by Dr Keith Hammett in New Zealand. This bright orange dahlia also attracts bees and butterflies all summer long, and her florescent colouring brightens our front garden for months and months over summer and autumn.

Cafe Au Lait Rosé is the only dinner plate dahlia to make it into to my favorite dahlia list for the 2025/2026 season. Her flowers are huge, and the deep magenta flower petals are stunning against the green backdrop of the garden. If I were to only keep one dinner plate dahlia CAL Rosé would be the one.

Princess Nadine is another eye catching collarette dahlia I love, and her cranberry shades fading to golden yellow petals are just so pretty. She's probably my third favorite dahlia overall in the garden.

Sweet Sanne is one of the two decorative dahlias which made it onto my favorite dahlias list. Her ombré dark peach colouring is gorgeous against her dark green leaves.

Joal Kaitlyn, is another decorative dahlia which made it onto the list. She was an expensive buy for me, but she is completely worth it in my opinion. Her smoky peach/apricot colouring is just so unusual that she stands out in my front garden. This was hubby's favorite dahlia last season, and that's a big thing for him since he doesn't really care that much about plants.

And finally we have Zahra, a creamy white anemone dahlia. Her poofy flowers may be small, but they stand out against all the other brighter dahlias in the garden. She reminds me a lot of the double white daffodil varieties flowering in my garden each spring.

As you will have probably noticed by now, this list is mainly made up of anemone and collarette dahlia varieties. As the years go on, I seem to be attracted more and more to these fluffy and bright and unusual dahlia varieties.
Already in this coming year, the only dahlias I've bought in pre-sales are collarette and anemone varieties. And I've already made some space for them in the garden by digging out some dahlia varieties which no longer interest me...
Have a wonderful day
Julie-Ann
Want to discuss my post? Feel free to chat with me on Instagram or Mastodon or Bluesky, and now also Facebook.
Social Media



Archives