
The Sweet Pea Project: Building a Trellis for My Growing Sweet Peas
Hello friends,
It's been over a month since my sweet peas were sowed, and the ones that germinated are growing strong, so strong that building a trellis for them became an urgent priority.
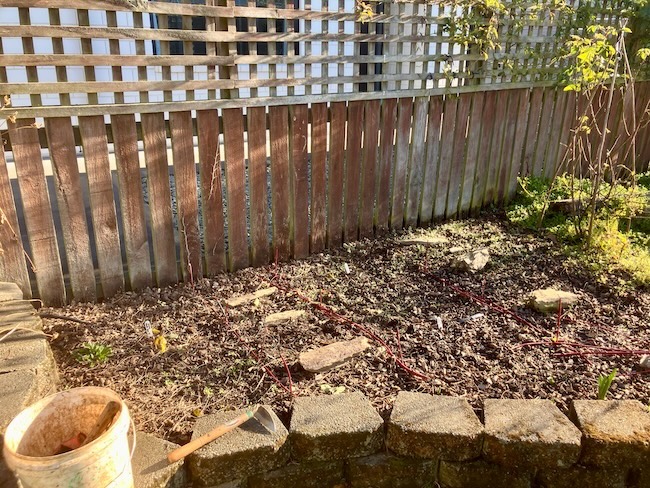
On the same day that we set up the trellis for the grapevine, we also made the trellis for the new sweet pea space. We had about 4 metres of wire netting left over, so we stretched it out over the left side backyard fence as far as it could go.
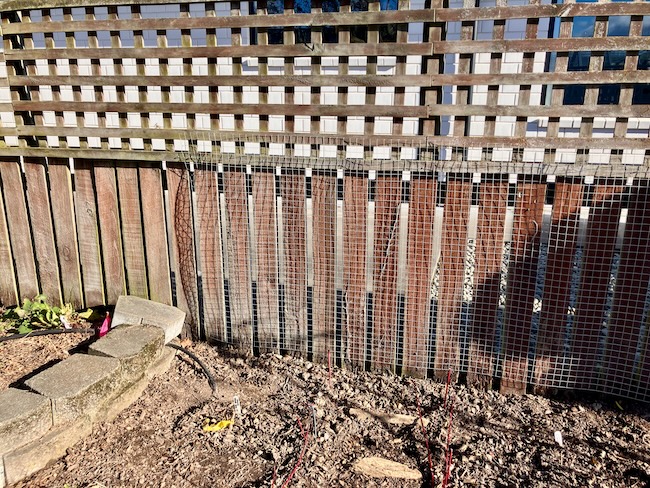
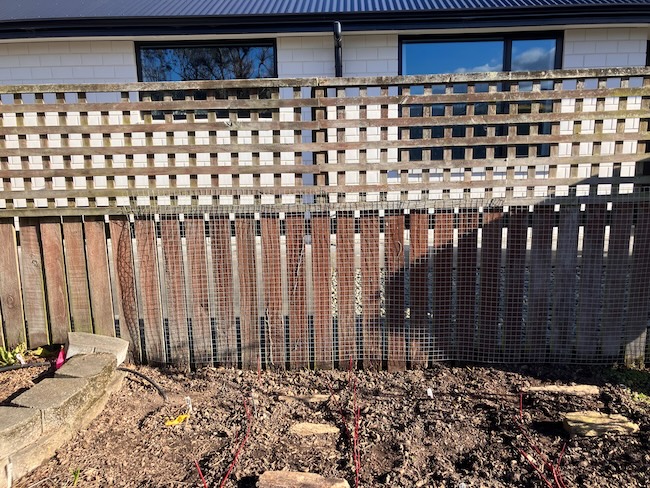
With that job done it was time to plant out the sweet peas that had germinated. Unfortunately a lot of the older sweet pea varieties didn't germinate, so there were only about 50 sweet pea plants to plant out.
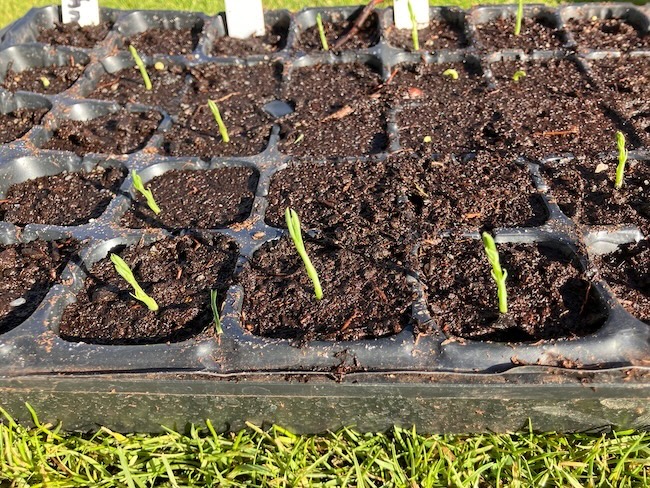
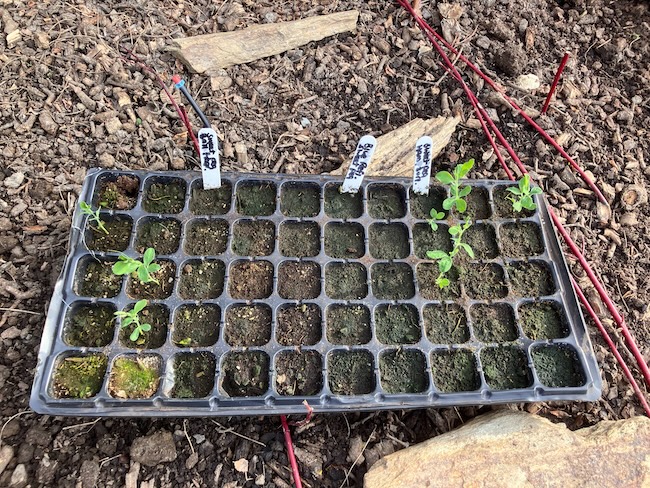
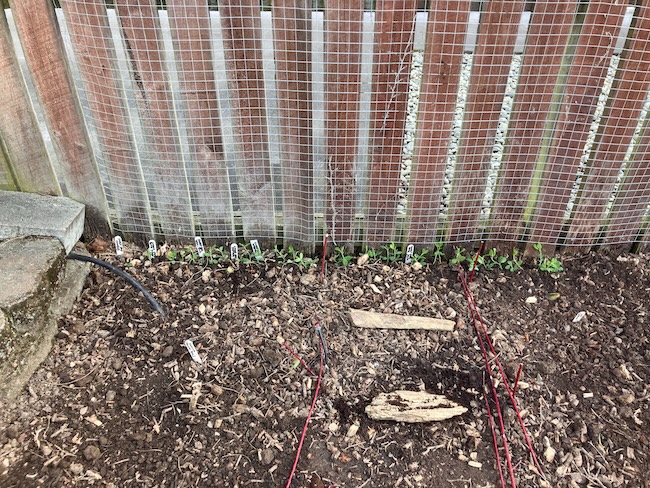
With the plants all set out along the garden fence, they had only taken up 1.5 metres of the garden fence, which left a huge gap of the fence line bare. Luckily my seed sowing space in the glasshouse was now set up for spring seed sowing, so I pulled out some long trays, and sowed another 100 sweet peas.
I sowed the following varieties:
- Sapphire
- Burlesque
- Blue Butterflies
- Blue Reflections
- Brilliant Fragrance
- Spanish Dancer (new variety from Egmont seed order)
- Appalachia (new variety from Egmont seed order)
- Nimbus
- Swan Lake
- Original
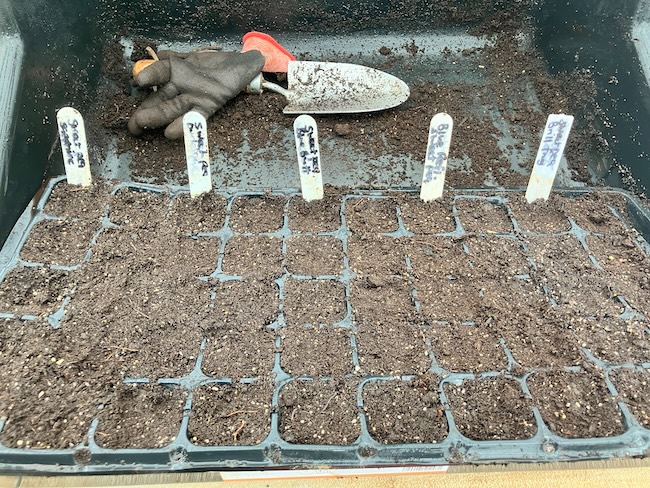
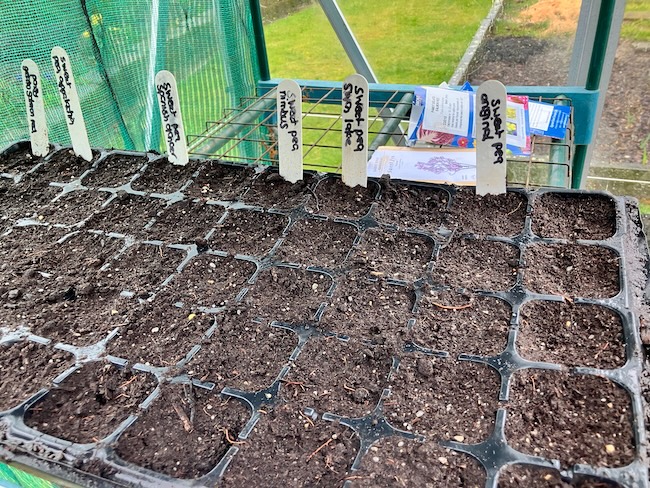
I really hope that all these varieties germinate well, so I can get them out into the garden as soon as possible. If there is still a large space remaining in the sweet pea trellis, I'll direct sow more sweet peas in about a month. The bonus of this is that the sweet pea harvests will be staggered in spring and summer.
Have a wonderful day
Julie-Ann
If you'd like to continue the conversation, you can find me on Instagram, Mastodon, Bluesky, and Facebook.
Growing Specialty Cut Flower Pansies For My Garden
Hello friends,
This year I'm starting a new garden project, growing specialty pansies and violas as cut flowers. With their frilly petals, unusual colours, and longer stems, many modern pansy and viola varieties are well suited to being cut flowers. The current Japanese pansy cut flower craze has made me curious to see what all the fuss was about. Over the coming months I'll be growing them, photographing them, and discovering which ones are worth the current hype.
Let's begin with the seeds I've chosen. There isn't a huge range of specialty cut flower pansy and viola varieties available in New Zealand, so I selected the best options I could find from local suppliers:
The varieties I selected for this project are:
- 'Moulin Rouge Mixed F1'
- 'Sweet Pea Mixed F1'
- 'Fizzy Lemonberry F1'
- 'Frizzleswizzle Mix'
- 'Gelato Salmon Red'
- 'Frizzleswizzle Raspberry'
- 'Matrix Sangria'
- 'Pandora's Box'
- 'Plum Antique F1'
- 'Rococo Frill Mix'
- 'Brush Strokes'
- 'Aalsmeer King Size Mix'
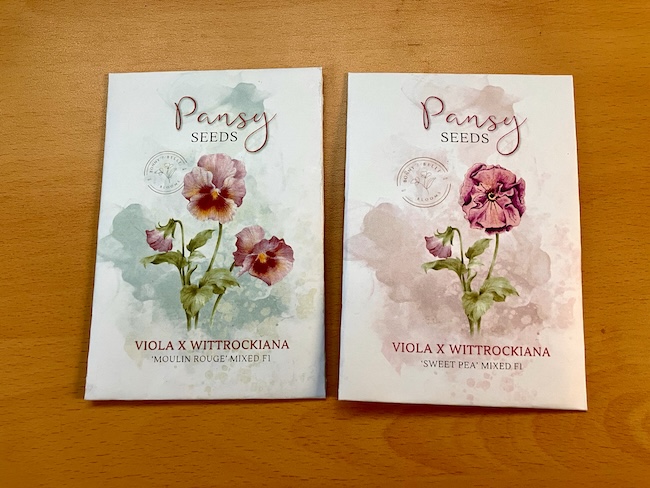
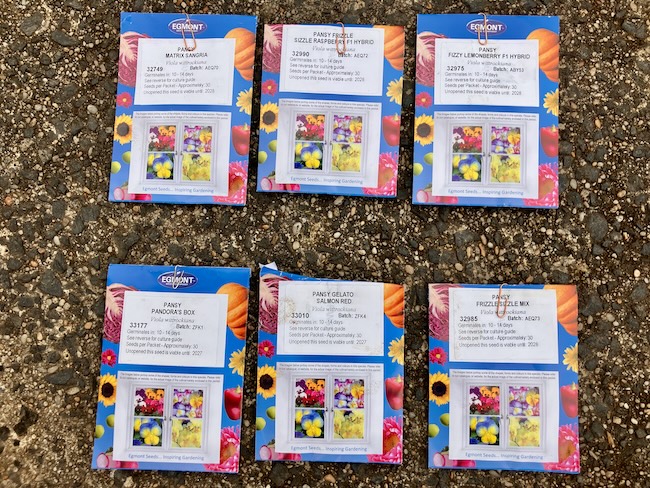
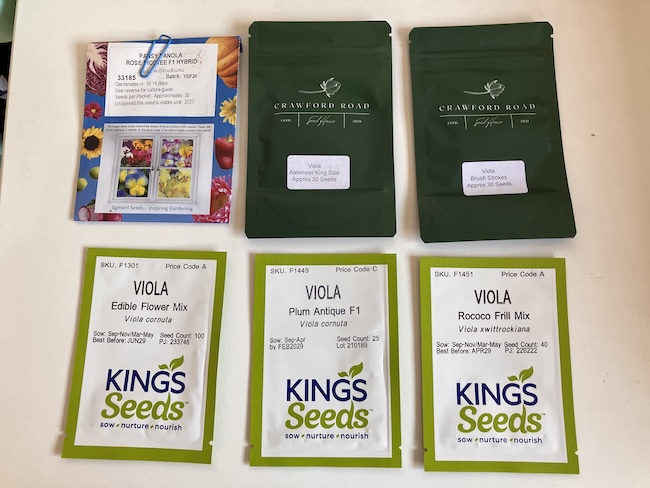
Because pansies and violas are hardy plants that don't mind winter conditions, I sowed the seeds back in July. It didn't take long to fill a couple of covered seed trays with sieved seed-raising mix and get them sown.
I've found that many seed-raising mixes contain surprisingly large pieces of bark and stone, which can easily end up sitting on top of newly sown seeds and interfere with germination, so I always take the time to sieve my seed mix before sowing.
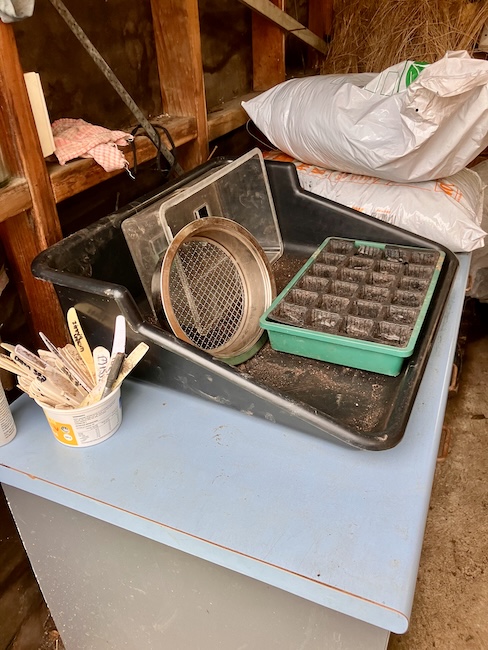
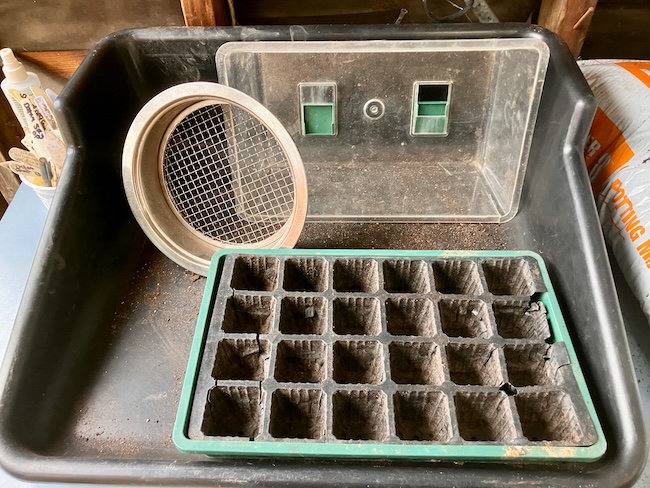
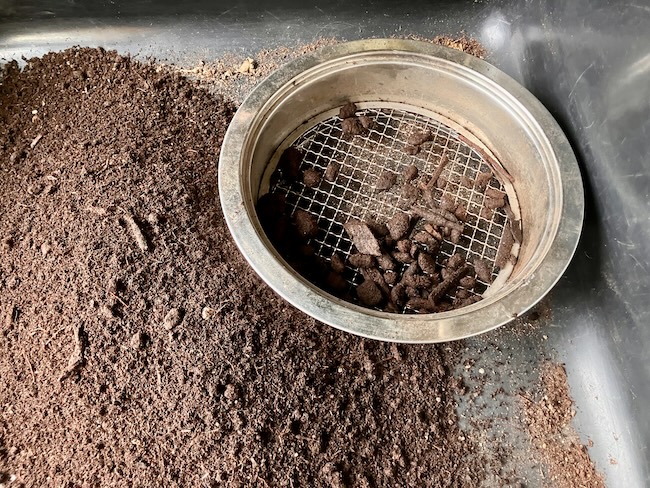
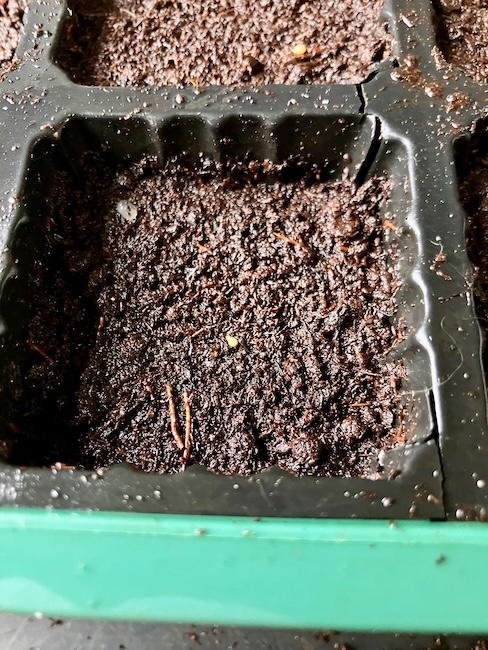
Once the seeds had been sown, lightly covered with seed-raising mix, and labelled, the trays were gently watered and moved into the glasshouse to await germination.
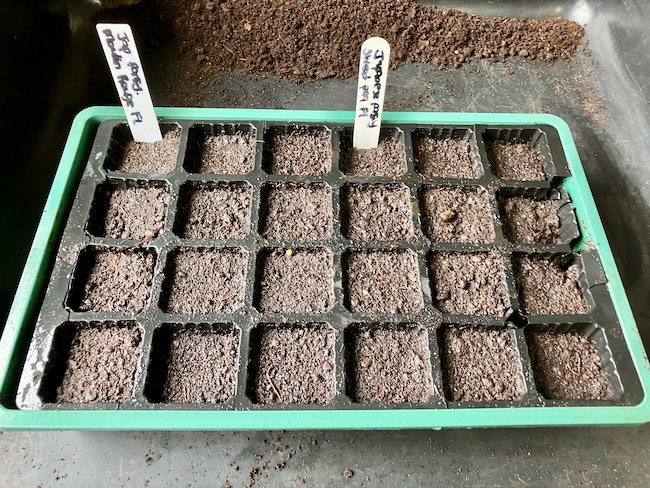
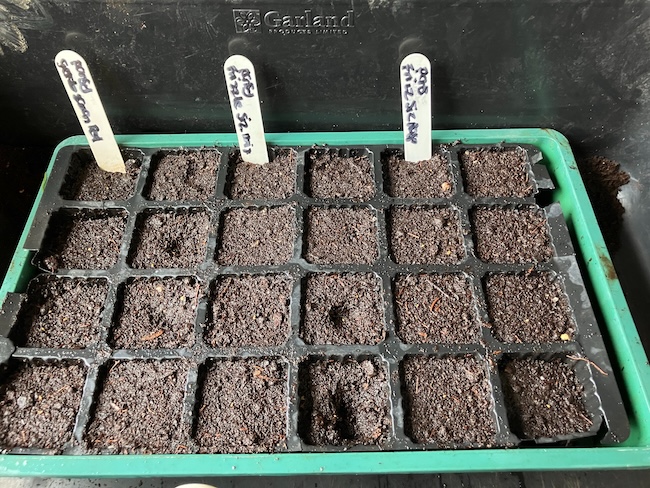
It has been a couple of weeks since the seeds were sown, and the first seedlings have already begun to emerge, with more appearing every day. So far, germination has been encouraging. To protect the young seedlings from frost and snow (which we had a couple of weeks ago), the trays are covered with their plastic lids each night and wrapped in frost cloth.
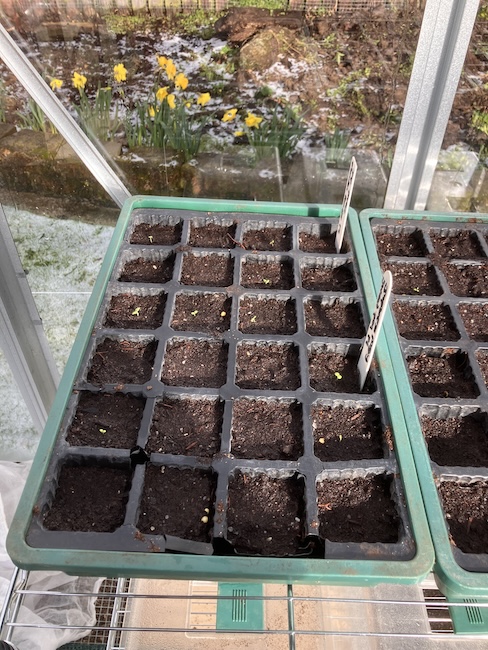
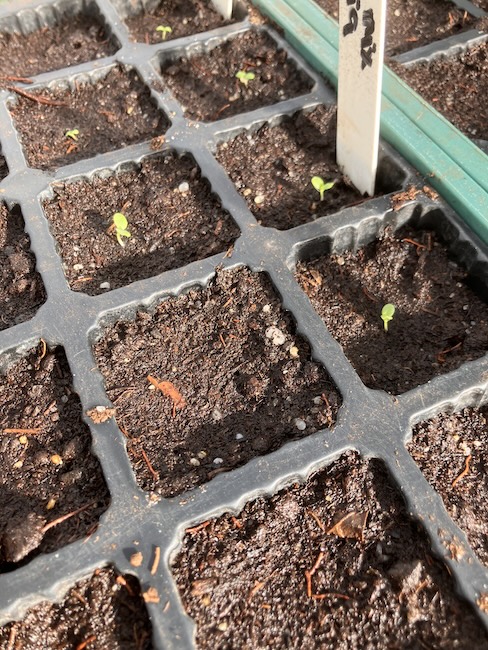
I'm looking forward to seeing how these varieties perform in the garden over the coming months and discovering which ones become my new favourites.
Have a wonderful day
Julie-Ann
If you'd like to continue the conversation, you can find me on Instagram, Mastodon, Bluesky, and Facebook.
Restocking My Seed Boxes for the New Growing Season
Hello friends,
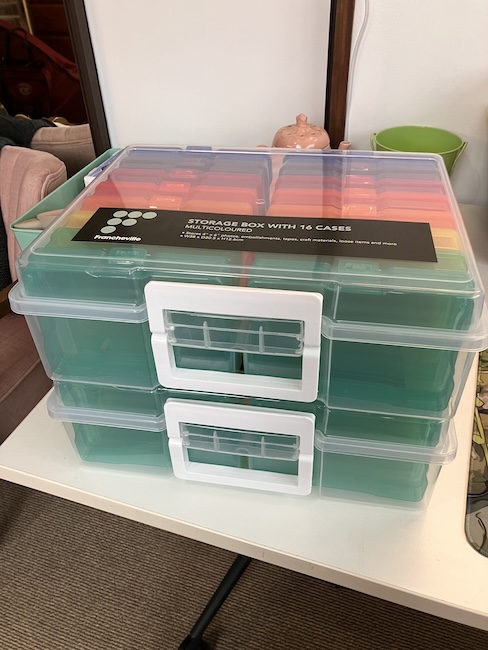
It's seed buying time again, when New Zealand seed companies tempt gardeners with their favourite seed packets, along with a bunch of new exciting varieties. Before I placed any orders this year, I wanted to take stock of the seeds already stored in my Franchville 16 storage cases from Spotlight.
I may have been lasy last year and neglected to throw out empty seed packets as I sowed seeds throughout the season. As a result, my seed boxes looked far more full than what they actually were.
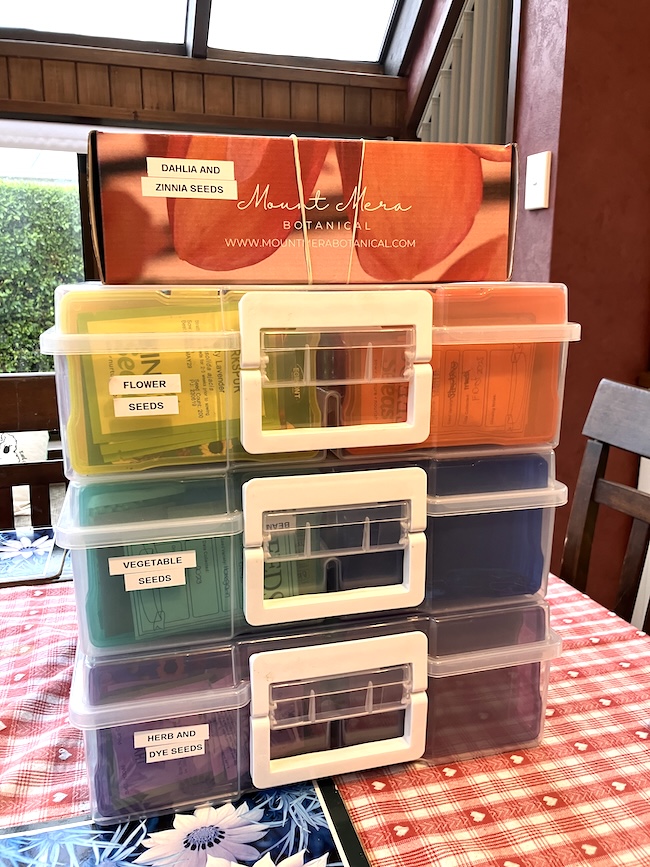
It took quite a while to work through every compartment in the storage cases, checking whether packets still contained seeds, noting expiry dates, and updating my seed database. By the time I finished, I had a clearer picture of which varieties were still in stock, and which ones needed replacing. My herb and vegetable seed stocks were in pretty good shape, but my flower seed stocks were heavily depleted. Many seed packets were nearly empty, and ones like cosmos and calendula had completely run out.
Knowing how depleted my flower seed stocks were, and how expensive they would be to replace, I opened about a million tabs in my web browser and got to work comparing varieties and prices from different seed suppliers. After many hours at the computer, I had narrowed down the varieties I wanted, worked out which suppliers offered the best prices, and was finally ready to begin placing orders with the following seed companies. These are just a few highlights from this year's seed order. There were many more packets than I could realistically include in one blog post!
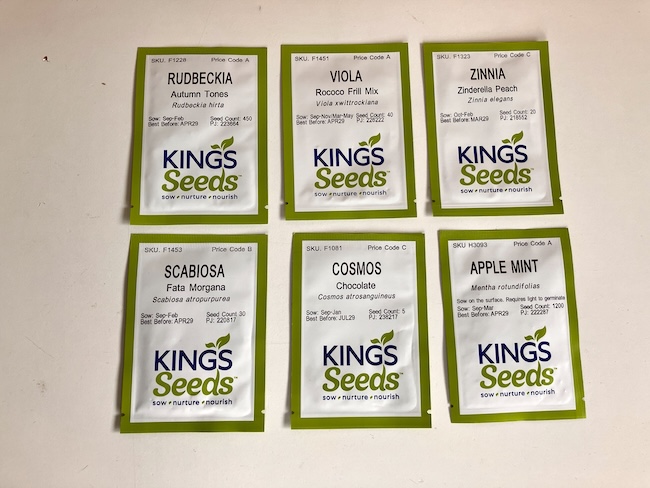
From Kings Seeds, I mostly purchased a bunch of cosmos, herbs, zinnias, and viola and pansy varieties. I'm especially looking forward to growing the Zinderella range of zinnias this season. And yes, I also fell victim to the chocolate cosmos growing craze sweeping the gardening world right now.
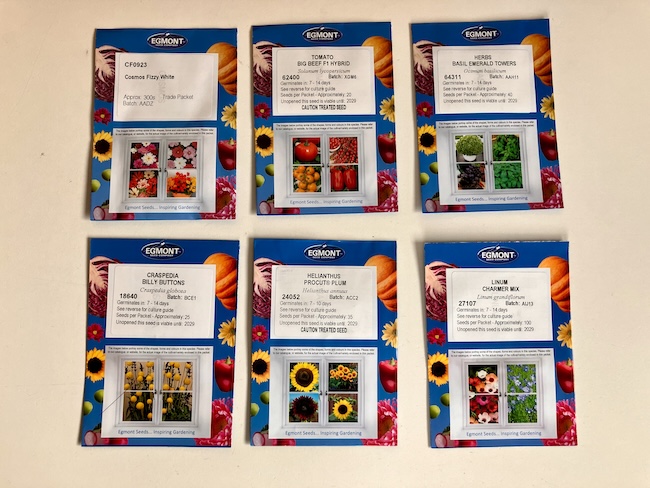
From Egmont Seeds, I purchased a selection of herb, tomato, calendula, and marigold seeds, along with a large cut flower packet of Cosmos 'Fizzy White'. This is my favourite cosmos variety, and it's not easy to find in small packets, so I decided to splurge on a 300-seed packet. I'm sure they'll all get used eventually...even if it takes me a few seasons to get through them.
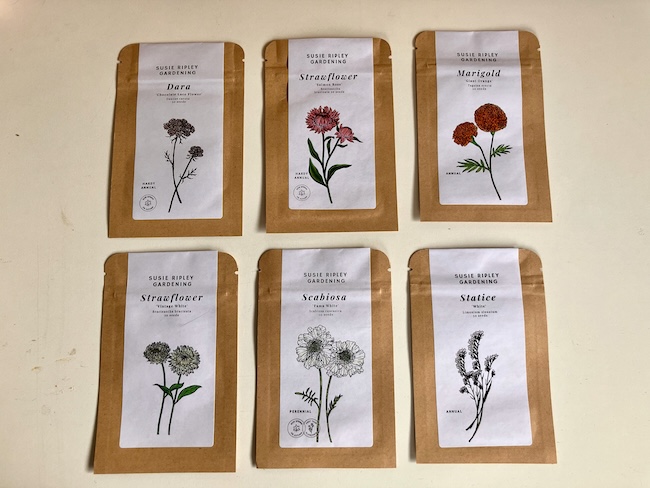
From Susie Ripley, I purchased several rarer flower varieties, along with strawflower and statice for drying. These were varieties I hadn't been able to source elsewhere, and I'm looking forward to experimenting with dried flowers this season.
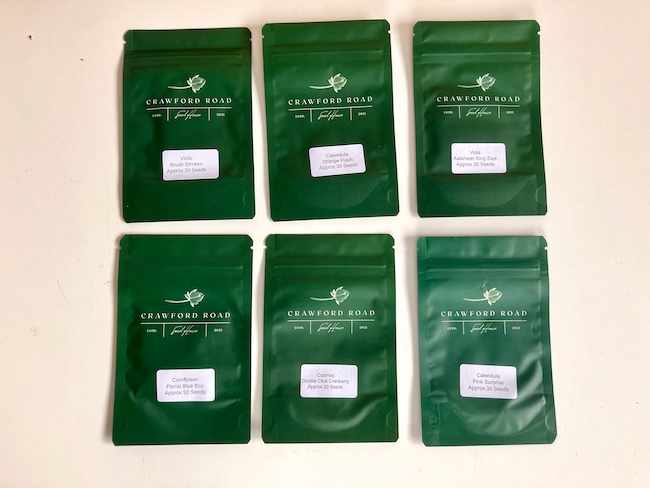
And finally, from Crawford Road, I purchased several new-to-me calendula varieties, along with violas and some new cosmos and cornflower selections to trial in the garden this season.
Just when I thought all my seed buying was done, I discovered that Wild Flora was selling some rare flower seeds that were simply too tempting to resist. First on my list were seeds from the dahlia variety 'April Heather'. This collarette dahlia is a rare plant to source in New Zealand, and while I can't justify spending $100–$300 on a single tuber, I was more than happy to invest in a packet of its daughters for my dahlia breeding project.
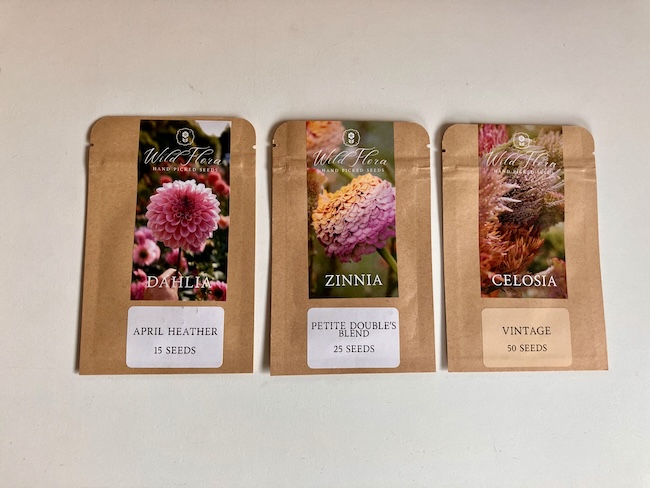
Wild Flora also had progeny from several Floret zinnia and celosia varieties available for sale. These seeds were only offered in New Zealand during 2024 and can no longer be purchased directly, so when the opportunity came up, I couldn't resist. I'm looking forward to growing these varieties and seeing what interesting colours and forms appear in the next generation.
With all this seed purchasing completed, I ran out of space in my Francheville seed storage boxes. Fortunately, Spotlight had them on sale for 30% off, so my husband picked up two more for me. Hopefully they'll last me a little while. I find these boxes perfect for seed organisation, keeping everything tidy and easy to find when sowing season arrives.
I'm pleased with this year's seed purchases and looking forward to getting everything sown over the coming months. There are plenty of old favourites returning to my garden, along with many new varieties and a few exciting breeding projects to explore. Now comes the hard part—finding the time to sow everything, and the space to grow it all!
Have a wonderful day
Julie-Ann
If you'd like to continue the conversation, you can find me on Instagram, Mastodon, Bluesky, and Facebook.
The Sweet Pea Project: Sowing the Seeds for a New Gardening Year
Hello friends,
Although the garden may seem quiet in the middle of winter, now is the time when preparation for the next growing season begins. For me, July is peak sweet pea sowing season, and I always save this job for cold, rainy days when it's too wet to work outside. Sweet peas prefer germinating in cooler temperatures, so sowing them in winter gives them the best chance of producing armfuls of fragrant blooms in late spring and early summer.
Sweet peas have always been a favourite of mine ever since childhood, when my grandfather used to grow them in his back garden. Their fragrance would drift through the backyard during the warmer months, and ever since then I've dreamed of having a dedicated sweet pea patch of my very own.
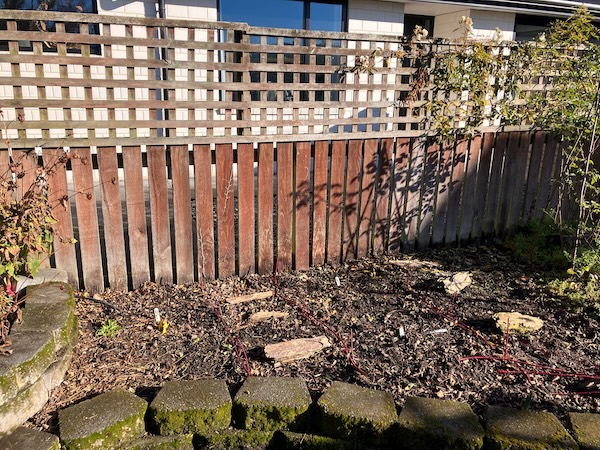
Until recently though, I simply didn't have the space in my garden to do this. That changed last summer when our old lilac tree finally succumbed to the damage it suffered during last year's big spring storm. Once the tree had been removed, a section of the backyard fence opened up to full sun from early morning until late afternoon, creating the perfect place for a sweet pea patch. With the space finally available, it seems like now is the perfect time to turn a long-held dream into a reality. So let's begin, and I'll show you the little patch of garden where this year's sweet pea project will take shape.
My sweet pea patch will run along the western side of our backyard, beside the boundary fence that used to sit in permanent shade beneath the old lilac tree. This section of fence line is approximately four metres long, providing plenty of room for this new project. My plan is to install metal mesh along the fence, and let the sweet peas scramble their way upward, hopefully filling the space with flowers and fragrance throughout spring and summer.
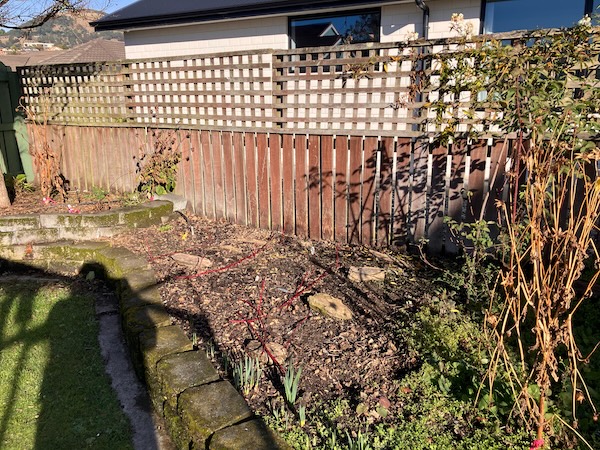
With the growing area planned, it was finally time to pull out my sweet pea seed collection, and decide which varieties to grow. Over the years I've accumulated a large collection of sweet pea seed, so narrowing down the choices was no easy task. In the end, I settled on a collection of mostly Keith Hammett varieties, along with a few other favourites, and some homegrown seed collected from my own garden, all selected for their beautiful colours and sweet fragrance.
The varieties I chose and sowed were:
- 23 × Hammett Blue Butterflies
- 15 × Hammett Blue Shift
- 10 × Hammett Blue Reflections
- 15 × Hammett Brilliant Fragrance
- 10 × Hammett Burlesque
- 15 × Hammett's Surprise
- 2 × Hammett Licorice
- 6 × Hammett NZ Gardener
- 10 × Hammett Somewhere
- 15 × Hammett Sapphire
- 9 × Hammett Triple G
- 10 × Hammett Turquoise Lagoon
- 25 × Homegrown seeds from my garden
- 10 × Nimbus
- 10 × Swan Lake
- 10 × Sweet Pea Original
In total, I sowed 195 sweet pea seeds, which should provide a beautiful mixture of blues, purples, smoky pinks, bi-colours, and wonderfully fragrant blooms over the coming spring and summer.
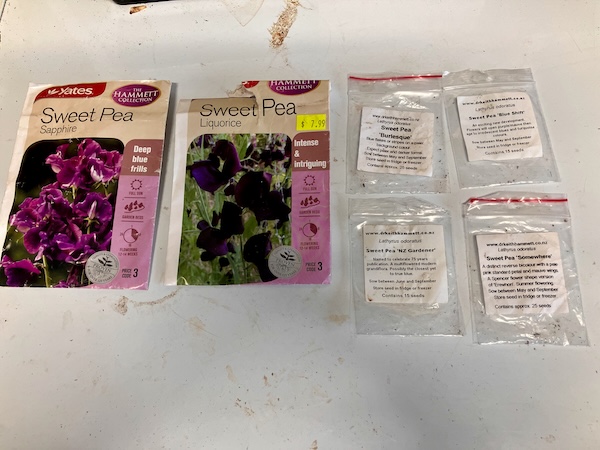
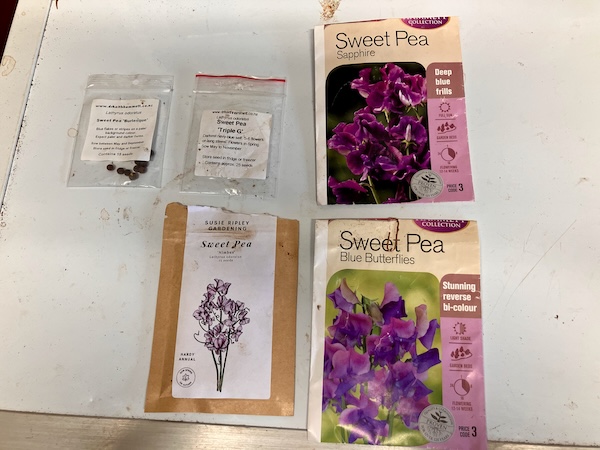
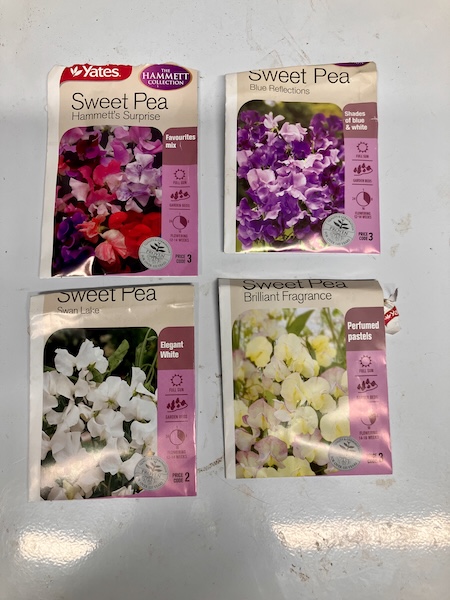
Although 195 sweet pea seeds may seem like a lot, some of the seed packets were older, and experience has taught me that not every seed will germinate. The seeds were sown into seed-raising mix that had been sieved to remove large stones and wood chips, before being placed into four 50-cell seed trays.
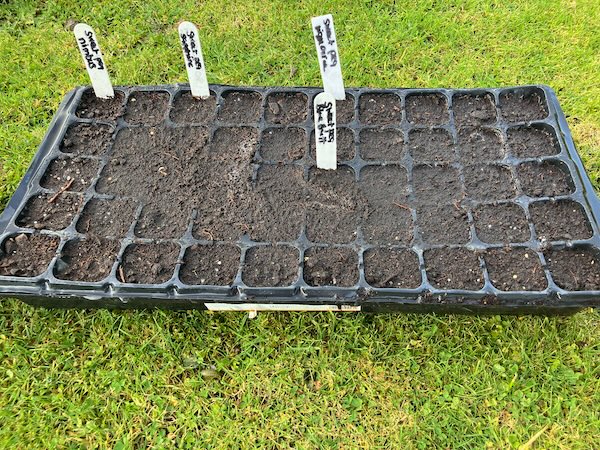
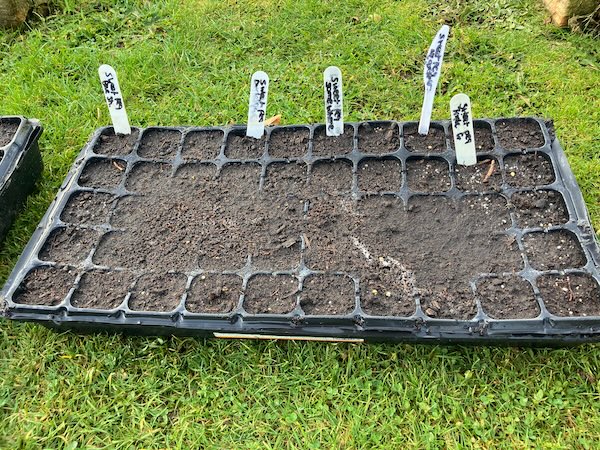
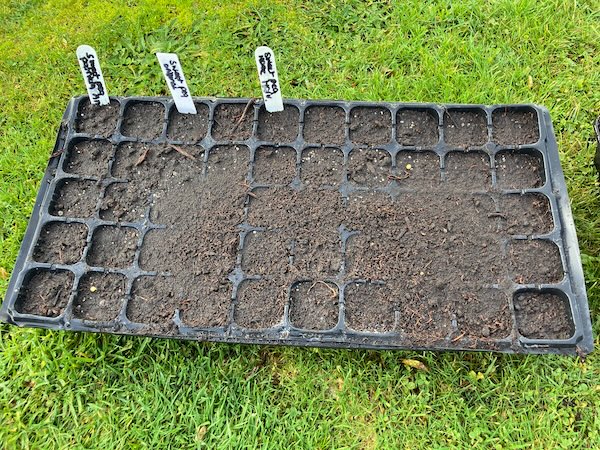
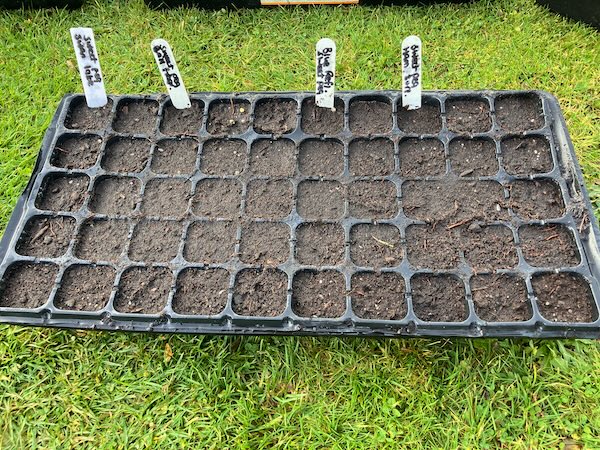
After sowing, the seed trays were watered well, and placed onto shelving in my glasshouse. The shelving is covered with some shade cloth, which helps protect the emerging seedlings from strong sunlight, and it also prevents them from drying out too quickly.
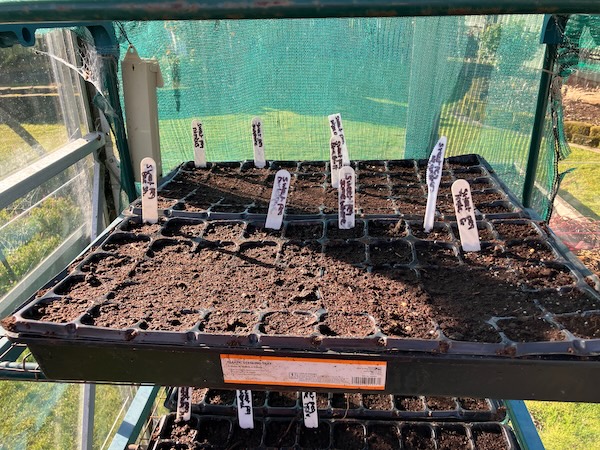
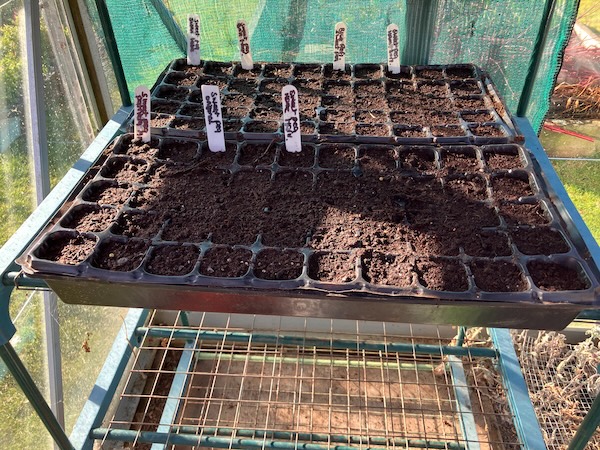
There is always something so hopeful about seed sowing. In the depths of winter, seeds are a reminder that spring is never too far away, and that every gardening year begins with the promise of new life.
For now, the sweet peas are sown, and the waiting begins...
Have a wonderful day
Julie-Ann
If you'd like to continue the conversation, you can find me on Instagram, Mastodon, Bluesky, and Facebook.
I'd love to hear what you're growing, making, or enjoying in your own garden.
Social Media



Archives