
Saving Dahlia and Zinnia Seeds for Next Season
Hello friends,
Over late summer and early autumn, I spent many happy hours collecting seeds from the dahlias in my garden, and from the Floret zinnia varieties growing in my zinnia patch.
This year, my focus was on saving seeds from as many collarette and anemone dahlias as possible, along with seeds from some of my favourite seedling dahlias from this season. There's always something hopeful about saving dahlia seeds. Unlike tubers, the seedlings won't grow true to their parents, and that's part of the magic. Every seed has the potential to produce something completely new, making each growing season full of anticipation and surprises.
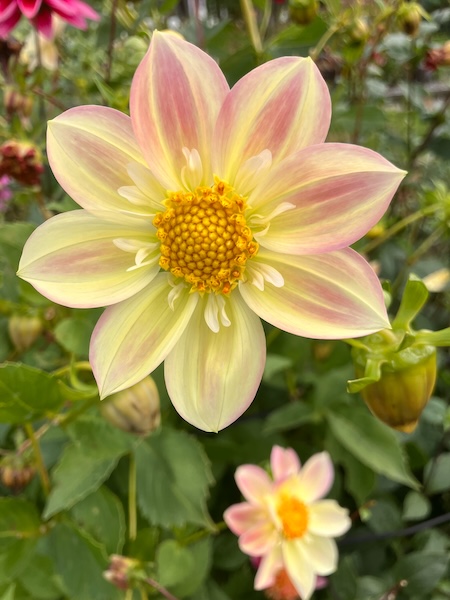
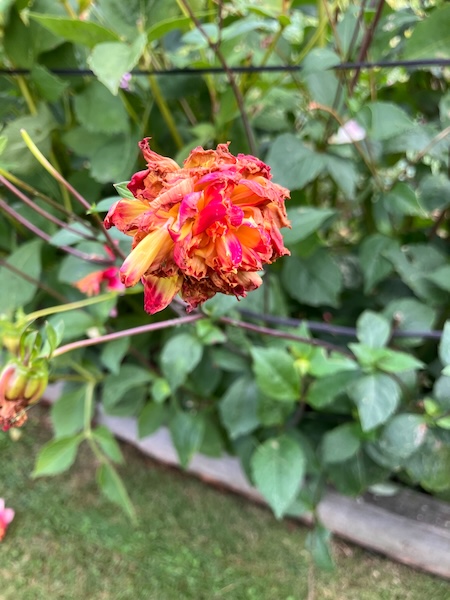
The process of saving dahlia seeds takes a little time and patience. Once a flower has finished and the petals have fallen, the waiting begins. Not every flower produces a good seed head, so I watch carefully for those that develop into plump, full seed heads.
Once I find one, I mark it with a piece of flagging tape and leave it on the plant to mature. Depending on the weather, this can take anywhere from a couple of weeks to a month. As the seed head ripens, it gradually turns a mid to dark brown colour, becomes dry and crunchy to the touch, and the outer sepals begin to pull back, revealing the inner parts of the seed head.
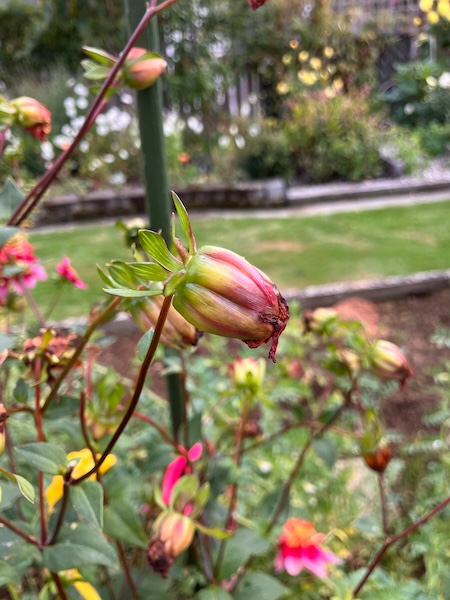
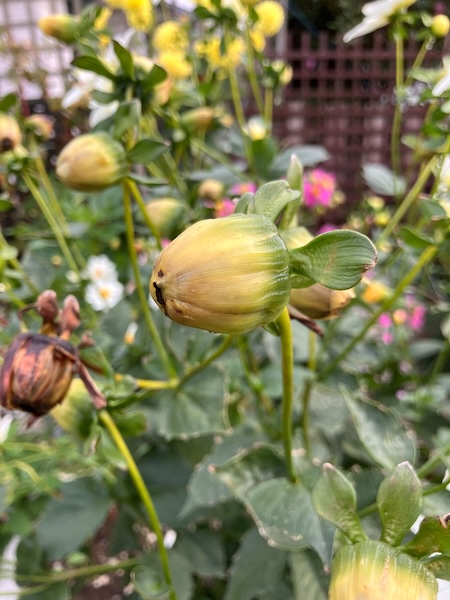
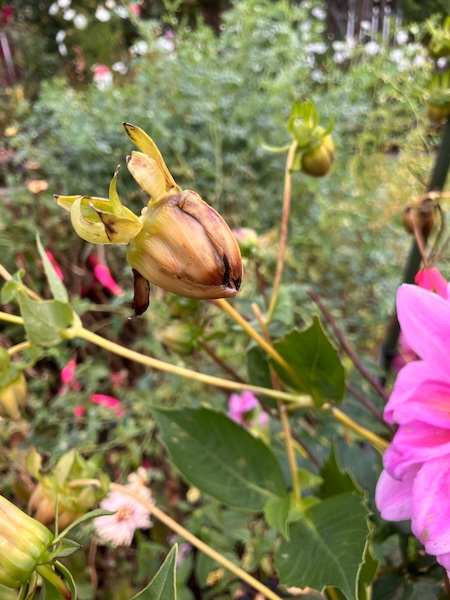
At this stage, I remove the seed heads from the dahlia plant and place them in an open container labelled with the variety name. I then gently break up the seed heads by hand to increase the airflow around the seeds. As the seed head falls apart, the dahlia seeds begin to separate from the chaff, and I leave everything together in the container to dry for a couple of weeks.
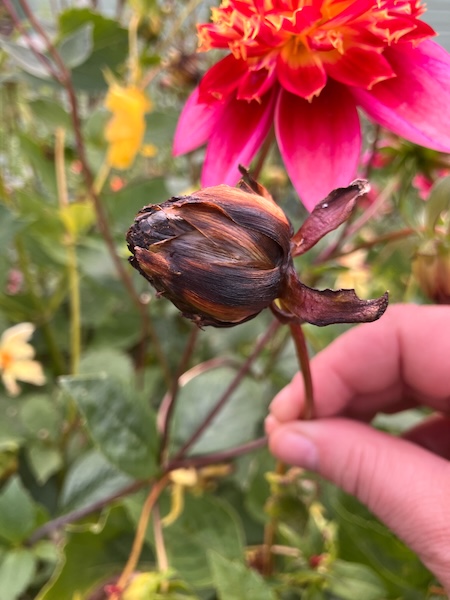
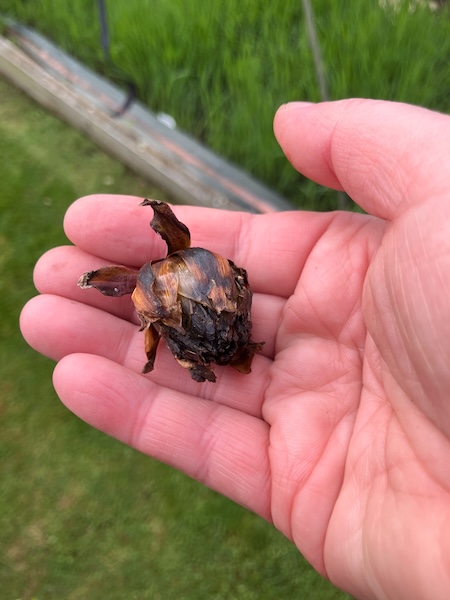
Once the seed heads are completely dry, it's time to separate the dahlia seeds from the chaff. Fortunately, the chaff is both larger and lighter than the seeds, which makes the job a little easier.
There are a number of ways to do this. One method is simply to shake the container, allowing the heavier seeds to settle to the bottom while the chaff sits on top. Another option is to winnow the crushed seed heads on a windy day, or in front of a fan. The heavier seeds drop into a waiting container, while the lighter chaff blows away. A third method is to use a soil sieve, which screens out the larger pieces of chaff while allowing the seeds to fall through.
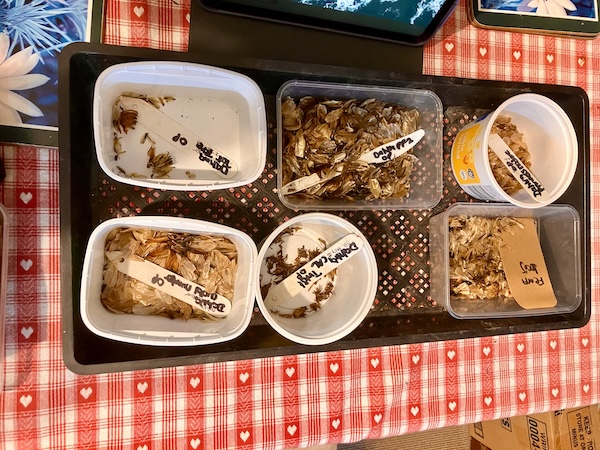
Most of the time I use the first method, as I've found that viable dahlia seeds can sometimes remain attached to the chaff. If I wasn't paying attention, it would be all too easy to throw away perfectly good seeds.
Before I begin, I make sure the seed heads are crushed up as much as possible. I then gently shake the container from side to side, allowing the heavier seeds to settle to the bottom while the chaff rises to the top. As I remove the chaff, I quickly check it for any viable seeds that are still attached and carefully pry them off by hand.
It takes a little extra time, but I'd rather spend a few extra minutes cleaning the seeds than accidentally lose some future potential favourite dahlia varieties.
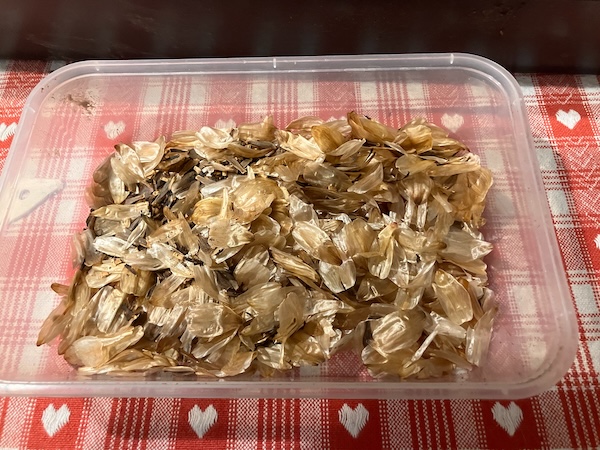
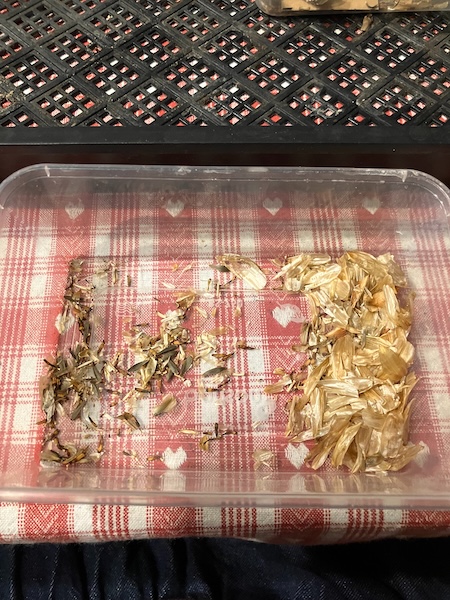
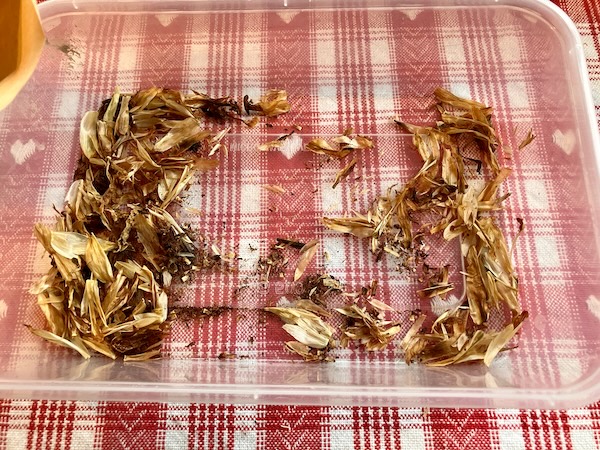
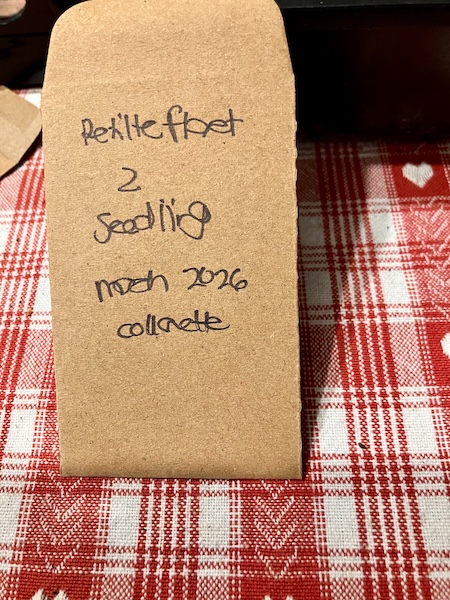
Once all of this is done, I pop the dahlia seeds into labelled paper seed envelopes. I like to include the dahlia variety, the flower type, whether the seed was open or closed pollinated, the pollen parent (if I know it), and the date the seed was collected.
With everything labelled and safely stored away, the seeds are tucked away until spring, when the whole process begins again. One of the things I love most about growing dahlias from seed is that each seed holds the possibility of something completely new, and I can't help but wonder what surprises next season will bring.
My approach with the Floret zinnias in my zinnia patch (Precious Metals, Unicorn and Blush) was a little different. Rather than selecting individual plants, my aim was simply to collect as many viable seeds as possible from across the patch.
Because Floret zinnia seeds were only available in New Zealand for one season in 2024, I have no way of purchasing more seed. If I want these beautiful varieties to remain part of my summer garden, seed saving is really my only option.
Thankfully, zinnias are generous plants, and with a little effort I hope to carry these favourites forward for many summers to come.
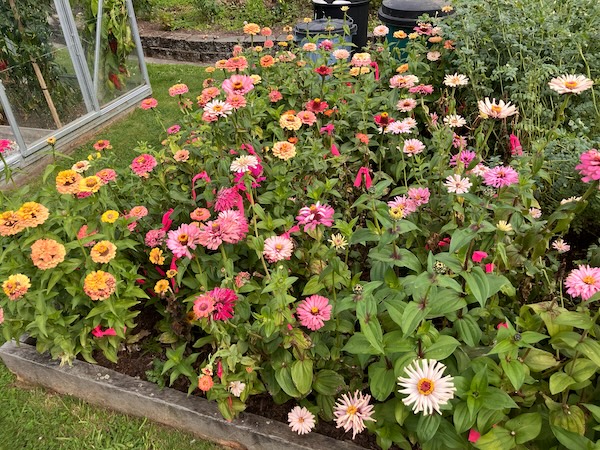
Last spring, I sowed all of the remaining Floret zinnia seeds I had in storage and grew them on through the season. By late January the first flowers were appearing, and I began saving seed in February.
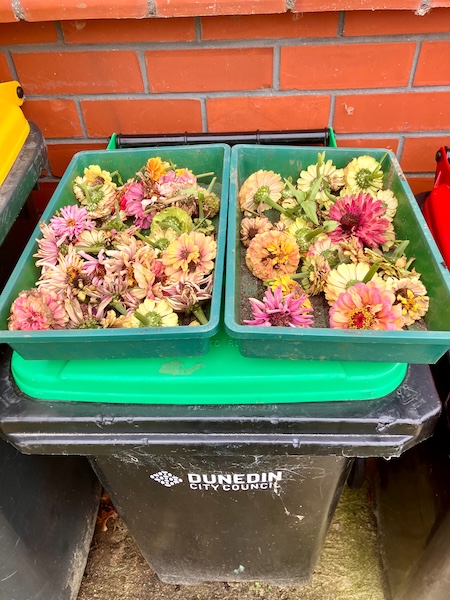
Fortunately, many of the plants set seed well, and before long I had collected trays of mature brown seed heads. Then, in April, just before our first decent frost, I harvested as many flower heads that had begun setting seed as possible, hoping that some of them would continue to mature and provide a few extra seeds as well.
With Floret zinnias no longer available, I was keen to make the most of every opportunity to save seed and carry these beautiful varieties forward into future summers.
The process for collecting zinnia seeds is pretty much the same as with the dahlia seeds. I allow the seed heads to dry out completely before gently crushing them by hand. The seeds naturally fall to the bottom, and I use the same shaking method to separate them from the chaff.
One of the interesting things about zinnias is that they produce two different types of seeds. Seeds from the ray flowers are larger and rounder in shape, while the seeds from the disk flowers are much smaller and narrower. Some growers believe that the larger ray flower seeds are self-pollinated, while the smaller disk flower seeds are more open-pollinated, producing different flowers in the next generation. I haven't found any definitive evidence for this, though.
As I've collected both seed types, it would be easy enough to grow them separately and see what happens. Perhaps that's a future Crafty Gardener project waiting to happen...but that's a story for another growing season.
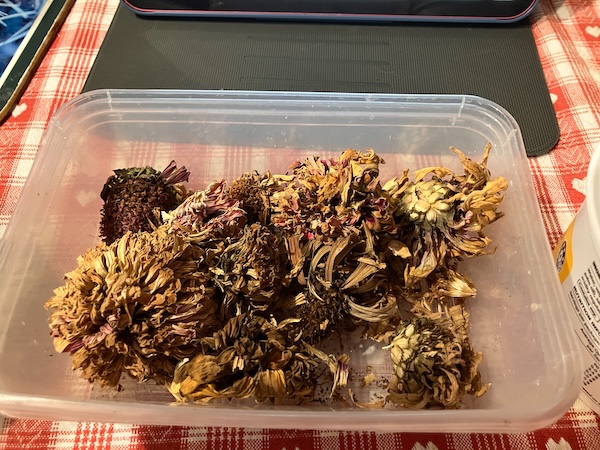
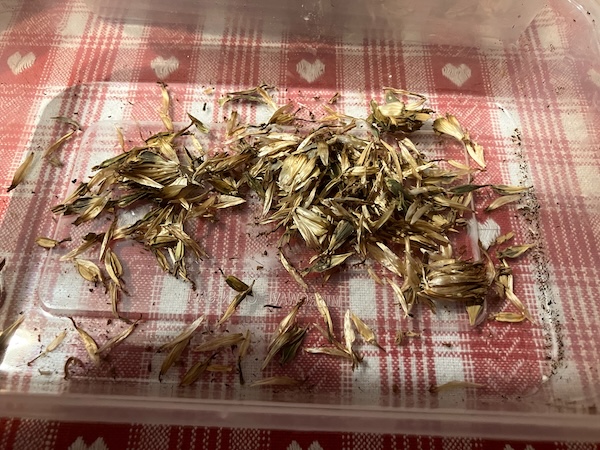
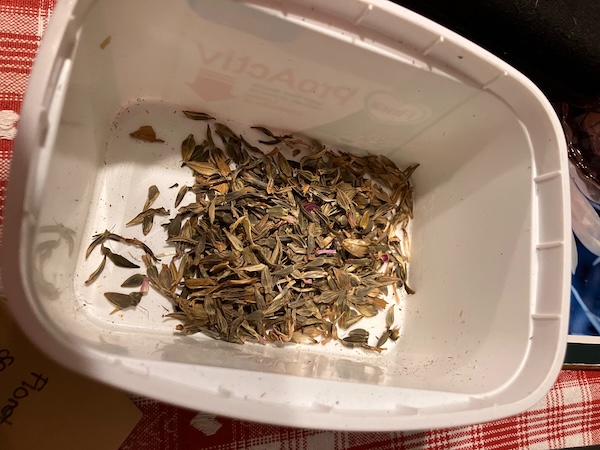
Overall, I managed to harvest over half a margarine container full of Floret zinnia seeds. They are now safely stored away, waiting patiently for spring and another season in the garden.
Both dahlia and zinnia seed saving have taken up a lot of my time throughout autumn and now into early winter, but I have many seed packets safely stored away ready for sowing in spring.
Winter has arrived, and although it is often thought of as a quieter time in the garden, I know there is still much to do. There is tidying and weeding to tackle, dahlia tubers to dig up, and a new back garden project waiting in the wings.
This will be my last blog post for the next fortnight. My husband and I have a medieval-themed wedding to attend (which means we finally get to wear our new cloaks!), and afterwards we're taking a short holiday to relax after a busy growing season.
So, until then, I'll wish you all a happy winter solstice. I'll see you again in July, at the beginning of a new gardening year, and the start of another season of stories.
Have a wonderful day
Julie-Ann
Want to discuss my post? Feel free to chat with me on Instagram or Mastodon or Bluesky, and now also Facebook.
Tomato Seed Saving In Late Summer
Hello friends,
Late summer and early autumn is the perfect time of the year for seed saving in your garden. One of my favorite plants to save seed from are tomato plants. After a number of years of finding the perfect tomato varieties for us to grow, I like to save these seeds, as they have become acclimated to our growing conditions.
Each year I harvest the most squishy and ripe Pomodoro, Juanne Flamme, Hera, Grosse Lisse, Italian Island Bay, and Lebanese tomatoes off the vine, and then I bring them into the kitchen to process. My best advice for doing this is to label each tomato with a sharpie as you take each tomato variety off the vine, as otherwise, I promise you, you will forget which tomato variety is which...
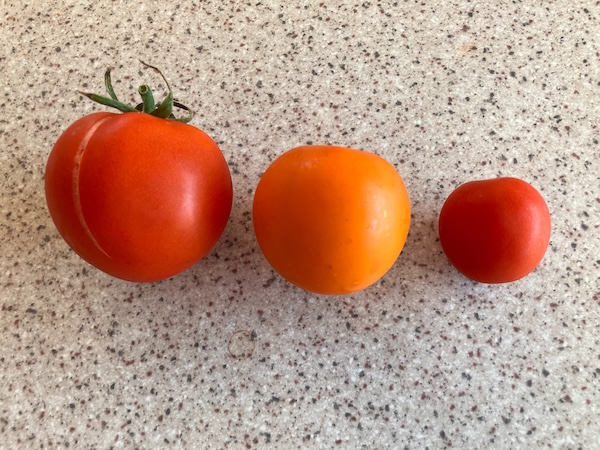
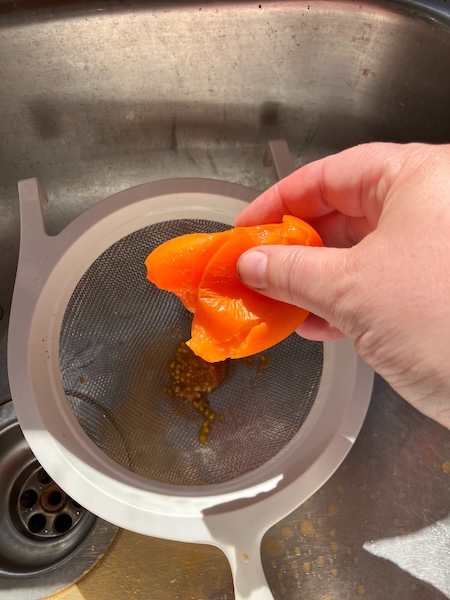
The next step is to squish each tomato over a kitchen sieve to catch all the seeds, and then scoop out any seeds which are still attached to the tomato flesh. Once all the tomato seeds are in the sieve, wash them with water to remove the protective gel coating. Using your fingertips to pry the seeds from the gel coating really helps a lot with this step.
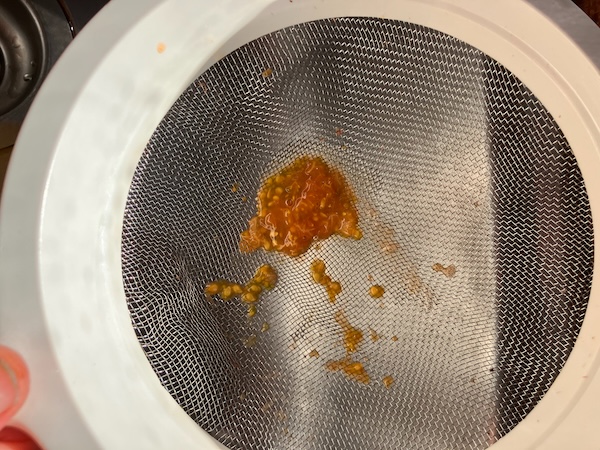
Once the seeds are as clean as they can be, hit the sieve containing the seeds onto a paper towel which is labeled with the seed variety. Spread the seeds out onto the paper towel and leave them to dry overnight.
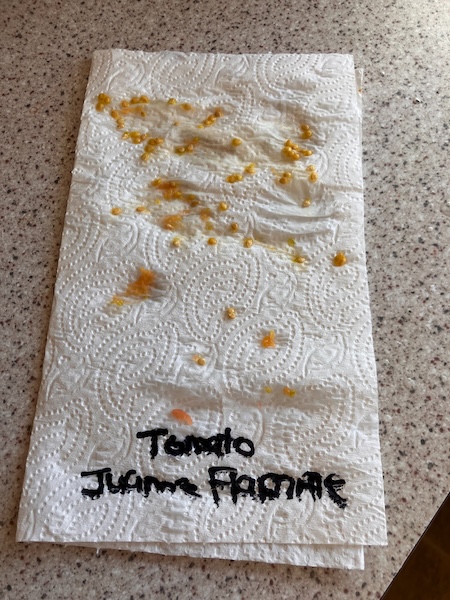
The next day peel the dried seeds off the paper towel and pop them into a paper seed envelope (or whatever system you normally use). Store them over autumn and winter until it's time to sow seed once again.
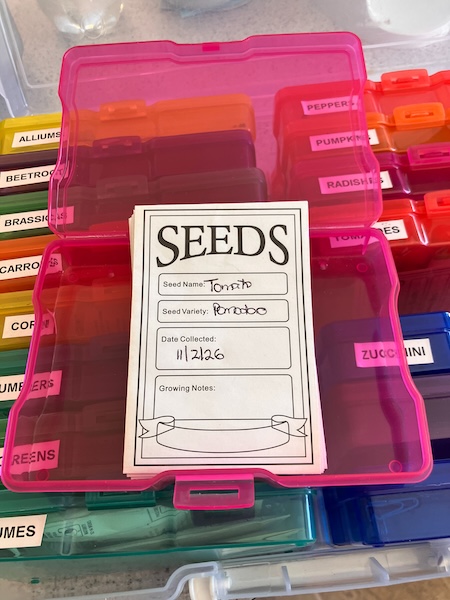
Seed saving really is a great way to not only save money while gardening, but also to grow plants which are acclimated to your growing conditions.
Have a wonderful day
Julie-Ann
Want to discuss my post? Feel free to chat with me on Instagram or Mastodon or Bluesky, and now also Facebook.
I'm In The December 2025 Issue Of The New Zealand Gardener Magazine
Hello friends,
An exciting opportunity happened a couple of months ago when the New Zealand Gardener magazine contacted me and wanted to chat about my blogging adventures in growing, harvesting, and processing my own sugar beet, as part of a wider article about kiwi gardeners growing their own sugar in various forms (including sugar cane and sugar maple).
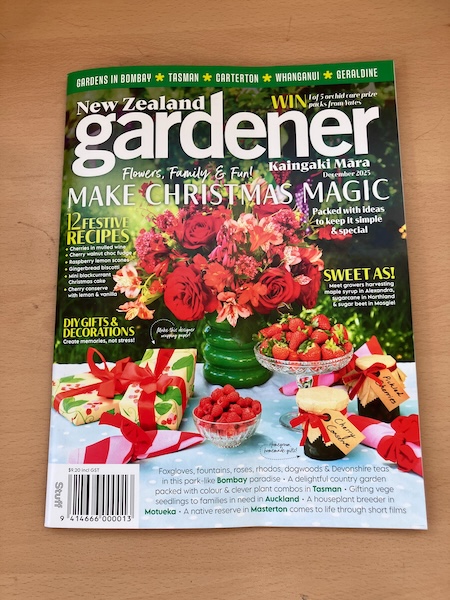
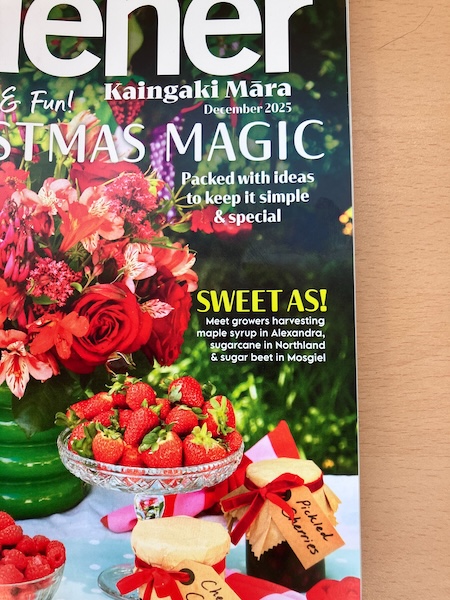
I was quite happy to do this as I'm a big fan of the magazine (I buy a copy of it each month), and New Zealand Gardener is such a great source of local news and advice for New Zealand gardeners.
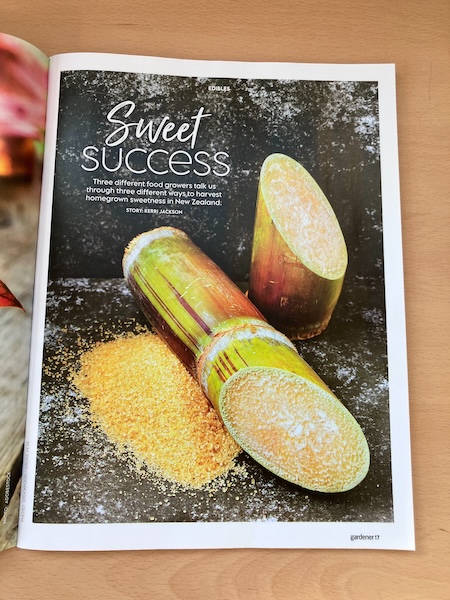
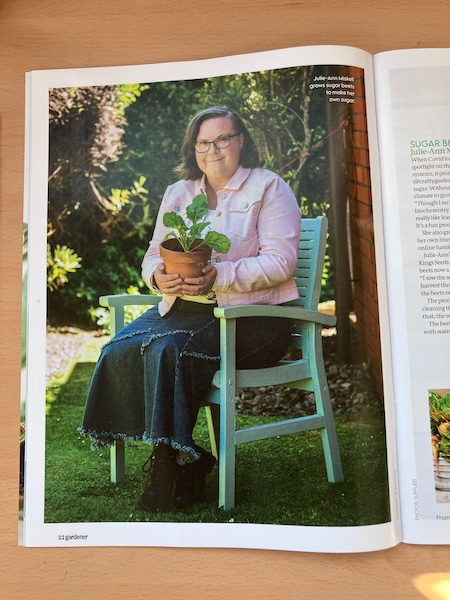
They used two of my blog posts as a guide for growing and harvesting sugar beets, as well as photos of mine for their article, along with a phone interview I did with them in early October 2025. If you want to read more about growing and processing sugar beet plants from these blog posts, here is where you can find them:
1. Making Sugar From Homegrown Sugar Beets
2. Harvesting My Own Sugar Beet Seeds
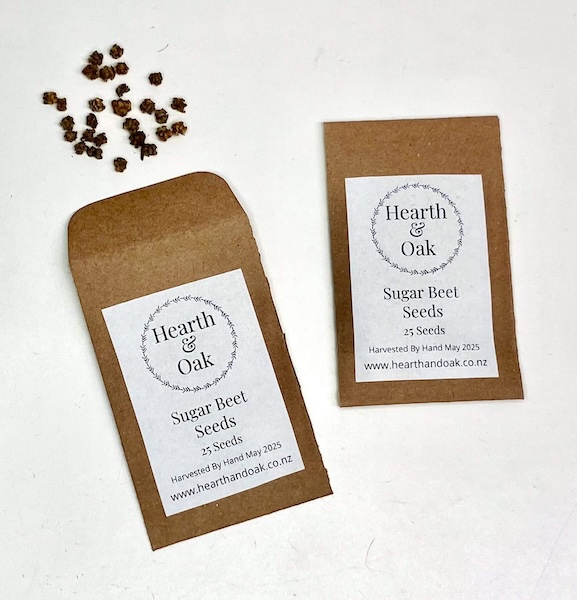
If you're on the hunt for sugar beet seeds so you can try growing your own sugar, sadly Kings Seed no longer stocks the seed, but I grew sugar beet plants from the last of my sugar beet seed stock, and waited two years until they had flowered and set seed, to harvest my own sugar beet seed earlier this year in autumn 2025.
I have some of those sugar beet seeds available for sale in my online store Hearth & Oak. There is a limited amount for sale, as I've sowed a lot of the seed in my own garden this spring. It would be good however, to have sugar beet seeds in the hands of more New Zealand gardeners, so we don't lose sugar beet seed stock in New Zealand.
As for me, I'm quite chuffed to be included in my favorite gardening magazine, and I never thought a couple of years ago when I started blogging about growing sugar beet in my backyard, that it would lead to this opportunity...
Have a wonderful day
Julie-Ann
Want to discuss my post? Feel free to chat with me on Instagram or Mastodon or Bluesky, and now also Facebook.
Dahlia Experiments 2025 - Growing Dahlia Seedlings
Hello friends,
As part of my dahlia growing experiments this year, one of my goals is to grow my own dahlia plants from seed. I have a stash of dahlia seed available, including the Bee's Choice dahlia variety from Floret in the USA (which I bought from Emerden last year), Beeline I and II dahlia seeds from the breeder Doctor Keith Hammett in New Zealand, dahlia seeds from Susie Ripley's garden in Dunedin, and also open pollinated seeds from my own garden.


At the end of August, once I was able to garden again after my second cataract surgery, I sowed my dahlia seeds into two covered seed trays, and sprinkled them with enough seed raising mix to cover them.


With them watered, and kept moist in the trays, the dahlia seeds stayed in our dining room in the warmth while they germinated. To my surprise, most of the dahlia seeds I planted germinated, at a rate of about 95%, which is way more dahlias than I expected to plant in my garden this year.


They grew nice and strong, and soon they were ready to transplant out into bigger pots with potting mix. They've been growing safe and sound in my glasshouse since then, growing bigger each week. My plan is to plant them in the garden after the last frost, but for now I have to figure out where I'm going to put 43 dahlia seedlings...

I can't wait to see what dahlia flowers appear from these seedlings over the summer. My plan is to be quite harsh with them, and I'll pull out any flowering plant that I'm not happy with, to give other dahlias room to grow. I'll give you updates as I go...
Have a wonderful day
Julie-Ann
Want to discuss my post? Feel free to chat with me on Instagram or Mastodon or Bluesky.
Social Media



Archives