

Planting Out All The Garden Seedlings
Hello friends,
The last couple of weeks have been very busy in the garden, with the weather now being warm enough to plant all the seedlings, plants, and dahlias in pots, out into the garden. This was super important, as the glasshouse was completely packed with plants, and my tomato, cucumber, and chilli and capsicum seedlings really needed to get planted in their final positions in the glasshouse.

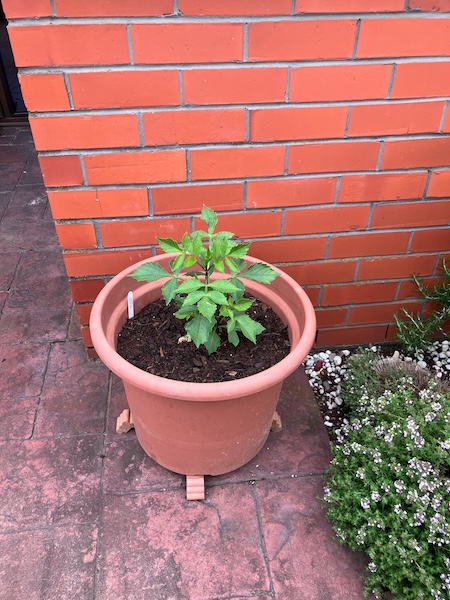
The first plants to go out into the garden were the dahlias I had in pots, and also all the dahlia seedlings I'd grown from seed, which I put into two of the new side garden beds.
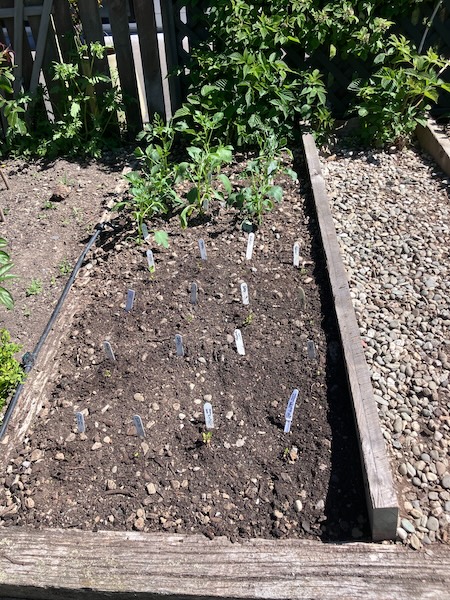
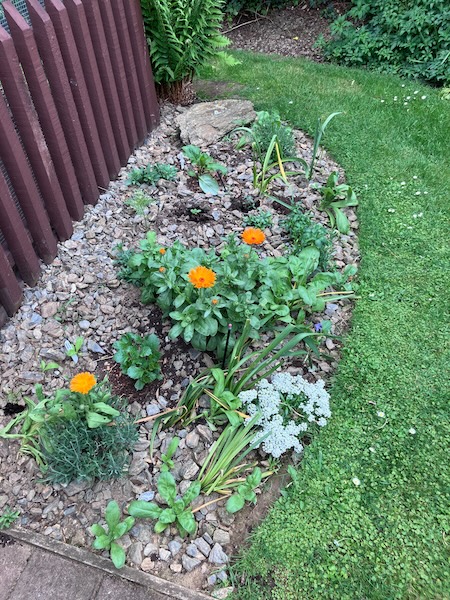
Next to plant out were all my natural dye plant seedlings into another new garden bed in the side garden, including tango cosmos, calendula, and Japanese indigo seedlings.
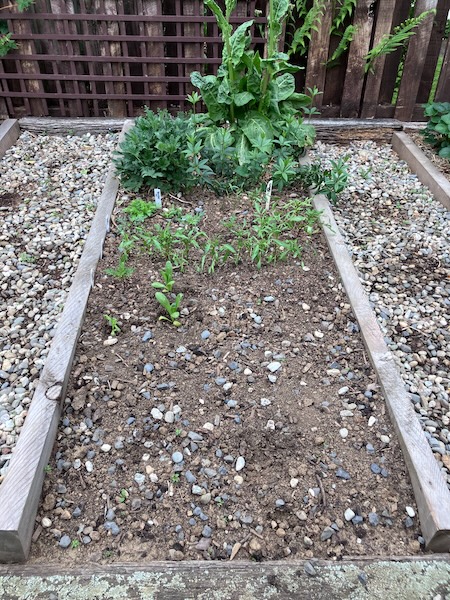
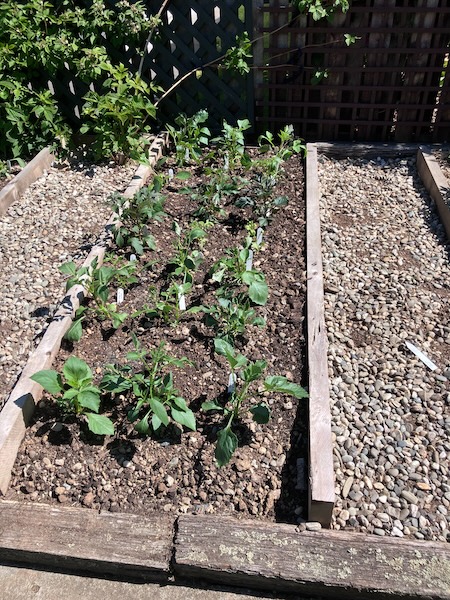
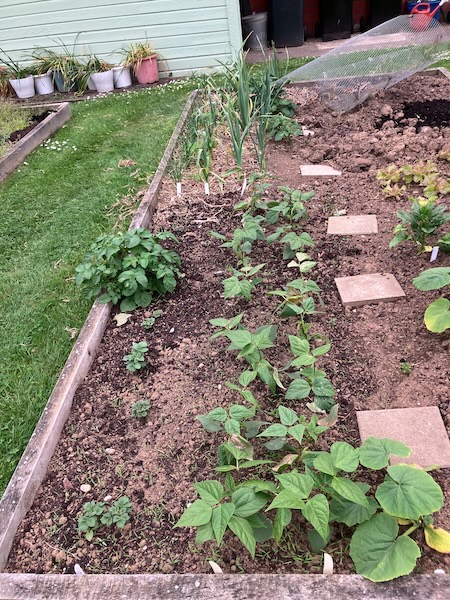
The vegetable garden beds also had to get weeded and dug over, so the corn, black turtle bean, lettuce, cabbage and bok choi seedlings could be planted into the garden.
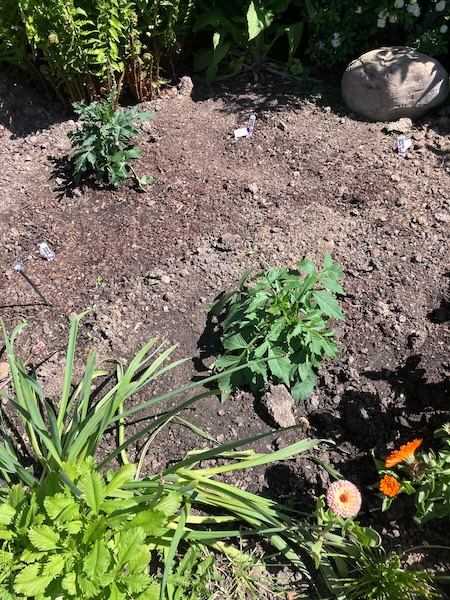
After that, it was time for all the flower seedlings including cosmos, calendula, and pansies, to be dotted around the garden areas to fill out
empty spaces I leave for annual plants. This took about a week as I was very enthusiastic in sowing seeds this spring.

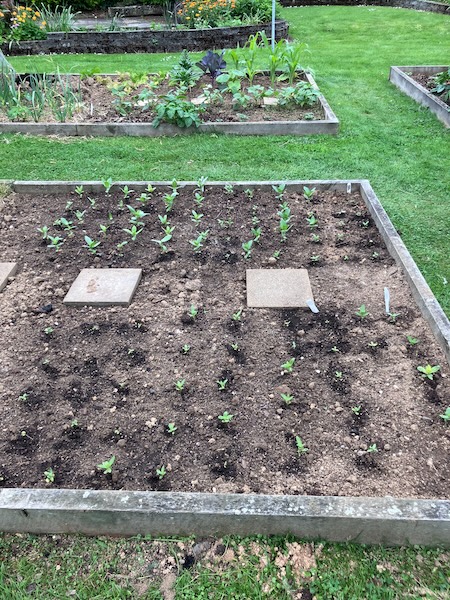
The last of my Floret zinnia seedlings (Unicorn, Precious Metals, and Dawn Creek Blush) went into two spare vegetable garden beds so they can self-pollinate with each other in blocks this growing season, to give me a stash of Floret seeds of my own for the coming years. There is no guarantee that Floret seeds will be imported into the country again any time soon, and I wanted to keep some seed stocks of these varieties for my garden.
And finally once the glasshouse was all but empty it was time to add compost to the glasshouse, dig over the soil, and plant out all my tomatoes (Pomodoro, Juanne Flamme, Hera, Island Bay, Lebanese, Grosse Lisse), capsicum (Marconi Red, Candy Cane), chilli (Serrano), and cucumber (Mini Me, Crunchy, Medici) varieties, and erect their climbing frames. I had some leftover plants which were given to family members.
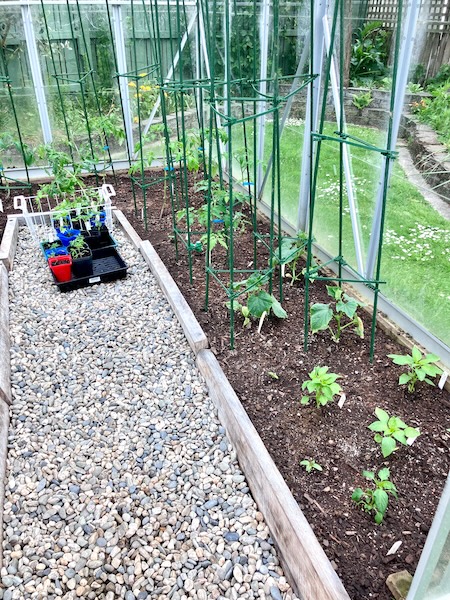
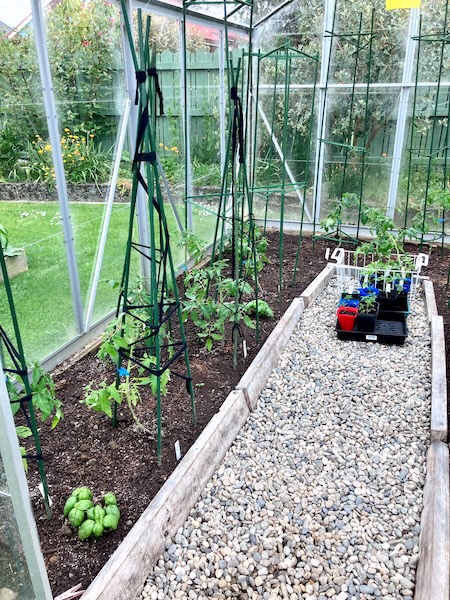
Once the bigger plants were in place, I planted out my basil plants (Genovese, Gustosa, Lettuce Leaf) into the empty spaces. With that all done I scattered fertiliser, added Saturaid to help with water retention, replaced the yellow sticky traps to catch plant pests, and gave the glass house a good watering.
There are two more vegetable garden beds to be weeded, have compost added, and dug over for planting, but they are for special projects that will be dealt with by the time you read this blog post.
It's been a lot of work to get to get my garden to this point, and I've been neglecting weeding the garden to do this, so that will be my next big gardening job leading into summer in a couple of weeks.
Have a wonderful day
Julie-Ann
Want to discuss my post? Feel free to chat with me on Instagram or Mastodon or Bluesky.
Side Garden Project - Planning and Building Raised Garden Beds
Hello friends,
After we had taken down the old aviary/berry cage, it was time to get to work turning this space into garden beds.
The first task was to weed the area, tidy up the fence line, and move two concrete pavers. Once I pulled out all the weeds and then tidied the fence line by putting old pieces of wood up against it for protection, hubby and I maneuvered the pavers into the space next door, where I have my worm farm located.

With all that done I ordered macrocarpa sleepers from our local garden centre for creating the new garden beds. The sleepers are 1.8 m long, which was the exact size we needed for that space.

The next step was to first put up some old trellises for our raspberry bushes, so we could train them along the fence line. We then create 90 cm wide beds using the macrocarpa sleepers, with 50 cm pathways in between for easy access to the garden beds. It was a lot of hard work considering there was a lot of river pebbles in the area. We transferred those river pebbles into the pathways between the garden beds when we were finished.


Once all the beds were in place, hubby did the hard work of digging over the garden beds and adding compost. The first bed closest to the garden shed was set aside for the strawberry plants I had put into pots in the glasshouse before the aviary was removed.


The next garden bed was set aside for my natural dyeing plants including Madder, Woad, St John's Wort, Tomentil, and Lemon Sorrel, which I had squeezed in another garden bed down the side of the house. While transferring the plants I was able to harvest some of the madder roots for natural dyeing. I have enough space leftover now to put more natural dyeing plants in the other half of the garden bed this spring.


Garden beds 3 and 4 are currently empty, and they still need to have compost added, before being prepared to a fine tilth for spring.


My plan is to grow Linen and Japanese indigo plants in bed 3: I have my own homegrown flax linen seeds in storage from last year, and I bought Japanese indigo seeds from Growing Textiles last autumn with the intention to grow my own indigo plants for natural dyeing, and also for indigo seed production.


In bed 4 I want to start my own breeding experiments with dahlias. I've wanted to do my own plant breeding for ages, and I now have the space to start this. I have dahlia seeds set aside from last year's plants to do this. I'm very excited about this project and can't wait to get started in spring.
Have a wonderful day
Julie-Ann
Want to discuss my post? Feel free to chat with me on Instagram or Mastodon or Bluesky.
Acid Dyeing Yarn For My Gro Hat Knitting Project
Hello friends,
I was on Instagram about a month ago, and saw a knitted hat on my feed that I immediately fell in love with. The hat was a project based on the Gro Pattern by Fiber Tales. I loved the cabled plant motif, and how nice and toasty it looked like in the pattern photos, so I bought a copy of the pattern.
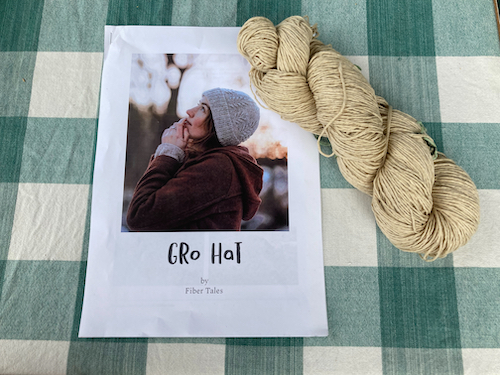
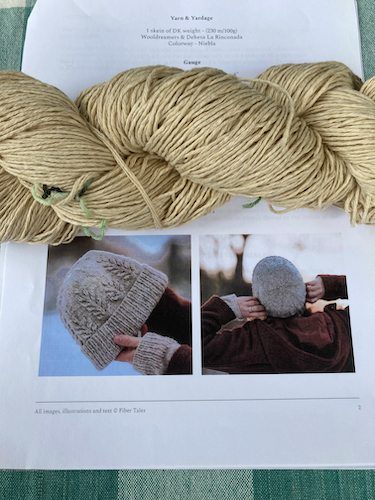
The pattern calls for one 100 gram skein of DK (double knit) yarn, and I knew I had a lot of undyed superwash DK possum/merino yarn (that I got from one of the Woolyarn outlet store sales when I lived in Wellington) in my stash.
I also knew what colour I wanted to dye the yarn. Back when I was living in Wellington I processed, dyed, spun, and knitted, a huge shawl for a Creative Fibre exhibition called the Southern Skies shawl using raw alpaca fleece a friend on a farm gave me. I had processed and dyed white alpaca fleece in sequential aurora colours based on a photo I had taken of an aurora, spun up each section of yarn, and then knitted the project, adding silver beads to show the constellations of the southern night sky.
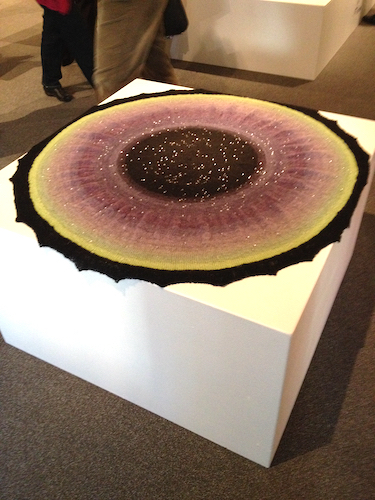
One of the colours in the shawl was a beautiful sage green, called Aurora 4 according to my dyeing notes, and this was the colour I wanted to dye for this hat project.
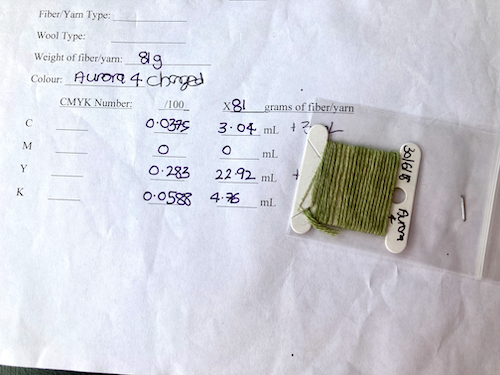
After checking my dyeing project notes I calculated how much dye I would need to add to this project. The total amount of yarn I chose for this project was 123 grams of undyed superwash yarn. I used more yarn than the pattern suggested, because it is good to have extra for swatching, and also to not have to play yarn chicken.
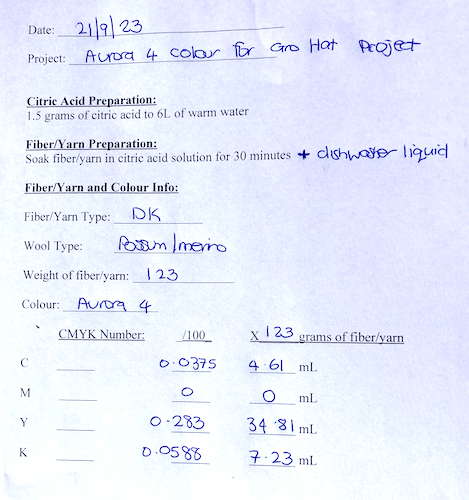
I've included in here my calculations for getting the aurora 4 colourway. When it comes to dyeing yarn, I used Ashford dyes, and mainly in the colours Teal, Hot Pink, Yellow, and Black, which are equal to Cyan, Magenta, Yellow, and Black. Combing these 4 colours can lead to an infinite number of colours. My Ashford dyes are made up as a 1% depth of shade (DOS) stock solution. For this project, I know the relative proportions of teal, yellow, and black I need to make the aurora 4 shade. I need to add 4.61 mL, 34.81 mL, and 7.23 mL of each respective dye stock solutions to dye 123 grams of possum merino yarn.
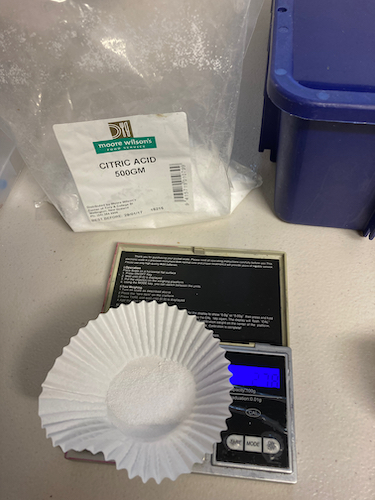
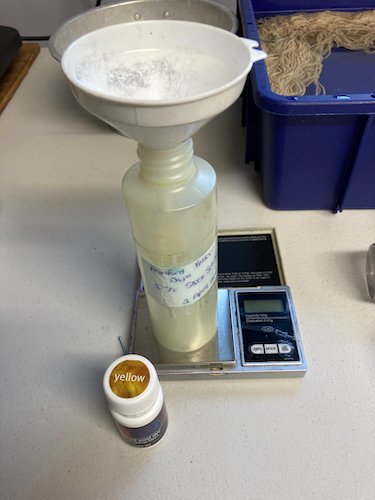
The first step in acid dyeing yarn is to make up the acid solution for dyeing. Ashford suggests to add white vinegar to make the water acidic, but it is horrible to work with when heated, and the fumes make my eyes water. So instead I have developed a system to use citric acid, which is easier to work with. To make up the citric acid water you add 1.5 grams of citric acid (which you can get from any supermarket) to 6L of water, and mix well. This is the solution you soak your yarn in, make up the DOS solutions, and also to dye in. To check the pH is at 4, I used a pH strip that I picked up from Trade Me.
The next step in dyeing is to pre-soak the yarn. Into a container add some of the citric acid water and also a splash of unscented Ecostore Dishwashing Liquid, followed by the yarn you want to dye. The dish washing soap is in there to help open up the fibers so that the whole skein of yarn is wet through and ready for dyeing. I usually leave this to soak for 30 minutes.
When it came to getting out the acid dye stock solutions, I had previously run out of yellow stock solution, so I had to make up a new batch. To 198 grams of citric acid water I added 2 grams of Ashford yellow dye. I measure this out into a paper muffin cup on a small scale that I picked up on trade me. With this step is important to wear gloves and a mask (I used a N95 mask), not only to not dye my hands, but also to protect my lungs from the fine dye mist.
Once the yellow dye was well mixed, it was time to measure out the teal, yellow, and black stock solutions. After mixing each container well, I measured out each of the colours calculated above using plastic pipettes (which I also got from Trade Me) and the small scale and combined them. The aurora 4 colour was added to 6L of citric acid which was heating up in a stainless steel pot on the stove top, and mixed well. The yarn sitting in the solution was then wrung out and then added to the heating pot.
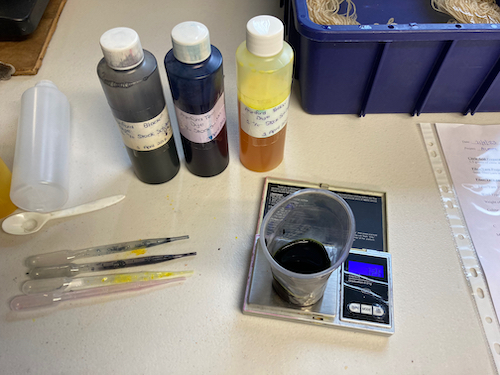
The yarn began to take up the dye straight away, and was gently mixed occasionally as the pot heated up to a simmer. The yarn and the pot was then left to simmer for 15 minutes. At the end of this time, the yarn had completely taken up the dye, and the citric acid water was clear when finished. The pot was turned off and left to cool.

When the water had cooled, the yarn was removed from the pot. The citric acid water was left to cool to room temperature, and then baking soda was added to the water to return it to a pH of 7 (using a pH test strip), then discarded down the drain. The yarn was rinsed twice in luke warm water which had a little dish washer liquid added to it, not only to rinse out the citric acid water, but also to check that all the dye had indeed stuck permanently to the yarn. The yarn was then spun dry using the washing machine, and then left to dry outside.
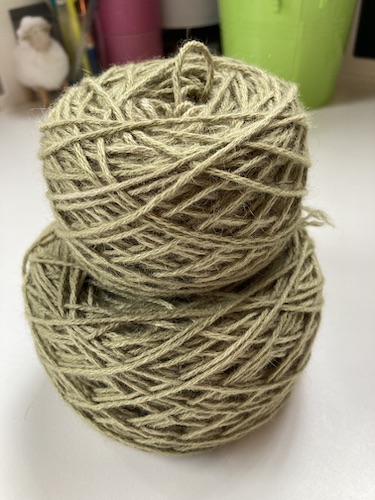
This is the finished yarn, and I'm really happy with it. I think because of the original colouring of the undyed yarn before dyeing, it's not quite the same as the sample yarn of the aurora 4 colour I have on file, but it's still close enough that I'm happy to start knitting with it.
Hopefully I'll have the hat knitted up over the coming spring and summer, so that it'll be ready to wear next autumn.
Have a wonderful day
Julie-Ann
Want to discuss my post? Feel free to chat with me on Instagram or Mastodon.
Foraging for Alder Cones
Hello friends,
Today's adventure was a neighborhood walk to a nearby stand of Alder trees (Alnus glutinosa) on public land, so I could forage some female Alder cones to use in natural dyeing later on in the year.
With my trusty wicker basket in hand, I wandered off down the street...
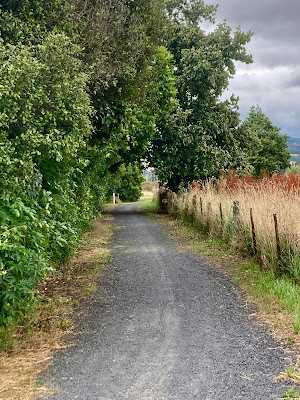
It didn't take me long to arrive at the stand of Alder trees I was hoping would contain many fallen Alder cones.
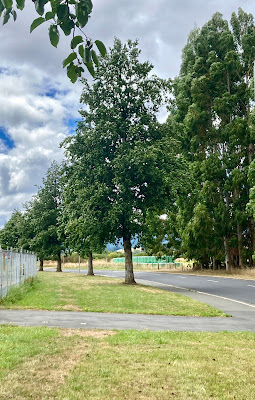
And I was in luck, thankfully. After weeks and weeks of hot, dry weather with little to no wind, Dunedin's weather has reverted back to cooler temperatures, rain showers, and gusts today. The grass on public land was absolutely littered in good quality Alder cones, so I got to work.
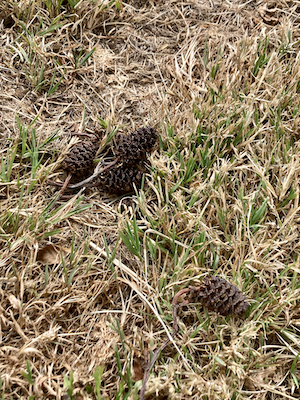
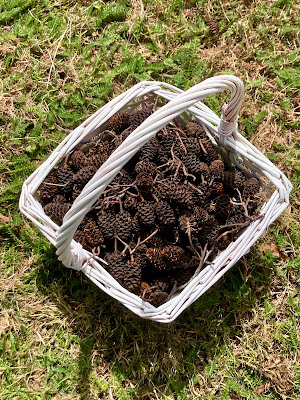
It didn't take me long to fill up my basket with cones, I barely made a dent in the thousands scattered all over the grass.
And after a quick peek across the road to notice a stand of Eucalyptus trees also on public land, I made a note on my phone to come back and forage for those next week, and then headed off back home via a local park. It's a pretty, small park with lots of deciduous trees that will have a brilliant display of autumnal colors in a month or so. I'll have go back in early April to take some photos.

But to my surprise, I was shocked to see a mother duck, and her four very small ducklings outside a home that backs onto the park. It is very late in summer now for such small ducklings. They were very cute, and it was nice seeing them so close. But I left the park soon after, so that the mother duck wouldn't have to worry about my presence anymore.
I scurried back home between rain showers, and then laid out the Alder cones to dry out. I'll store them away once I'm sure they're completely dry, and later on in the year I'll post my next adventure of dyeing with them.
Have a wonderful day,
Julie-Ann
Want to discuss my post? Feel free to chat with me on Instagram or Mastodon.
Social Media


Archives