

Planting Out All The Garden Seedlings
Hello friends,
The last couple of weeks have been very busy in the garden, with the weather now being warm enough to plant all the seedlings, plants, and dahlias in pots, out into the garden. This was super important, as the glasshouse was completely packed with plants, and my tomato, cucumber, and chilli and capsicum seedlings really needed to get planted in their final positions in the glasshouse.

The first plants to go out into the garden were the dahlias I had in pots, and also all the dahlia seedlings I'd grown from seed, which I put into two of the new side garden beds.
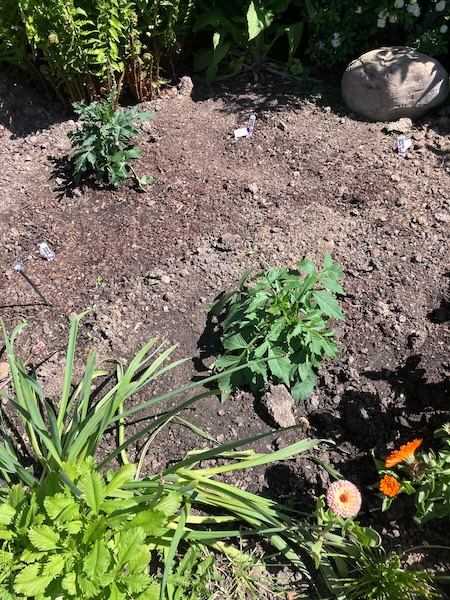
Next to plant out were all my natural dye plant seedlings into another new garden bed in the side garden, including tango cosmos, calendula, and Japanese indigo seedlings.
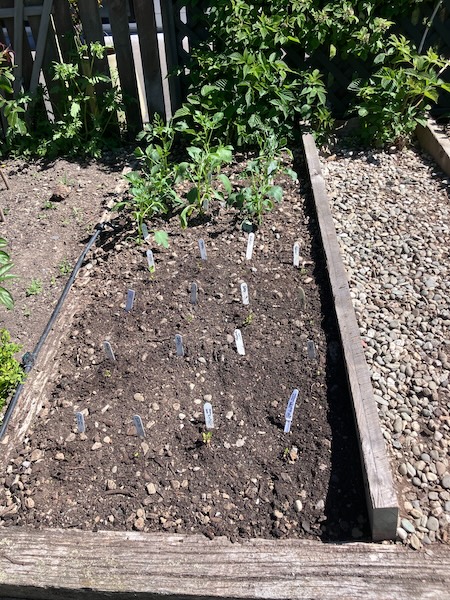
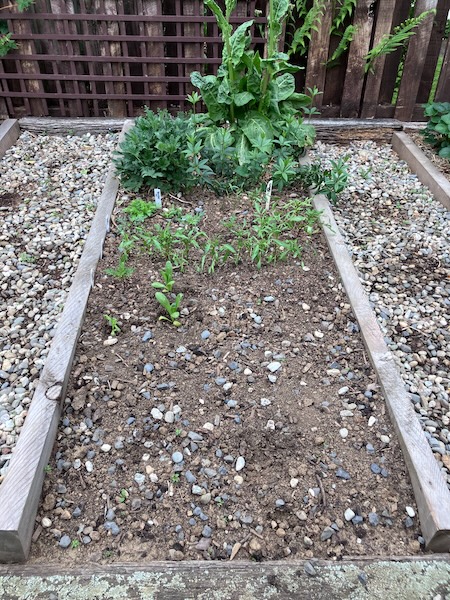
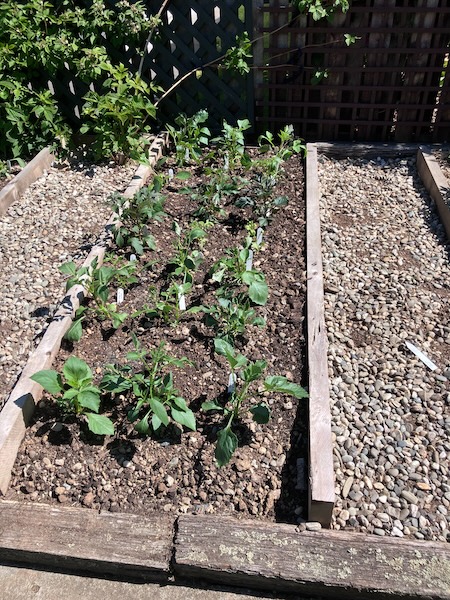
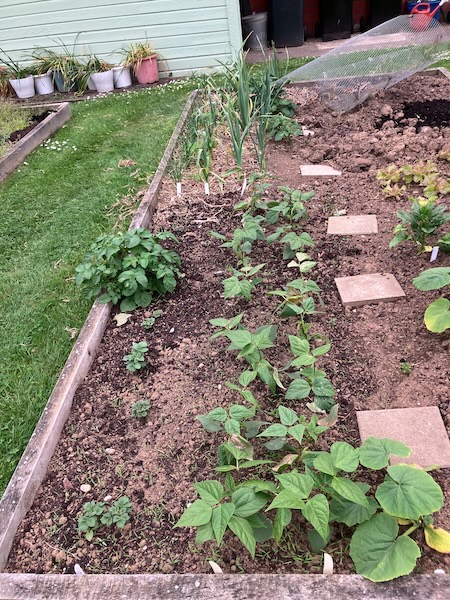
The vegetable garden beds also had to get weeded and dug over, so the corn, black turtle bean, lettuce, cabbage and bok choi seedlings could be planted into the garden.
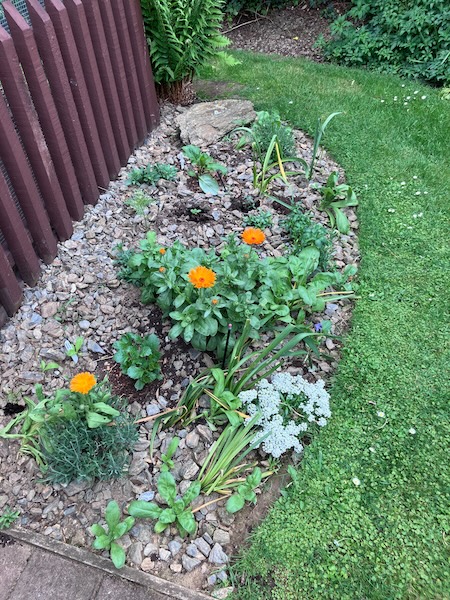
After that, it was time for all the flower seedlings including cosmos, calendula, and pansies, to be dotted around the garden areas to fill out
empty spaces I leave for annual plants. This took about a week as I was very enthusiastic in sowing seeds this spring.

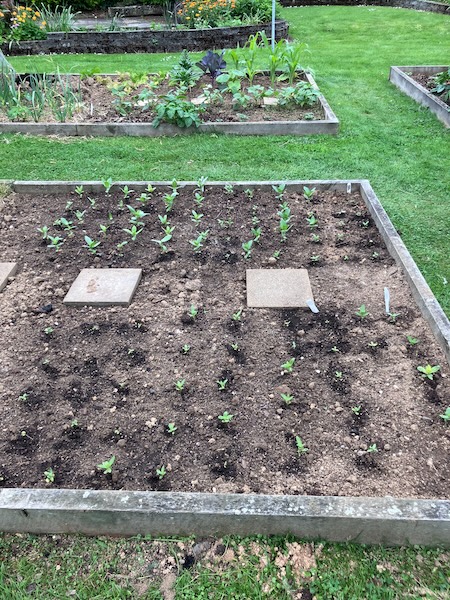
The last of my Floret zinnia seedlings (Unicorn, Precious Metals, and Dawn Creek Blush) went into two spare vegetable garden beds so they can self-pollinate with each other in blocks this growing season, to give me a stash of Floret seeds of my own for the coming years. There is no guarantee that Floret seeds will be imported into the country again any time soon, and I wanted to keep some seed stocks of these varieties for my garden.
And finally once the glasshouse was all but empty it was time to add compost to the glasshouse, dig over the soil, and plant out all my tomatoes (Pomodoro, Juanne Flamme, Hera, Island Bay, Lebanese, Grosse Lisse), capsicum (Marconi Red, Candy Cane), chilli (Serrano), and cucumber (Mini Me, Crunchy, Medici) varieties, and erect their climbing frames. I had some leftover plants which were given to family members.
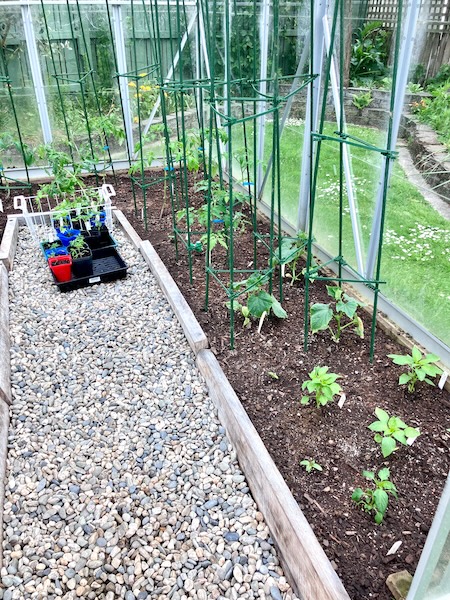
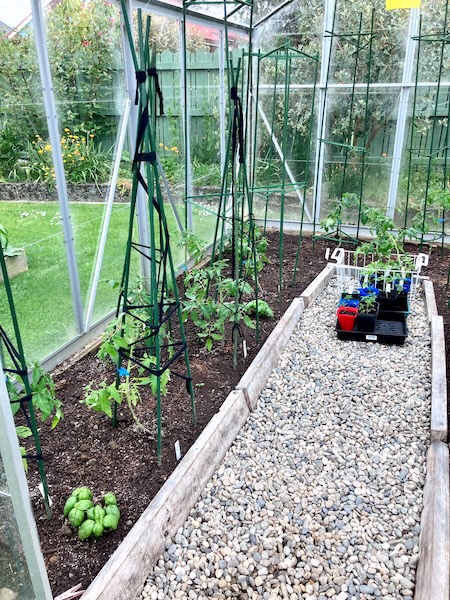
Once the bigger plants were in place, I planted out my basil plants (Genovese, Gustosa, Lettuce Leaf) into the empty spaces. With that all done I scattered fertiliser, added Saturaid to help with water retention, replaced the yellow sticky traps to catch plant pests, and gave the glass house a good watering.
There are two more vegetable garden beds to be weeded, have compost added, and dug over for planting, but they are for special projects that will be dealt with by the time you read this blog post.
It's been a lot of work to get to get my garden to this point, and I've been neglecting weeding the garden to do this, so that will be my next big gardening job leading into summer in a couple of weeks.
Have a wonderful day
Julie-Ann
Want to discuss my post? Feel free to chat with me on Instagram or Mastodon or Bluesky.
Unusual Plants Growing In My Garden
Hello friends,
Today I wanted to share with you some of the more unusual plants growing in my garden. Either they're plants that are on the edge of being able to grow in Dunedin's climate, or they're plants that I want to do experiments with, in terms of harvesting and processing them.
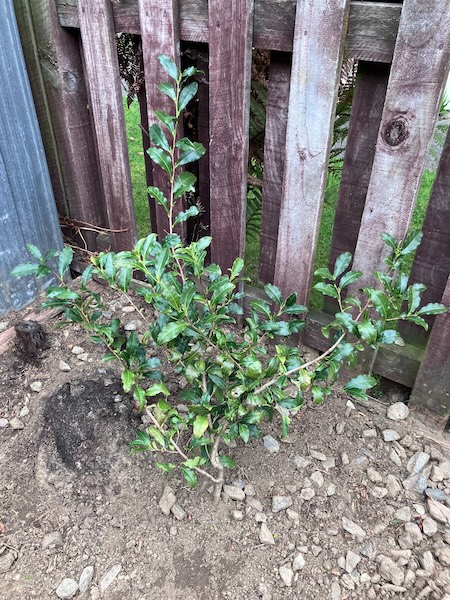
First up is my Camellia sinensis plant, aka my tea plant, which I've already discussed in a previous blog post where I harvested and processed my own white tea.
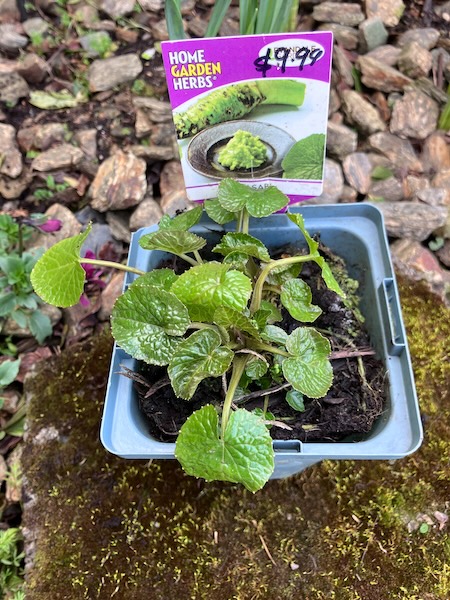
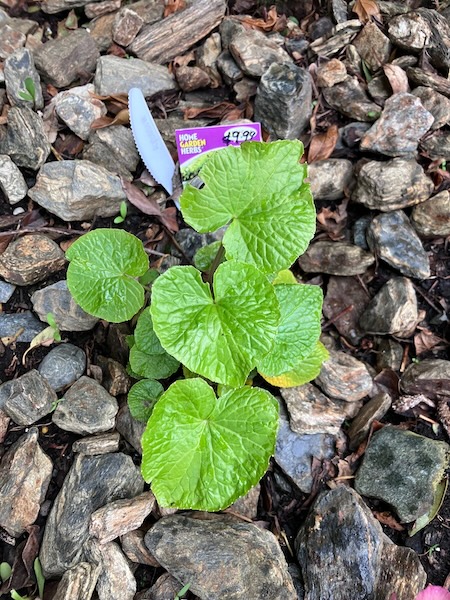
Next up is the Wasabi plant I recently bought from my local garden center. The plan is to grow my Wasabi plant for three years, and then harvest the root so I can make my own Wasabi for eating with sushi. Wasabi requires full shade and damp conditions, and I have the perfect spot in my garden to give it a home. It is sensitive to frost, so I've been spraying the leaves with liquid frost cloth this Spring for frost protection. It has only been growing for about a month, and it's already growing strong in its shady spot.
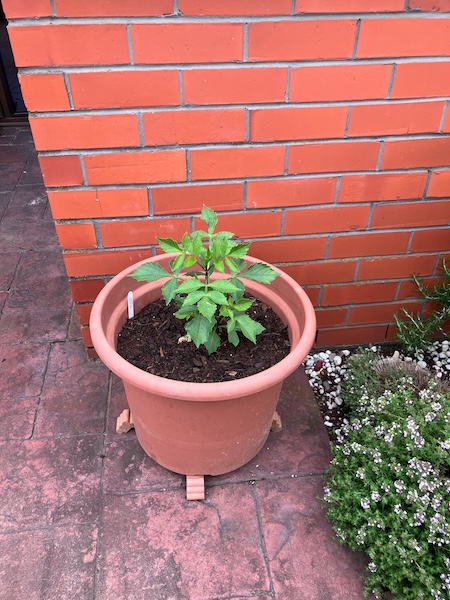
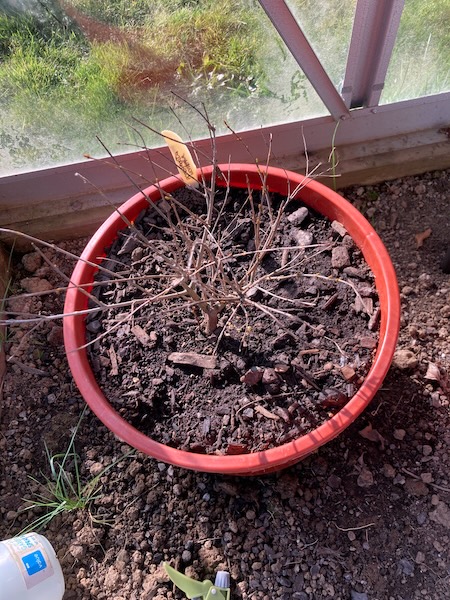
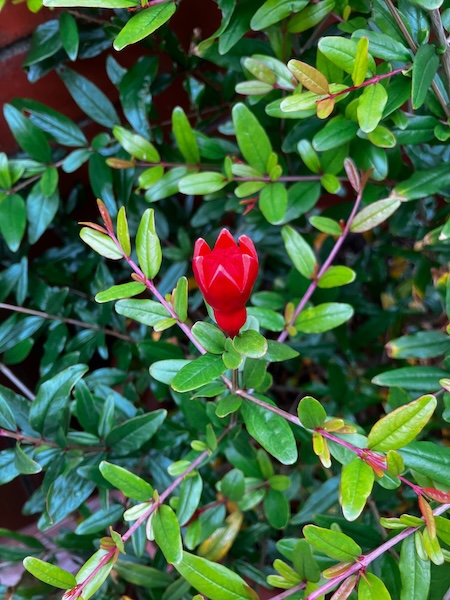
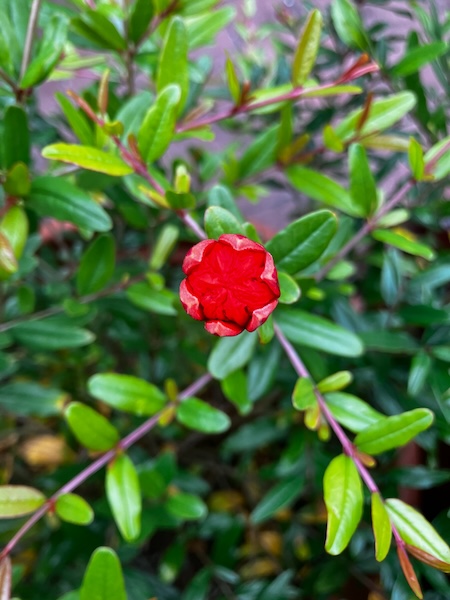
I have also been growing my own pomegranate plant for the past year in a large pot in my patio over the summer, and in my glasshouse during the winter. This pomegranate variety, "Wonderful" by Incredible Edibles, is a deciduous variety which can handle up to -6˚C frosts in winter, which makes it perfect for Dunedin's climate. In it's first year growing, last year, it even managed to flower before winter, but unfortunately it didn't set any fruit. Once the frosts are over this spring I plan to plant it in the south side garden alongside my blueberries and tea plant. I can't wait to harvest my own pomegranate fruit for turning into pomegranate juice in the future.
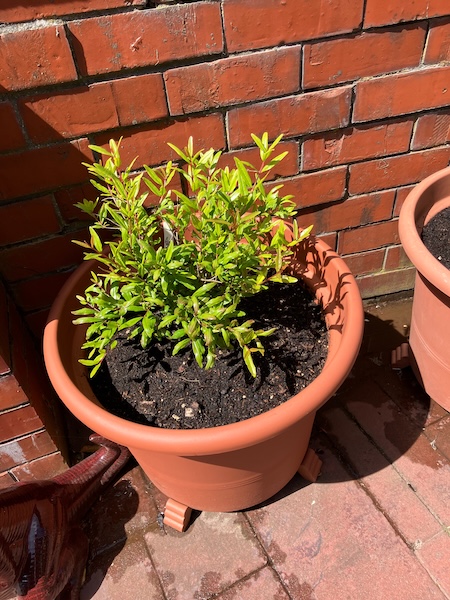
And finally there is my Marshmallow plant, Althea officinalis, which is the ancient source of making the marshmallow confectionery we know today. The marshmallow plant is a perennial which dies back each year over winter, and it grows again to a height of over 1.8 meters in summer, producing long stalks of white and pink flowers (which is where the marshmallow confectionery these days get their colours from). All parts of the marshmallow plant have medicinal uses, and its dried root is the original source of mucus for making marshmallow sweets.
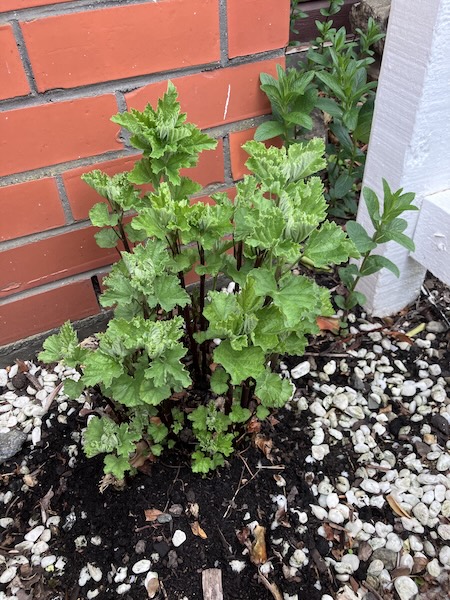
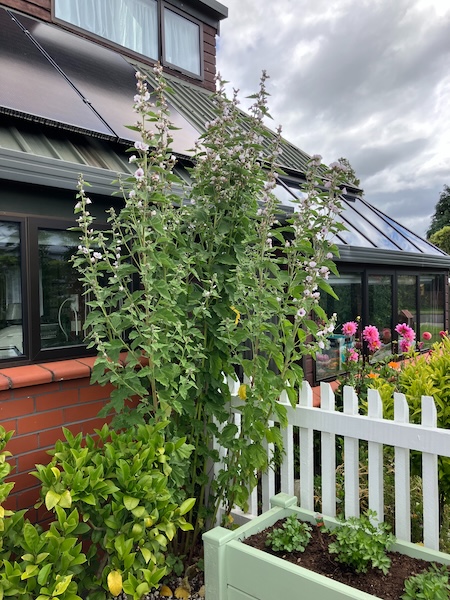
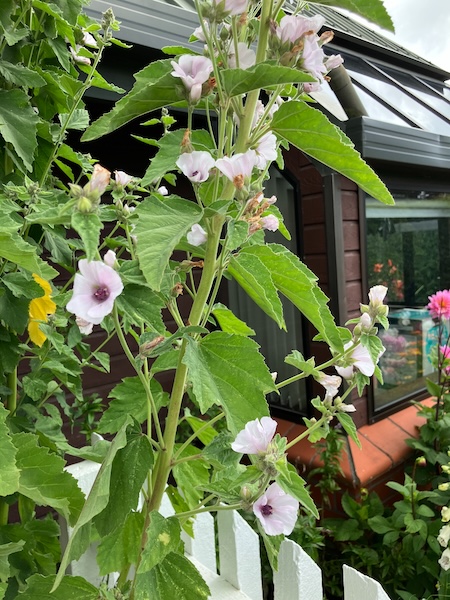
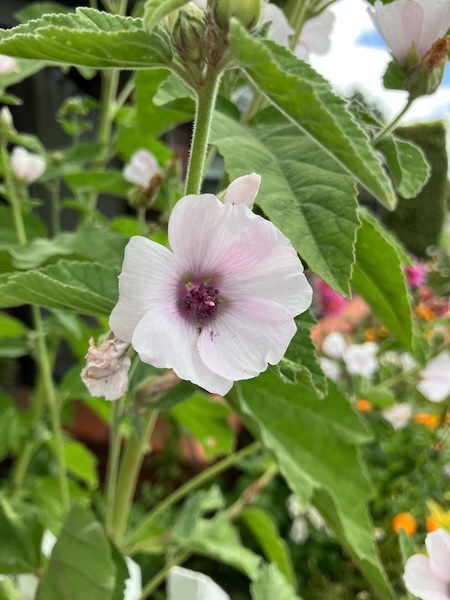
My marshmallow plant is growing in the garden so that I can one day try making my own marshmallow confectionery from scratch, but I forget to dig it up in winter to harvest the roots. If you want to try growing your own Marshmallow plant, Kings Seeds in New Zealand stocks the seed.
Do you have any unusual plants growing in your garden?
Have a wonderful day
Julie-Ann
Want to discuss my post? Feel free to chat with me on Instagram or Mastodon or Bluesky.
Harvesting and Processing Tea From My Camellia Sinensis Plant
Hello friends,
I drink a lot of tea, and especially flavored black, green, and white tea, usually for breakfast and alongside a piece of toast. And of course since tea comes from the plant Camellia sinensis, growing my own tea plant, and then harvesting tea leaves from it, has been high on my list of things to do over the years.
Camellia sinensis, aka the tea plant, is in the camellia family, so if you can grow camellias in your garden, you can grow a tea plant of your very own. Camellia sinensis
thrives in conditions with part shade, and needs to be protected from strong winds, in acidic, well-drained, and organically rich soil. Consistent moisture is needed for the tea plant to be happy, especially during dry spells and leaf production, but it also doesn't like waterlogged conditions either. Here in Mosgiel where we live, our winter temperatures drop down to -6˚C, and in summer they rise up to 35˚C, and my tea plant happily survives both of these extremes without needing any frost cloth or extra watering.
The first challenge in growing my own tea plant was getting hold of a Camellia sinensis plant of my very own. The easiest time of the year to track down tea plants is in the spring, but when I hunted for one in autumn, I was able to find one for sale online. Once it arrived by courier, I planted it in a spot on the south side of the house, where it gets periods of both sun and shade during the day, and it lives beside my blueberry bushes which also like acidic conditions.

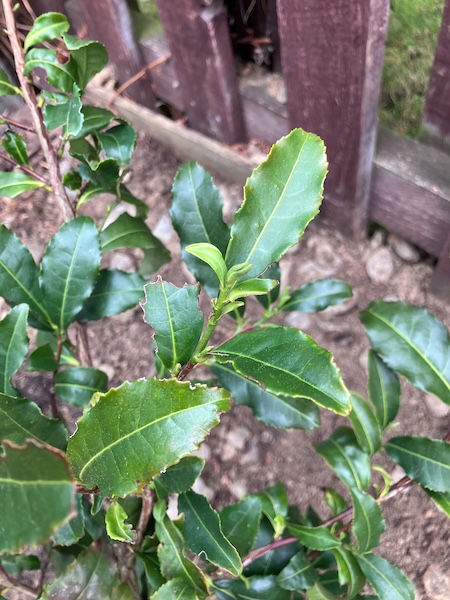
Ever since I bought my tea plant, I've been patiently waiting for it to be big enough to harvest the leaves for processing. Tea leaves are harvested by plucking off new buds and the first two leaves from the tip of the plant in spring for the highest quality tea. After doing some research on how to process tea at home, I decided to wait and see how big of a harvest I got before making a decision about which tea type to process. Well, it ended up being a very small harvest, a total of 8 grams of tea leaves this year, so I opted to go for the simplest tea processing method, which was making white tea.

The process of making white tea involves only two steps, and they are both very easy to do at home. The first step was to pluck the tea leaf tips off the plant and then lay them out to dry for 48 hours, in a stage they call withering. During withering, tea leaves begin breaking down, and the biochemical processes inside them leads to a tea which is fruity and floral and sweet, with reduced astringency and a sweet aroma profile.


I harvested tea leaves in the morning, as was suggested in my research, and then laid them out to wither on a tray in the sun for 48 hours. As it's been quite windy this spring, I couldn't lay them outside, as they would very easily blow away, so I set them up inside our glasshouse for two days.

At the end of this step, it was time to dry the tea and stop the break down process. For white tea, you dry the withered tea leaves at 180˚F/82˚C for 15 - 20 minutes, or until the leaves are crispy. For this step I decided to use our dehydrator on its highest setting, which ended up taking 1 hour of drying time at 80˚C.

When the tea leaves were dry and crispy I removed the leaves from the stalks and then popped them in our coffee/herb grinder for about 10 seconds to break the leaves up smaller. The resulting leaves were only big enough to make two cups of tea.


All that remained was to brew my own cup of tea, so I placed 1 teaspoon of white tea leaves into a strainer and added it to a tea cup. I heated water to around 85˚C, and then added it to the cup and let the tea steep for 1 minute.

The resulting tea was just wonderful, despite some of the tea leaves escaping the strainer while steeping. The white tea flavor was light, sweet, delicate, and had a slight floral taste, along with a pleasant grassy scent. It was very drinkable and much nicer than white teas that I've bought commercially.
Now knowing how easy it is to make my own white tea, I'm very much looking forward to harvesting and brewing my own tea each spring. Hopefully as my tea plant continues to grow bigger, I'll get bigger harvests so that I can try brewing other types of tea.
Have a wonderful day
Julie-Ann
Want to discuss my post? Feel free to chat with me on Instagram or Mastodon or Bluesky.
Side Garden Project - Planning and Building Raised Garden Beds
Hello friends,
After we had taken down the old aviary/berry cage, it was time to get to work turning this space into garden beds.
The first task was to weed the area, tidy up the fence line, and move two concrete pavers. Once I pulled out all the weeds and then tidied the fence line by putting old pieces of wood up against it for protection, hubby and I maneuvered the pavers into the space next door, where I have my worm farm located.

With all that done I ordered macrocarpa sleepers from our local garden centre for creating the new garden beds. The sleepers are 1.8 m long, which was the exact size we needed for that space.

The next step was to first put up some old trellises for our raspberry bushes, so we could train them along the fence line. We then create 90 cm wide beds using the macrocarpa sleepers, with 50 cm pathways in between for easy access to the garden beds. It was a lot of hard work considering there was a lot of river pebbles in the area. We transferred those river pebbles into the pathways between the garden beds when we were finished.


Once all the beds were in place, hubby did the hard work of digging over the garden beds and adding compost. The first bed closest to the garden shed was set aside for the strawberry plants I had put into pots in the glasshouse before the aviary was removed.


The next garden bed was set aside for my natural dyeing plants including Madder, Woad, St John's Wort, Tomentil, and Lemon Sorrel, which I had squeezed in another garden bed down the side of the house. While transferring the plants I was able to harvest some of the madder roots for natural dyeing. I have enough space leftover now to put more natural dyeing plants in the other half of the garden bed this spring.


Garden beds 3 and 4 are currently empty, and they still need to have compost added, before being prepared to a fine tilth for spring.


My plan is to grow Linen and Japanese indigo plants in bed 3: I have my own homegrown flax linen seeds in storage from last year, and I bought Japanese indigo seeds from Growing Textiles last autumn with the intention to grow my own indigo plants for natural dyeing, and also for indigo seed production.


In bed 4 I want to start my own breeding experiments with dahlias. I've wanted to do my own plant breeding for ages, and I now have the space to start this. I have dahlia seeds set aside from last year's plants to do this. I'm very excited about this project and can't wait to get started in spring.
Have a wonderful day
Julie-Ann
Want to discuss my post? Feel free to chat with me on Instagram or Mastodon or Bluesky.
Social Media


Archives