
From A Lilac Tree to More Dahlias in the Backyard
Hello friends,
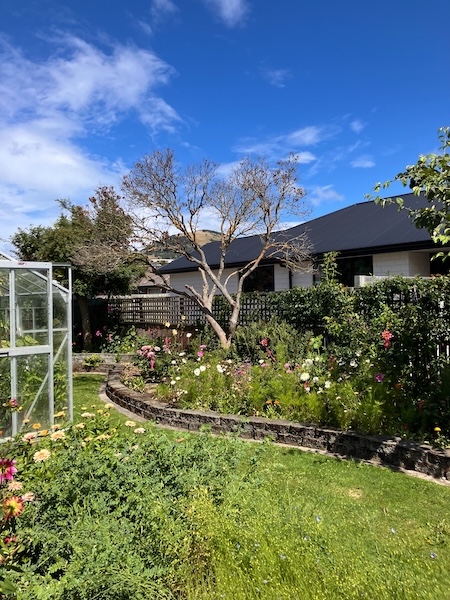
Over the winter months I've been busy in the back left-hand side of our garden, in the area where our lilac tree used to stand. After the tree died after the big spring storm last year, and once we'd taken it down, it gave me an opportunity to rethink and rearrange that side of the garden.
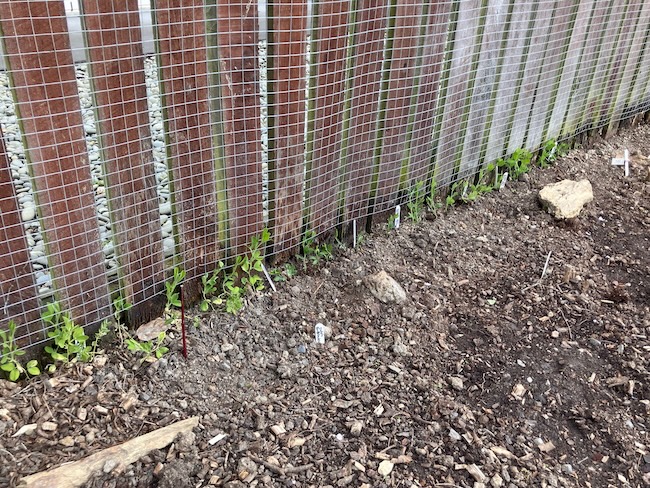
The first thing I did was set up some space along the fence line for growing sweet peas, which is already underway. The sweet peas are now growing happily up the wire netting.
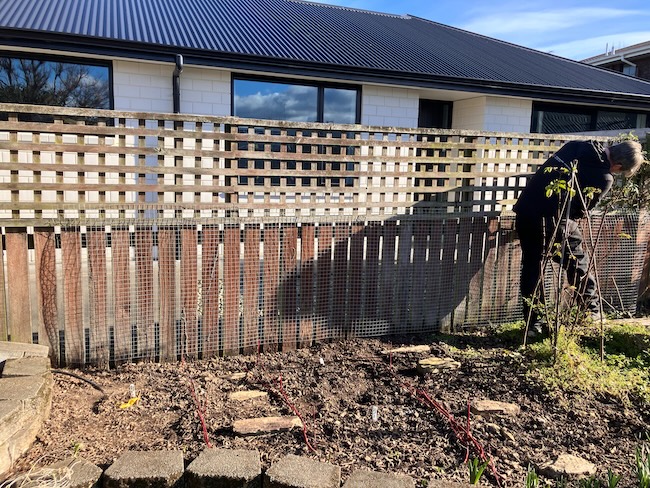
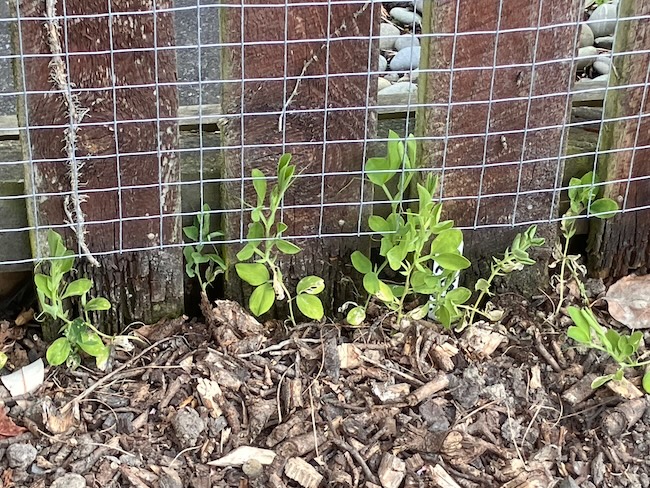
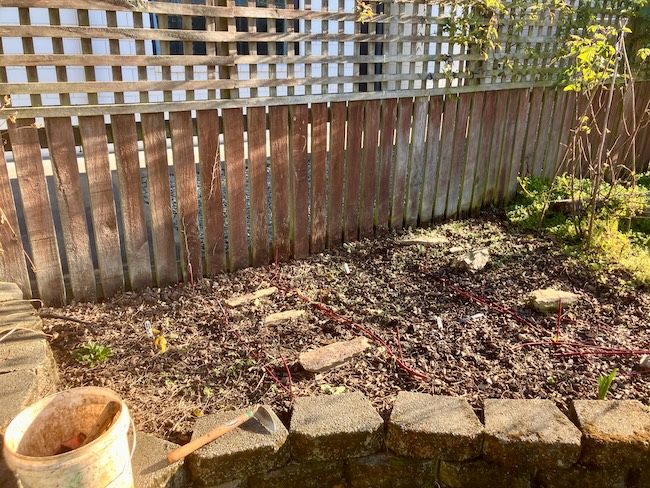
As for the rest of the space, there was now a large area that could fit many more dahlias than I currently had. I decided to lay it out in rows so I could fit in as many as possible. I've become obsessed with anemone and collarette dahlias recently, so I wanted to add more of these to my collection, and also include them in my fledgling breeding program.
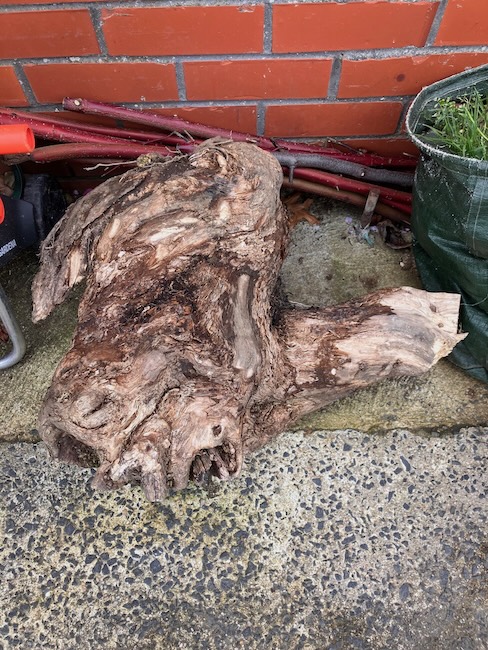
The first step was to dig out the lilac tree stump, and it turned out to be much easier than we'd expected. Hubby got the job done in less than half an hour, as the stump was completely rotten. I suspect this may have been the main reason why the lilac tree may have died in the first place...
The next step was to transplant my two damask rose bushes to the back fence line of our backyard. Last year, I had grown a dahlia between my dogwood and feijoa bushes, but it had struggled to survive in that position. Although the area gets sun for most of the day, the soil isn't in the best condition. My two damask roses (Duc De Cambridge and Isapahan), on the other hand, are very hardy, and don't mind what soil type they are in, so I thought they would be much better suited to the space, while also freeing up more room in my new dahlia area.
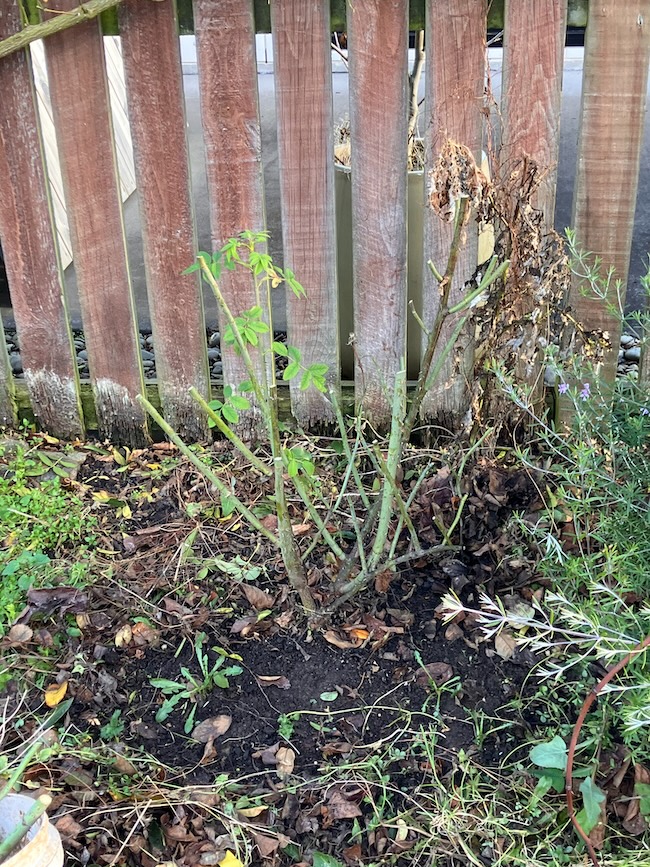
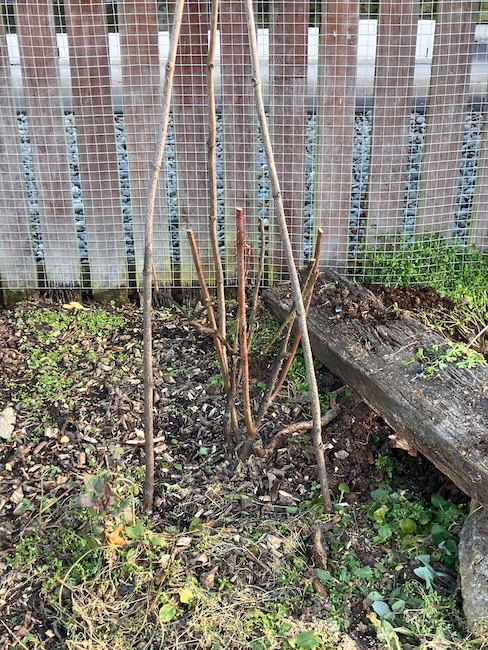
It didn't take very long to prune the damask roses back to a size more easier to transport, before carefully digging them up, while keeping as much of their root systems intact as possible. Then came the tricky part, walking them across the backyard without getting stabbed by their many sharp thorns. Once they had safely reached their new home, the roses were planted and watered in well. Now, in spring, they are very happily growing in their new position.
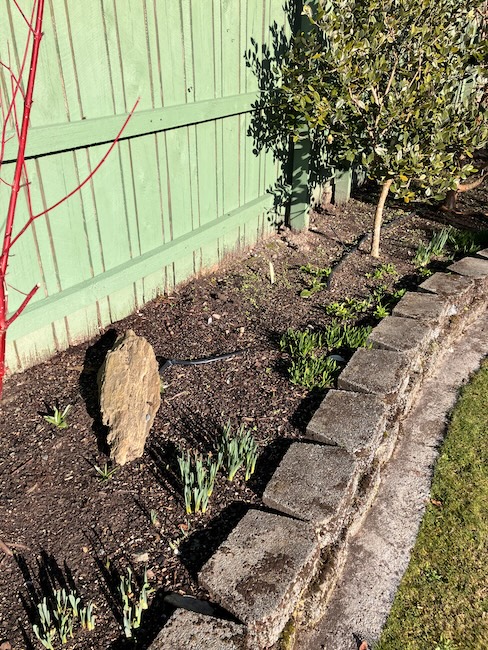
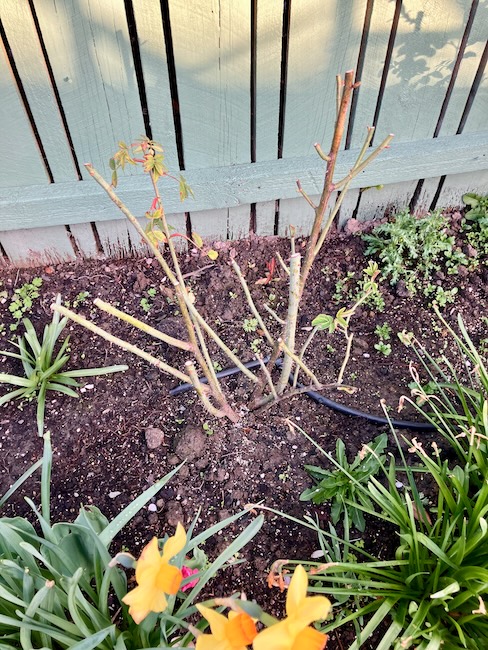
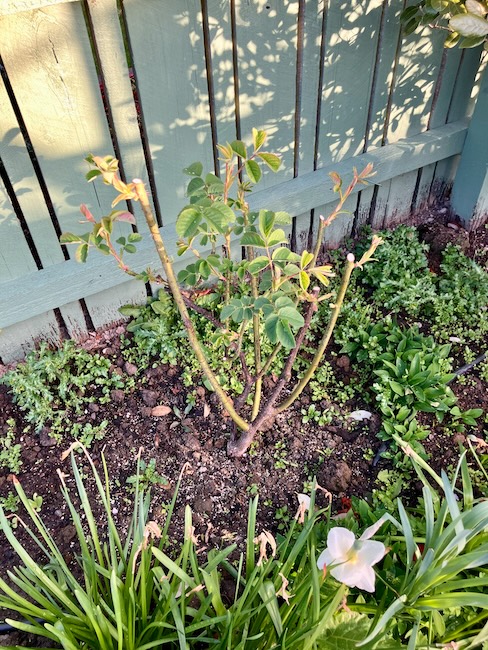
By now it was the middle of winter, and in between the frosts, rain, and a snow storm, it was time to tackle the dahlias that remained in the ground in this area. One by one, they were carefully dug up and transplanted into an empty vegetable garden bed nearby to overwinter while I prepared their new permanent home.
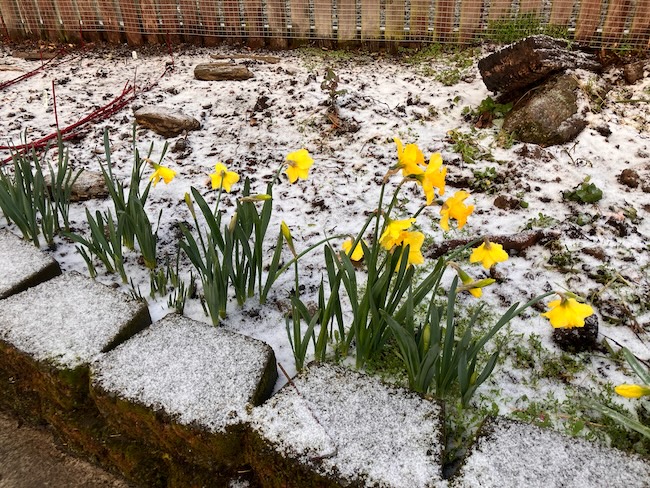
The task after this was a big one. Weeding the entire side of the garden took many weeks as I worked my way along the bed, laying out plant tags, and placing schist rocks to create paths between the rows where the dahlias would go. My plan was to plant the anemone and collarette dahlias two abreast, with the shortest varieties at the front and the tallest ones at the back.
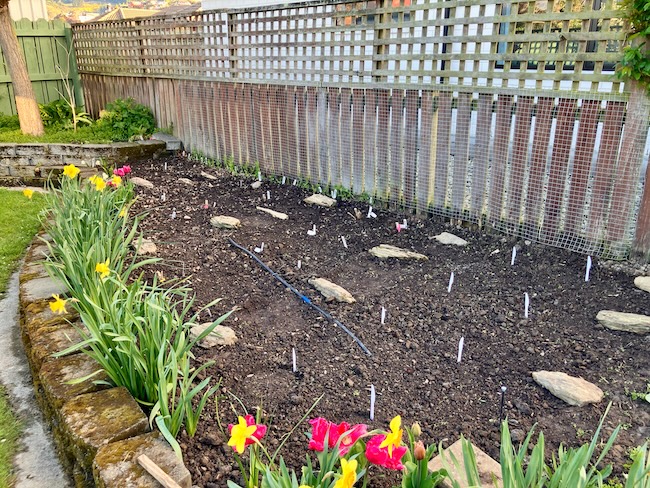
I'd really let this side of the garden go in late summer and autumn, and I was paying for it now, dealing with a large number of weeds. The weeding continued into spring, and I even had to go back over some of the areas I'd already cleared as new weeds began popping up.
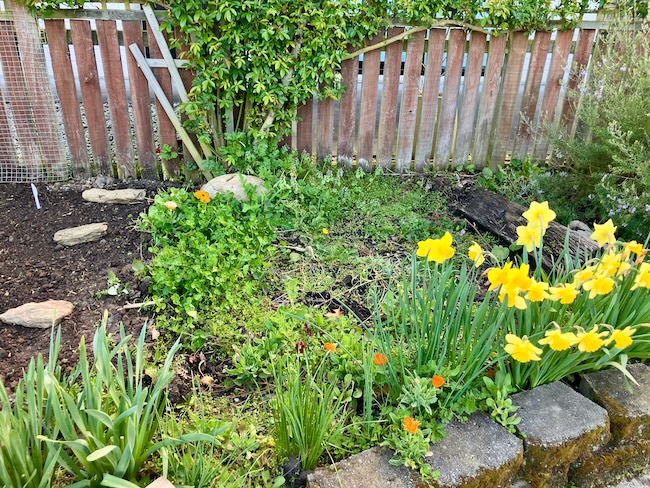
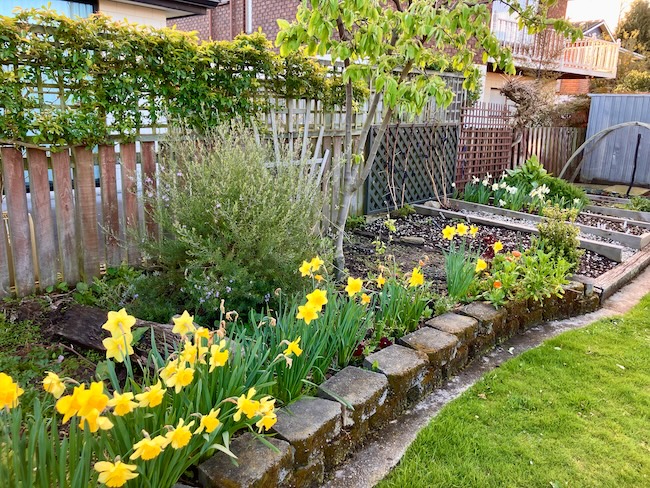
But finally, after many weeks of planning and weeding the space, my new dahlia bed is now ready. There's now a large, clear area waiting for all my anemone and collarette variety dahlias, along with a bunch of new ones. It has been a much bigger job than I expected, but I'm really pleased with how the space has come together.
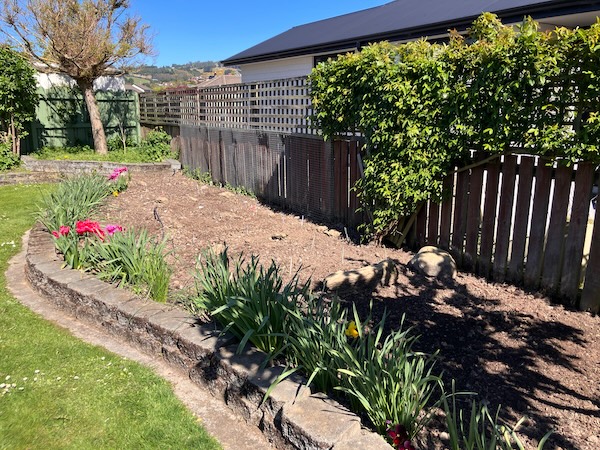
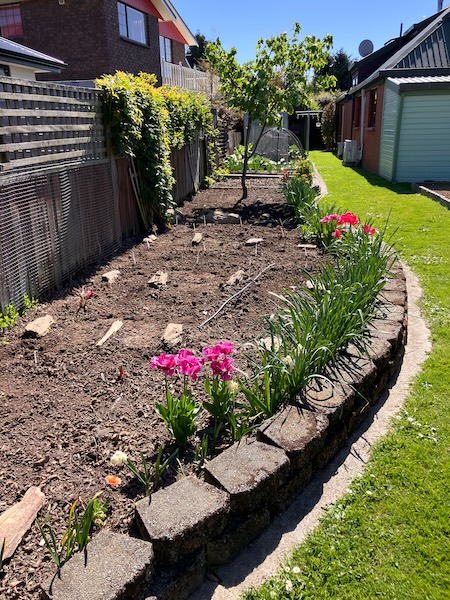
And my new dahlias have already arrived, and are in storage in our garage. I'm impatiently waiting to plant them, along with all my other anemone and collarette dahlia varieties. After all those months of planning and weeding, I'm looking forward to seeing this space finally filled with dahlias this summer.
Have a wonderful day,
Julie-Ann
If you'd like to continue the conversation, you can find me on Instagram, Mastodon, Bluesky, and Facebook.
Planting Out My Specialty Cut Flower Pansies
Hello friends,
My specialty cut flower pansies have germinated, and were recently repotted into potting mix once they had developed two sets of leaves. With space in the glasshouse being at a premium while seed sowing is in full swing, it was time to plant them out in the garden.
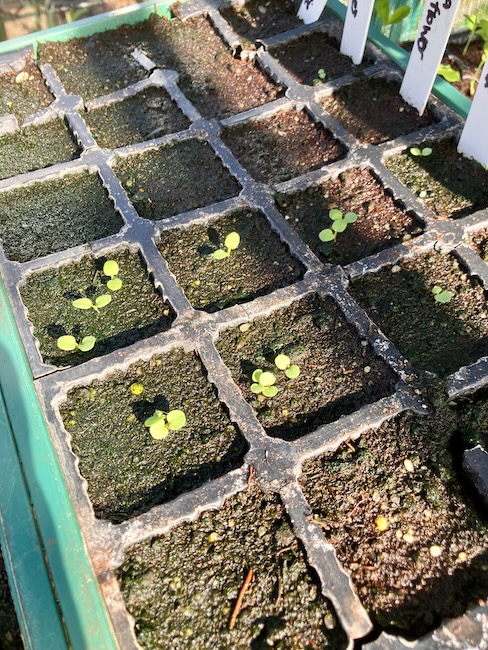
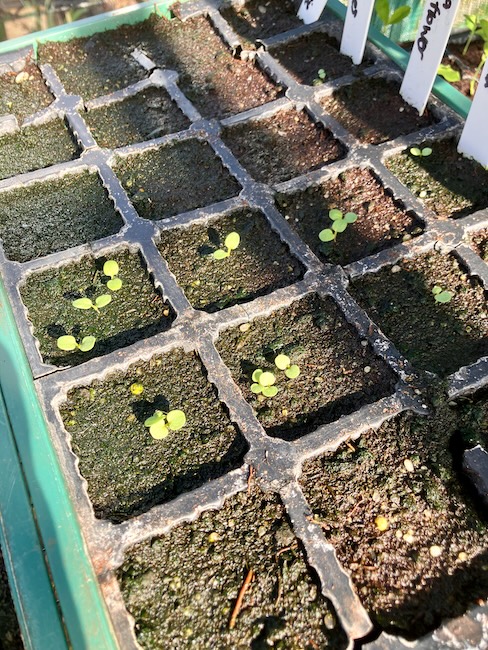
I wanted to plant the pansies in one area so I could easily compare the different varieties as they grew. Luckily, I had some spare space at the front of the white daffodil growing bed, so on a sunny early spring day, I got to work planting out the first batch of specialty cut flower pansies.
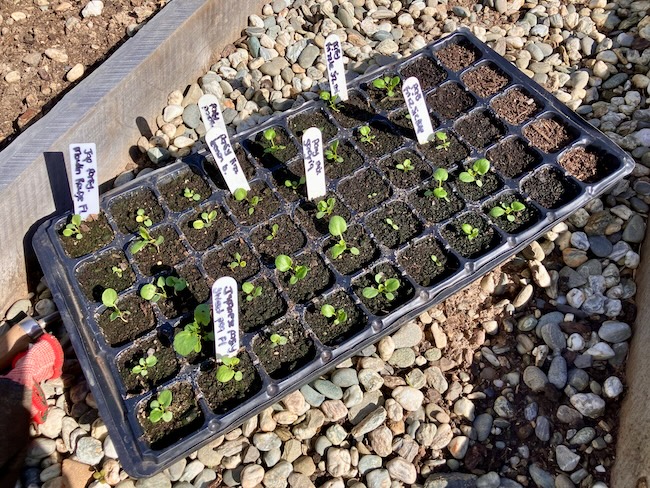
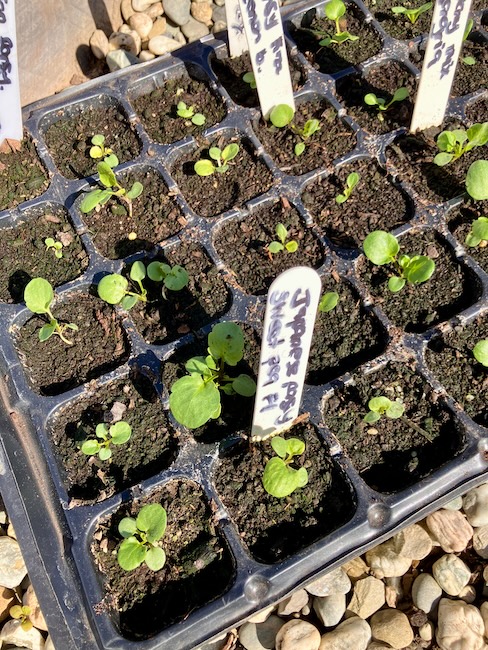
It didn't take long at all to plant out the first batch of pansy seedlings at a distance of about 10 cm apart. I still have another batch of pansies waiting in the wings in the glasshouse, but they're not quite ready to venture out into the big wide world just yet.
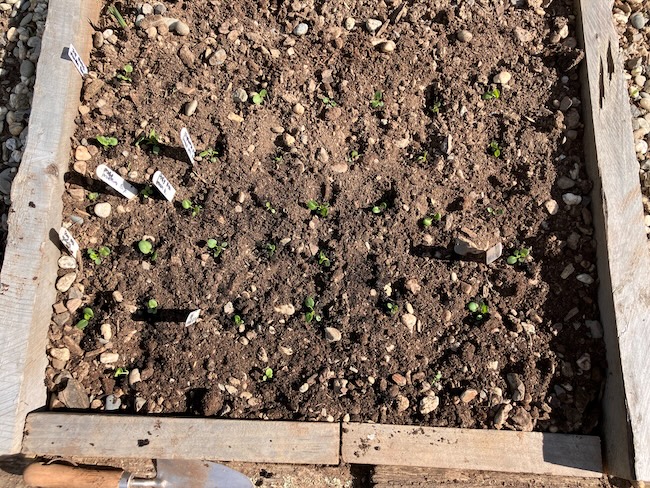
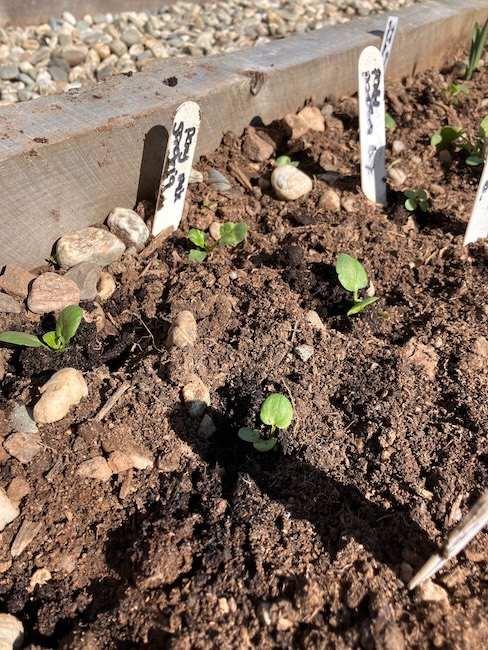
Once the second batch of pansies is planted in the garden bed, it will be a matter of waiting for the plants to grow and start flowering. Then comes the fun part, seeing which varieties produce the best flowers for cutting and discovering which ones are worth growing again next season.
For now, the pansies are happily settling into their new home, and I can't wait to see what the coming months bring.
Have a wonderful day
Julie-Ann
If you'd like to continue the conversation, you can find me on Instagram, Mastodon, Bluesky, and Facebook.
Papahoa Fibreworks 2026 Linen Grow Along
Hello friends,
I've been growing my own linen plants (Linum usitatissimum) for fibre production for many years, using the 'Essene' variety I purchased from Kōanga Institute in New Zealand. While there are other varieties better suited to producing textile linen, these aren't available in New Zealand and are difficult to import due to our strict biosecurity rules. So, working with what I have, I sow my own 'Essene' seeds each year, growing the plants both for linen fibre and to produce a fresh supply of seed for future seasons.
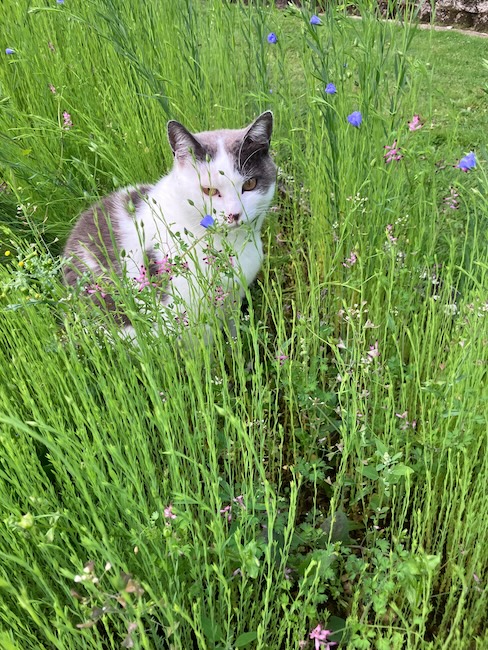
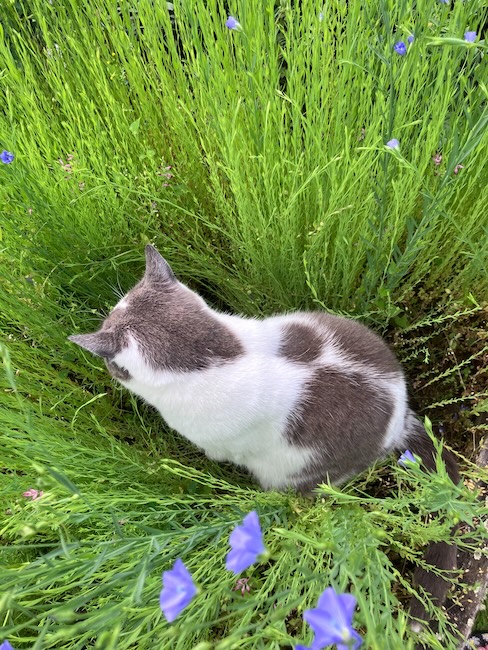
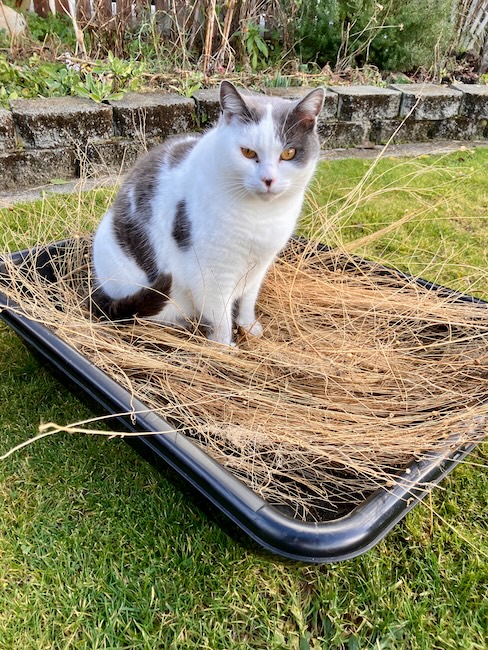
As you can see from these photos, our neighbour's cat Maisie is always very fond of my linen patch, and spends many happy hours playing, sitting, and sleeping among the plants. Luckily, linen bounces back into shape quite easily, so she doesn't do too much damage—and she's so cute that I just can't say no to her shenanigans.
Papahoa Fibreworks is a Canterbury-based Aotearoa New Zealand fibre business focused on developing locally grown, traceable natural textiles. They grow their own 'Essene' organic Linum usitatissimum (flax/linen) at their farm in Tai Tapu, where the plants are harvested and processed by hand to produce long-line linen fibre and tow for spinning. They also grow natural dye plants and operate a natural dye house, bringing together linen growing, fibre processing, natural dyeing, and textile production.
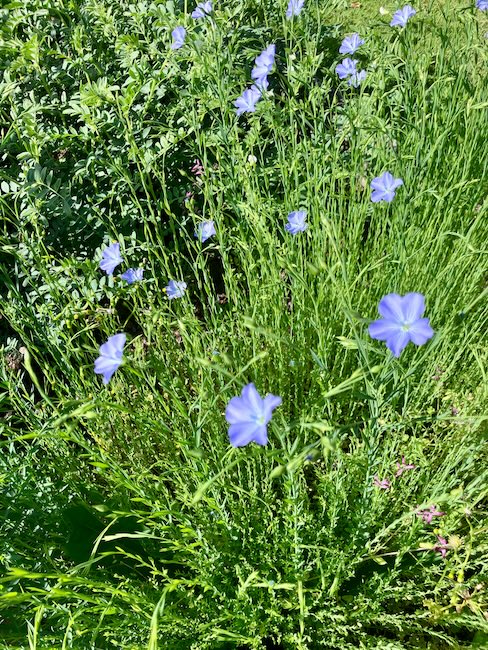
This year, Papahoa Fibreworks has started a Grow Along using their 'Essene' linen seed, following the plants from sowing through to processing, and I've decided to join them. I'm looking forward to growing their seed alongside other growers around New Zealand and joining their Patreon community over spring and summer. Plant growing can sometimes be a lonely learning experience, and I've found it's much more enjoyable when you can learn alongside others, and share tips and tricks along the way.
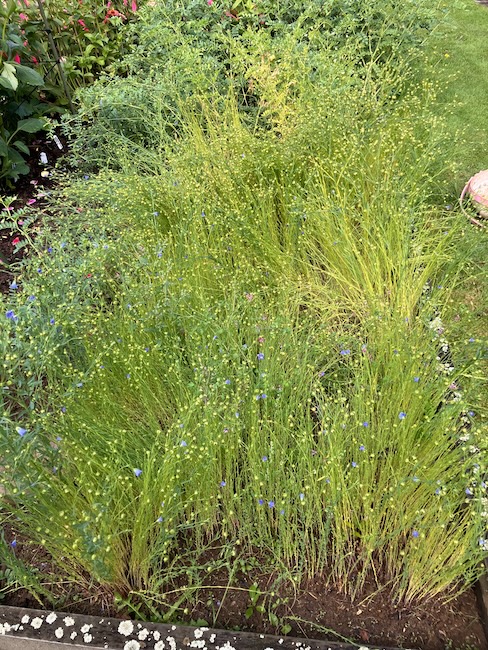
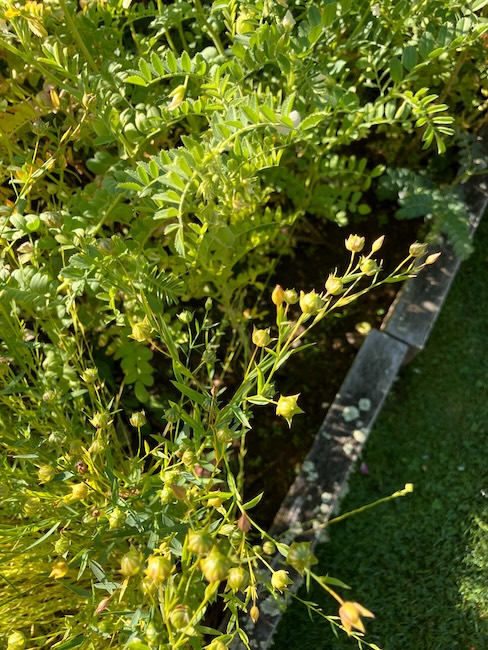
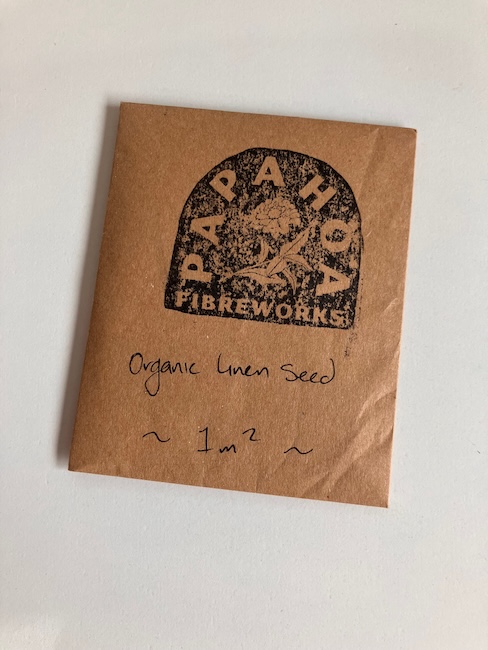
My seed packet from Papahoa Fibreworks has recently arrived, and contains enough linen seed to grow a 1 m² patch of plants.
The next step is to prepare the ground for sowing, and then work out the 100-day growing season, so I know when to sow and when to harvest the plants. My plan is to grow the linen to the stage where I can harvest it for both fibre and a fresh supply of seed. I'm looking forward to following the journey from seed to harvest and seeing what I can learn along the way.
Have a wonderful day,
Julie-Ann
If you'd like to continue the conversation, you can find me on Instagram, Mastodon, Bluesky, and Facebook.
The Sweet Pea Project: Building a Trellis for My Growing Sweet Peas
Hello friends,
It's been over a month since my sweet peas were sowed, and the ones that germinated are growing strong, so strong that building a trellis for them became an urgent priority.
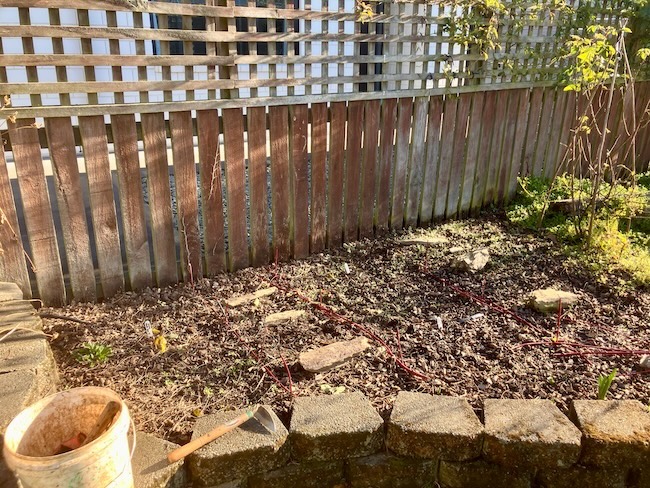
On the same day that we set up the trellis for the grapevine, we also made the trellis for the new sweet pea space. We had about 4 metres of wire netting left over, so we stretched it out over the left side backyard fence as far as it could go.
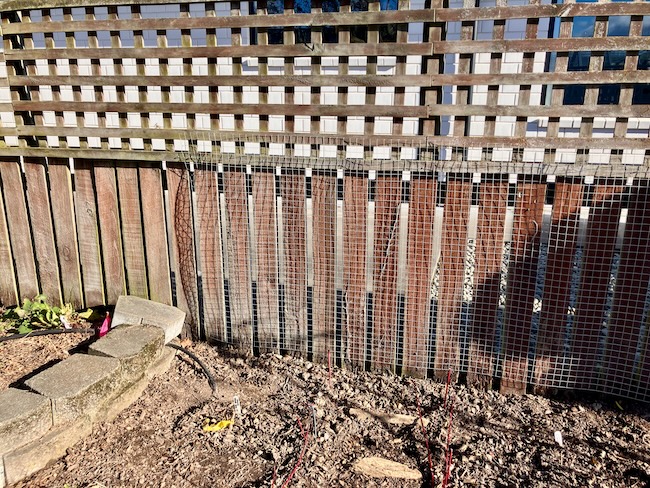
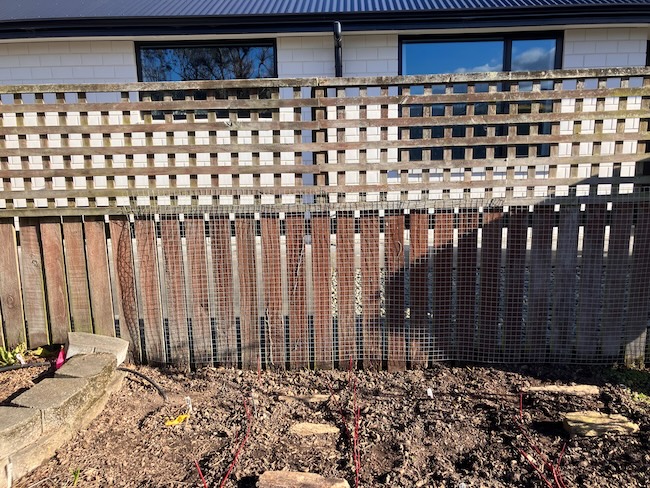
With that job done it was time to plant out the sweet peas that had germinated. Unfortunately a lot of the older sweet pea varieties didn't germinate, so there were only about 50 sweet pea plants to plant out.
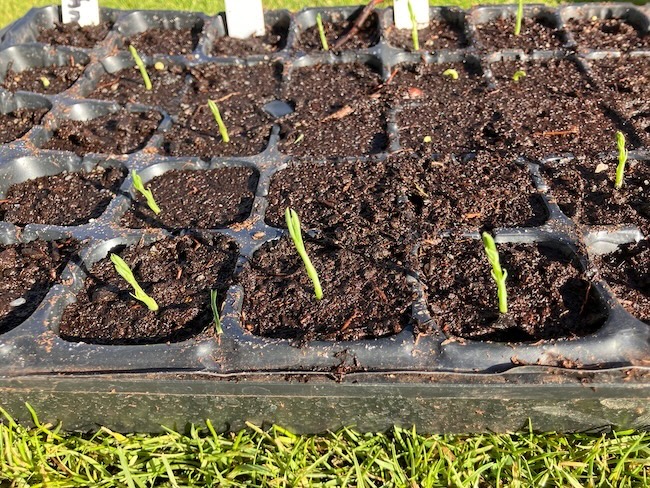
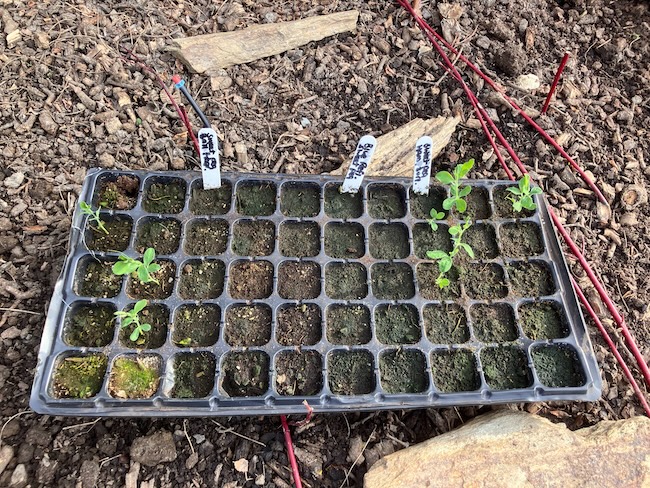
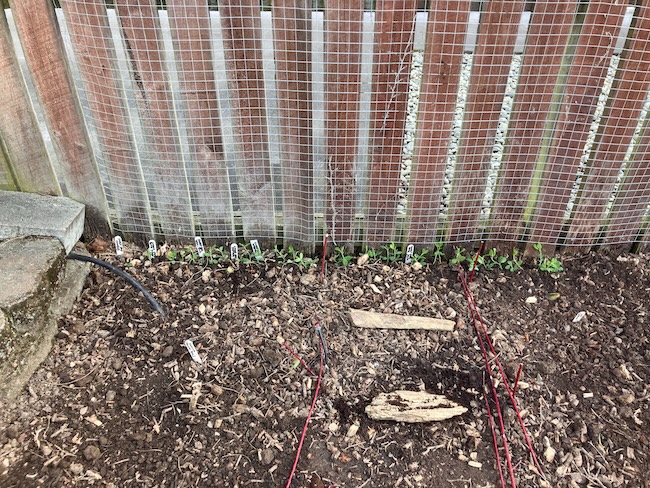
With the plants all set out along the garden fence, they had only taken up 1.5 metres of the garden fence, which left a huge gap of the fence line bare. Luckily my seed sowing space in the glasshouse was now set up for spring seed sowing, so I pulled out some long trays, and sowed another 100 sweet peas.
I sowed the following varieties:
- Sapphire
- Burlesque
- Blue Butterflies
- Blue Reflections
- Brilliant Fragrance
- Spanish Dancer (new variety from Egmont seed order)
- Appalachia (new variety from Egmont seed order)
- Nimbus
- Swan Lake
- Original
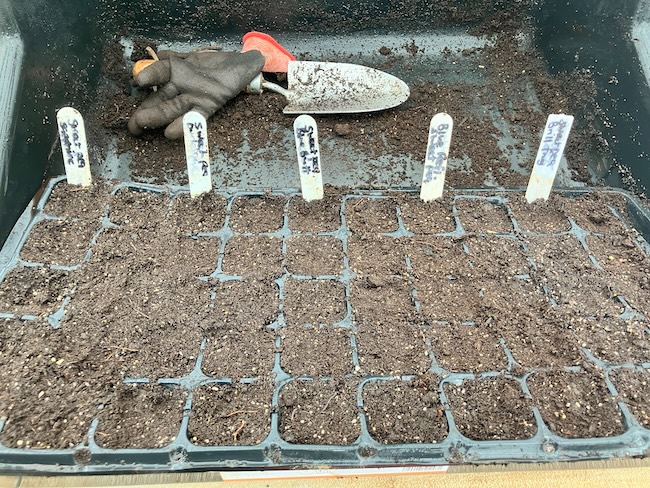
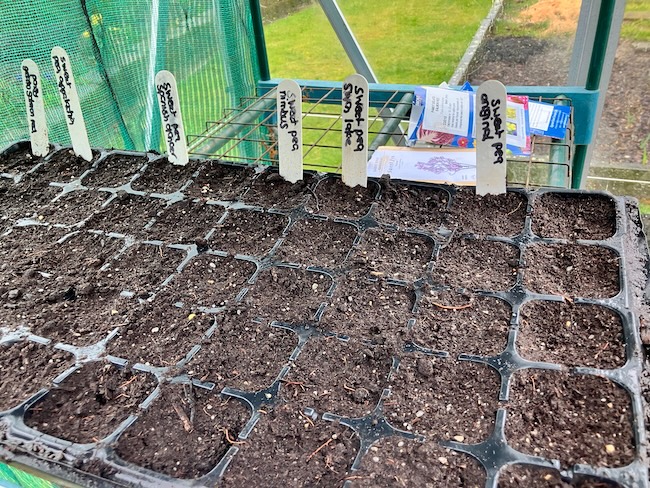
I really hope that all these varieties germinate well, so I can get them out into the garden as soon as possible. If there is still a large space remaining in the sweet pea trellis, I'll direct sow more sweet peas in about a month. The bonus of this is that the sweet pea harvests will be staggered in spring and summer.
Have a wonderful day
Julie-Ann
If you'd like to continue the conversation, you can find me on Instagram, Mastodon, Bluesky, and Facebook.
Social Media



Archives