

The Sweet Pea Project: Sowing the Seeds for a New Gardening Year
Hello friends,
Although the garden may seem quiet in the middle of winter, now is the time when preparation for the next growing season begins. For me, July is peak sweet pea sowing season, and I always save this job for cold, rainy days when it's too wet to work outside. Sweet peas prefer germinating in cooler temperatures, so sowing them in winter gives them the best chance of producing armfuls of fragrant blooms in late spring and early summer.
Sweet peas have always been a favourite of mine ever since childhood, when my grandfather used to grow them in his back garden. Their fragrance would drift through the backyard during the warmer months, and ever since then I've dreamed of having a dedicated sweet pea patch of my very own.
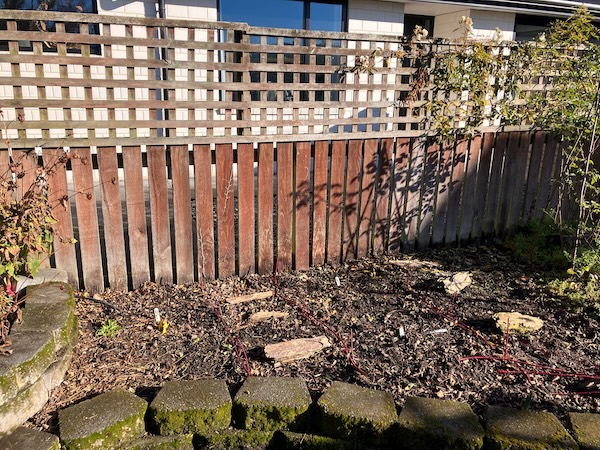
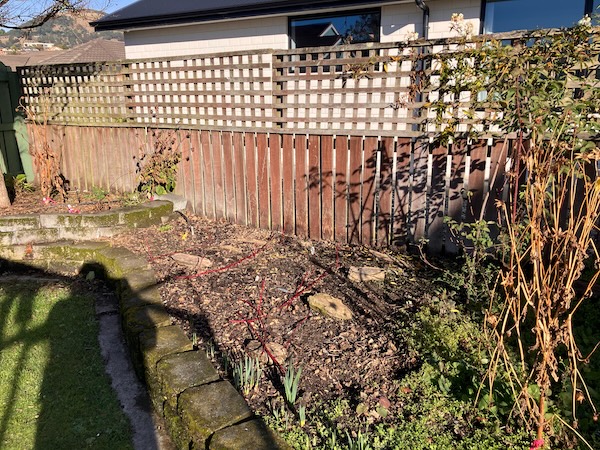
Until recently though, I simply didn't have the space in my garden to do this. That changed last summer when our old lilac tree finally succumbed to the damage it suffered during last year's big spring storm. Once the tree had been removed, a section of the backyard fence opened up to full sun from early morning until late afternoon, creating the perfect place for a sweet pea patch. With the space finally available, it seems like now is the perfect time to turn a long-held dream into a reality. So let's begin, and I'll show you the little patch of garden where this year's sweet pea project will take shape.
My sweet pea patch will run along the western side of our backyard, beside the boundary fence that used to sit in permanent shade beneath the old lilac tree. This section of fence line is approximately four metres long, providing plenty of room for this new project. My plan is to install metal mesh along the fence, and let the sweet peas scramble their way upward, hopefully filling the space with flowers and fragrance throughout spring and summer.
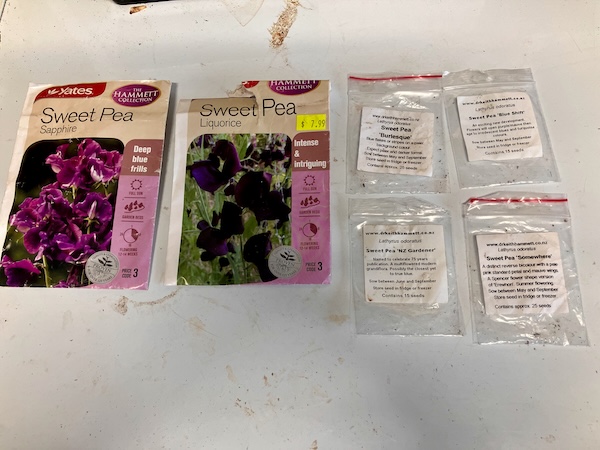
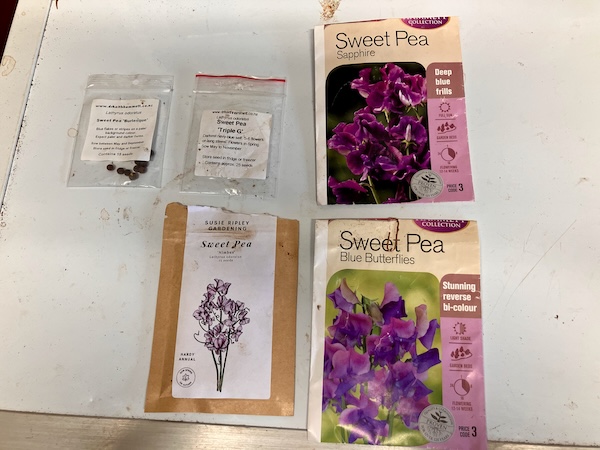
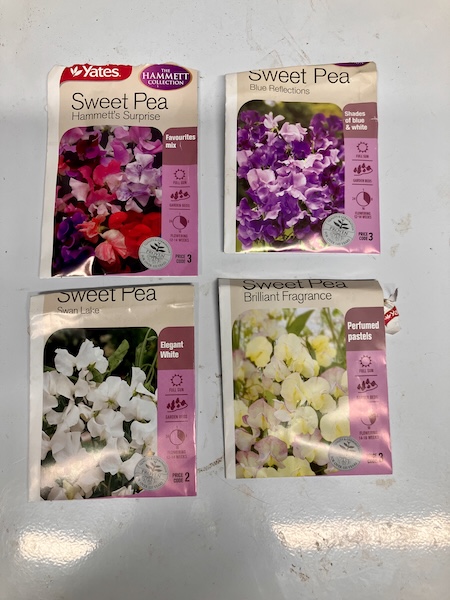
With the growing area planned, it was finally time to pull out my sweet pea seed collection, and decide which varieties to grow. Over the years I've accumulated a large collection of sweet pea seed, so narrowing down the choices was no easy task. In the end, I settled on a collection of mostly Keith Hammett varieties, along with a few other favourites, and some homegrown seed collected from my own garden, all selected for their beautiful colours and sweet fragrance.
The varieties I chose and sowed were:
- 23 × Hammett Blue Butterflies
- 15 × Hammett Blue Shift
- 10 × Hammett Blue Reflections
- 15 × Hammett Brilliant Fragrance
- 10 × Hammett Burlesque
- 15 × Hammett's Surprise
- 2 × Hammett Licorice
- 6 × Hammett NZ Gardener
- 10 × Hammett Somewhere
- 15 × Hammett Sapphire
- 9 × Hammett Triple G
- 10 × Hammett Turquoise Lagoon
- 25 × Homegrown seeds from my garden
- 10 × Nimbus
- 10 × Swan Lake
- 10 × Sweet Pea Original
In total, I sowed 195 sweet pea seeds, which should provide a beautiful mixture of blues, purples, smoky pinks, bi-colours, and wonderfully fragrant blooms over the coming spring and summer.
Although 195 sweet pea seeds may seem like a lot, some of the seed packets were older, and experience has taught me that not every seed will germinate. The seeds were sown into seed-raising mix that had been sieved to remove large stones and wood chips, before being placed into four 50-cell seed trays.
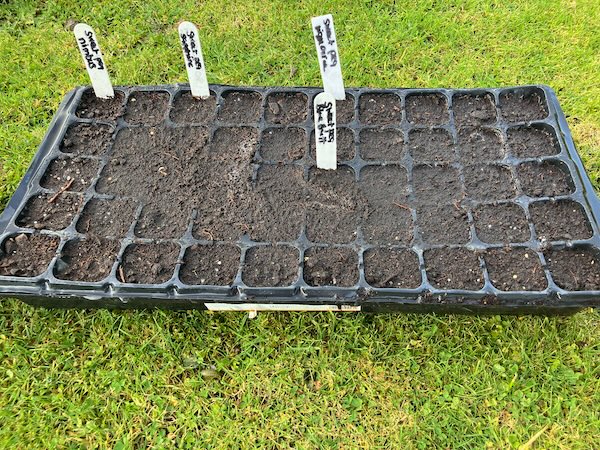
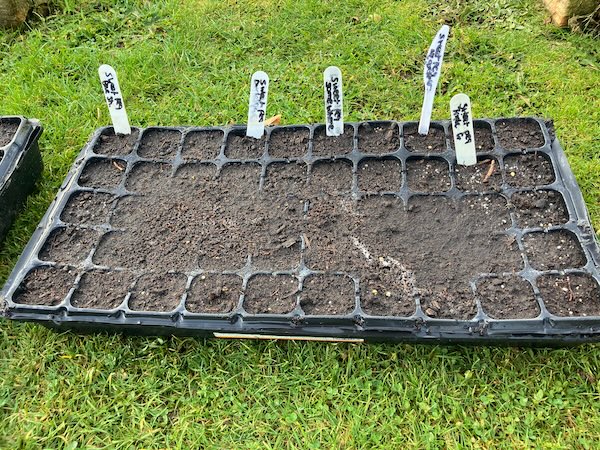
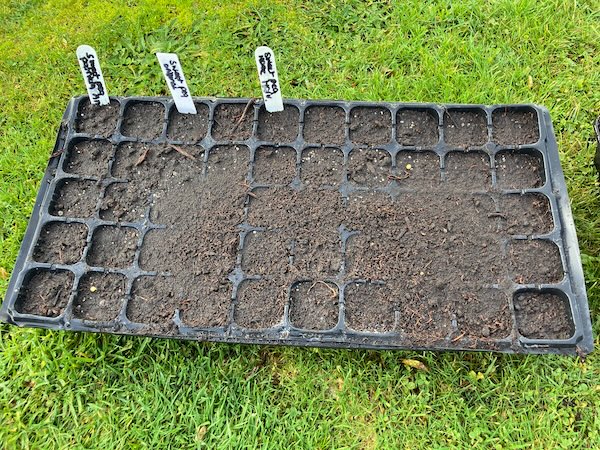
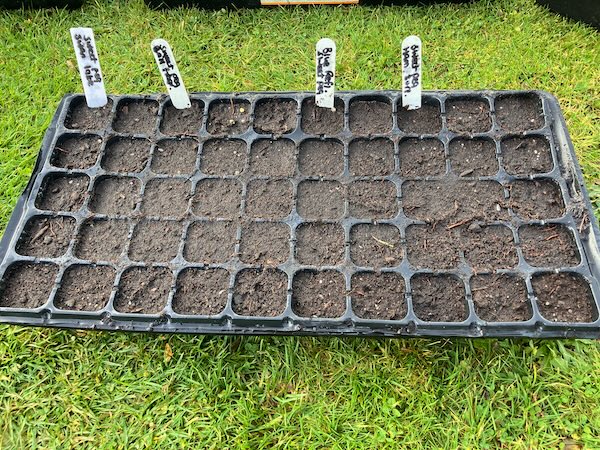
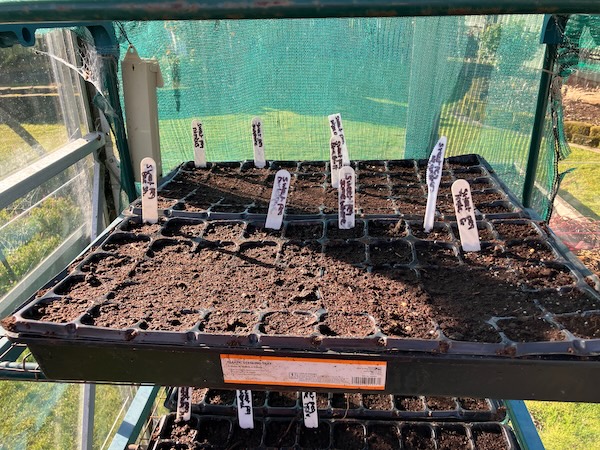
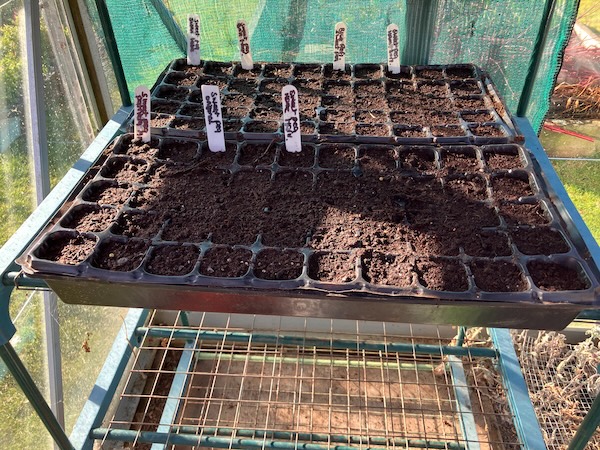
After sowing, the seed trays were watered well, and placed onto shelving in my glasshouse. The shelving is covered with some shade cloth, which helps protect the emerging seedlings from strong sunlight, and it also prevents them from drying out too quickly.
There is always something so hopeful about seed sowing. In the depths of winter, seeds are a reminder that spring is never too far away, and that every gardening year begins with the promise of new life.
For now, the sweet peas are sown, and the waiting begins...
Have a wonderful day
Julie-Ann
If you'd like to continue the conversation, you can find me on Instagram, Mastodon, Bluesky, and Facebook.
I'd love to hear what you're growing, making, or enjoying in your own garden.
2025/2026 Dahlia Breeding Season Results
Hello friends,
Today I thought I'd share with you the results of the 2025/2026 dahlia breeding season.
I grew a total of 55 dahlias from seed, or as seedlings, and at the end of season only 14 dahlia seedlings remain. The number of dahlias I've kept is unusually high, and this is a result of me growing some of Floret's Petite dahlia seedlings, which I bought from Emerden last spring. They were unusually populated with promising dahlia seedlings, and this in my opinion makes buying these expensive Floret seedlings completely worth it.
To keep a track of all my seedling dahlias during the season I employed a dual system, first of all a dahlia seedling spreadsheet, and also a physical note book with a page per seedling, noting down when it flowered, what type of dahlia it was, colouring, and photos showing each dahlia in flower.


The majority of dahlia seedlings that flowered were single dahlia types, and most of those dahlias were the colour yellow. This makes sense because the single dahlia type, and the colour yellow, are both dominant in dahlia genetics according to the book "Dahlia Breeding for the Farmer-Florist and the Home Gardener". Thirty eight of the fifty five dahlia seedlings were single types, equaling a total of 69% single dahlias in my breeding experiment. Twenty seven of the fifty five dahlia seedlings had yellow flowers, or they had yellow colouring in their flowers. Both single type dahlias, and dahlias with yellow flowers, are not what I'm looking for in a dahlia in general, as they are very common, and not really interesting to me.
This dahlia seedling, SR5, is a typical yellow single dahlia flower. I don't consider it interesting at all, even though the bees love these flowers. I don't have enough space in my small garden to justify growing them every year.

And now for all the amazing dahlia seedlings I grew this last summer.
First up we have Keith Hammett Beeline II #4, a dahlia seedling from a Beeline II seed packet I bought from the dahlia breeder Dr Keith Hammett. Dr Keith Hammett doesn't have the space to grow every single seed in his breeding program, so he sells seeds packets occasionally. This dahlia is a single dahlia, but the pink to yellow ombre colour shift is just spectacular against its dark green leaves. This dahlia, KHBII #4, is very similar to Dr Keith Hammett's Mystic Sparkler dahlia, which I own and love in my garden. However, this flower is much larger, and I prefer this seedling dahlia's petal shape more, so it makes it worth keeping this dahlia for next year to see how it fares.

Next up is another Dr Keith Hammett dahlia seedling, NZ Gardener #1, which is grown from a seed packet given away by the NZ Gardener magazine. This is a yellow decorative dahlia, with great symmetry in its petals. Even though this is a yellow dahlia, I haven't seen many pure lemon decorative dahlias for sale in New Zealand, and this is the only decorative dahlia seedling I grew this year. It's worth growing for another year to see how it looks over time.

This next dahlia seedling is called Floret Bee's Choice #13 (FBC#13), AKA Pink Lemonade. This is a yellow, white, and pink anemone dahlia, with unusual domed inner anemone petals. I really love its delicate colours, and it's unusual anemone shape. This dahlia is quite pretty, and has a lot of potential. I'll be growing it for the next couple of years, to see how it develops as the tuber gets older.

The next dahlia is another Floret Bee's Choice seedling #15 (FBC#15). This is another anemone dahlia variety, and it is two toned, with pale lemon outer petals, and brighter yellow inner domed petals. I've called this one Daffodil Daze, as it reminds me of the fluffy double daffodil flowers I grow in my garden each spring.

This next seedling, SR#4, is another anemone dahlia. I'm not really sure what to think of it, but I love the purple colouring. I'm willing to grow it in my garden for another year to see if it improves.

This white collarette dahlia seedling is SR #13, which I've named Snow Dancer (named for the Snow Dancer wolf pack in Nalini Singh's Psy-Changeling book series). She's such a pretty white collarette dahlia, and since I have none growing in my garden, she will make a happy addition to my dahlia collection.

The following dahlia seedling is Floret Petite #2, a magenta on magenta collarette dahlia. This is a really pretty dahlia I bought as a seedling from Emerden Garden last spring. She reminds me a lot of the Cafe Au Lait Rose dahlia, and she also has a large flower head for a collarette dahlia. She's definitely a keeper for next year, and I've collected seed from her to see what dahlia types I get from her.

This next dahlia seedling is Floret Petite #3, which is another anemone dahlia with great potential. New flowers are a very pretty smoky peach colour, and she fades to a apricot colour as the flowers age. FP#3 is definitely another keeper, and I can't wait to see how she performs next summer.


Next up is Floret Petite #4 a stunning lemon and magenta streaked collarette dahlia with white frilly petals inside. She is a stunner in the garden, and very much appreciated by those noticing her. This dahlia probably has the most potential of all the dahlia seedlings I've grown this year. I can't wait to see her flowering again next summer. I haven't chosen a name for her yet...

Floret Petite #5 is another collarette seedling dahlia, and has pointed lemon petals, and curly white inner petals. She was growing in a bad spot in the garden, and didn't get a lot of sun, so I don't think she's grown to her full potential this year. I'm going to grow her in a better place next year, and see how she fares.

And next is Floret Petite #6, my favorite of all the dahlia seedlings I grew this past year. She is a very unusual anemone dahlia, with the outer petals colour shifting in an ombre pattern from dark to light pink, and the inner anemone petals doing the same, but with gold tips. What is also interesting is her 3D shape which is very pronounced, making her look like she's wearing a poodle skirt. She is just stunning and looks nothing like any other dahlia I've ever seen. Her colouring shifts as the flowers age.


I have also kept dahlia seedling Floret Petite #8 until next year. Unfortunately Floret Petite #6 grew beside FP#8 and completely overshadowed the dahlia seedling. Because of this, the dahlia seedling stayed quite small, and it also didn't flower this year. Due to the prevalence of great Floret Petite dahlia seedlings, my plan is to grow it for another season, to see if it has potential.
And finally we have two unknown dahlia seedlings, Unknown 2 and Unknown 4, which popped up in the back garden over summer. Their parent plant I think is Dahlia Protegee, which grows nearby them, and I think when you see the comparison photos you'll agree with me.
First up is the suspected parent plant, Dahlia Protegee, which is a Keith Hammett bred dahlia. She is an ombré magenta to salmon pink single dahlia with dark leaves. This dahlia is an absolute bee magnet all summer long.

And this is Unknown #2 dahlia seedling. She has green leaves, her petals are rounded, and her petal colouring is a deep pink ombré fading out to a baby pink outer. There are also dark pink streaks throughout her petals. When this dahlia flower ages, the light pink fades to a white shade which is really pretty.

And this is Unknown 4 dahlia seedling. She has fewer petals, green leaves, but has more of a pure pink ombré effect. There are also streaks of darker pink running through the leaves. She is also very pretty.

As you can see from these photos, they do indeed look like dahlia Protogee's daughters. I'm happy to keep these dahlias for another growing season to see how they look and change over the growing season.
Overall my dahlia breeding season was very successful. At the start of the season my hope was to grow 2 - 3 dahlia seedlings which were promising enough to keep for another season, but having 14 is a bonus. All I have to do now is store them successfully over winter, and then grow them again next spring to see how they fare. In the mean time we've already had 4 frosts, and my dahlias have all died back, and winter is fast approaching...
Have a wonderful day
Julie-Ann
Want to discuss my post? Feel free to chat with me on Instagram or Mastodon or Bluesky, and now also Facebook.
Flower Farming This Summer
Hello friends,
One day while I was doom scrolling on Instagram, I came across a reel from a local flower farmer, searching for local flower growers to sell their excess flowers to her for her floristry business. Since I was at the time in the middle of completing Floret Flower Farm's online Flower Farming Workshop, I thought this was a good opportunity to do some practical work for the workshop, by harvesting my flowers and foliage and selling them.


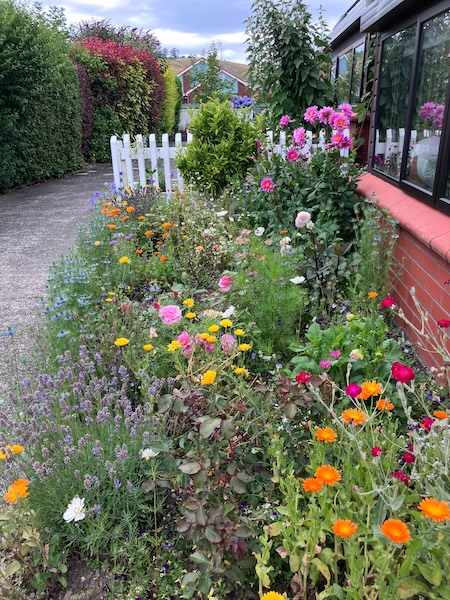
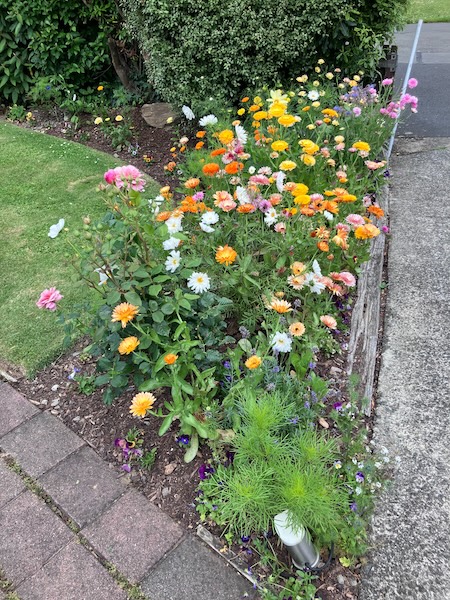
In summer my home garden is full of many flowers including varieties of dahlia, hydrangea, zinnia, scabiosa, cosmos, calendula, as well as many other precious goodies including my grown from seed dahlias. Most of these flowering plants are used in the floral industry for selling as cut flowers, and also many of these plant varieties that I grow do not travel very well over long distances, meaning that local florists need to find local growers to provide them for their floral work.


I contacted the flower farmer, and within a few days she came to my home to look at my garden, and also to pick her first bucket of flowers. She was impressed with my flower varieties, and especially my dahlias and Floret zinnia plants, and she quickly got to work photographing the flowers, and also harvesting them for use in her floristry business.
One of her favorite dahlias to harvest was a Floret Petite seedling dahlia of mine, which is currently named FP6, and it is an unusual anemone dahlia in shades of pink, red and yellow. I'm very happy with this dahlia, and intend to grow this as a second year seedling dahlia next year.

It wasn't long before she contacted me again, with the intention to buy more flowers from me, which I was very happy to do. This time she taught me how to harvest all the various flowers in the garden, so in the future I could harvest flowers for her myself.


This came in handy the next week which was Valentines Day week, the busiest time in a florist's year. For the first time I harvested all the flowers and foliage by myself, and I really enjoyed the process, harvesting the flowers that usually just flowered in my garden, and then processed them ready for her to pick them up.

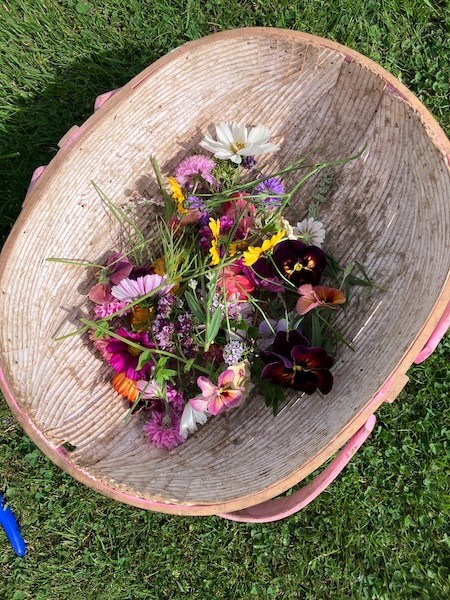
I had so much fun harvesting zinnias, dahlias, hydrangea, and also filler flowers like calendula, cosmos and coreopsis. I also picked foliage plants like rosemary and dogwood for her. When she came to pick up all the flowers up after they'd been harvested, she asked to pick some more, as she planned to make over 100 bouquets for Valentines Day. By the time she left, my garden had provided her six buckets of flowers and foliage, and I was so pleased to have the experience under my belt.


From here on out, she is happy to buy flowers from me whenever she has the need for flowers, and I'm willing to sell them to her. I'm very pleased with this arrangement because it's a way for me to do some flower farming without committing myself to owning a full on flower farm, and all the commitments that come with it, but it also means that any income I receive from this means I can invest it into more plants for my garden, and most likely more dahlia varieties...
Have a wonderful day
Julie-Ann
Want to discuss my post? Feel free to chat with me on Instagram or Mastodon or Bluesky, and now also Facebook.
Pressing Flowers and Leaves This Summer.
Hello friends,
This summer I undertook the process of pressing my own flowers and leaves, with the intention to arrange them in specimen frames.
For years I've seen this done on Instagram and also Pinterest, and I wanted the opportunity to try this myself. I already own a flower press thanks to my husband making me one back in the days when I was pressing and drying leaves and flowers for my New Zealand Certificate in Horticulture, and I've kept the flower press all these years just in case I needed it once again.
So over the summer I wandered around the garden every now and then, picking out flowers and leaves that appealed to me, and then set up my flower press for pressing them.
My flower press is made out of plywood which is sealed with polyurethane, and measures 20 cm wide by 30 cm deep and 10 cm tall, and has 7 sections to press flowers. The flower press is held in place with screws, washers, and wing nuts to apply even pressure over the plywood sheets.

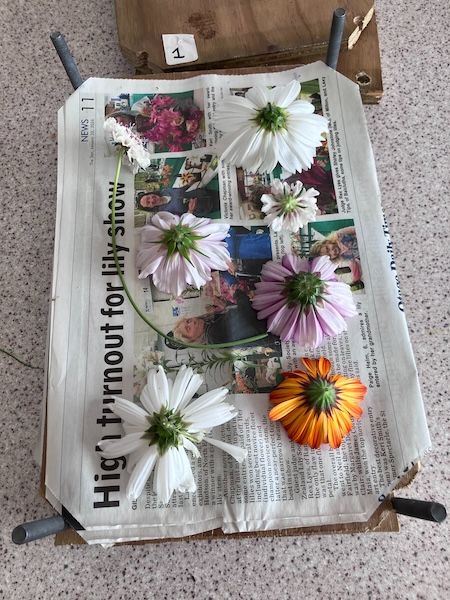
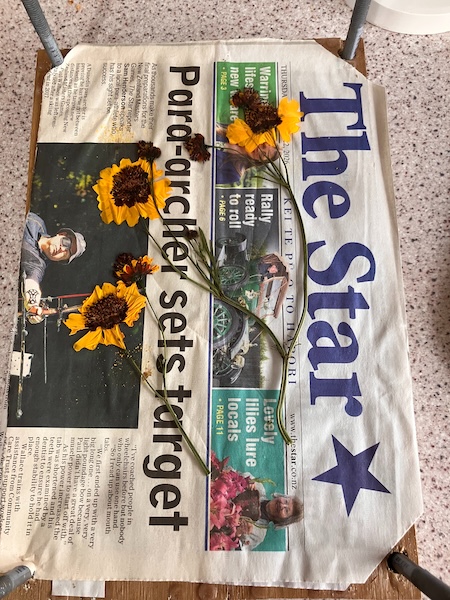
I cut up a large number of newspaper pages to fit the flower press, and got to work laying out the flowers in the sections.
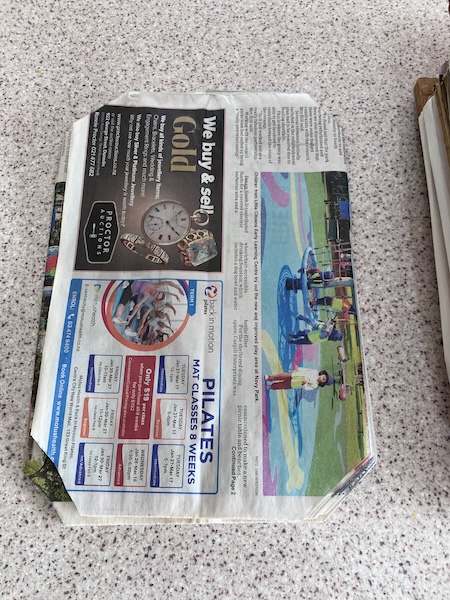
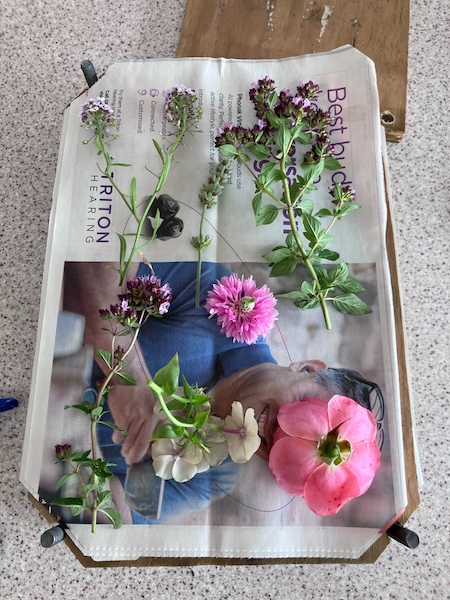
I separated out the flowers and leaves into groups based on what flower and leaf type they were, and also how deep they were, so that similar depth flowers and leaves were pressed together in the same section.
Once the flowers and leaves were separated out, I placed them face down on two pieces of newspaper, making sure the flowers and leaves weren't touching. Two sheets of newspaper were placed on top, and then a plywood board was placed above them to form the next section.
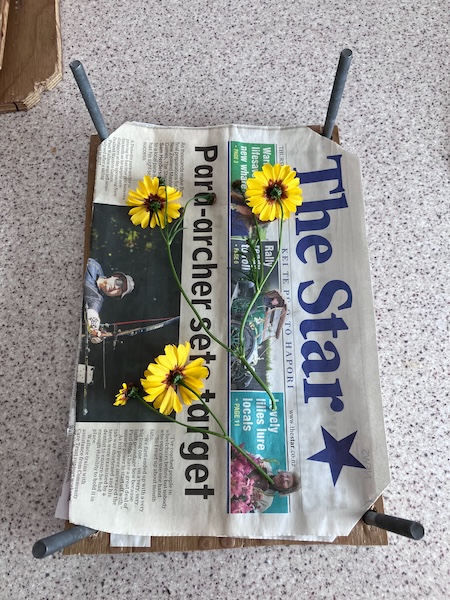
Once all the sections were filled, I placed the last plywood layer on top, and then tightened the screws using the washers and wing nuts to begin pressing the flowers. With all the wing nuts screwed down evenly with the same pressure, the flower press was left in our dry garage for up to two weeks to press and dry the flowers.
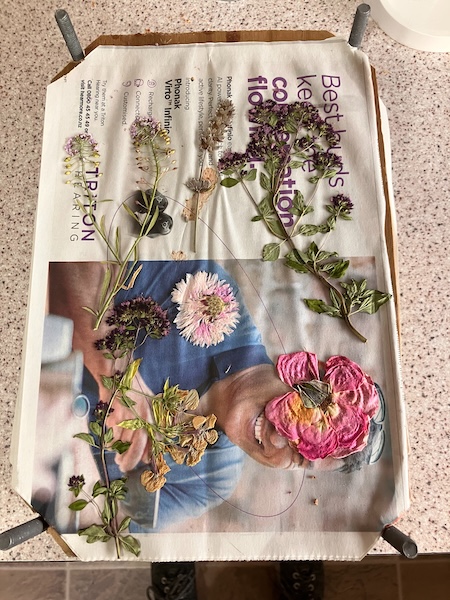
When the flower press was finally opened, it was time to remove the flowers and leaves from the paper layers. It can be a little tricky to remove the flowers and leaves without breaking them, but the best method I've found is to pry the paper away from the flowers and leaves (instead of prying the flowers and leaves away from the paper). For more tricky specimens, I used a pair of fine and flat tweezers to slide between the paper and flowers to break the seal.
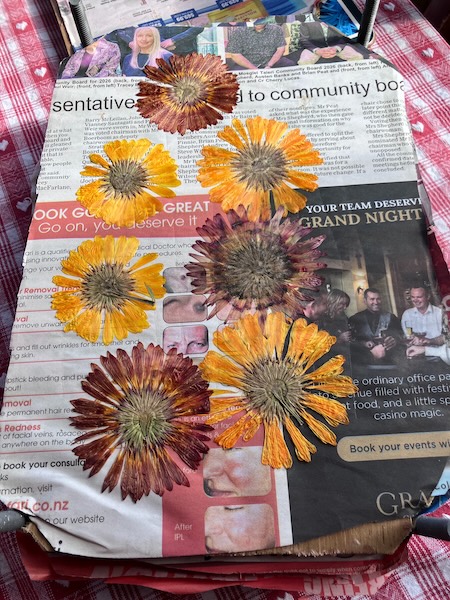
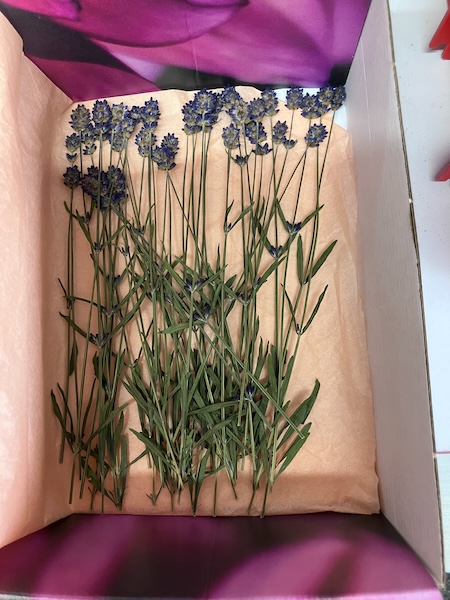
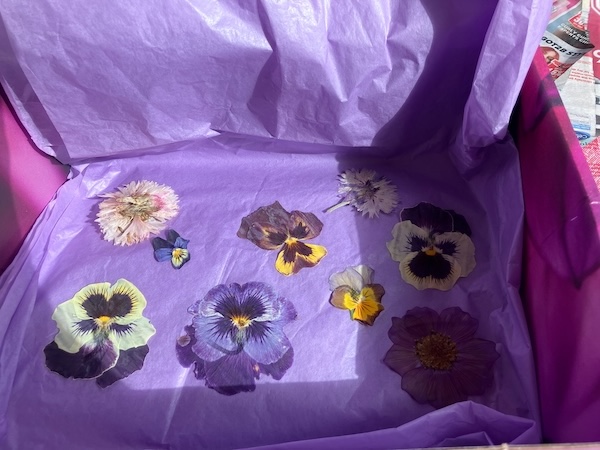
With the flowers and leaves released from the newspaper, I threw out or recycled the used paper, as sometimes the paper can develop a fungal infection from drying plants, or the paper becomes uneven afterward, making it unsuitable for pressing again. The resulting pressed flowers were laid flat in between tissue paper layers in a cardboard box for storage.
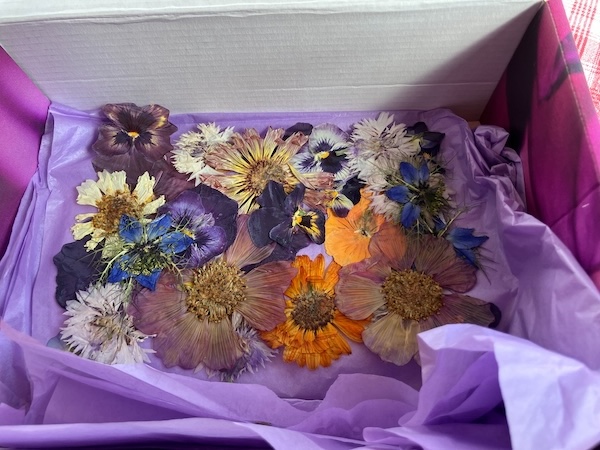
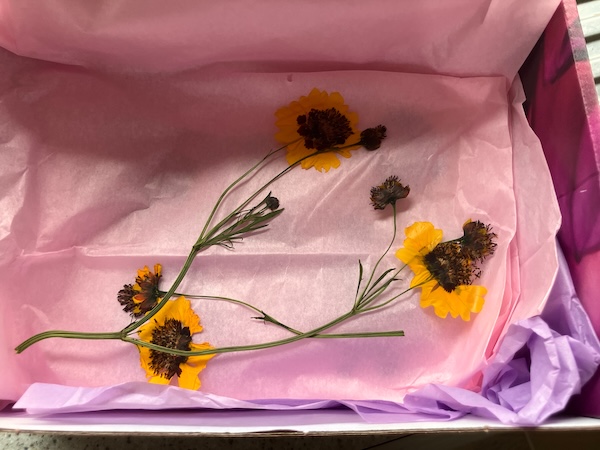
My plan for now is to continue collecting and pressing flowers and leaves, and later on in the year I will begin crafting my specimen frames...
Have a wonderful day
Julie-Ann
Want to discuss my post? Feel free to chat with me on Instagram or Mastodon or Bluesky, and now also Facebook.
Social Media


Archives