
Shallot And Garlic Harvest for 2025
Hello friends,
Today I thought I'd share with you my recent shallot and garlic harvest, which happened in the third week of December in 2025.
All the way back at the end of May in 2025, I sowed shallots for the first time, along with three garlic varieties, Printanor (which I sow each year), Creole, and Fire. Every single year in early December my Printanor garlic gets rust, because in early December our spring weather pattern changes from sunny and dry conditions, to cloudy and damp conditions, which last until after the new year has begun. So in May 2025 I decided to grow two new garlic varieties, Creole, and Fire, with the hope that one of those varieties would be less likely to contract the garlic rust fungus, and give me a better garlic harvest for the season.


The first task was to harvest my shallots. It was my first time growing them, and they were very easy to grow. By the time I harvested them they had all flopped over, with each sown shallot producing 6 - 7 new harvested shallot bulbs. None of the shallot plants showed any sign of rust, even though they had grown side by side with the garlic varieties all throughout the winter and the following spring.


Next up was harvesting the three garlic varieties, which all had contracted the rust fungus in early December. The Creole garlic plants had the least amount of rust on their leaves, but they also had the smallest garlic bulb harvest.


The Fire garlic variety had contracted the worst case of garlic rust fungus on their leaves, but they also gave me the biggest garlic harvest.


And finally, the garlic variety Printanor contracted a moderate amount of garlic rust fungus on their leaves, but they also had a moderate garlic bulb harvest despite the fungus infecting the plants.


All in all, none of the garlic varieties were spared from being infected with the garlic rust fungus in early December, but the Fire variety of garlic did grow the biggest garlic bulbs despite the infection. Unfortunately this means that I haven't found a garlic variety yet that will resist contracting garlic rust in early December, but I can harvest a decent crop of garlic from the Fire and Printanor varieties at least. Garlic plants infected with garlic rust are safe to eat, but they do not store well, so the garlic bulbs have to be processed in other ways to preserve the harvest.
As a bonus while harvesting my shallot and garlic plants, I also harvested a rogue potato plant which had grown in the same garden bed, and we had enough potatoes harvested from this to feed us that night for dinner (and for leftovers afterward). It was our first potato harvest of the growing season, and we enjoyed the boiled new potatoes with a sliver of butter for dinner.

And as for deciding what to do this coming autumn at garlic planting time, first, I think I'll go hunting for some more new garlic varieties to try, and second, I'll grow the Printanor and the Fire varieties again with the hope that maybe, if I'm very lucky, this year my plants will be spared from the dreaded garlic rust virus.
Have a wonderful day
Julie-Ann
Want to discuss my post? Feel free to chat with me on Instagram or Mastodon or Bluesky, and now also Facebook.
End Of Year 2025 Spinning Projects
Hello friends,
In the spring of 2025 I managed to accomplish a couple of spinning projects using my drop spindle and spinning wheel, spinning up two braids of fibre I had in my stash.
First up was 100 grams of Fibre to Go "In The Shade Jewels" braid, made from 70% merino and 30% Silk, that my best friend Karyn picked up for me at Fibretron in Hamilton in the winter of 2025. Unfortunately after searching through all my photos I couldn't find any pictures of the braid, or of it being spun up on my drop spindle, but here is the finished yarn in all it's glory.
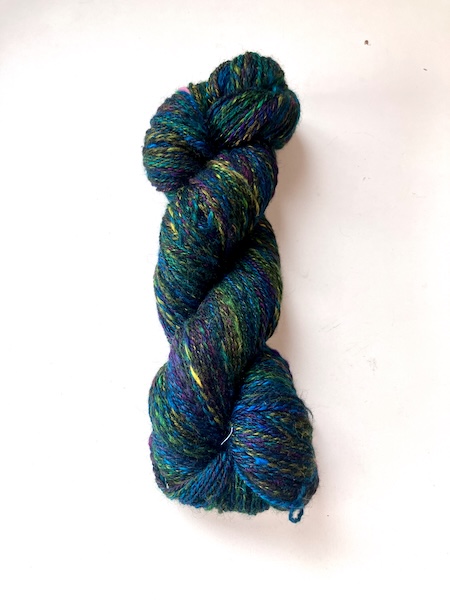
The rainbow jewel shades against the black are just so pretty, and I can't wait to use it in a weaving project in the near future. Unfortunately the yarn colours ran when I washed the skein of yarn after plying, but it did clear up in the rinses afterward. This yarn ended up being fingering weight width.
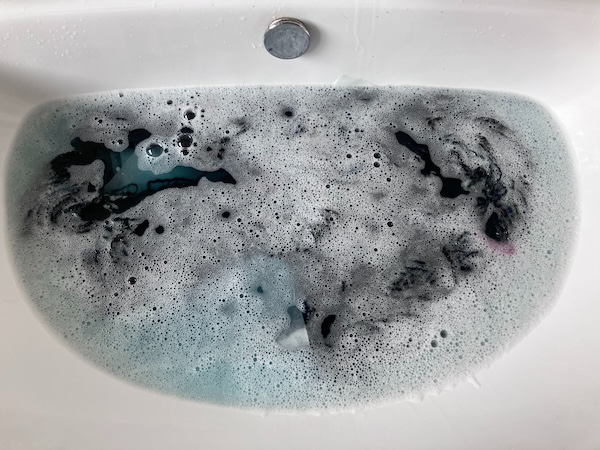
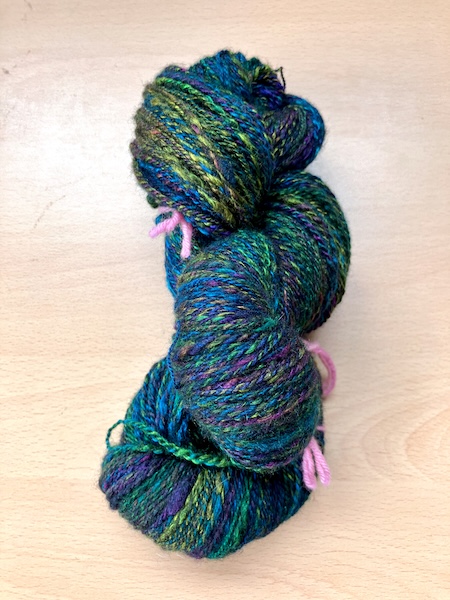
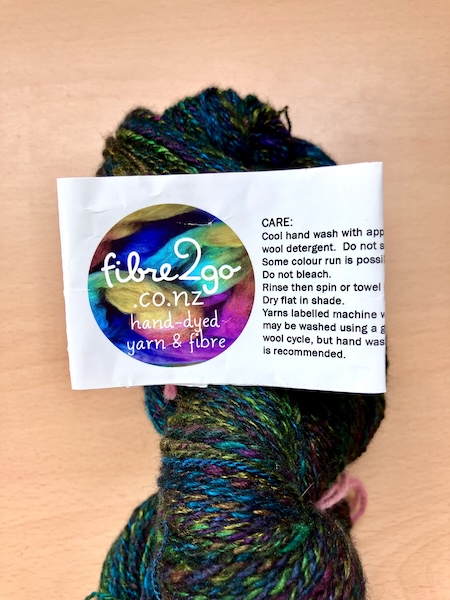
And secondly, I spun up a 100 gram braid from Handmaiden's July 2025 Fibre Club, containing 75% Corriedale, 15% Llama, and 10% Rayon, in shades of graduated pink, purple, blue and white.
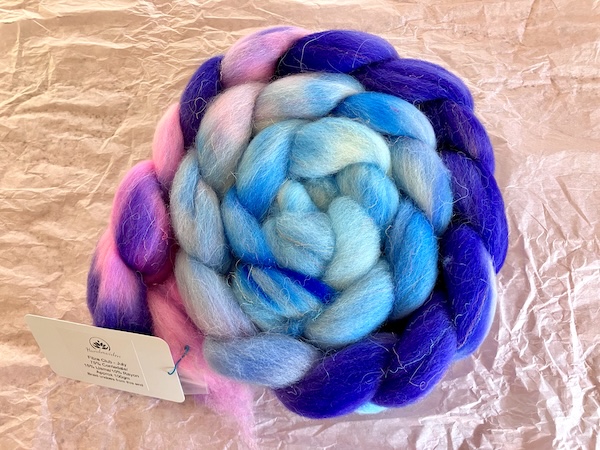
With the rayon content being flecks of fibre that would come out easily all over the place while spinning, I decided to spin it with a high twist on my spinning wheel, in order to reduce the amount of mess all over me and my craft room floor. I split the braid vertically down middle to retain the colour changes in the braid, and then spun up the two singles in the same direction, followed by plying them together as a simple 2-ply yarn. The resulting yarn was my usual fingering weight yarn width.
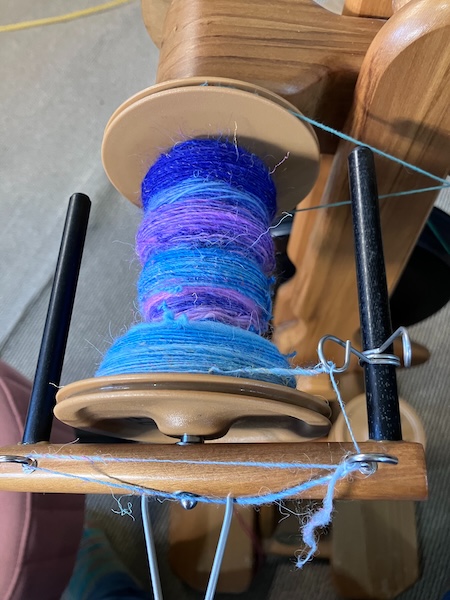
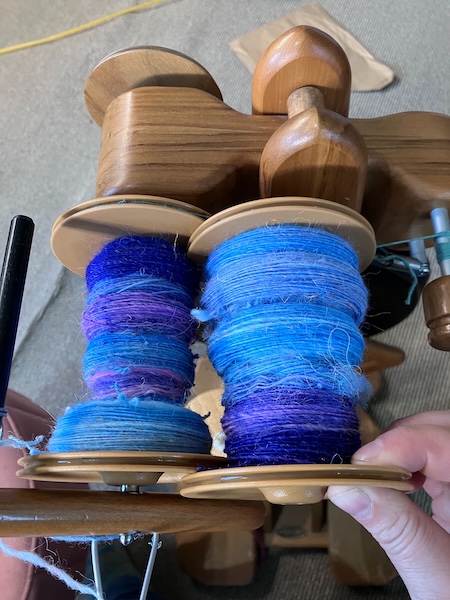
The resulting yarn mostly kept the colours and colour graduation together, but there is always some sort of shifting that happens due to unbalanced dyeing on each side of the braid, as well as uneven splitting of the braid when pulled apart.
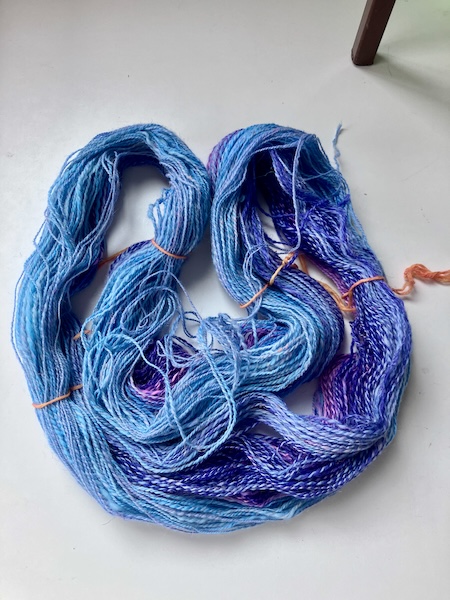
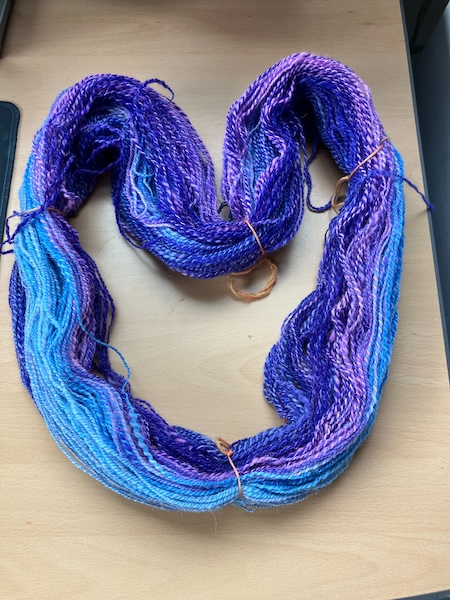
The yarn was then set in place using a gentle wool wash, and then dried, before being stored away in my large pile of hand spun yarn.
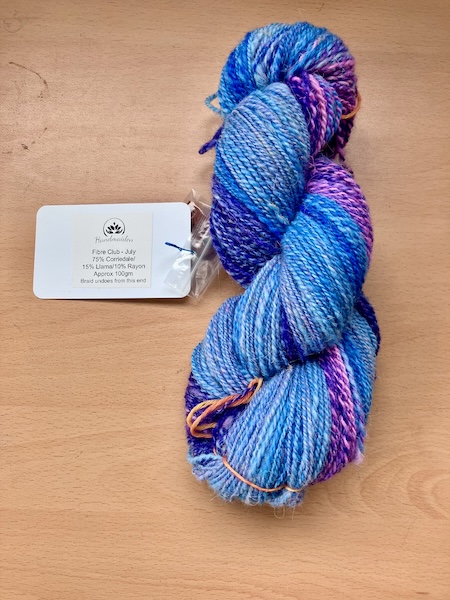
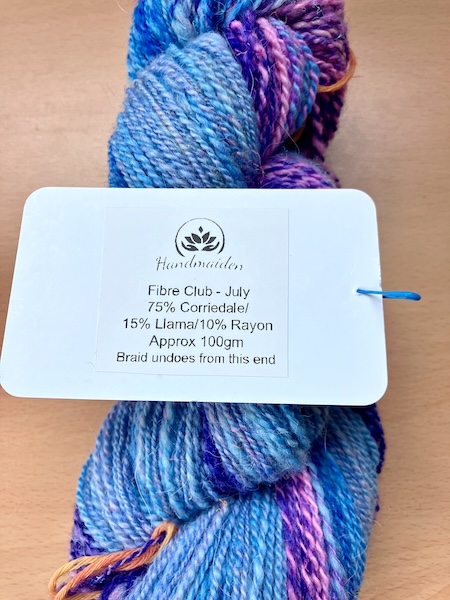
I'm very happy with the resulting yarn, and plan to use this yarn as a warp in an experiment to create a stained glass scarf for my online store Hearth and Oak. It is always very fulfilling to take a braid of fibre, and spin it, before weaving it into a finished project.
Have a wonderful day
Julie-Ann
Want to discuss my post? Feel free to chat with me on Instagram or Mastodon or Bluesky, and now also Facebook.
Harvesting, Cooking, And Then Eating A Dahlia Tuber
Hello friends,
Yes, I finally did it. I finally had the opportunity to try harvesting, cooking, and then eating one of my dahlia tubers.
I've been growing dahlias from seed this year as part of my dahlia breeding program, and a lot of the dahlias that flower just don't have the characteristics I'm looking for in a great seedling. Either they're single dahlias, or they have very plain and boring colours, or their flower heads are weak (and they droop), so I pull them out of the ground once I'm sure I know what sort of dahlia they are like.
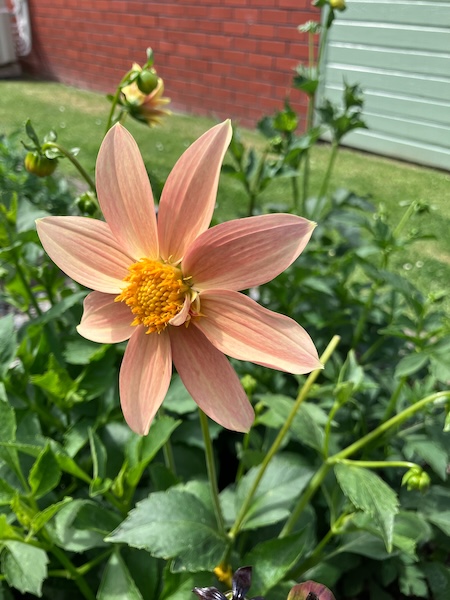
I plant my dahlia seedlings very close together for spacing reasons, and when I decide that a dahlia is not what I'm looking for, that's when the dahlia seedling is pulled out of the ground, giving more space for other dahlia seedlings to grow in the garden bed.
All ornamental dahlias are edible, particularly the tubers, and their taste apparently is reminiscent of a potato crossed with celery, depending on which dahlia variety you harvest and cook. Dahlia tubers contain inulin (a prebiotic carbohydrate), other carbohydrates, have four times the amount of potassium than bananas have, and are high in fiber, making them a great food source if needed (Dahlia nutrition information (Nsabimana and Bo Jiang 2011).

With all this in mind, the next time I had to remove an unwanted dahlia seedling, I decided it was the time to try cooking and then eating a dahlia myself. The seedling dahlia donating its tubers was Dahlia SR 11, a boring single apricot dahlia variety that had flowered a few times, but its flower hadn't improved at all...
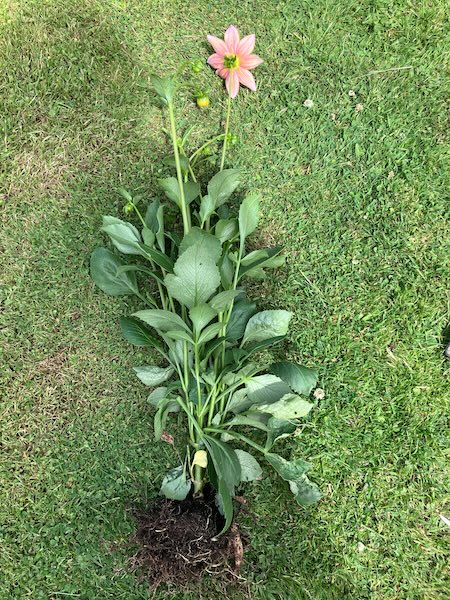
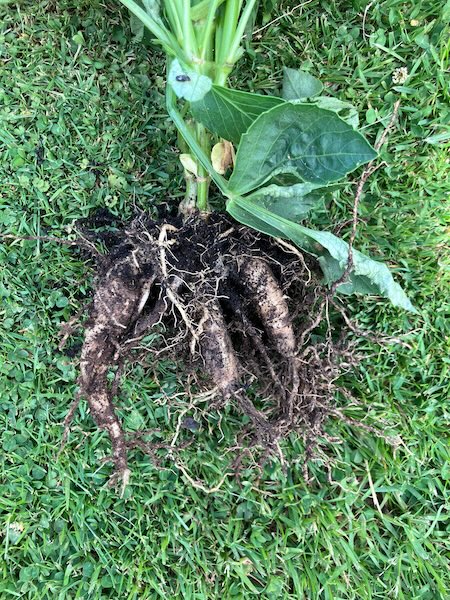
I dug the dahlia out of the ground, removed the stems and leaves, and then washed out as much dirt as possible from the tubers and roots. After bringing the root system of the dahlia into our kitchen, I cut off the small tubers the dahlia seedling had begun to grow. Small dahlia tubers we thought would be less fibrous, and more easy to cook with, compared to older and bigger tubers.
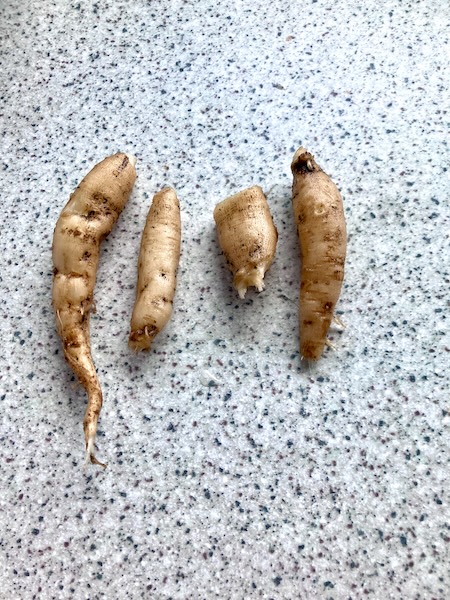
After giving the tubers another wash to remove all the dirt, I peeled the dahlia tubers as was suggested on the internet by other sources. With them now clean, I put the tubers into a small pot containing water, and added a bit of salt (similar to when boiling potatoes).
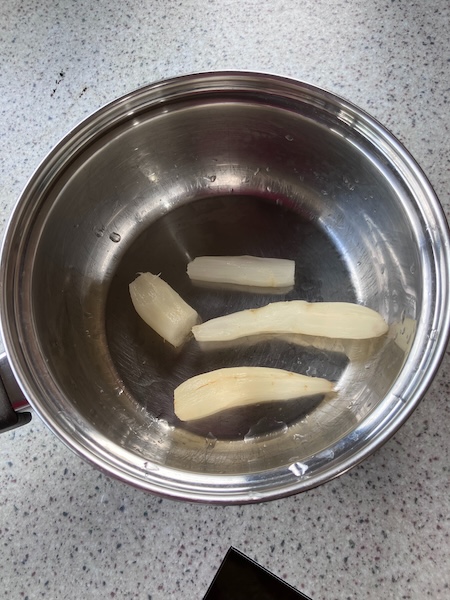
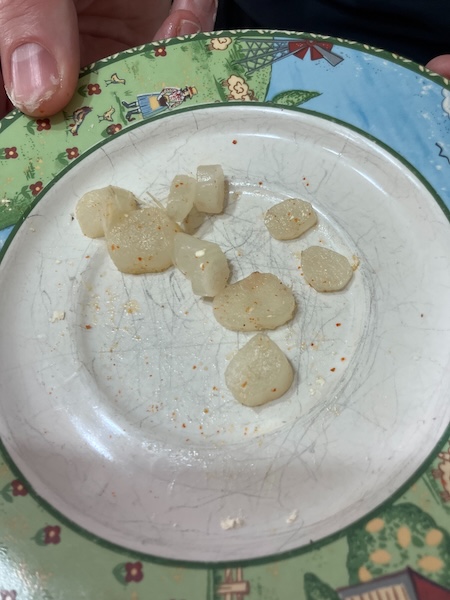
We brought the pot of water up to a boil, and let the dahlia tubers simmer for 10 minutes. At that point we tested the tubers with a knife and found them to be al dente, which was what my research suggested meant that the dahlia tubers were ready for eating. We cut one of the dahlia tubers up into thin slices and ate the slice plain...
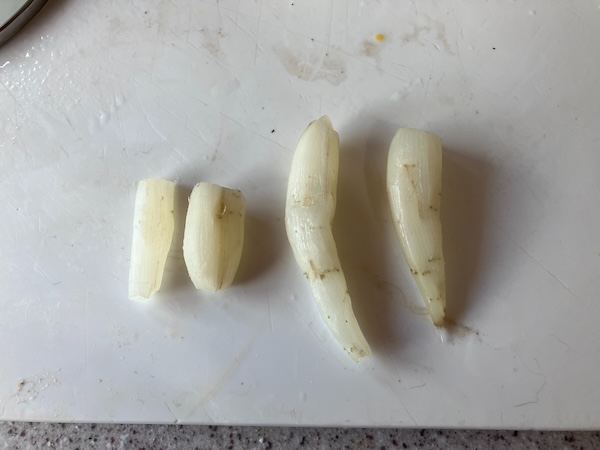
The dahlia tuber was okay to eat, and did indeed taste like a potato crossed with celery (and it was a little earthy tasting too, a bit like beetroot). A bit plain, but okay. We sprinkled a little salt on top of the dahlia tuber slices, and it definitely improved the taste.
Wanting to explore eating the dahlia tubers further, we decided to pan fry the rest of the cooked and sliced tubers, to try out other flavor combinations with them, using ingredients we already had in the kitchen...
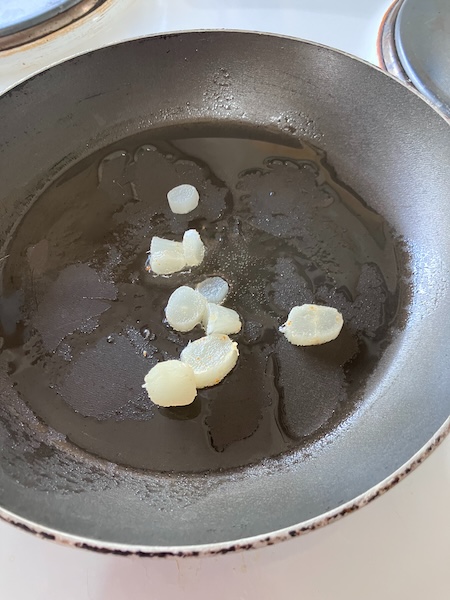
Here are the dahlia tuber flavor combinations we tried:
- Chilli and Garlic - Definitely more tasty than plain, the flavor was improved by sprinkling a tiny bit of salt on top to finish.
- Parmesan and Salt - Super tasty when fried plain and then sprinkled with parmesan and salt at the end.
- Basil and Olive Oil and Salt - Quite pleasant, but not as nice as the Parmesan and Salt.
- Fried in Butter with Chilli and Lemon Juice and Garlic - Definitely my favorite. The chilli and lemon and garlic combination made the dahlia tuber super tasty. We think it would've been better with lime juice instead of lemon, but we didn't have any available at the time.
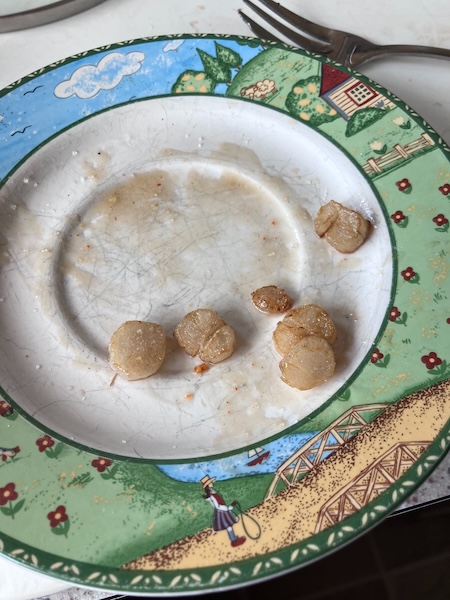
With all those flavor combinations completed, we were out of dahlia tubers to eat, and that was perfectly okay for ending our experiment in dahlia cooking and eating.
I think that doing this experiment in dahlia cooking and eating was a good experience to try once. It was okay to eat, but if it came to a choice between eating potatoes and eating dahlia tubers, potatoes would be my choice every single time. If it ever came to a point that there was no choice but to eat dahlia tubers to survive (like during a zombie apocalypse), I would very happily do it, as long as I didn't need to eat any of my precious named dahlia varieties to do so. Those are sacrosanct, but they would make great seed producing dahlias, and those seeds could then go onto produce seedling dahlias tubers which I would happily to eat in the long term...
Have a wonderful day
Julie-Ann
Want to discuss my post? Feel free to chat with me on Instagram or Mastodon or Bluesky, and now also Facebook.
Floret Flower Farming Online Workshop 2026
Hello friends,
By the time you've read this blog post, I will have already been studying for one week in the 6 week online Floret Flower Farming Workshop.
Every year in October, Floret Flower Farm opens registrations for their yearly online Floret Flower Farming Workshop. It's an in depth 6 week workshop covering all things flower farming: including whether flower farming is right for you (and what you might want it to look like), planning and mapping out your flower farming operation, making a start at flower farming, growing your flowers, sales and marketing, and finally harvesting cut flowers and selling them in whichever way works for you.
Their online workshop has a massive course book, and hundreds of video lessons to go through, along with question and answer video sessions, and an online community for those learning together in the workshop.
I've wanted to do this workshop for many years, and when registrations opened last October, hubby encouraged me to register and finally fulfill my dream to study with Floret. After registering, it wasn't long before a heavy package arrived in the mail from Floret, containing the course book and other workshop goodies.

I spent a long time flicking through the pages of the workshop course book, getting excited for the workshop starting in early January 2026, and then in early December it was time for workshop orientation. There were some online videos to watch about what was to happen in the workshop, along with some administration tasks to accomplish ahead of the starting date. One exciting part was a trip to a stationery store to buy workshop supplies including a poster board, graph paper and tracing paper, and a new A4 binder to hold all the worksheets I would be downloading and filling out...

And now it's January, and the Floret Flower Farming Workshop has begun. I'll be super busy with the workshop for the next 5 weeks, but I already have enough blog posts lined up to cover this period (hopefully, if everything goes to plan...).
Have a wonderful day
Julie-Ann
Want to discuss my post? Feel free to chat with me on Instagram or Mastodon or Bluesky, and now also Facebook.


